


Visual storytelling has always been something that fascinated me. Not just the stories, but everything that takes place “behind the curtain” where the magic truly happens. Sort of the science behind the art has always been enthralling to me. Even from childhood I knew I wanted to be some form of visual artist. Originally, my primary focus was special effects and 3D graphics. In film school, I wanted to learn about modeling, texturing, lighting, animating and rendering 3D characters and environments. The school I went to required 3D animators to also take regular film school classes. As a young arrogant artist, I eschewed this idea and assumed there was no real use in learning about such an outdated medium and the methods to work with it. Part of the curriculum was stage craft for special effects. No computers, no digital wizardry, no slick compositing, just plain old “analog” or “practical” effects. At first, I assumed this was just more archaic methods taught by an obsolete instructor unwilling to part with methods that were no longer relevant. I told myself I’d also be sure to stay off his lawn.
I didn’t expect this class to make more impact on me than any other class I ever took. I learned the ways of old school masters who had to invent a new medium and pioneer tricks to craft a live effect, without having the benefit of electronic assistance. It was a bizarre mix of chemistry, physics, ingenuity, cleverness and just a bit of downright crazy! We were igniting clouds of coffee creamer to create fireballs! we were using flakes of instant potatoes to create falling snow. We were using sheets of glass with objects glued to them to make things levitate live on camera. It was beyond amazing! It felt more like learning magic tricks than learning film making. Practical effects seemed to share more with sleigh-of-hand artists than with computer graphics. I gained so much respect for those creative minds that went before us. For those brave adventurer-artists who birthed a new medium of visual storytelling. Do you have any idea how the special effects artists crafted the tornado in the Wizard of Oz? They certainly didn’t have computers to render the effect for them, and they didn’t go capture and train a real tornado… I won’t spoil it for you, but I encourage you to look it up, it’s truly fascinating!
Side Note: There’s still some practical effect wizardry happening today that would do those Masters proud. They are usually relegated to Broadway shows, but they are no less impressive or ingenious. Case in point would be the rig used to create the flying carpet in the musical Aladdin. It’s an ingenious feat of practical engineering! So much so, they even filed a patent on the method to protect their idea.
So fast forward a few too many years and I find myself in a career that primarily uses Photoshop to composite effects. Frequently I’m working a visual project that needs a particular effect and before I launch that browser window and spending a credit on Adobe Stock for fireballs I ask myself three important questions:
1. Could I somehow shoot this myself as a practical effect?
2. If I did shoot it myself, would it be better?
3. Would it be more FUN?
If the answer to any of those is “yes” (OK, mostly the last one) then I will absolutely try to shoot practical effects. I find the very process to be creatively therapeutic. It gets me out from behind my desk and it challenges me to figure out a way to create the effect. It’s like solving a puzzle or visual riddle. I’ve often said it’s some of the most fun I’ve ever had with my camera!
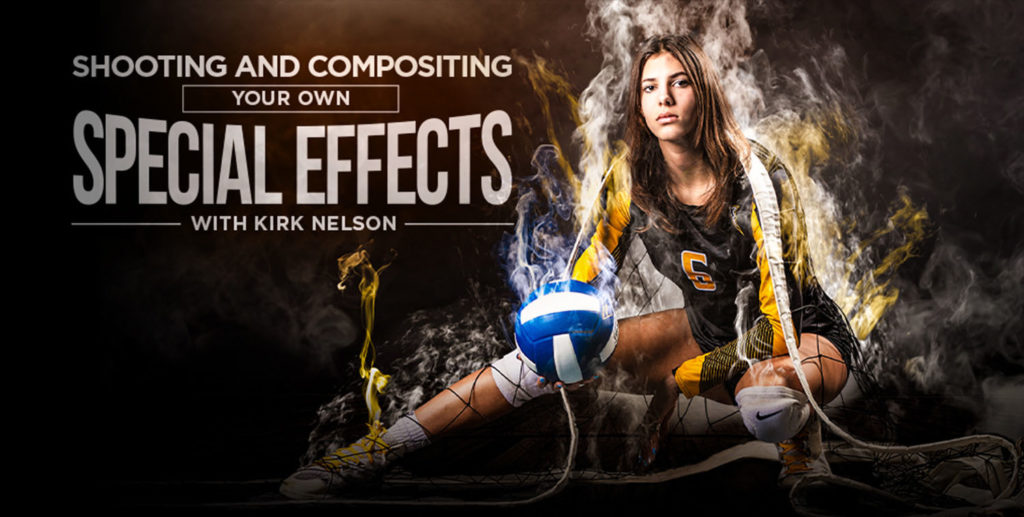
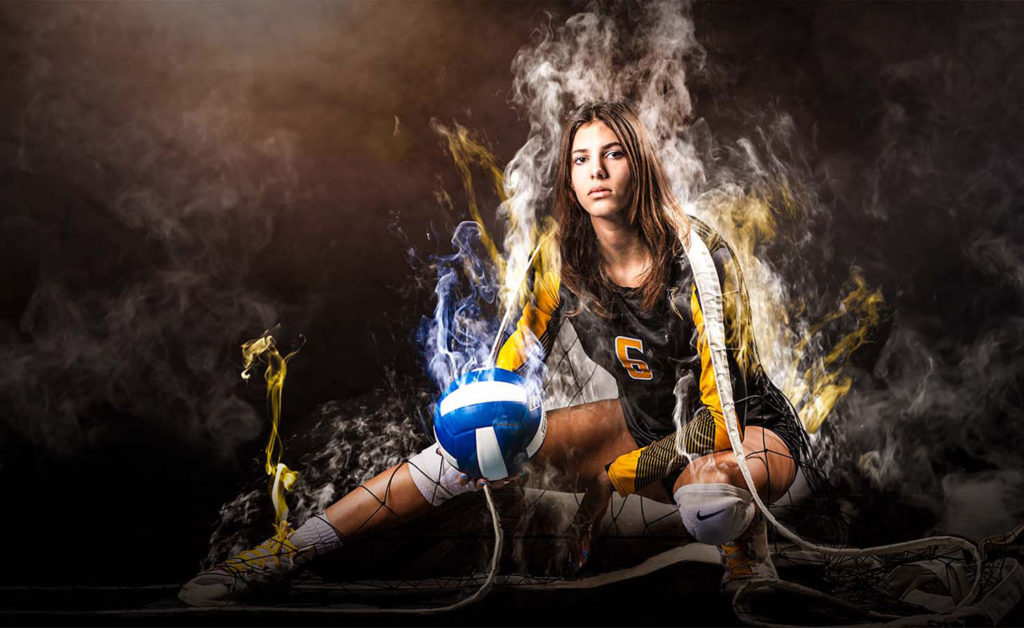
In my newest course here at KelbyOne, Shooting and Compositing Your Own Special Effects, I demonstrate three different practical effects and how to create them using regular household items and the techniques I’ve found to reliably shoot them, and how to use those as digital assets for your own special effects.
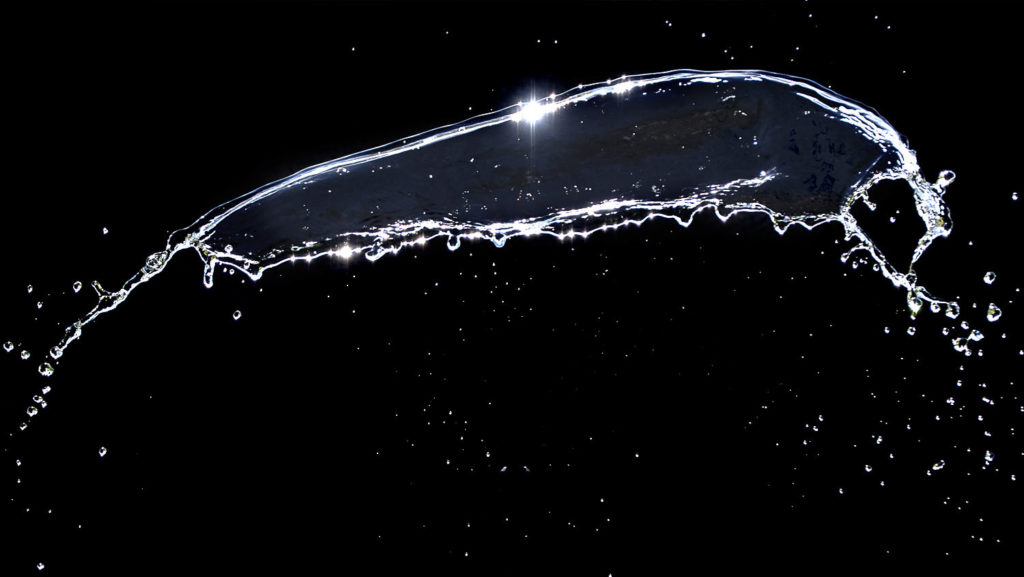
Water Splashes
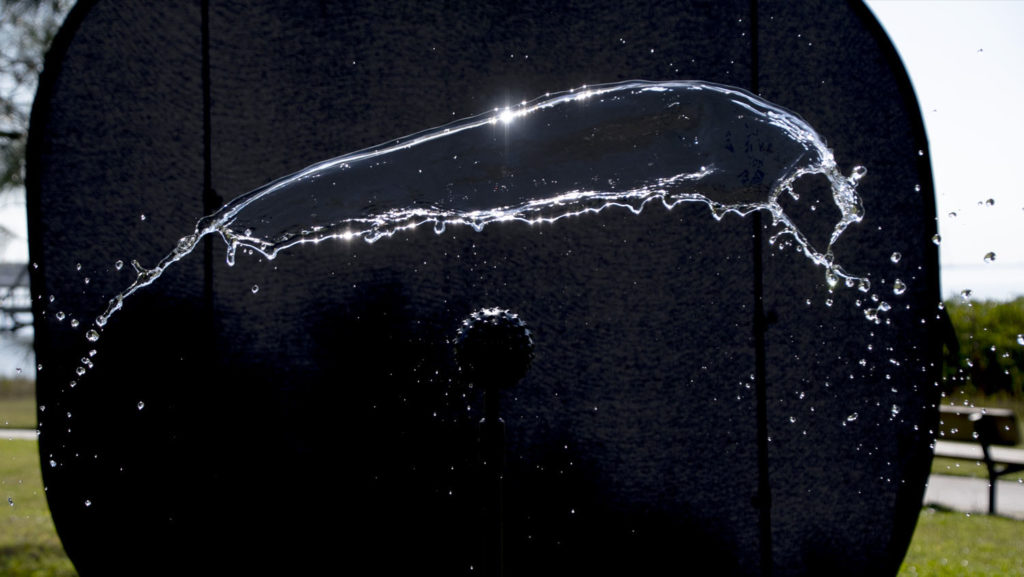
For a long time, shooting mid-air water splashes frustrated me. It was the age-old photography struggle of needing a fast shutter speed to freeze the action, but somehow still getting enough light in to the sensor to make the water drops bright enough to be seen. The first time I worked with this project, my equipment was woefully inadequate for the task. The drops were either blurry or underexposed. or both. My high-speed synch wasn’t working (or I wasn’t using it right) so I was struggling to find a solution. The answer was as bright as day. Literally.
Bright afternoon sunlight was the answer that was painfully obvious after I thought about it. That harsh summertime sun that is usually the worst possible lighting was perfect for what I needed. Plenty of power, readily abundant, and super cheap! It made those water droplets shine like diamonds!
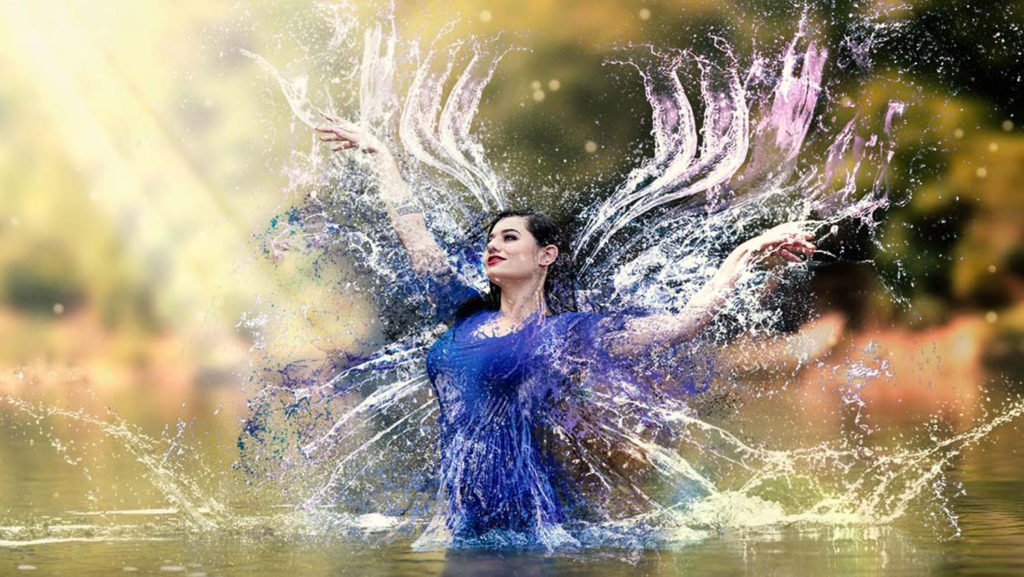
In Photoshop, there’s several ways to use the water splash shots as a digital effect. the first and most obvious method is as a layover. The visible water areas are white, the background is black, so a Screen blending mode does a lot of the heavy lifting for us. Pair that with some custom brushes created by the splashes, and some delicate mask work and these shots can become a tremendous resource for crafting creative effects.
Safe Smoke
Smoke is generally a difficult element to work with as real smoke is dangerous. More people die from smoke inhalation than from fire, according to the National Fire Protection Association. Smoke is also difficult to control as it generally stems from fire and not something I like to have in my studio space!

There are products on the market that do a great job of creating smoke safely, and I’ve used smoke grenades before for some fun shoots with models, engaged couples, grads, etc. But for crafting digital resources to use in compositing, I like using something a little more controllable, cheap, and easily attainable: Dry Ice. Mixing dry ice and water doesn’t produce smoke, it produces water vapor, but that looks identical to smoke and behaves in a very similar fashion. Plus, it’s completely safe to breath around! The primary difference is that smoke rises, and water vapor sinks. That just means you have to find a way to elevate the container producing the vapor, and that can be as simple as a cookie sheet on the edge of a table.
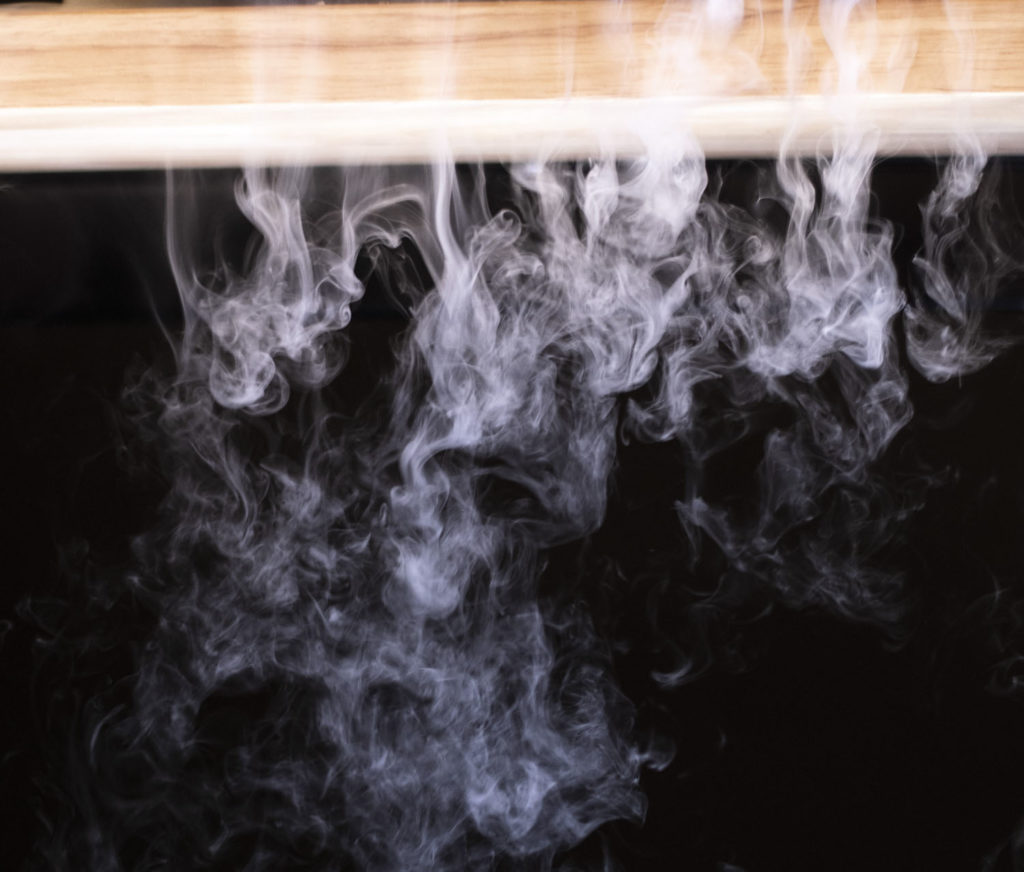
Dry ice is readily available at most grocery stores and is relatively inexpensive. There are a few warnings you should know before working with it though. It is so cold that it can burn our skin with prolonged contact, so gloves are highly recommended. Plus, it evaporates quickly so be sure to use it within hours of procuring it, otherwise it will literally just disappear on you.
Working with the dry ice shots in Photoshop proves to be one of the easier effects to manipulate. The white smoke on the black background means that Screen blending mode becomes our best friend! The other great thing about these shots is that if the focus is slightly off or the shots are too grainy, it’s easy to fix as smoke is a very forgiving medium. Our eyes don’t expect to see sharp details in smoke so blur out that grain, use those slightly out-of-focus shots, use the warp transformations without fear, it all works out!
DIY Fireballs!
This effect is really what started me on this adventure of crafting my own special effects. I wanted to find a way to create an explosive fire effect that is cheap and easy to produce yet controllable and safe. The age old approach of hair spray over a lighter has risks of the fire finding the way back to the can and exploding. I don’t like losing fingers. Instead, I went with something that isn’t compressed into an aerosol can, powdered coffee creamer.
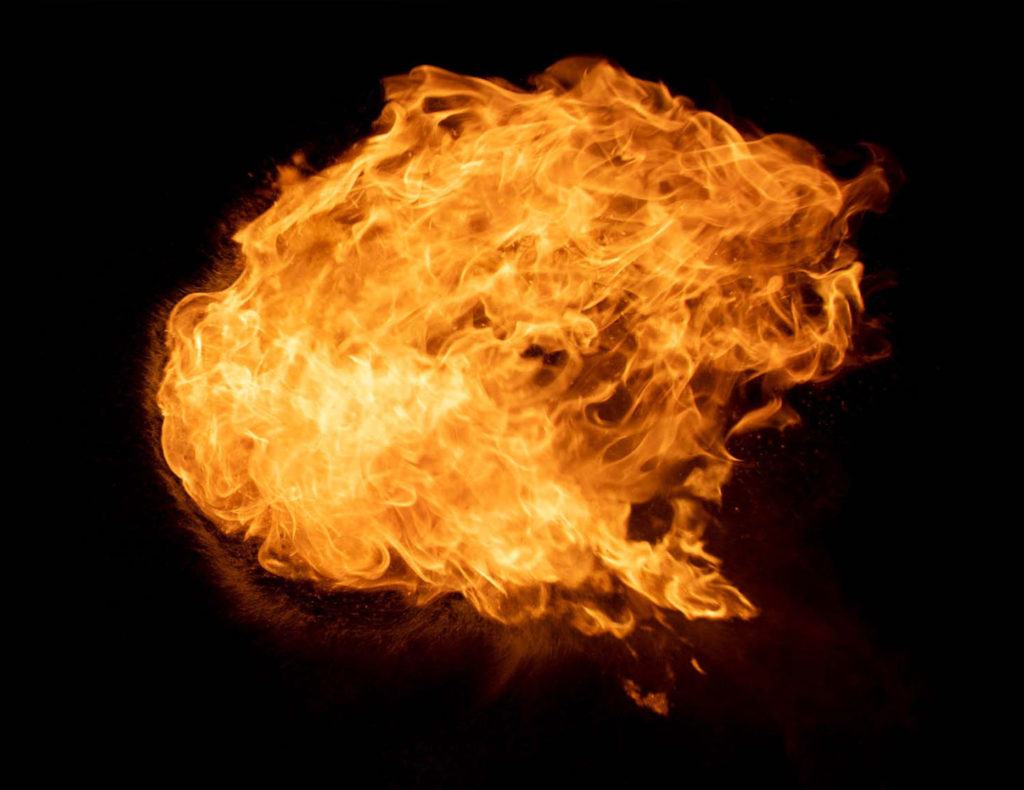
The creamer is similar to several other types of fine powder, when the right mix of particulate matter and air is exposed to an open flame it creates an explosive result. This is why grain silos are at risk of explosions if somebody creates a spark inside them.
Once I had figured out the fuel, it was a matter of building a rig to create the cloud of powder. a simple vinyl hose and a note card rolled into a funnel shape was the easy answer there. Then once it was nighttime, the fun began! Blowing through the hose to expel the creamer as a cloud over a candle flame yields wonderfully explosive fireballs that are spectacular and safer than most fire effect because they last for a mere moment. But that’s plenty of time to fire off several shots in continuous mode and capture a truly stunning fireball effect!
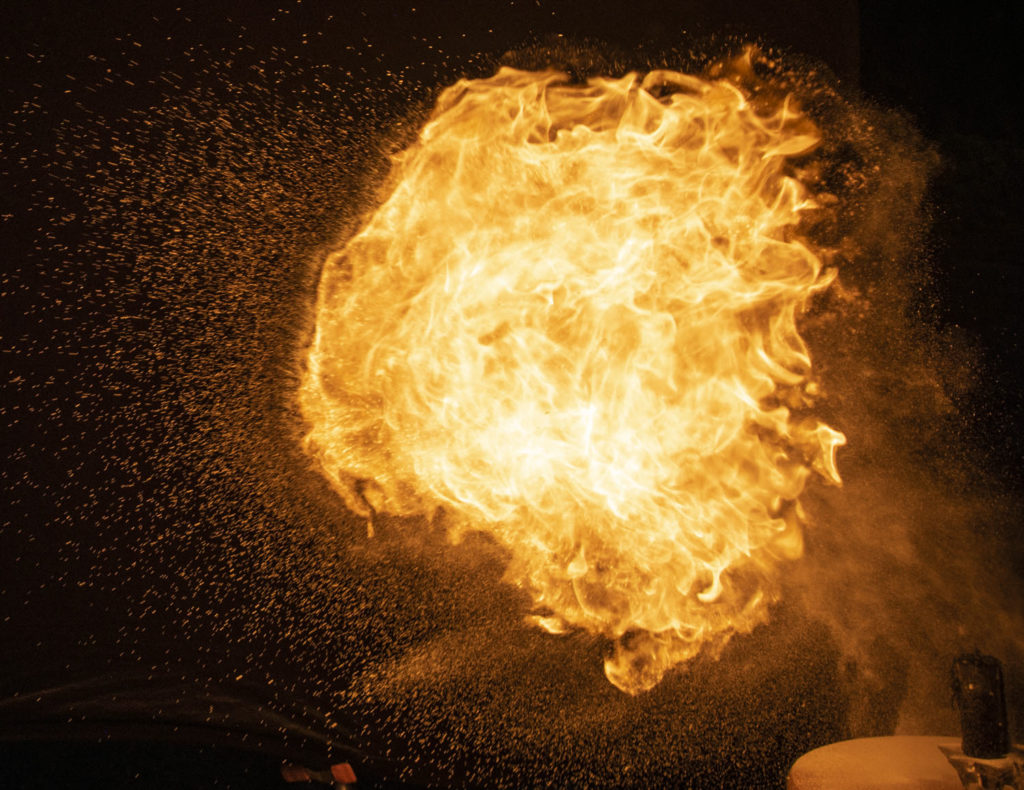
In Photoshop, the fireball images require cleanup as there’s usually small amounts of particulate creamer visible around the edges of the flame. Plus the candle flame is often visible and needs to be removed. Once the image is clean it can be used as an overlay. The screen blending mode isn’t quite as useful in this case as it often renders the flame more transparent that it should be. The better approach is to create a selection of the bright fireball and use a layer mask to isolate it. For a fun colored flame effect, use the fireball shots to create custom brushes and add magical green or blue flames to you artwork.

Ultimately, I find shooting my own special effect shots to be extremely rewarding and it makes my work stand out as I’m not using any stock imagery that might be found elsewhere. The sheer joy of crafting something wonderous and magical with my own tools also feeds my creative soul in ways that other projects simply don’t accomplish. I like to think those old film effect masters would look at my process and nod a gruff approval. My younger self never expected to be the guy that’s playing with a camera and exploding coffee creamer, but I’m sure glad to be here now. I always relish the chance to explore practical effects and devise clever ways to capture them. It’s the problem-solving aspect of the project that calls to me. So even though I’m thrilled with the final pieces, I still enjoy the process of getting there even more. It is often the creative journey, not the destination that I find so satisfying. I think that is really what my old film school professor was trying to teach me after all.
You can see more of Kirk’s work at ThePixelPro.com, and keep up with him on Facebook and Instagram. You can also reach him at kirk@thepixelpro.com.

1 comment