
Hello! I am Dave DeBaeremaeker, and I photograph toys for fun and profit. I really enjoy the idea of taking an inanimate lump of plastic that resembles a character, and turning it into an interesting and compelling image. All I need is a cheap plastic toy, a camera (any camera will do!), and my imagination lets my creative world expand before my very eyes.
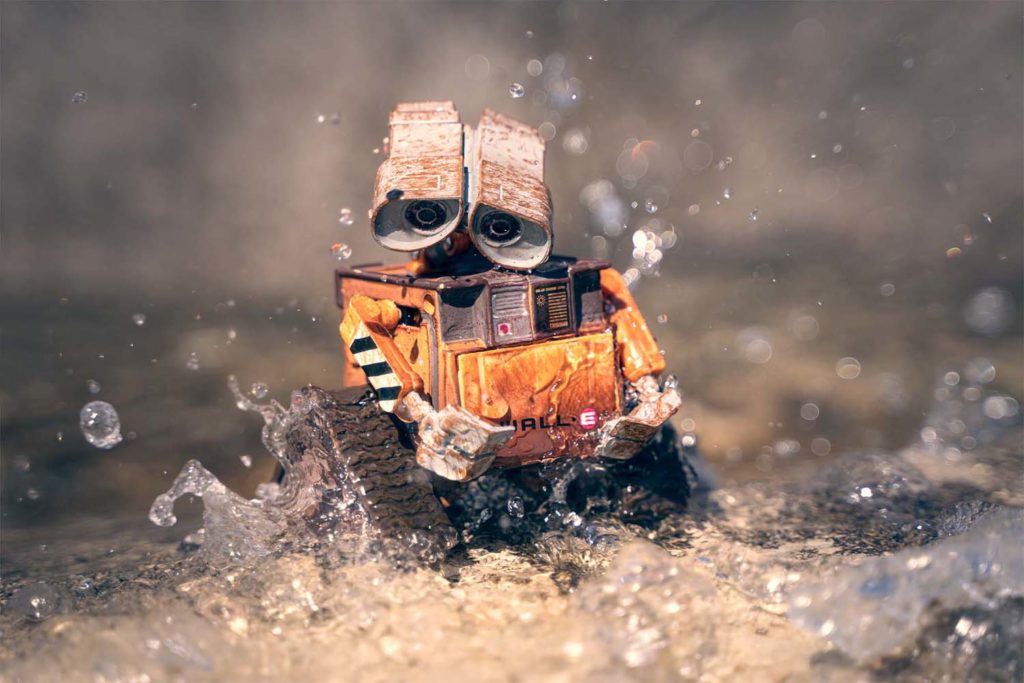
I also believe it’s a great way for folks to practice their own photography on a miniature scale. One of the things I appreciate about toy photography is that it is a very cheap and easily accessible genre for folks to get into, but it also offers an incredibly wide range of options for creativity. It does offer some of its own unique challenges though, so I’d like to take this opportunity to share some tips to get started in toy photography.
Don’t Overthink It
My first tip is that you don’t need to overthink your subject too much. There are a whole lot of different toys out there and basically any toy will do. Don’t get me wrong, I absolutely have strong opinions about the best action figure product lines that produce the most photogenic toys, and the pros and cons of various levels of price, detail and articulation.
However when you are first starting out pretty much any toy you can get your hands on will do. So if you don’t have any action figures or other similar toys lying around, find a local kid and borrow one of theirs. If you don’t have easy access to a local kid, yard sales or thrift stores should yield something for you to shoot. Whatever grabs your eye, that’s the figure to start with.
For the rest of this article I am going to assume you selected some sort of action figure, or at least something that resembles a humanoid character (or a robot, LEGO minifig, or even a My Little Pony – it really doesn’t matter what you have, but I am going to use the term “figure” from here on out).
Find Your Angle
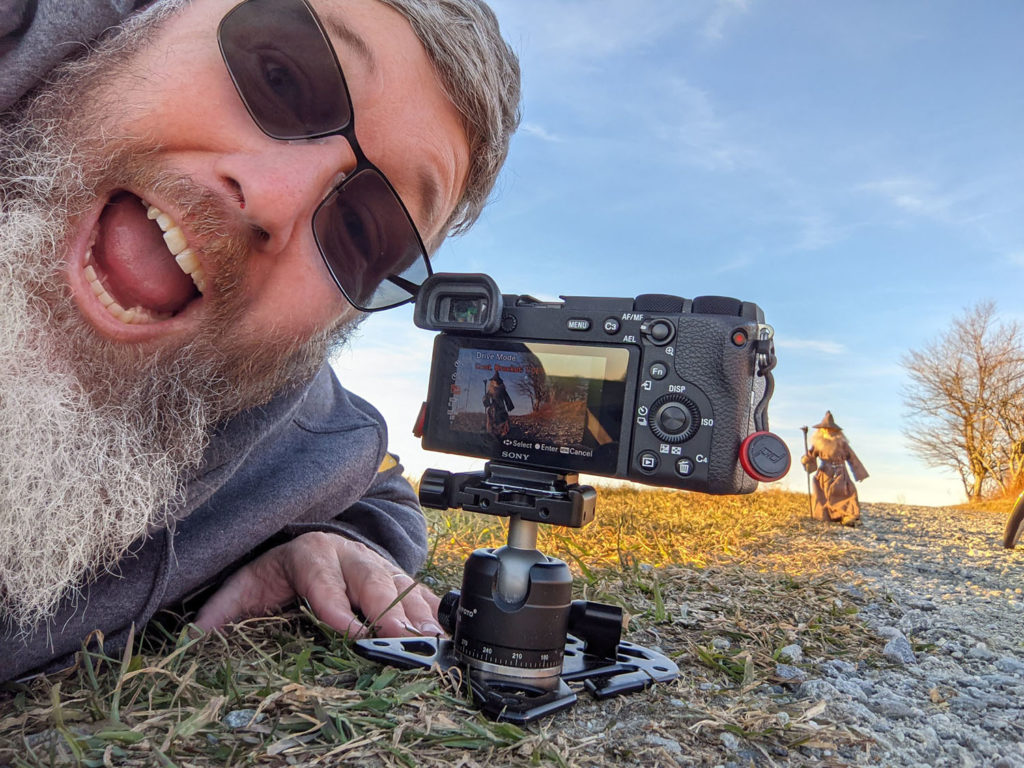
Once you have selected your figure, it is time to put it in front of your camera and take a photo of it. The camera angles that you need for toy figures are the same ones you need if you were shooting human models. The trick is that most toy figures are only 6 to 12 inches tall, which means you need to get the camera down to the figure’s level.
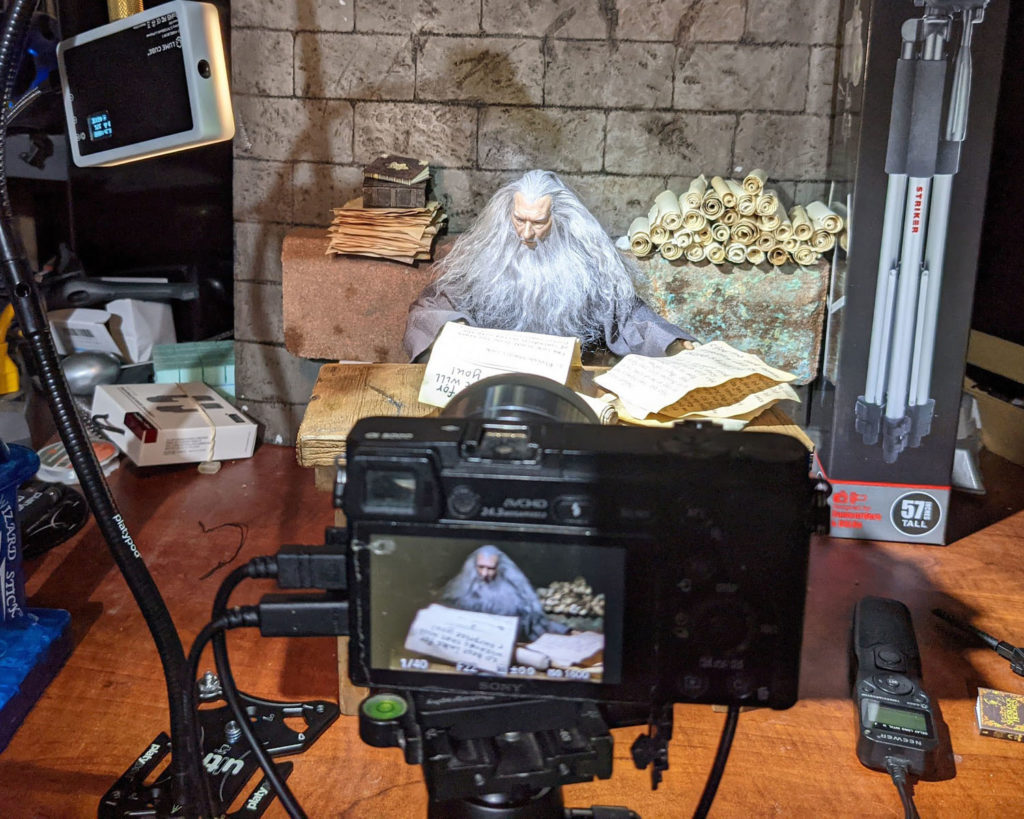
The easiest way to do this is to place the figure on a table. Then put your camera on a tripod so the lens is sitting just above the top of the table. This will put the lens in roughly the correct angle to shoot most action figures. (If you are working outside, or want to place the figure at ground level, then you need to do the gymnastics involved to get the camera down to the right level).
Find Your Composition
How you compose the figure in the frame depends on your artistic preferences. However, odds are that for your first shots, you’ll want the figure large in frame, like a portrait or lifestyle type photo. There are a couple ways to make that happen.
The first is to get a wide angle lens and place it as close as you can to the figure while still being able to maintain focus – a macro lens works best, but almost any lens can be used, even cell phone cameras.
The second option is to get a long zoom lens and zoom in on the figure. If you have the option, I highly recommend using a wider lens and keeping the camera close to the figure. It is easier to juggle the dual jobs of setting up the figure and operating the camera when everything is close together.
Depth Of Field
Having a camera very close to the subject introduces the problem of getting a large enough depth of field. When lenses focus on very close subjects, the depth of field shrinks dramatically. If you have a figure just six inches in front of your lens, your depth of field at f/2.8 may be less than a millimeter. The solution is to crank that aperture down and work at f/16, or f/22 if you can.
This does mean that the shutter speed is going to be really slow – it is not uncommon for me to shoot at 1 to 2 seconds of exposure when I am indoors, or even slower in darker areas. Fortunately your camera should already be on a tripod, so longer exposures should not pose too much of a problem. To be safe, you may wish to use a shutter delay or a remote trigger to avoid camera shake.
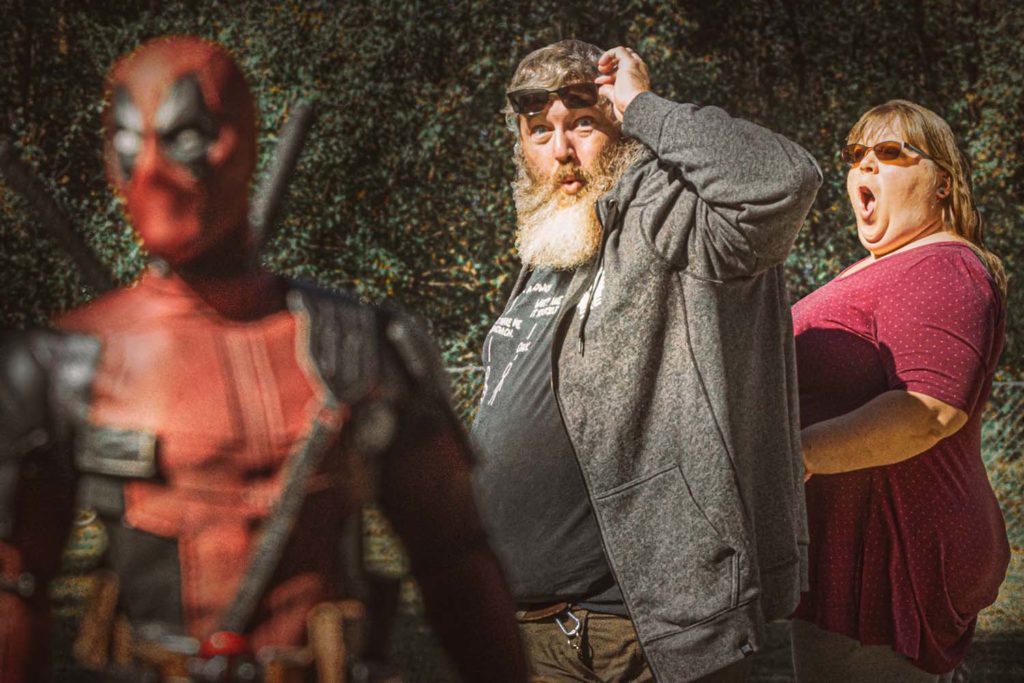
Treat It Like The Real Deal
My next bit of advice for the novice toy photographer is to treat the figure like it is a living thing. The idea of toy photography is to bring that figure to life inside the camera. Mentally treating it like a living thing goes a long way towards this goal.
To paraphrase the legendary Jay Maisel, consider light, color and gesture in your final image. All of these things are true for toy photography as they are for any other form of photography. In fact, all the rules of thumb, strategies, and techniques you use to take real world photos apply directly to toy photos. The only difference is scale.
So be sure to pose your figure (as much as you can – some figures are more flexible than others) the same way you would pose a human model. Same goes for lighting your figure. You should light it the same way you would light a full size model.

Lighting
When it comes to light sources you can use whatever you have available to you. I tend to use a lot of Lume Cube lights in my work because they are easy to work with, but they are not necessary. At toy scale, things like flashlights and desk lamps become perfectly cromulent light sources, similar in scale to small softboxes. You can also use whatever studio lights you have available.
It does not matter the light source, or where it comes from. All that matters is how the light falls on your model. If it looks good in camera, it is the right source of light to use.
Have Fun!
The final tip is simple: have fun with it! You are literally playing with toys, so fun seems like a natural fit. Photographing toys can be frustrating at times, but it can also be highly rewarding. So get in a “play” mindset and see what pops out of your camera. I am willing to bet it will bring a smile to the faces of people who get to see your images.
If you want more tips or advice on toy photography, feel free to check out my KelbyOne course, Introduction To Toy Photography. If you want to talk shop I can be found hanging out in the KelbyOne Community forum. I love talking shop, so feel free to reach out.
Cheers!
You can see more of Dave’s work at StudioDave.ca, keep up with him on Instagram and YouTube, and keep an eye out for his upcoming class, 10 Exercises To Spark Your Creativity, on KelbyOne.