3 Steps To A Creative Portrait In A Less Than Ideal Environment


A couple weeks ago, I had the opportunity to cover the opening of D1 Sports Training’s new facility in Orlando. While I was there, I was able to grab a portrait of one of their trainers, Taylor Scott.
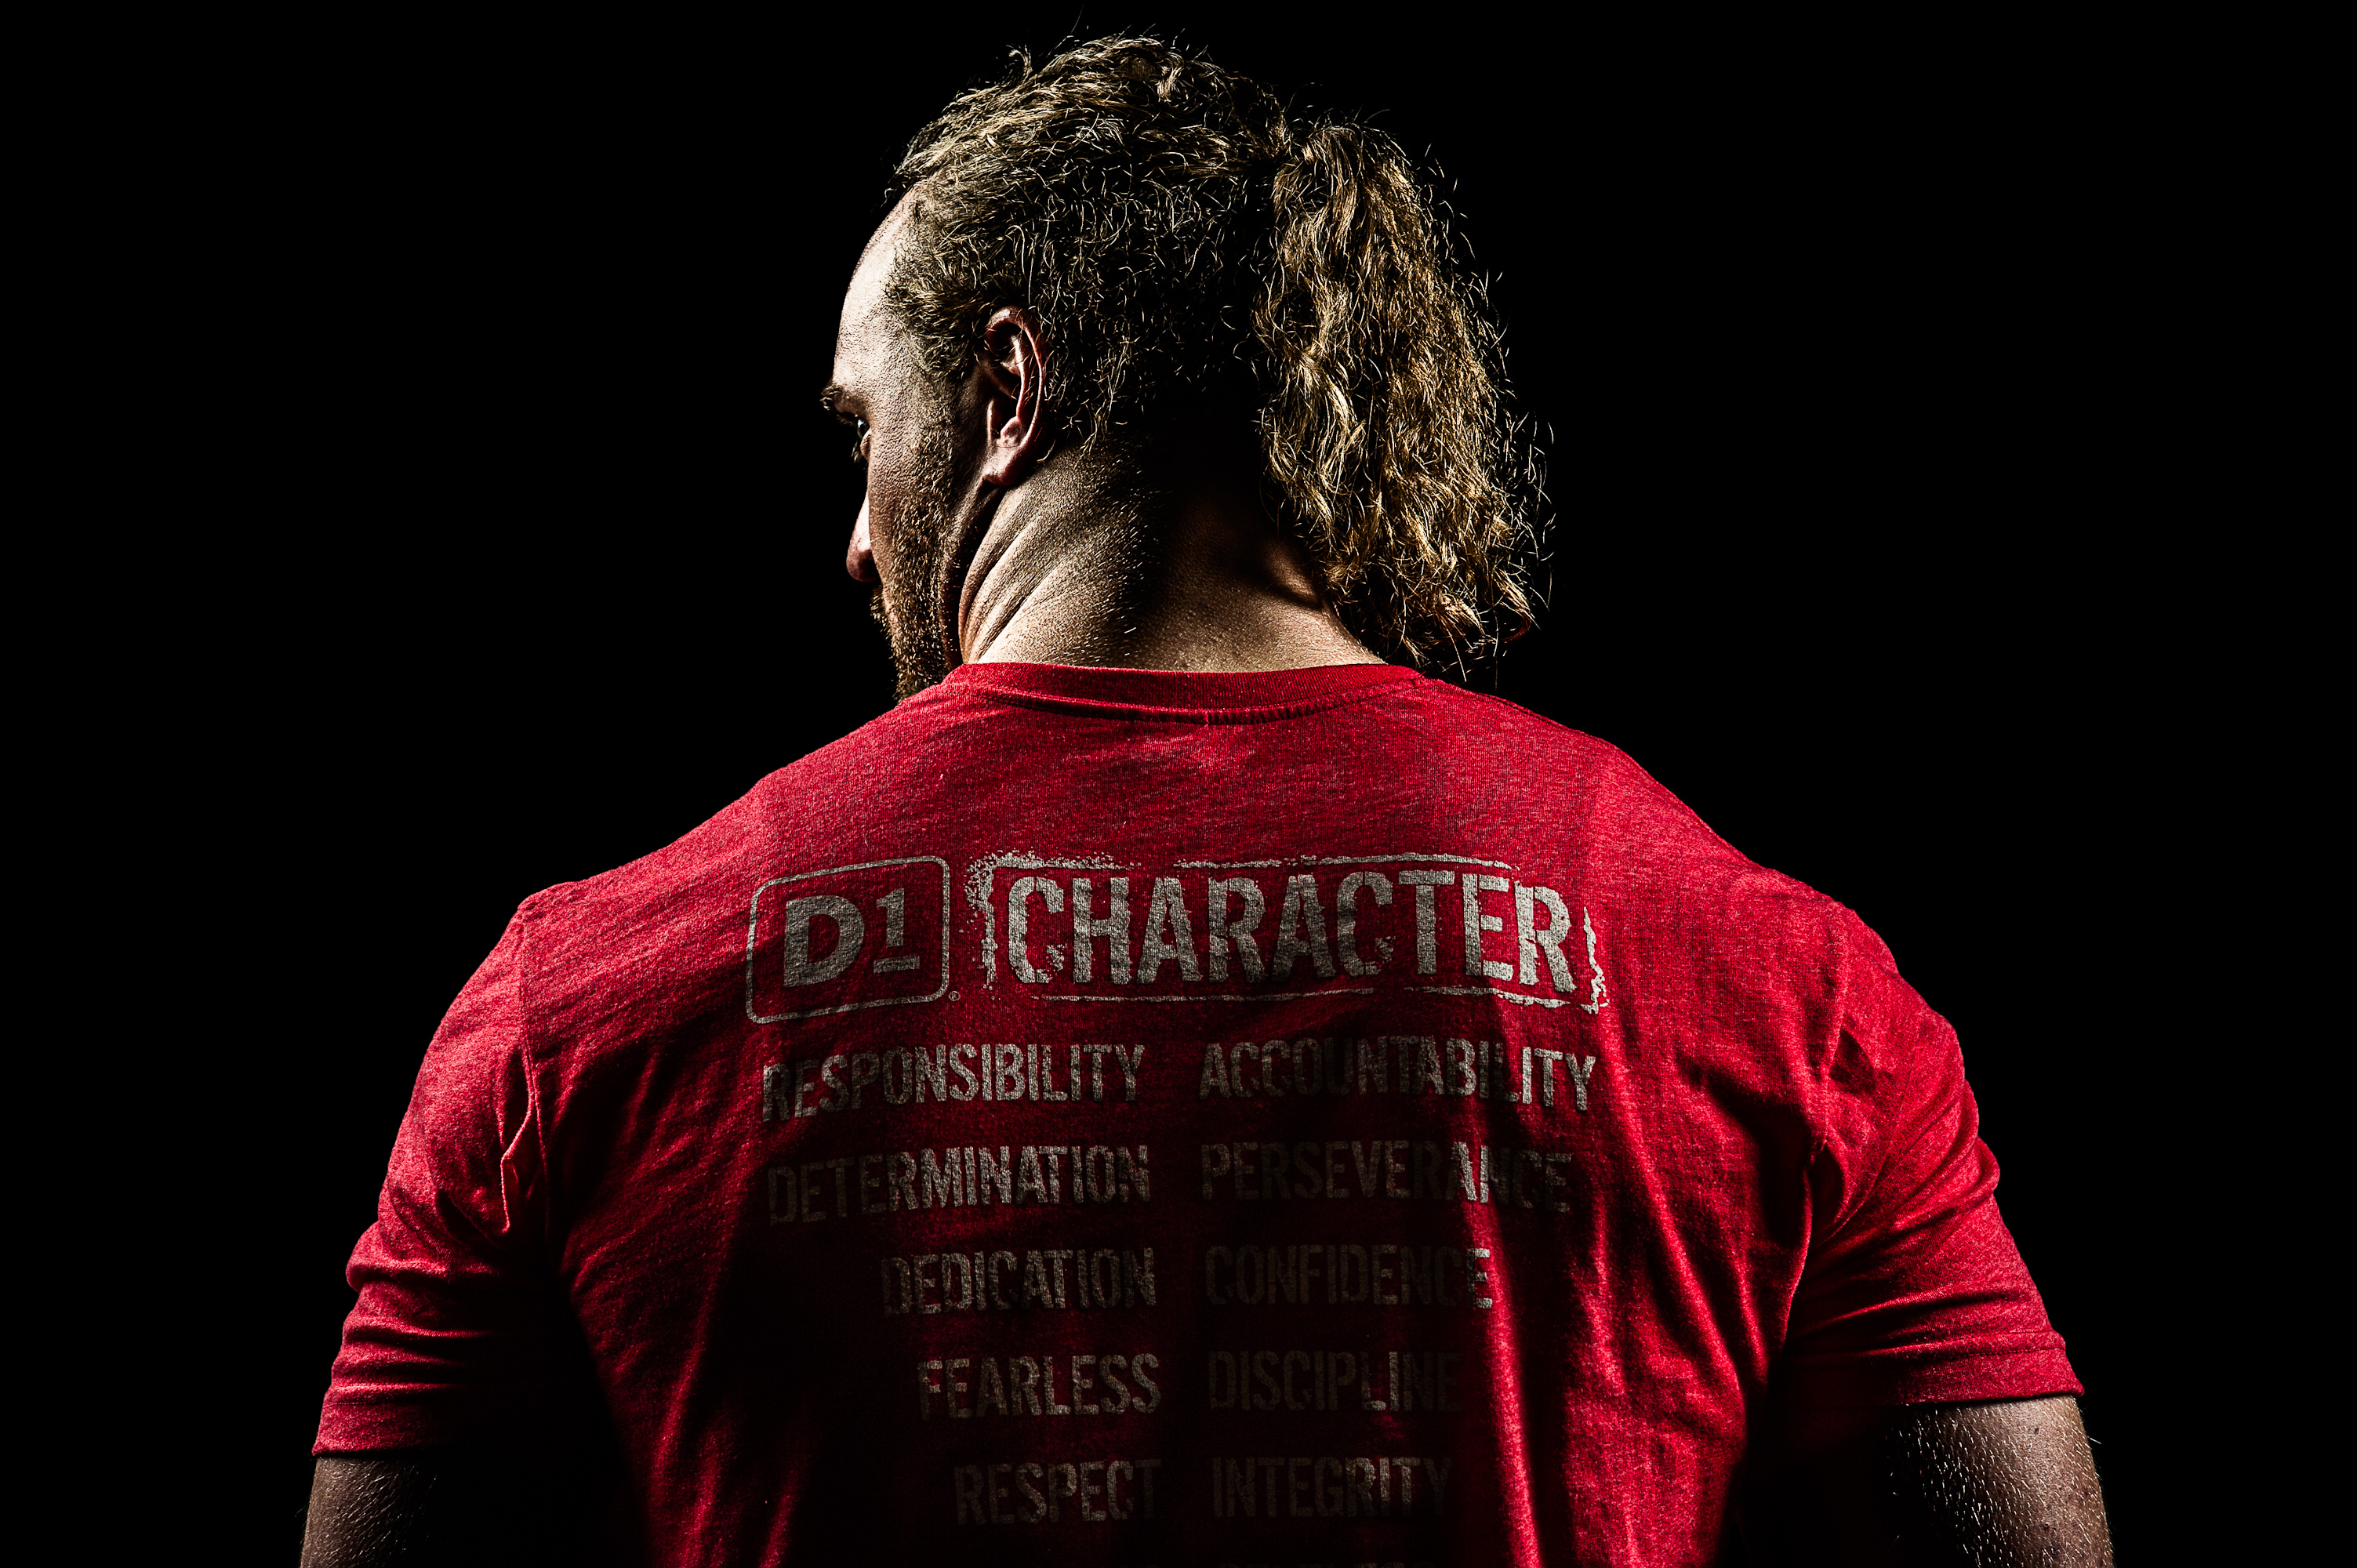
This was the one of the last things I did at the event. Throughout the day, while covering everything else, I was trying to formulate a creative portrait in my mind. I finally decided to just use edge lighting, remembering something a wise man once said… “If you want something to look interesting, don’t light all of it.”
I knew going in that I wanted to have a clean black backdrop for this image, but I didn’t have any seamless paper to create said clean black backdrop. What do you do in this situation? Three things…
1) Camera Settings
First, knock out the ambient light in the room.
I know my shutter speed is going to be about 1/160 of a second because I’m using artificial lights, and that’s a good sync speed.
ISO needs to be as low as possible, ISO 200 in this case, so less light registers in the image.
With those two settings in place, the only variable left is f/stop. At f/10, there’s no ambient light registering in the image, and the strobe lights don’t have to be cranked up too much to register in the image. Exactly where I want to be.
2) Lights
Here’s the lighting setup:
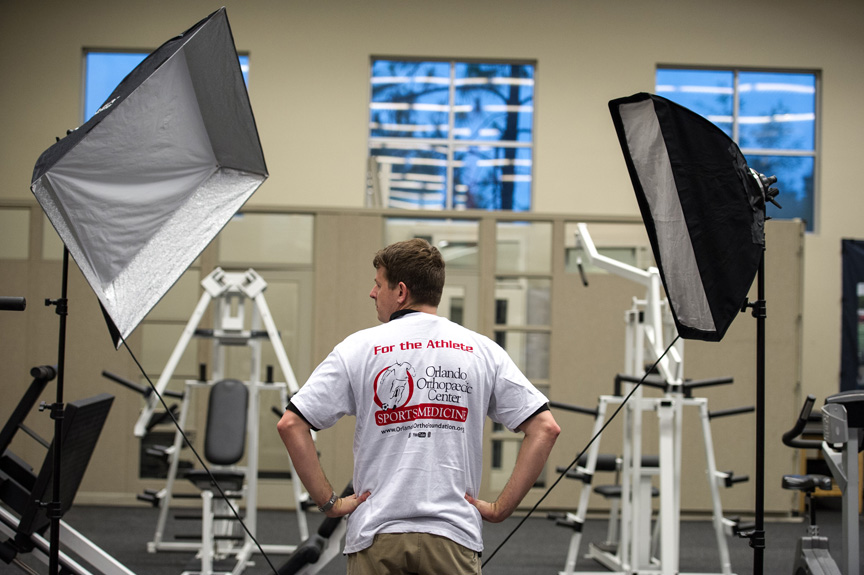
That’s an available light shot of Pete Collins standing in while all the settings are getting dialed in and tweaking the lights.
I used the Elinchrom Ranger Quadra set to 4.0 (about 100Ws), a Rotalux 39″ softbox (sans front diffuser) and a Westcott 12×36″ strip bank. They were positioned in front of Pete/Taylor so that they were basically rim lights.
Here’s how it looks with all the correct camera and light settings dialed in:

And then framed up properly:

You can still see some minor clutter in the background, but that’s easy to clean up in post, which brings us to the third step…
3) Separation from the Wall
That little bit of clutter is showing up in the background because it’s getting a hint of the strobe light. If this had been set up near a wall or closer to any other objects, they would be lit up and even more distracting. That’s why separation between your lights and background are important in creating a clean background.
Here’s the final image again:
Since this shot was for D1, I wanted to make sure there was some branding showing as well. I asked Taylor to step forward, a little closer to the lights, allowing some of the light to wrap around his back to show the branding on his shirt.
In Lightroom, I darkened the blacks around Taylor with the adjustment brush to finish cleaning up the background (no cloning necessary) and bumped up the clarity quite a bit on him.
After that, I jumped over to Photoshop to add some grittiness via high pass sharpening and Nik Filters (the soft light layer blend mode is your friend!).
Hopefully this is helpful and can give you some ideas for creating great images in less than ideal situations!
You can find more from me at BMOOREVISUALS.com, and on Google+ and Twitter