Could it be? Yes…it is…Another Photoshop Down & Dirty Trick!
Here’s a really popular, super simple, technique for creating ad backgrounds (you see this look a lot in print ads and online banners. The one we’re going to recreate is a print ad I saw for the Modern Shoe Hospital), but there’s an added super-handy trick inside of this, and it’s how to keep the original drop shadow from a placed product shot on a white background. It’s cooler than it sounds. Here goes:
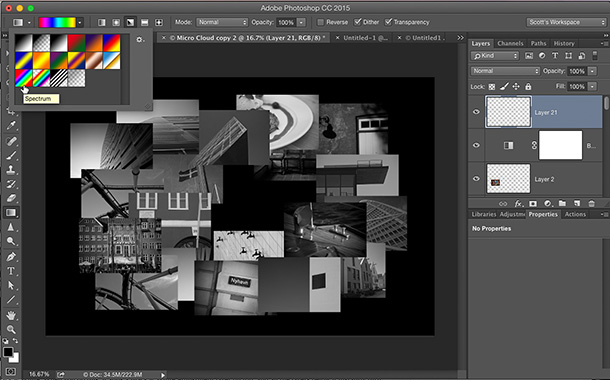
STEP ONE: Open a new document and fill the background with a solid color. This doc is around 8″x10″ at 72 ppi resolution.
STEP TWO: Create a new blank layer, then get the Elliptical Marque tool and create a large oval-shaped section (like the one you see here). Now set your Foreground color to white, then press Option-Delete (PC: Alt-Backspace) to fill your oval with White (as seen here). Now you can Deselect by pressing Command-D (PC: Ctrl-D on PC).
STEP THREE: Now you’re going to blur the living daylights out of it. Go under the Filter menu, under Blur and choose Gaussian Blur. Enter 80 pixels and click OK (you can use a lot higher amount on a high-res image. This is just 72 ppi). The goal is just to make it look really blurry like what you see here.

STEP FOUR: now that our background is done, open the product shot you want on this background and copy and paste it into your background document and position it in the center (as seen here).
STEP FIVE: Our goal here is to remove the white background yet keep the original drop shadow. This is easier than it sounds. First, duplicate the product shot layer (the sneaker layer) and hide that layer from view by clicking on the eye icon to the left of the layer. Now click on the original sneaker layer. Hold the Shift key then start pressing the “+” key on your keyboard. Each time you press Shift-+ it toggles you through the different Layer Blend Modes. At this point, don’t worry at all about what the sneaker looks like — we’re only concerned about the drop shadow at this point, so keep toggling through the blend modes until you find one where the shadow looks natural (in this case, it was the blend mode Linear Burn). The shadow looks pretty good, but the front and back of the sneaker are white, so they’re letting the teal background show through quite a bit, but that’s why we created that 2nd sneaker layer.
STEP SIX: Now make the top layer (the duplicate sneaker layer) visible again. Hold the Option key (PC: Alt-key) and at the bottom of the Layers panel click on the Layer Mask button (it’s the third icon from the left). This adds a black Layer Mask over your original sneaker image (so, the layer is still there, you just can’t see it because it’s hidden behind that black mask). Now get the Brush took; make sure your foreground color is set to white; choose a small soft-edged brush tip (from the Brush Picker up in the Options Bar), and paint over the front and back of the sneaker to reveal the original sneaker in those areas (as seen here where I’m painting over the front of the sneaker. You can see the original sneaker being painted in).
STEP SEVEN: To finish things off, just add your text headline, your logo (with a slight drop shadow from the fx menu at the bottom of the Layers panel in this case, since it’s really hard to see that white text over that white glowing oval), and you’re done.
It’s Down. It’s Dirty. It’s Done!
Hope you all have an awesome weekend, and we’ll see ya back here on Monday when we’re all not so cheery. ;-)
Best,
-Scott
P.S. Let me know how you feel about this Photoshop Down & Dirty tricks. This is the third one I’ve done in the past two weeks, and I want to make sure you’re digging this type of stuff. If it’s too far away from what I normally do here, let me know.