If I Had $1,000-ish To Spend on Improving My Landscape Photography, I'd Getâ¦

Hey there! Matt Kloskowski here today with an unofficial guest post. See, a while back, Scott wrote an article here on his blog called If I had $1000 to Spend on Improving My Portrait Photography, I'd Get⦠Well, I was talking to him later that day and he asked if I had read the blog post. I said "Heck yeah, and I wish I had thought of it first" :-) So he said I should write one for landscape photography as a guest post here.

First, as Scott mentioned in his original post, this is a question we get a lot. It may not be exactly $1000, but it usually around there. It may be $1200, or $800 but it's in the ballpark. Also, I’m going to assume you have a camera body and lenses already (we’ll talk more about lenses at the end though). Either one of those will immediately eat up our $1000, and then some. Finally, I really tried to give some thought to the title of this post that Scott started. The key word I noticed was “Improve”. So I tried not to just go through my camera bag and list every piece of gear. Rather, I tried to really add things that I think can actually improve your photography. Ready? Here goes:
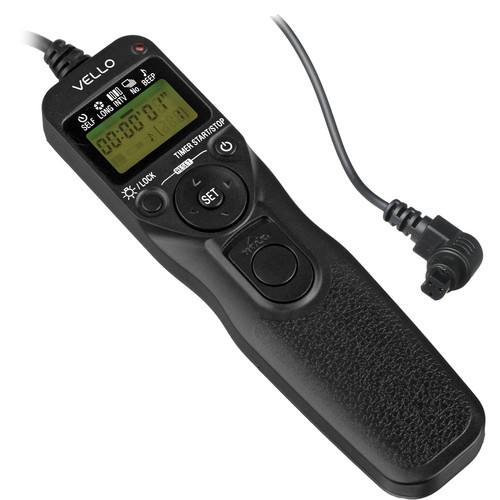
Remote/Cable Release – Vello Shutterboss ($50)
First, if you don't already own one, you need a cable release or some kind of remote way of triggering your camera. As with many areas of photography, sharpness is critical for landscapes. You'll see it on screen and you'll definitely notice it in print the larger you go. So you have to make sure you're not touching your camera and introducing any vibration or camera shake. I use the Vello Shutterboss remote for my Canon 5D Mark III. It's great for simply triggering your camera, but it'll grow with you if you ever get in to time-lapse or long exposure photography too since it has various timer modes.
They make them for other camera brands too and will run you about $50. They also make wireless ones, but personally I go with the wired version since I don't have to worry about losing the little pieces that come with the wireless one.

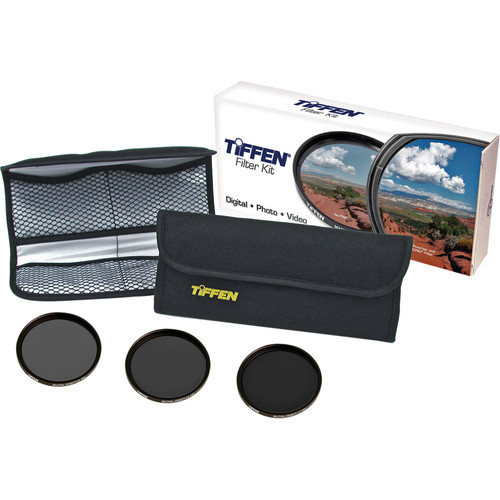
Neutral Density Filters – Tiffen ND Kit ($95)
Neutral density filters are a huge way to improve your landscape photography. They help smooth out water for that dramatic surreal effect and also add some motion in to an otherwise static looking scene. While there's a ton of filters out there, and I'd love to recommend you to my favorite Lee Big and Little Stopper filters, they'll eat up half of our $1000. So instead, I'll go with my first set of ND filters I ever owned and still use often today – the Tiffen 3-filter kit. It's got a 2, 3 and 4 stop filter in it. For most sunrise/sunset shooting as well as waterfalls, these will work fine at extending your shutter speeds enough to get that longer shutter speed that you'll need. Plus it even comes with a filter pouch to hold them so they don't get lost.
Oh yeah…Notice I didn't include a graduated neutral density filter. That's because I don't use â˜em. I wrote a little about why they're dead to me here on my personal blog, in case you want to read up on it. But feel free to save some cash and not buy any.
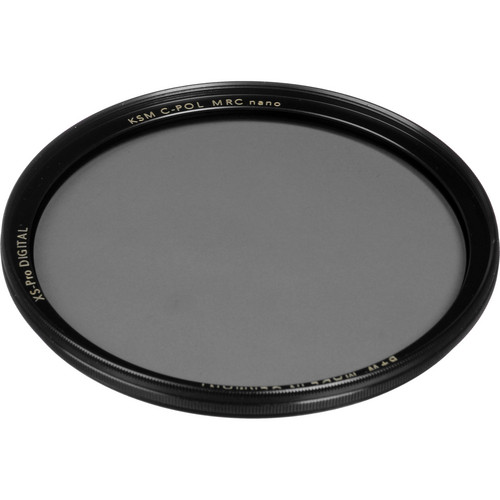
Polarizing Filter ($150)
A polarizing filter is a must-have for landscapes as well. In fact, I'd buy one of these before I bought any ND filters mentioned above. Most people think of using polarizers for the sky, to get a deeper darker blue. While I do use them for that sometimes, I mostly use my polarizer to help cut down on glare and pop the colors/contrast a little. Glare on mountains, trees, rocks, water, you name it. It really helps subdue haze and glare so you can appreciate the details in the photo.
The one I'm going to recommend is a bit pricey. It’s a B+W Circular Polarizer and it runs about $150. You'll definitely find cheaper ones out there, but I'm going to suggest you get a really good quality filter first – it’ll last you forever. I bought my B+W Polarizer nearly 10 years ago and I still have it today. Well worth the extra $50 from some of the more cheapy ones.
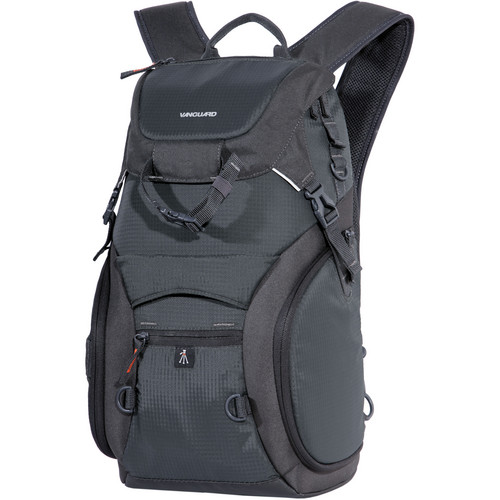
Backpack – Vanguard Adaptor 45 ($110)
It sounds kinda weird if I say a backpack will improve your landscape photography, but hear me out on this one. If all you have is a rolling bag, a shoulder bag or something similar, then it's going to be hard for you to climb around. Part of improving your landscape photography is getting in to the right place. And sometimes that means hiking, climbing and moving around a little. That's really hard to do with something hanging off your shoulder. You'll need both hands free sometimes and a backpack is the best way to go.
The one I use the most is the Vanguard Adaptor 45. It's a backpack but can also serve as a sling bag if you need to get at your gear quick without putting the bag down. It's not huge and really only holds a camera body and maybe 2 lenses. But I try to keep it light. Remember, you're a landscape photographer which means you have the luxury of needing very little gear. A camera body, lens or two, some filters, lens clothes, and maybe an extra battery and you're good to go. You don't need to be lugging around flashes, reflectors, etc⦠Travel light and keep your backpack small so it doesn't kill your back.
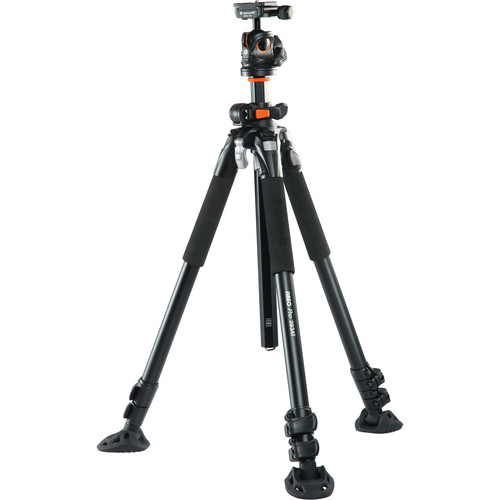
Tripod and Ballhead – Vanguard Abeo Pro 283 with Ballhead ($230)
This one is tricky. Remember, I'm writing this from the perspective of having about $1000 to spend. And if you've ever done any tripod research, you'll know that you could easily spend $1K on just the tripod (without the ballhead). So, while I personally use a Really Really Stuff TVC-33 most of the time, that'll break our budget right away. So, I'll go with another tripod I've used that I absolutely loved as well. It's the Vanguard Abeo Pro 283 with ballhead. Vanguard makes great products. They're sturdy, well made, and hold up well outdoors. Plus, this particular model even comes with the rubber feet with spikes to help dig in to the ground if you need it.
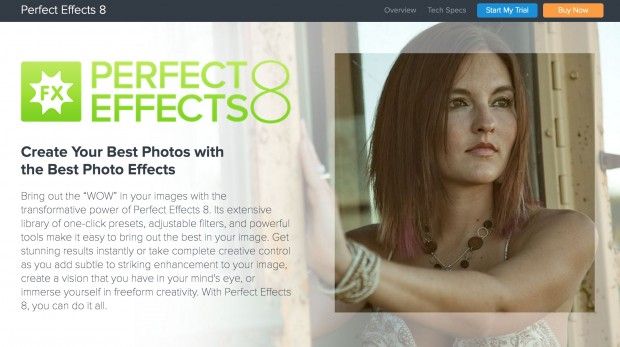
Post-Processing – onOne Software Perfect Effects ($100)
Just like I'm assuming you own a camera body already, on the post-processing side, I'm going to assume you already have Lightroom (preferably), or Photoshop. From there, the only other thing I use all the time on my landscape photos is onOne Software's Perfect Effects. Earlier I said sharpness is critical. Well I've not found anything as good as onOne's Dynamic Contrast (which is a preset effect in Perfect Effects). It helps take that sharpness, detail and contrast to a whole new level. It'll run you about $100 for just that plug-in, or a little more if you want to buy the whole suite.

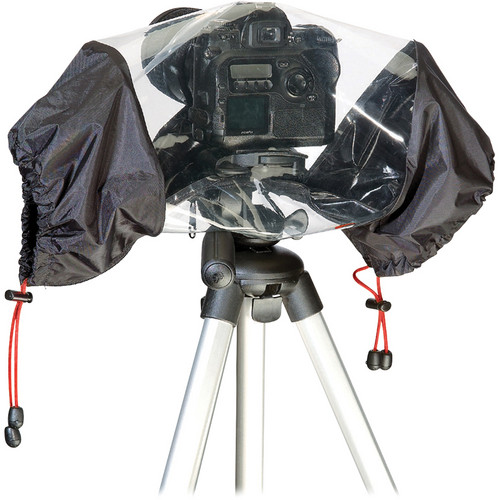
Rain Cover – Kata E-702 PL Pro ($65)
Some of the my favorite landscape photos were taken in crappy weather. Don't get me wrong. I love the gorgeous light we get during sunrise and sunset, but dramatic clouds and storms can really make your photos stand out from the rest. In order to stay out there shooting in that weather, you'll need to keep your camera and lens dry so make sure you pick up a rain cover. I use the Kata E-702. It keeps your camera and lens dry, while letting you see all of the controls on the back of the camera. Now, you'll find a ton of other options as well (and many that are way cheaper than this one). I’ve even used some of them, and they can be pretty good. But I keep going back to the Kata. The build quality and ease-of-use make it my favorite.
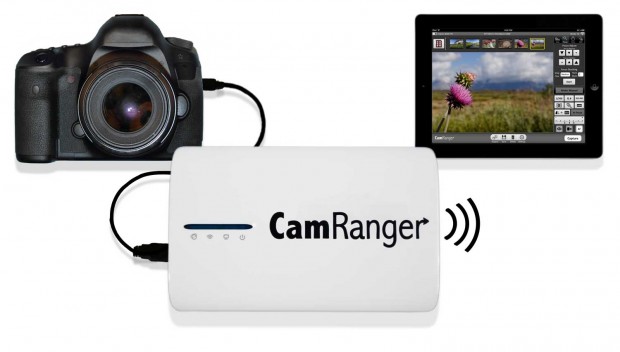
CamRanger Wireless Camera Control ($300)
Okay, at this point we’re right around $800. You could easily stop here and call it quits at $200 less than $1000. And honestly, it’s hard for me to think of anything else that will greatly improve your landscape photography. But I’m going to include one more piece of gear if you’re a little more advanced and really want some control over your photos out in the field. It’s called CamRanger. It’s a wireless camera control device that creates it’s own network. So even if you’re out in the middle of nowhere, with no wireless signals, you’ll still be able to use it. It works with iPad, iPhone, Android, etc…
Basically it’s an app that you install on your tablet. From there, you can see your photos and control your camera right from the app. It let’s you do things like wirelessly stream live view from the camera to the device. You can even zoom in and get really precise focus adjustments, as well as focus stacking. It’s also great if you get your camera in a difficult place where it’s hard to see through the viewfinder, because you’ll be able to see the image right on your device.
What’s really nice is that it displays full resolution images right on the device. So you can do things like check sharpness, highlights, shadows, etc… I’ve always found the image on the back of the camera’s LCD to be too small to really make any decisions from. The CamRanger helps you actually make decisions in the field, and walk away from the shoot knowing that you nailed it.

Training
Oh and you didn't think I'd let you go without recommending training did you? ;-) I've got two classes that I think could help out a lot. First, if you're just getting in to Landscape Photography then check out my Landscape Photography Basics class. And if you're in to long exposure photos that you'd take with those neutral density filters I mentioned above, then check out my Long Exposure Photography class. You can rent them for $6.99 each or subscribe for an entire month for $25.
What About Lenses?
You'll notice I left out lenses. Scott did indeed include a lens in his portrait photography post, but remember the spirit of the post is money I'd spend on improving my landscape photography. While I definitely agree with Scott that an 85mm f/1.8 lens can improve your portrait photography, I can almost guarantee you that you already have the lenses you need for landscapes. And that buying a new one won't "improve” your landscape photography.
But I won't leave you hangin' on this, because I know there’s a lot of lens questions out there. So here's a few thoughts if you do need to buy a lens.
1) Don't worry about prime lenses. If you're on a budget, don't get caught up in to thinking that prime lenses will change much in your landscapes. I've done side-by-side comparisons with a prime lens vs. a zoom lens and the difference is nearly impossible to see.
2) Don't worry about "fast" glass. Fast glass is generally known as lenses that can shoot at very wide apertures. f/2.8 is known as "fast" glass. But you'll see lenses go down to f/1.8 and even as low as f/1.2. As landscape photographer, you'll barely ever shoot with apertures that wide, because you'll want to capture everything sharp from foreground to background. So you'll more likely be at f/11, f/16 or even higher. So, while I may not recommend a lens with a widest aperture of f/5.6 for portraits, I’d totally recommend one for landscapes.
3) If I had to list the 3 lenses I use for landscapes, here goes:
– My most used landscape lens is a 24-70mm. Canon, Nikon, Tamron⦠they all make good ones.
– My second most used lens is the Canon 16-35mm. Nikon also makes one. Actually, if you shoot Nikon you can definitely save some money and buy the smaller and lighter 18-35mm.
– My third lens is the 70-200. It definitely doesn't get used as much as the others, but it's nice when you want to get in tight to some details further away. And if you do shoot portraits, it’s my #1 go-to portrait photography lens too.
What To Spend Your Money On If There’s Something Left Over…
If you decide to skip on anything above, and you absolutely feel like you have cash burning a hole in your pocket, then the last thing I’d spend my money on to improve my landscape photography is a plane ticket or gas in my car to get myself someplace cool. At the end of the day, location is the most important aspect of landscape photography (and lots of luck with the weather). Get yourself someplace great, and making great photos becomes that much easier :-)
Thanks for stopping by today and I hope you found this list useful. Also, I’d love to hear any ideas you have so feel free to leave a comment below.