It’s Guest Blog Wednesday featuring Regina Pagles!
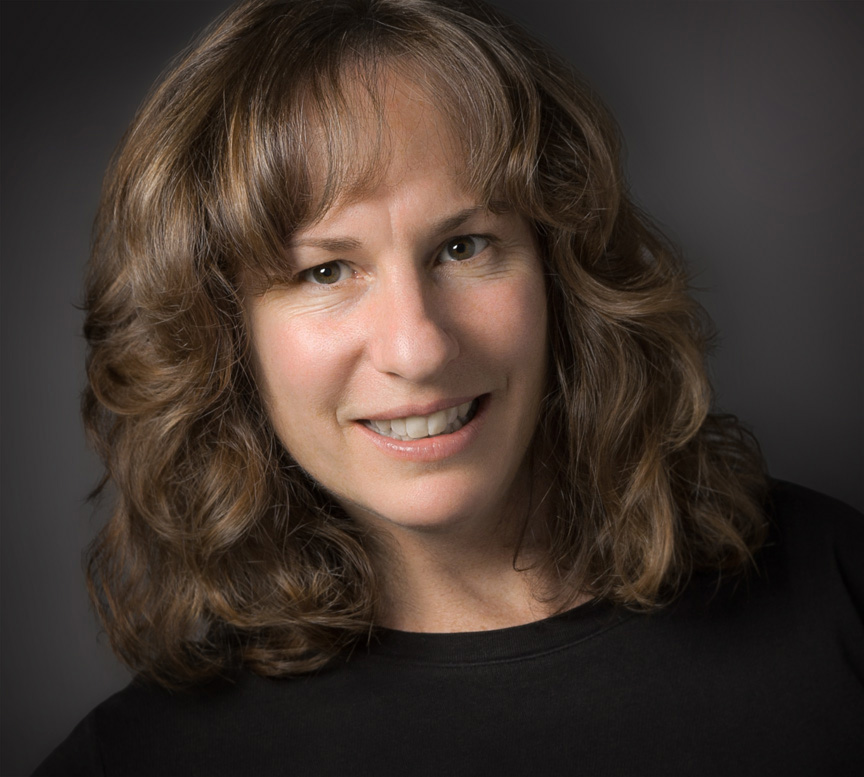
Hi! My name is Regina Pagles and I am a portrait photographer residing in the rural community of Springdale, Utah (Pop. 450), just outside of Zion National Park. I have a small studio where I have been taking portraits of friends and family since I discovered studio lighting in 2010.
I have combined the techniques learned from my biggest inspirations, Peter Hurley (expression), Sue Bryce (posing), Don Giannatti (lighting) and Scott Kelby (post processing) to develop and hone my own style. In the spirit of â˜paying it forward,' I would like to share with you what I have learned and the techniques I use, in honor of those that have inspired me and who have offered their knowledge so graciously.
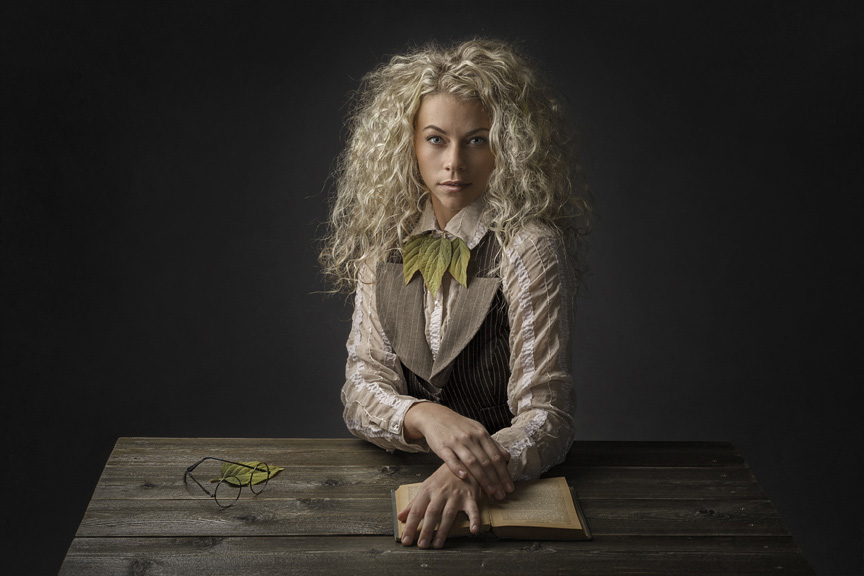
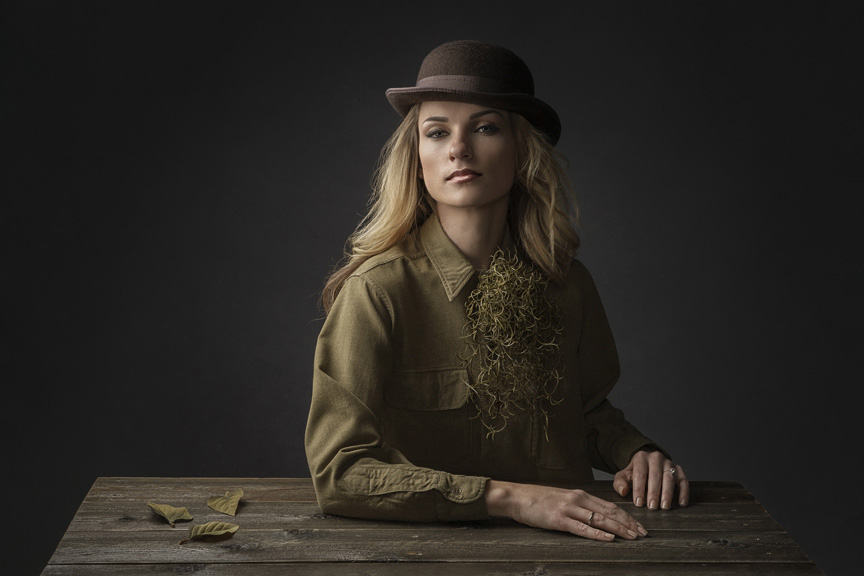
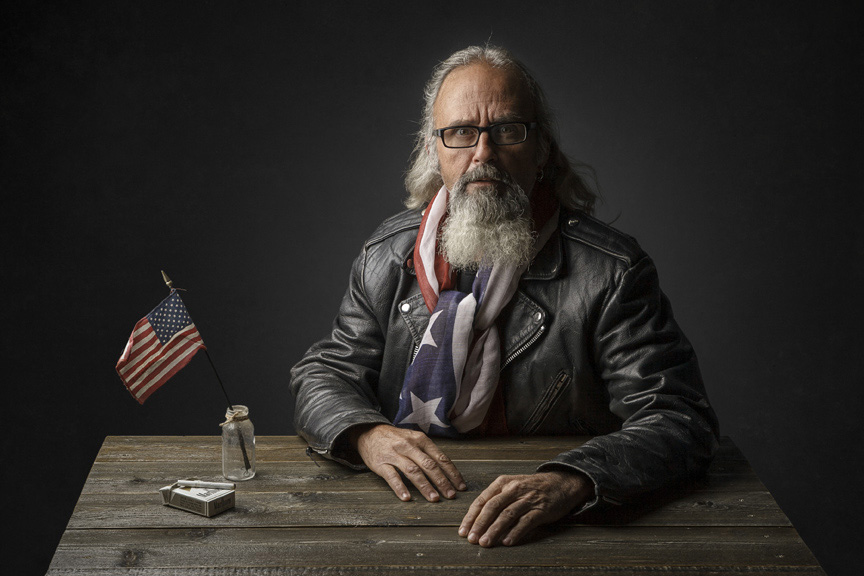
I will take you through my post processing workflow, using a recent image of one of my favorite subjects, model Yolanda Damon Harris.
Straight out of the camera, you can see the image doesn’t look too good…
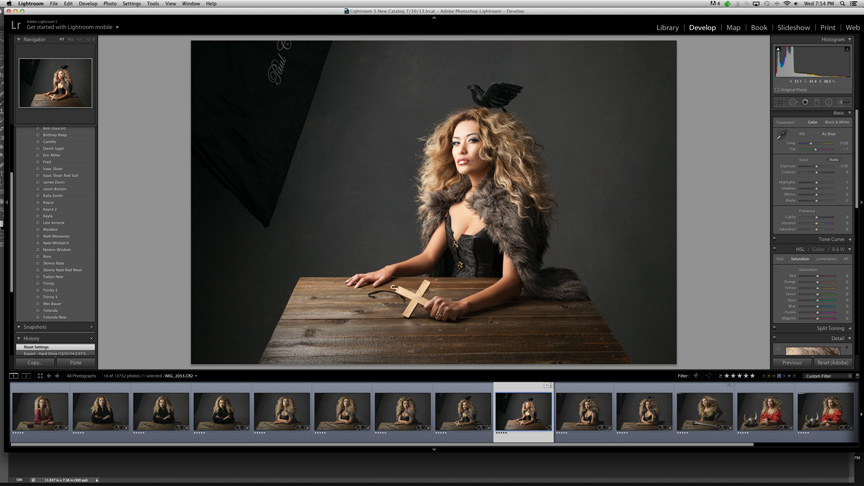
I begin by making initial adjustments in Lightroom and the image starts to improve.
The first Lightroom adjustments are correcting White Balance, Exposure, Highlights, Shadows and Blacks.
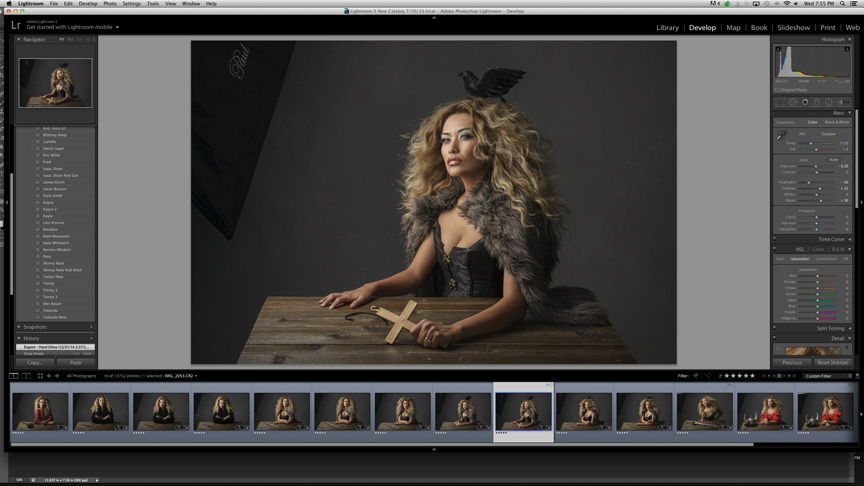
Next in LR:
- Add a little Sharpening. Amount = 60, Radius = 0.6
- Correct the table perspective. Under Lens Corrections, I adjust the Horizontal slider to +11. This distorts the entire image a little, but I'm ok with that.

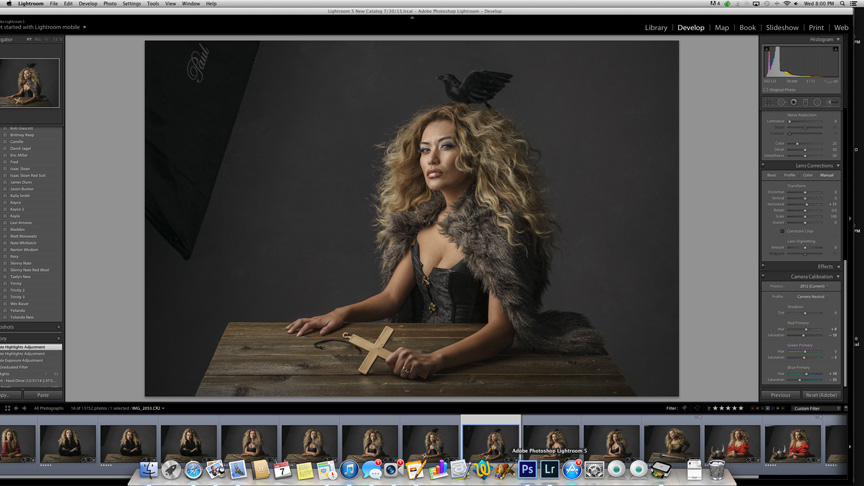
Under Camera Calibration, I make these adjustments:
- Change Profile to Camera Neutral
- Under Red Primary, Hue = +8, Saturation = -10
- Under Green Primary, Hue = 0, Saturation = -5
- Under Blue Primary, Hue = +10, Saturation = -35
The red, green and blue primary adjustments are image specific, but generally very close to these settings for the majority of my images.
All finished in Lightroom, now onto Photoshop.
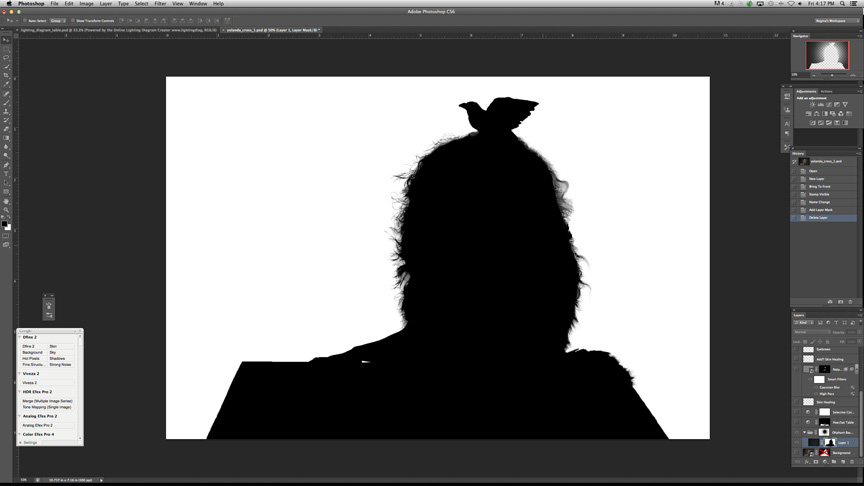
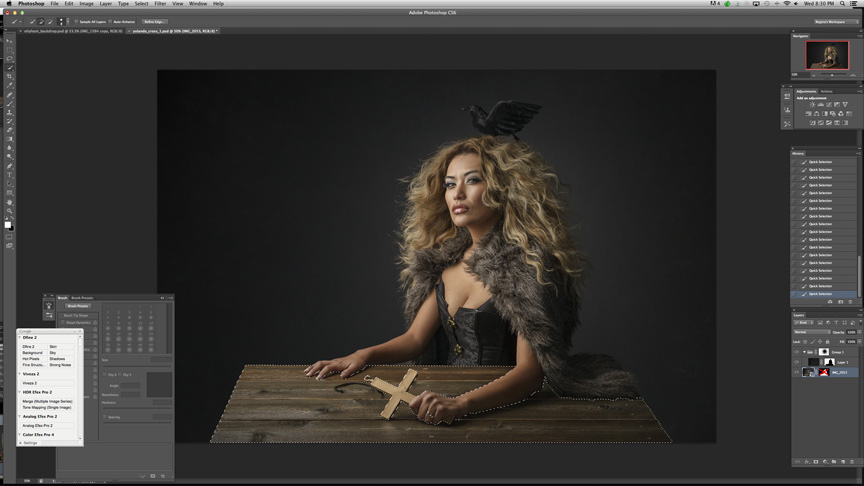
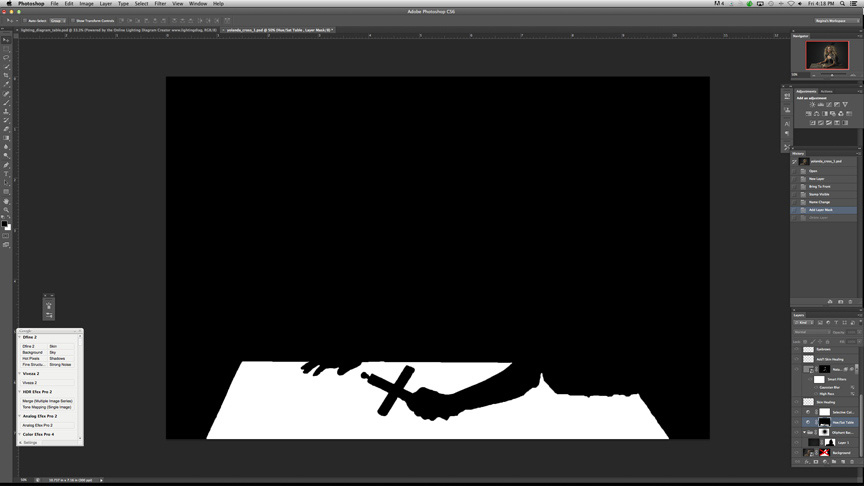
First thing I do is mask the subject.
Next, I add the â˜Oliphant' layer.
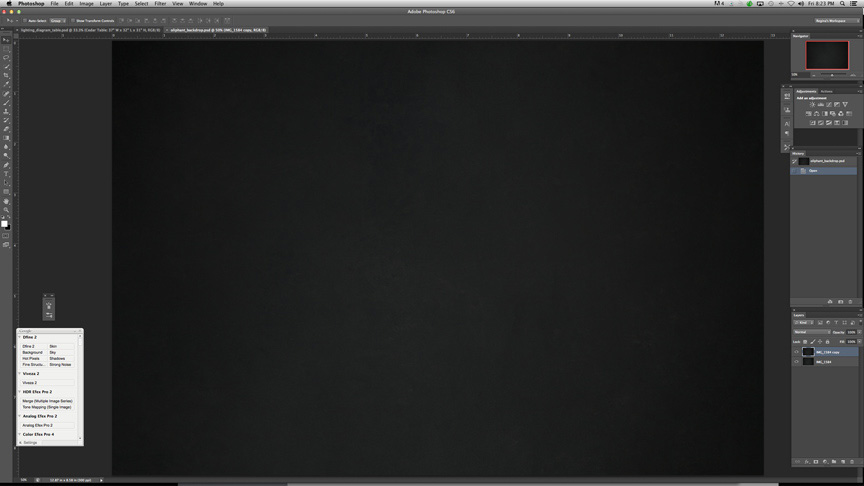
Explanation:
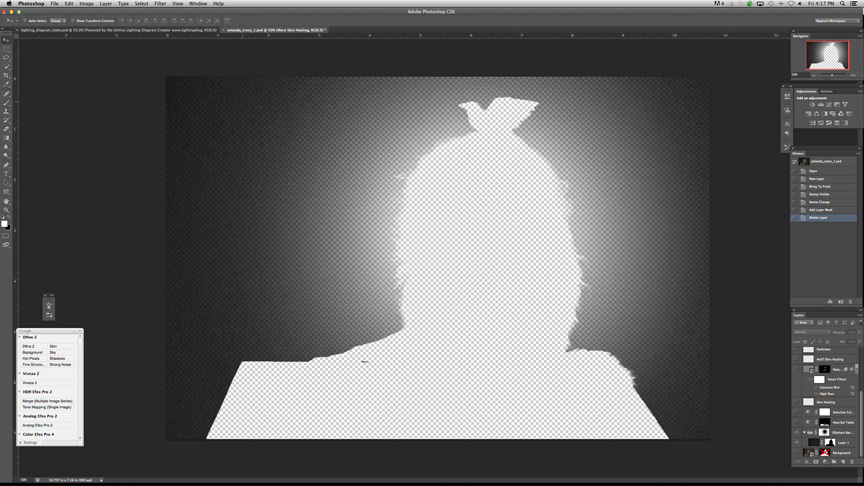
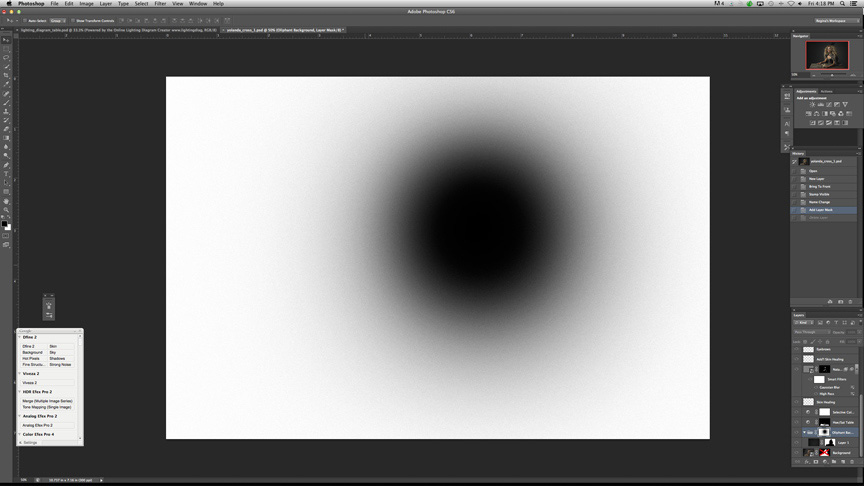
I photographed just the Oliphant backdrop at a darker exposure and place it in the document as a separate layer. I then mask the subject. The original texture of the Oliphant background is retained, but just darker. I made a large 5000 px soft feathered brush and added noise to it. Then, I put the Oliphant backdrop layer in it's own group and add a white mask to the group. I paint with black, using the large brush I made, right over the subject. Now I have a vignette, no banding and the hair blends seamlessly in to the background. Plus, the background is the darker shade I prefer and the texture is the original. Yay!

Next, I mask the table and correct the saturation in the yellow and reds.
Now on to the subjectâ¦
- Add a Selective Color Adjustment layer for the skin, Red = +12.
- Use Healing Brush to fix skin blemishes.
- Apply a skin retouching technique learned from Calvin Hollywood, who learned it from retoucher Natalia Taffarel. I have it set up as an action, and I don't remember exactly what the steps are… sorry! Calvin explains the technique in his ‘Calvinize’ DVD. Not a deal breaker if you don't use this technique, especially if the face is so small in the image, like they are in mine.
- Double check for any skin inconsistencies and add add'l healing, if necessary.
- Even out the eyebrows and eyelashes, (only on females) using a 1 or 2px hard brush.
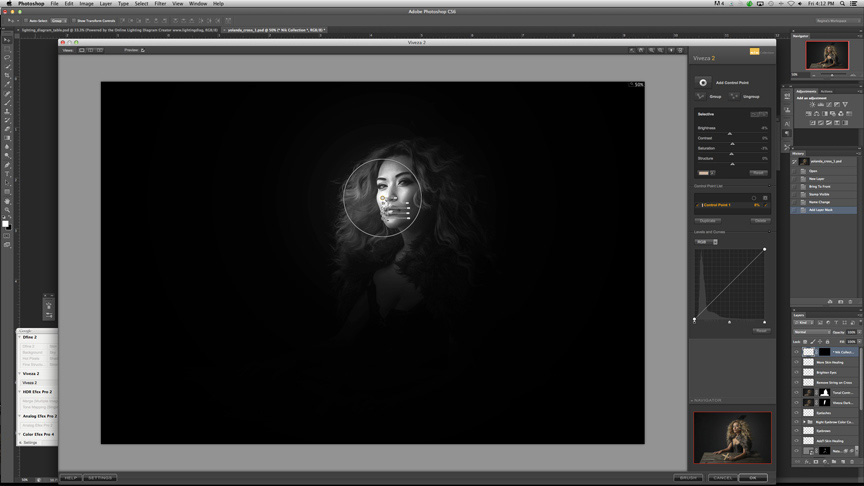
- Use Viveza plugin by Nik to subtly darken the highlights of the face, if necessary.
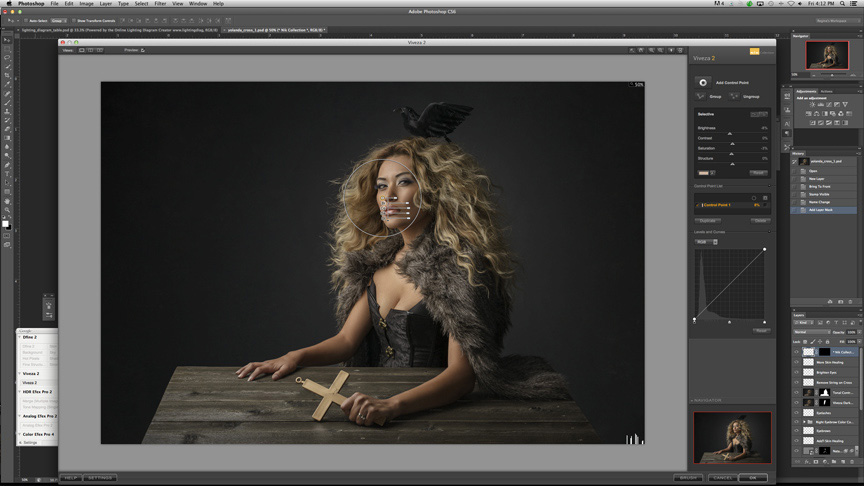
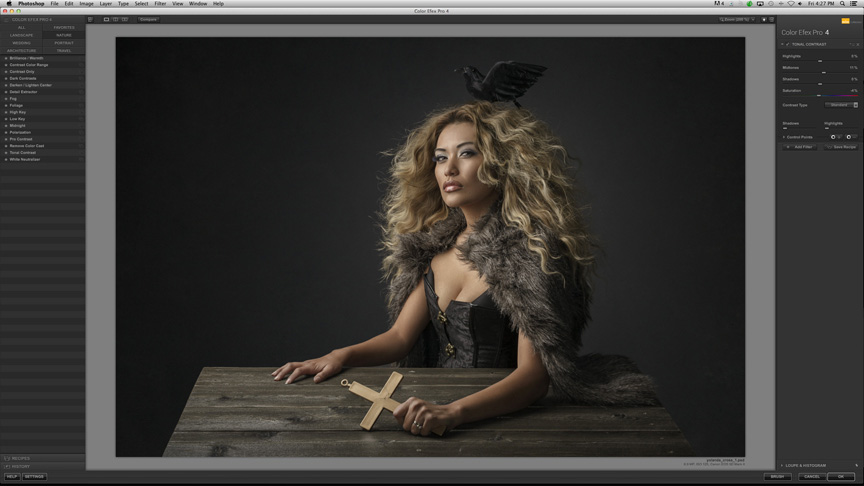
- Add very subtle contrast, only to the subject, with Nik's Color Efex Pro v.4 â˜Tonal Contrast' filter.*
- Brighten eyes using Dodge & Burn.
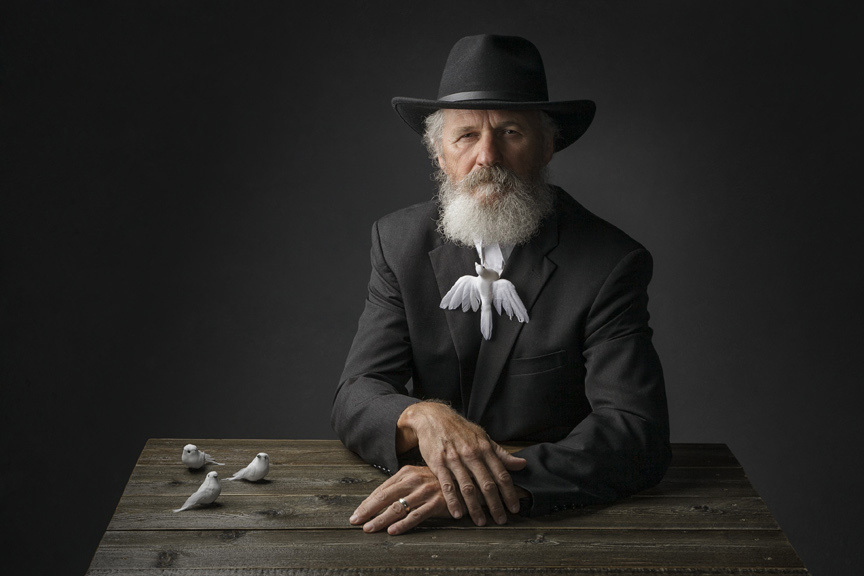
I then make some image specific adjustments, such as removing the string on the cross in this image.
A few more minor tweaks to skin healing and I'm done.
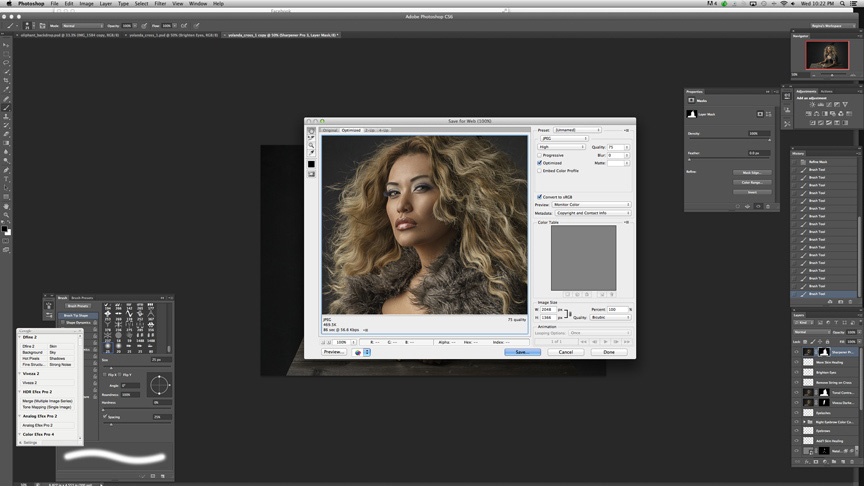
Now, I just save and duplicate the image, then resize the copy to 2048px wide, which I read is best for Facebook.
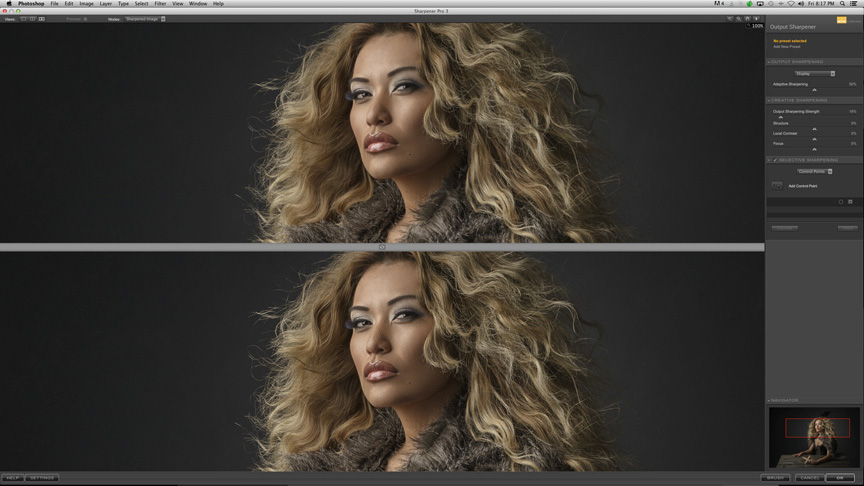
Last of the adjustments, I will use Nik's Sharpener Pro v.3 and apply only to the subject, avoiding the edges.
I convert the profile to sRGB and use Save for Web, 75 quality.
*I am SO disappointed with the Version 4 of Nik's Tonal Contrast filter. I used to LOVE v.2, but v.4 is just awful. I use it still, out of habit and denial that such a wonderful filter could turn so bad.
Older behind the scenes shot (pre Oliphant backdrop and reversed main light position).
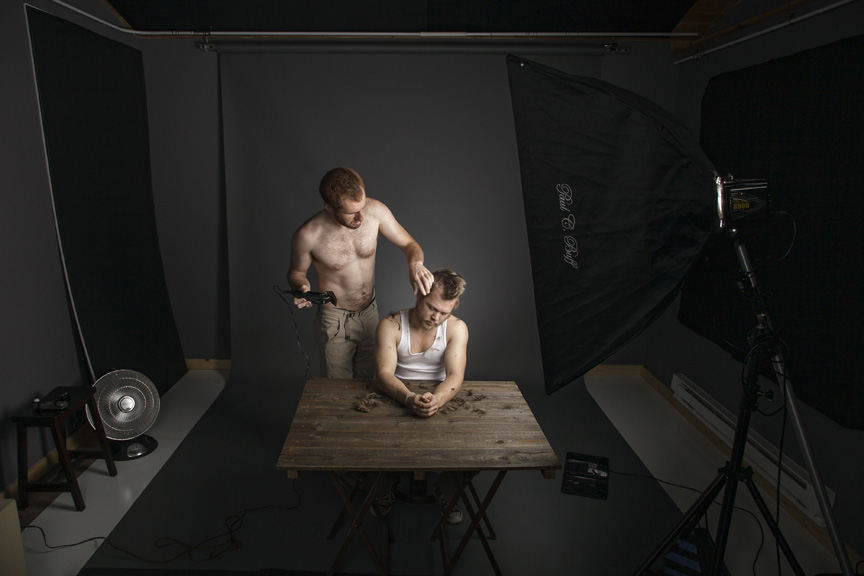
Black foamcore on left is not in use, it's just resting against the only available wall space.
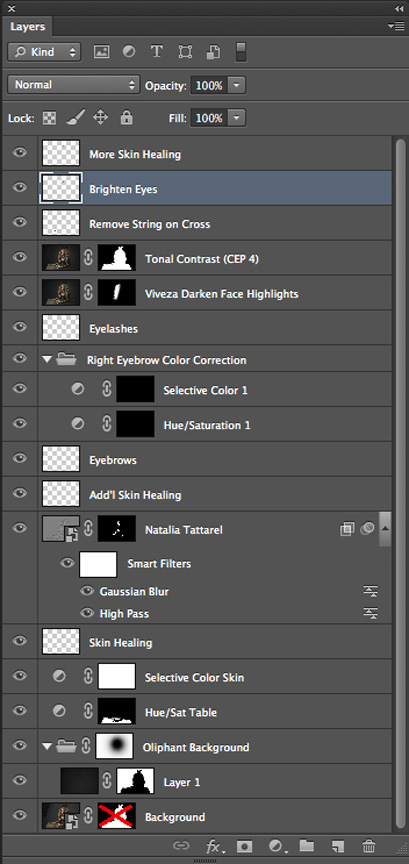
Here are the Photoshop layers:
Lighting diagram:

I hope that this information will provide some insight into how I post process and light my images. Granted, posing plays a huge role, but I will have to save that topic for another post! Thank you for reading and I'll see you next time :)
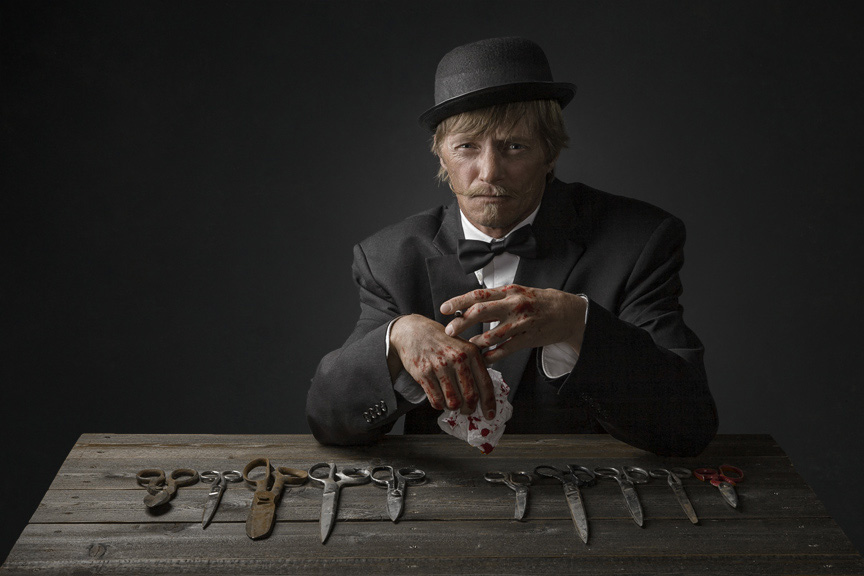
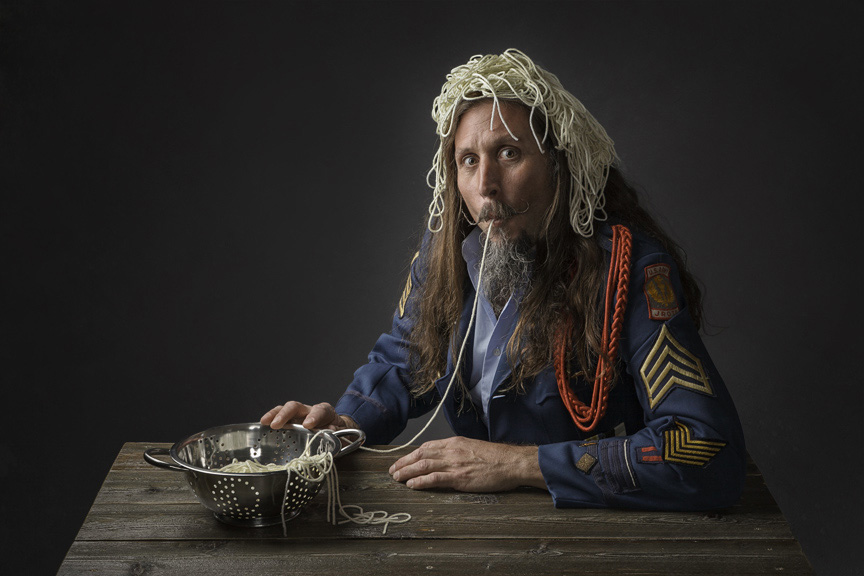
Image samples:
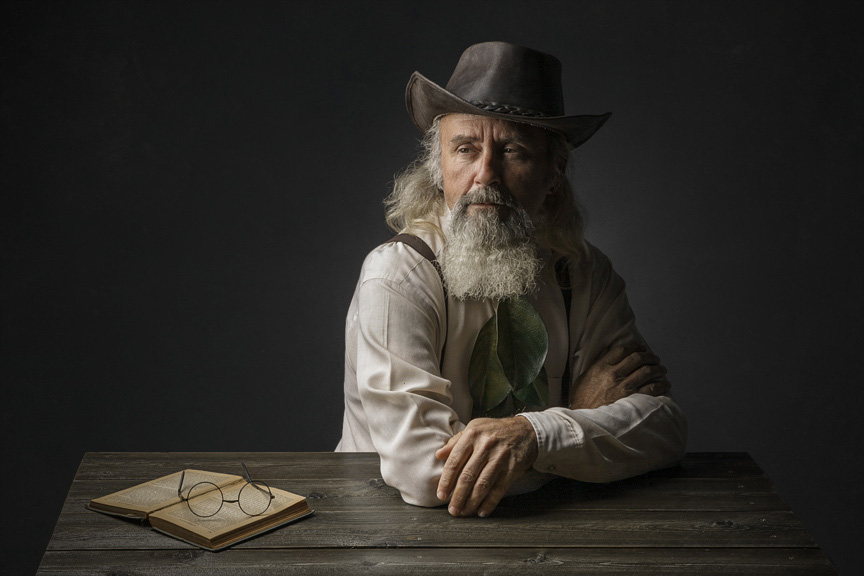

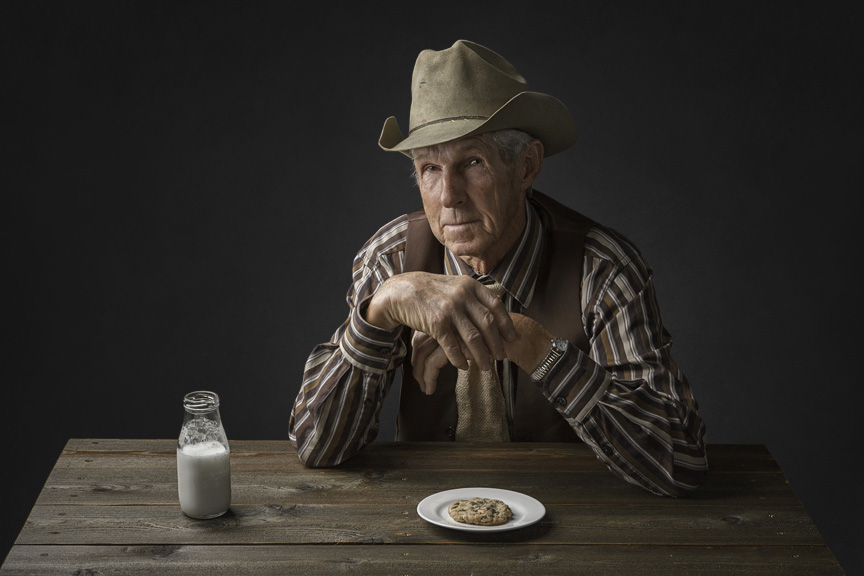
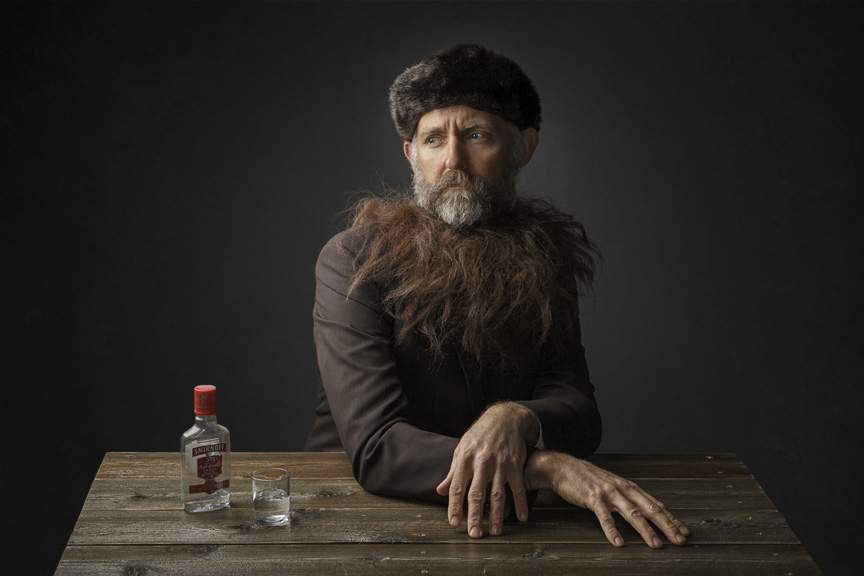
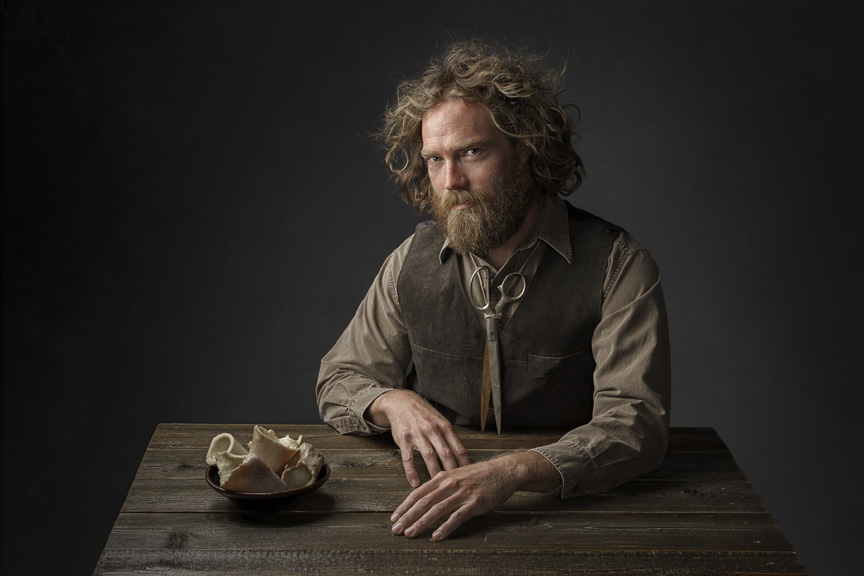

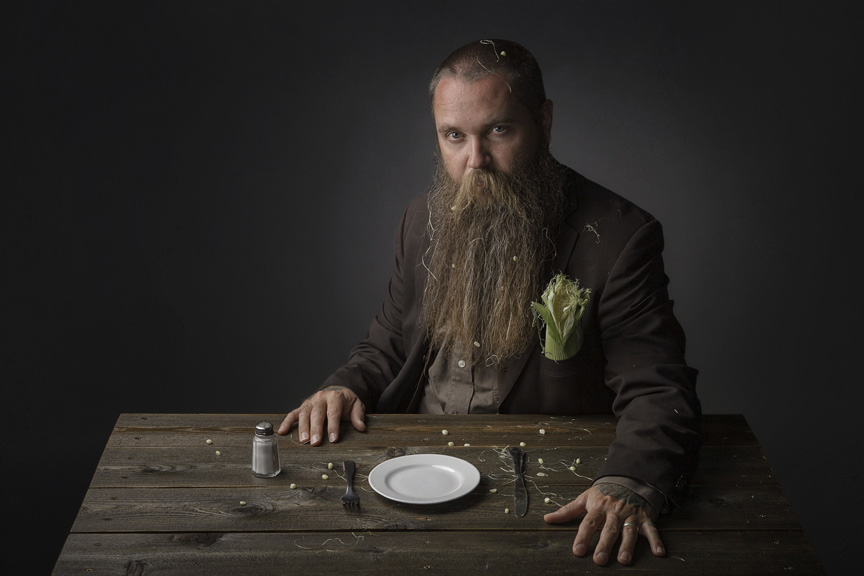
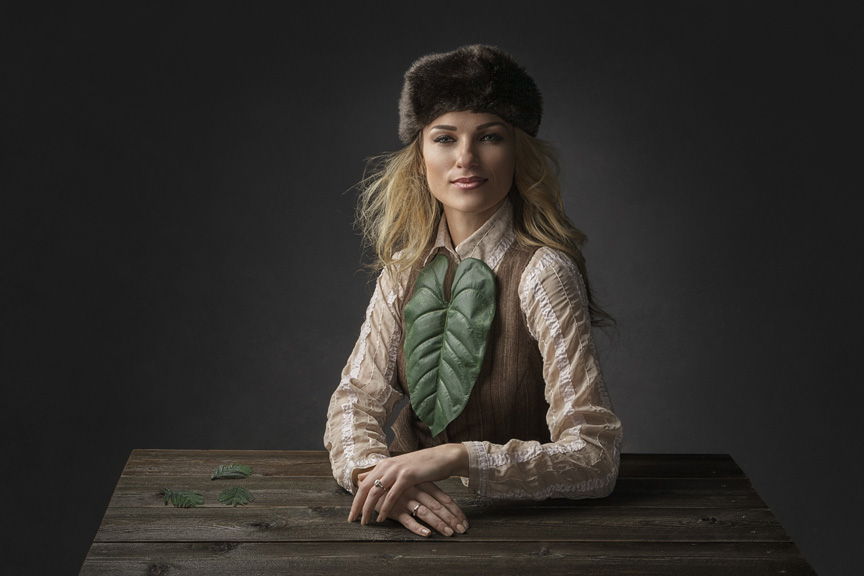

You can see more of Regina’s work at ReginaPaglesPhotography.com, and follow her on Flickr, Facebook, and Instagram.