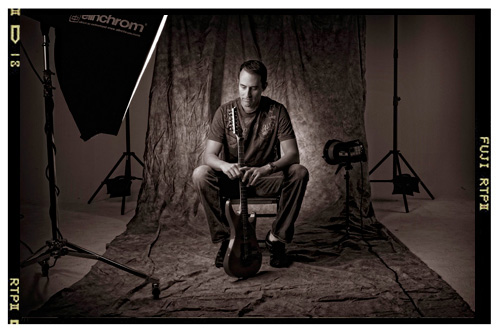
My “Sessions” Duotone Settings

I had a number of people comment about the Duotone look I applied to my “Sessions” images” series (link), so I thought I’d share the exact settings I used (just promise me you won’t be surprised or disappointed that it’s so incredibly simple).
I did the conversion completely in Lightroom (though I’ll show you the camera raw equivalent in a moment). Start by pressing the letter “V” to convert the image to Black & White. Then go to the Split Toning panel—don’t touch the Highlights at all—just drag the Shadows Hue slider to 28, and the Saturation to 17.
That’s it. One letter—two sliders. :)
If you’re using Camera Raw instead; go to the HSL / Grayscale panel and click on “Convert to Grayscale.” (Does it bother anybody that photographers don’t use the term Grayscale for converting to black and white? That’s a graphic designer’s term, not a photographers. Don’t get me started). Anyway, then go to the Split Toning tab. Don’t touch the Highlights controls at all—just move the Shadows Hue slider to 28, and the Saturation to 17. That’s it.
Anyway, I know it doesn’t have a lot of fireworks to it, but that’s exactly how I did the conversions, and the exact settings I used.
Have a great Monday everybody!