#TravelTuesday is back to relative normality, with travel corridors opened up in lots of Europe. Hopefully travel to and within the United States and Canada will also resume – getting infection rates down by reducing contact and wearing a mask when near anybody else will bring back travel and the economy. But anyway, I’m Dave Williams, and I’m here to talk photography!
Today I’m on day two of a takeover of the KelbyOne Instagram Story where I’m sharing some landscape photography tips from Iceland. One of the tips is about the relationship between foreground and background in a photo, and I’d like to explore that a little more with you right here.
Any great photo has a foreground and a background; most also have some sort of middle-ground. The foreground is simply the part of the image that is closest to the camera, the background is the part that’s further away, and the middle-ground falls somewhere in the middle. If we consider all three and a link between them we will end up with a better image.
There’s one simple trick to start composing stronger images by filling the foreground, middle-ground, and background of your images and it’s this: –
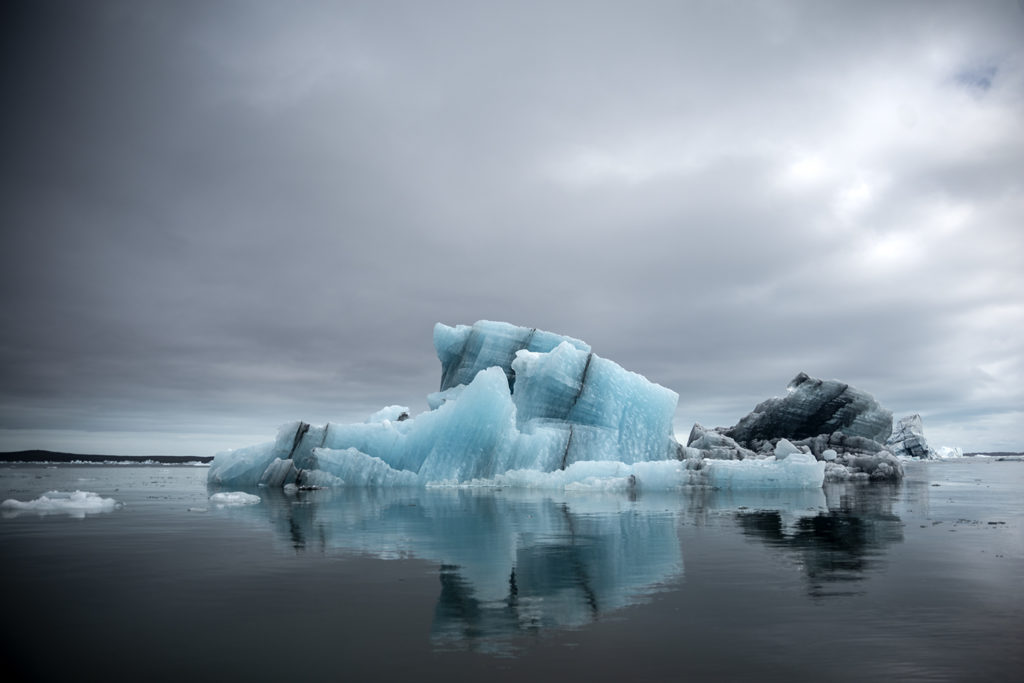
Think before you press the shutter button. When I took the bad iceberg photo above, I’m sure there was something nearby that could have made for a more interesting foreground if I’d just looked for it. Another smaller iceberg in the foreground is far more inviting and adds a whole level of depth to the image.

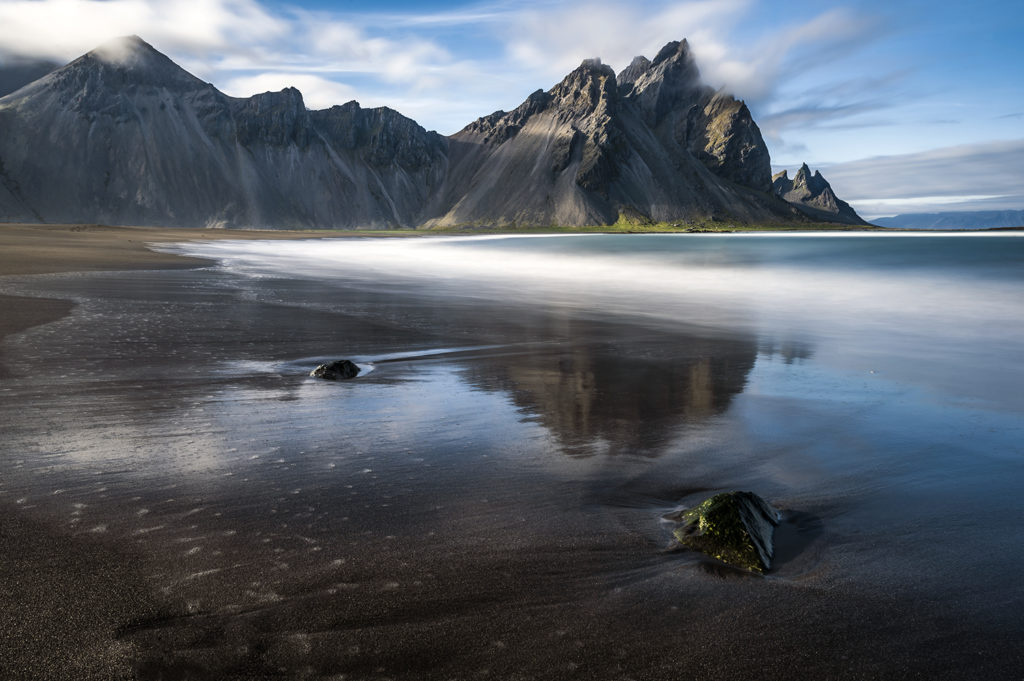
For the better photo, I just took a few minutes to play around with different compositions until I found something I liked. It was simply a case of trying different foreground features. Once we start thinking deliberately, we’ll automatically start taking stronger photos.
One of the easiest ways to start using the foreground is to get close to something with wide-angle lens. In the photo below, I was just a couple of feet away from the rocks in the black sand which make up the foreground; the middle-ground and background then just happen naturally.
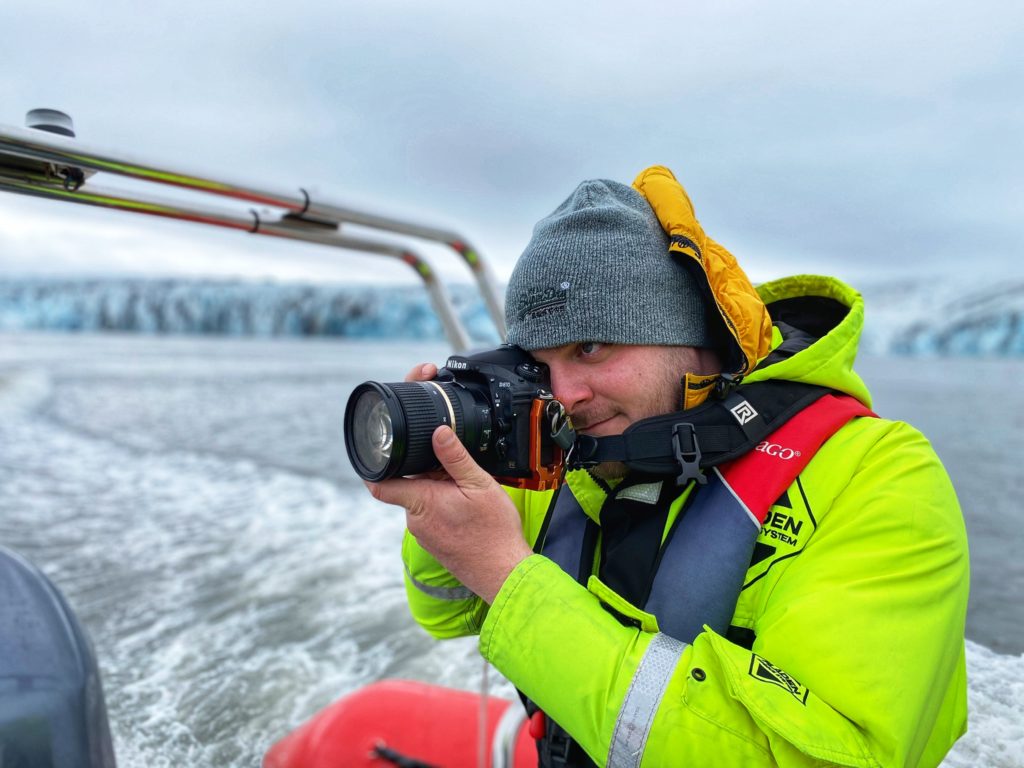
If we’re taking portraits, we probably won’t have much of a middle-ground, but the background is even more important. A bad background can distract from an otherwise great portrait. We can use a wide aperture and a good prime lens to make the subject the foreground element and isolate them from the background.
An isolated, blurry background doesn’t have to be boring. It’s still part of the image, and this is where we can play around with different textures and objects behind our subject.
As with any photography “rule”, play around with it and feel free to break it if you’ve got a good reason to. Sometimes your best photos will fly in the face of every convention.
While saying ‘make sure your photos have a foreground, a background, and, if possible, a middle-ground’ may seem like really obvious advice, you’d be surprised at how many photographers fail to consider it. Start thinking about what elements are in each part when you take your photos, try and link them together, and I guarantee you’ll become a better photographer.
Much love
Dave