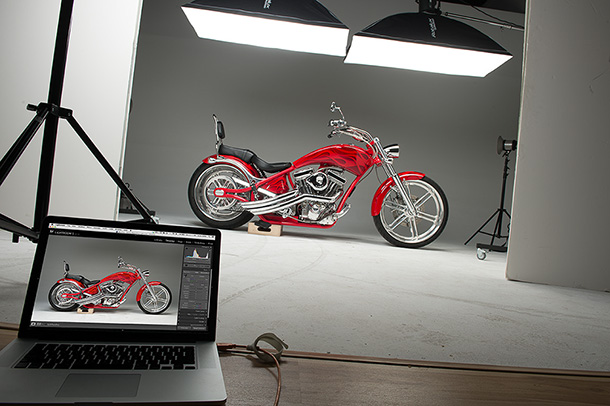
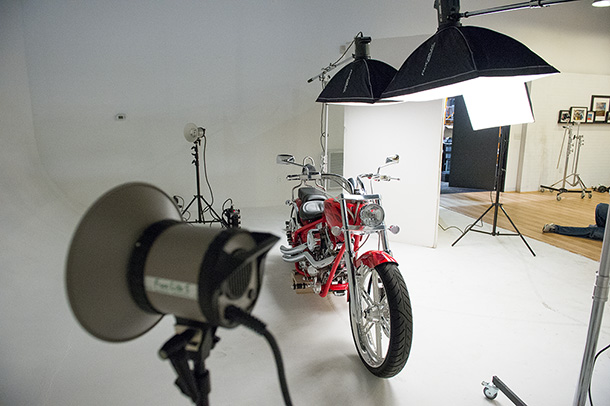
(Above) Here’s a behind-the-scene shot from Friday’s shoot. This is a three-light shoot: Two 4-foot strip banks above (with Elinchrom strobes), and there’s one additional softbox in front (you can see the light-stand right behind my laptop) that’s putting some extra light on the engine — it was a little dark in there with just the two strobe directly above the bike.
I asked my Creative Director Felix Nelson if I could shoot his Harley, but he was doing some serious tinkering with it at home and it wouldn’t be ready for days, so he suggested calling our guitar player (Felix is the bass player for Big Electric Cat), Tony Llanes since he builds custom choppers.
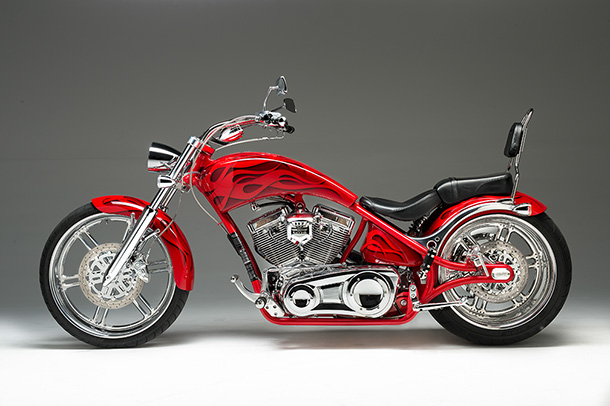
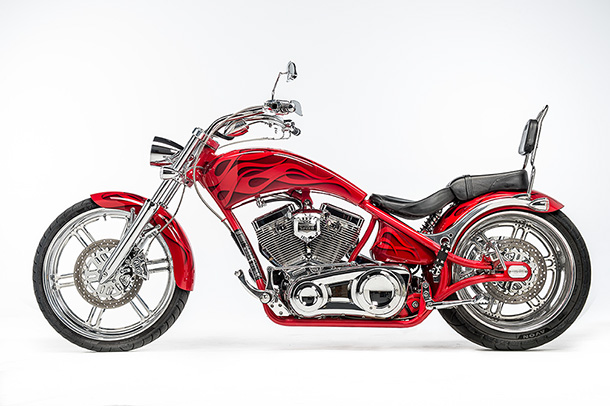
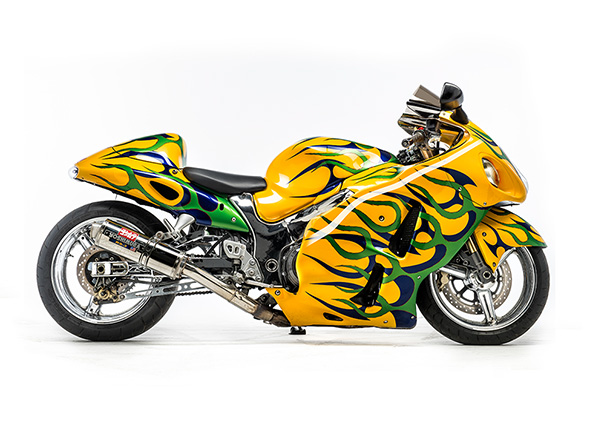
He didn’t have one available, but his cousin had this “Big Dog!” chopper and he came rolling up on it Friday and I was like, “Oh Yeah baby!” Only had 1-1/2 hrs to light and shoot this and his buddy’s sports bike (the yellow one seen below), but I got it done in time to attend my son’s sports banquet that night, so it’s all good. :)
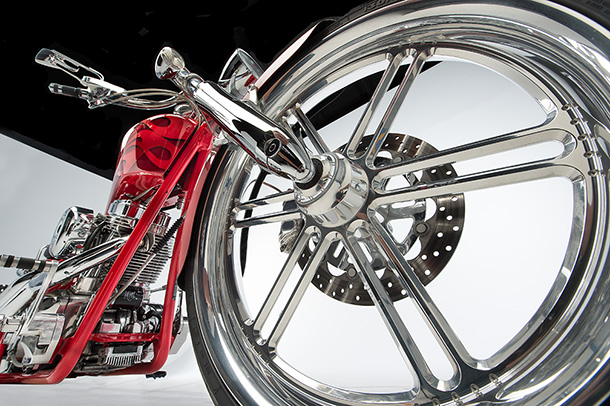
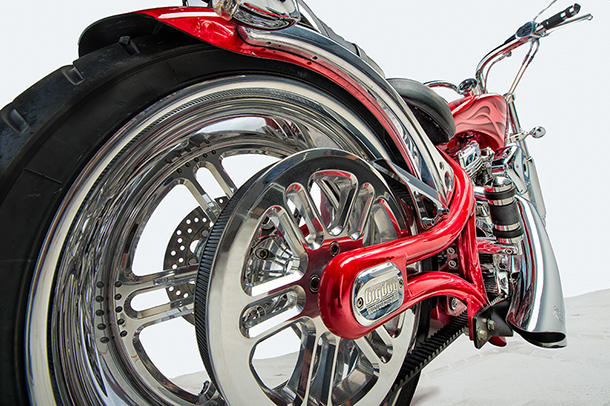
Above: Shooting from down low with a 14-24mm lens.
Above: More wide angle 14-24mm shots.
Above: You can see the two extra backlights in this shot, used strickly to make the background solid white — even though they weren’t turned on for any of the shots I’ve shown so far.
Above: Here’s what it looks like with the two background strobes turned on. You can see why I left them off for nearly the entire shoot — I think this particular bike, because of its color, looks better on the dark gray background.
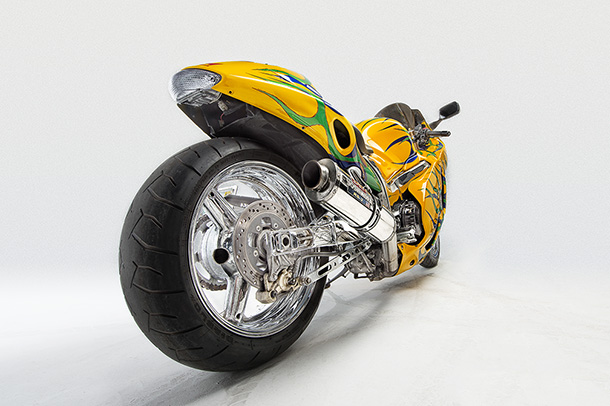
Above: The Sport Bike looks great on the solid white background, so here it look appropriate (so this is a five-light shoot: The same two strip-banks over head; the one small 27″ softbox in front aiming at the back half of the bike, and the two bare bulbs with reflectors to make the background solid white.
Above: Here’s a view from the backside. Since I’m not shooting it straight on, the lighting definitely looks different (in fact, I had to brighten it in post to get it this bright).
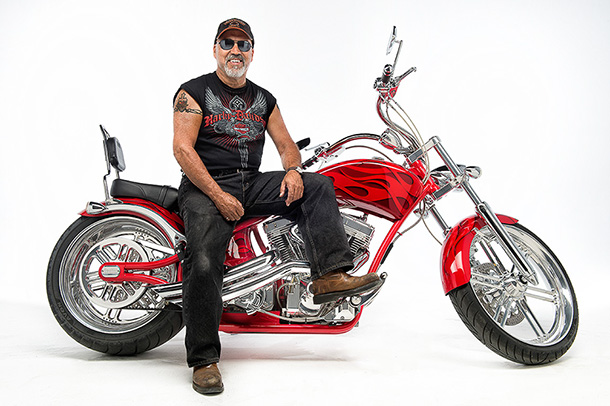
Above: Here’s Tony (lead guitar player for Big Electric Cat) posing on the Big Dog. I didn’t change the lighting — it’s just the lighting for the bike, so it’s not the greatest portrait lighting, but I think it’s still looks decent (but if I was lighting this as a portrait, I would have added two kicker lights in the back aiming at him.
Anyway, there’s a quick look at the shoot. I’m doing a tutorial for the NAPP member Website on the retouching and finishing for getting rid of the apple-crate box the bike is sitting on, and on getting rid of some of the spots, specs, dust and junk. Hope you all have a fantastic Tuesday! :)


Wow, awesome photos Scott! Man I really like your technique for shooting cars, bikes and other motorized vehicles. I noticed you were tethered to your laptop for this shoot. You’ve probably done this before, but could you go through the procedure of tethering that you use. I’m curious about the usb cord (how long), set up for lightroom, what you do with the files and etc. Thanks for letting us in on you bike shoot … photos are awesome!
Dennis
I’ll get you started. Lightroom 5 using the tether feature built in. Files are imported directly to hard drive. He’s usually got the following accessories. Tether tools 15 ft USB cable, aero table (to hold laptop), and jerk stopper cord management system so the cable doesn’t detach while shooting.
The files you can manage during the tether setup. You can name the shoot and make a new folder for them. After a few test shots you can tweak the develop settings and then the best feature is to pick “same as before” when you get your settings dialed in. Your next shot will apply the same exposure and temp settings etc. That makes your post work much faster.
Cody, thanks for the info. I’m not familiar with the jerk stopper system. I’ll have to check that out. Does Lightroom guide you through the setup and ask where to store the file? Is the tether LR interface different? As you can tell, I’m not up on the tether but would like to start using it.
Thanks again,
Dennis
If you use Really Right Stuff L-brackets they have a cord holder too, but costs more that Tether Tools.
Dennis,
Yes, Lightroom will guide you thru the set-up for shooting tethered.
When I shoot tethered, I also have my files backed up to an external hard drive as well as to my laptop’s hard drive because when you shoot tethered your images are not on your card.
Hi Cheyl! Thanks for the info! I’ve been seriously thinking about tether, but didn’t know all the particulars about it. Appreciate you felling me in on this! Thanks again!
What Cody said :-) If you need links to the TetherTools gear, head over to Scott’s Gear Page (http://scottkelby.wpengine.com/gear) and check out the Camera Support and Computer Accessories sections.
Thanks Brad! I’ll do that!
Awesome Scott, I have a friend here that has a 10×20′ Chimera box and a cyclorama wall, love shooting in it!
Dude!!! I would LOVE to shoot a car in there!!! :)
Scott – do you have the new post on NAAP yet? I just joined, this post made me want to join, I just worked with some bikes and I’m looking for post production tips!
The lighting is very cool – and the bikes even cooler. Love the images. The last one, with Tony sitting on the bike, it looks like the bike is leaning over and not being able to see the kickstand is bugging the hell out of me. Just an observation from someone who rarely shoots anything standing still.
Agree with everything you said. Not seeing the kickstand bugs me as well. Looking where the kickstand is located on the bike, it would be behind his boot, but the picture just feels wrong not seeing it….
The Kickstand is down in the shot, on the opposite side of Tony (he’s blocking it).
Call the bike builder, have him move the stand! Tell him it is optically incorrect – or whatever you think would work.
Nice set of shots. (I’m waiting patiently for the latest Tim Wallace course on Kelby Training :)
Thanks (and you and me both! I learn so much from his teaching). :)
How was the box removed from the final picture? Some Photoshop love and adding in the shade below it?
Excellent shots Scott. I am doing a bike shoot shortly and these are great point of reference. When will your tutorial be up on NAPP? I just checked but could not find it.
Hi Scott,
I wonder what power of strobes you used on boom softboxes? I feel like even 2x300Ws would cover from that angle and distance. (?)