

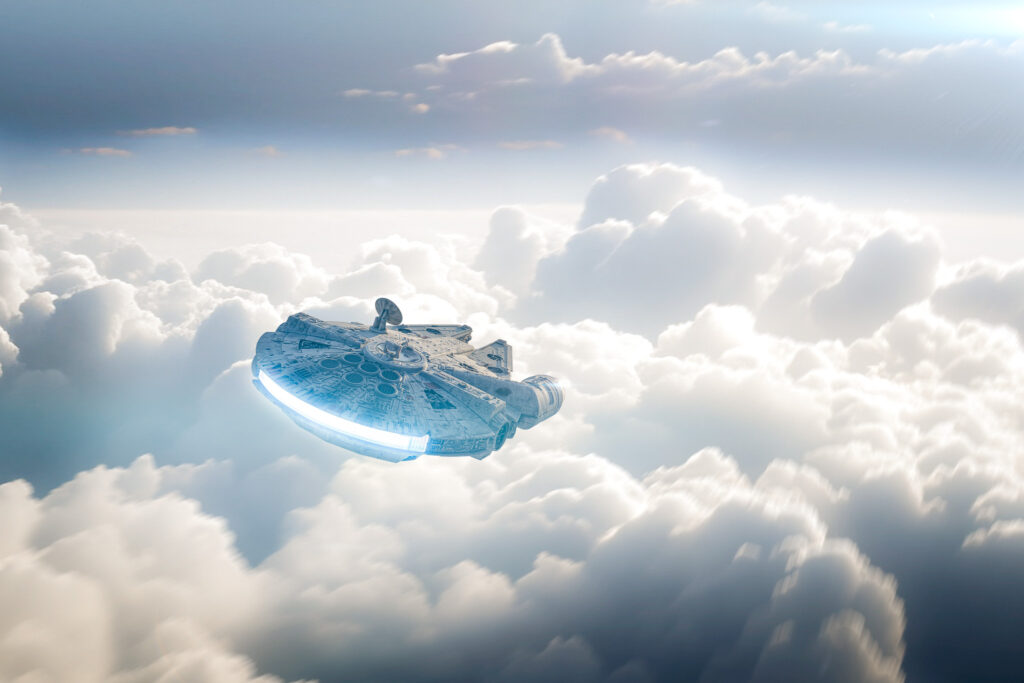
Unleash Your Imagination With Toy Photography
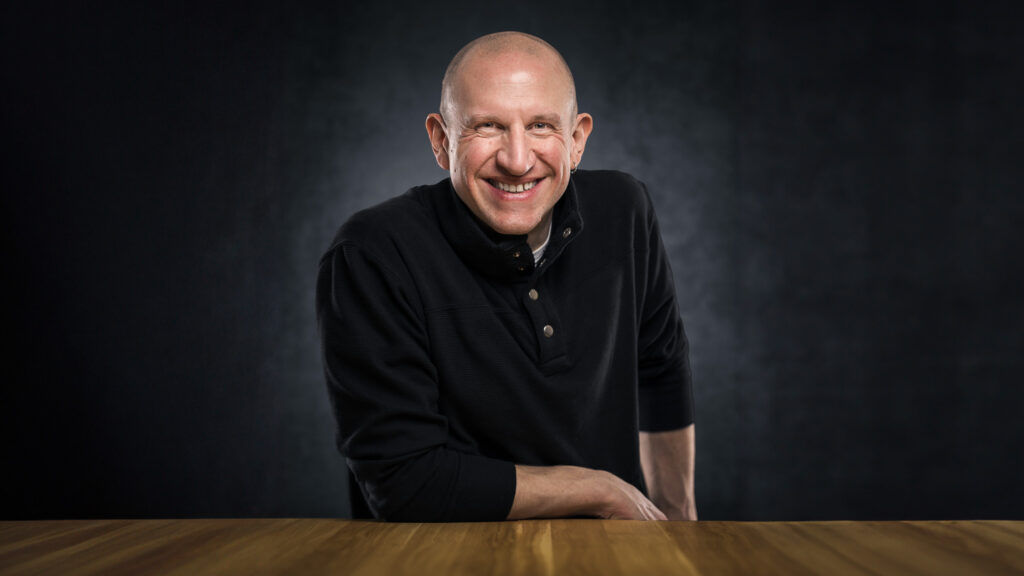
Feel like you’re in a bit of a creative rut? Looking to find something new to photograph? Hello there! My name is Jesse Feyereisen (Fire-rise’en). I’m a Photographer, Video Editor, Graphic Designer and all around Digital Creative from Wisconsin. Over the years experimenting with all types of photography, one day while practicing “product photography,” I put large action figure in front of the camera, and in that moment, I stumbled upon my new favorite genre ~ Toy Photography. I fell in love with the creativity and challenge of bringing toys and scale models to life in a single frame. Everything from a classic portrait, an over the top action shot, and everything in-between. With a little imagination, nearly anything is possible!
What To Shoot?
What do you need to get started? Just your camera (or smartphone), a toy of any kind, and most importantly, an idea. That’s it!
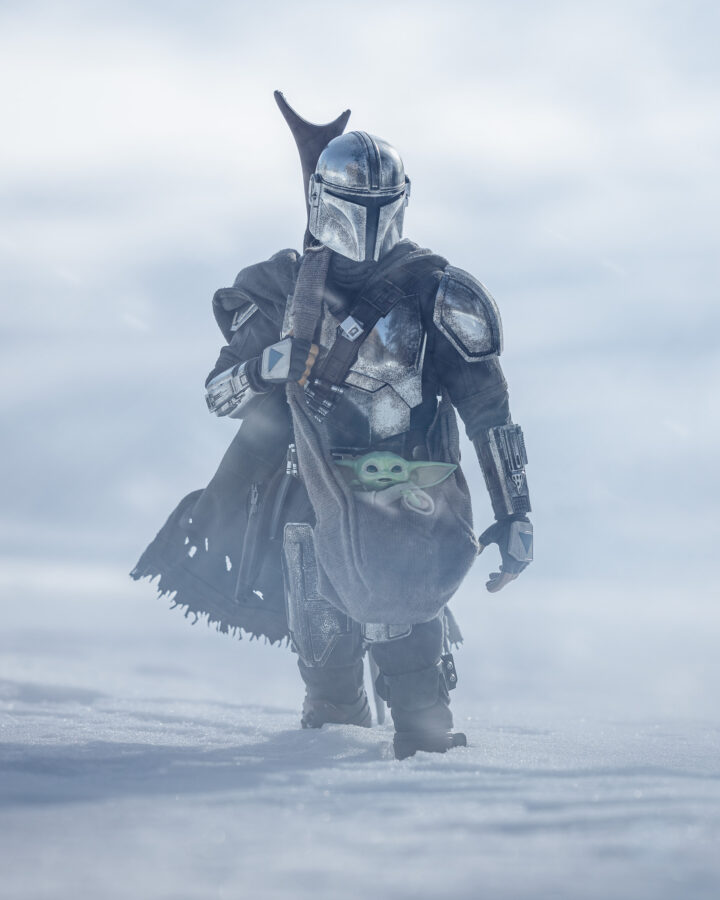
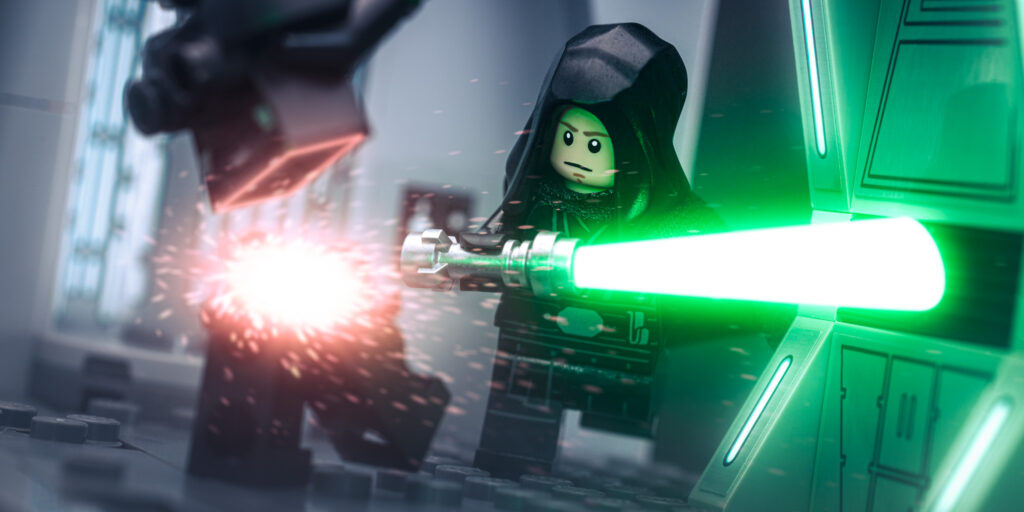
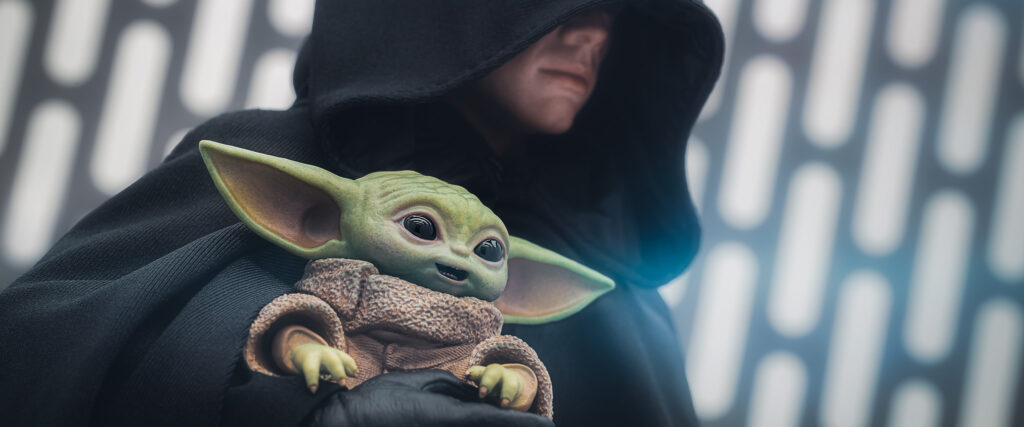
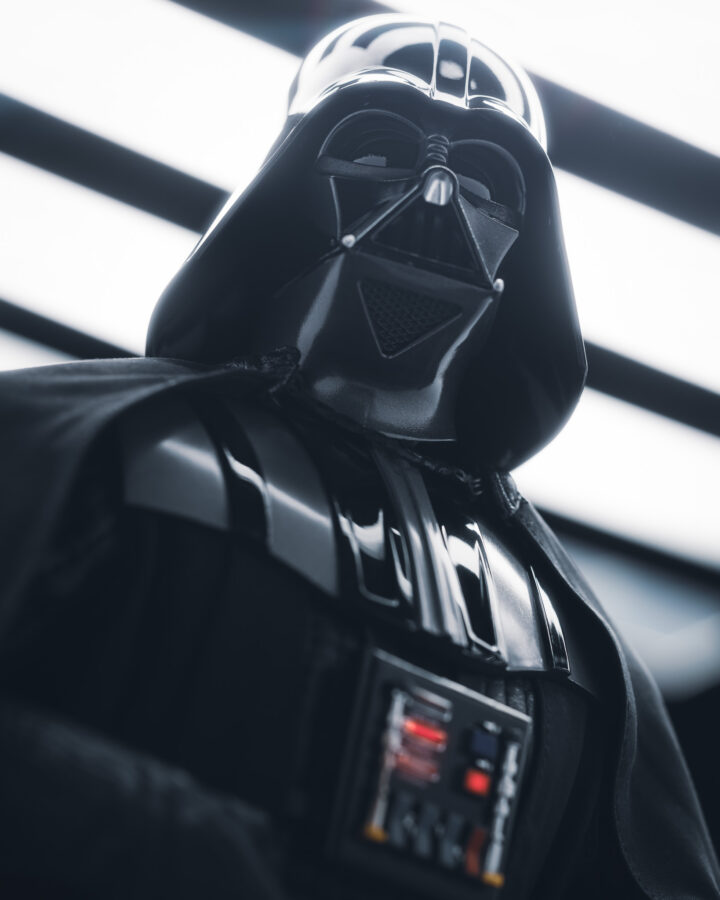
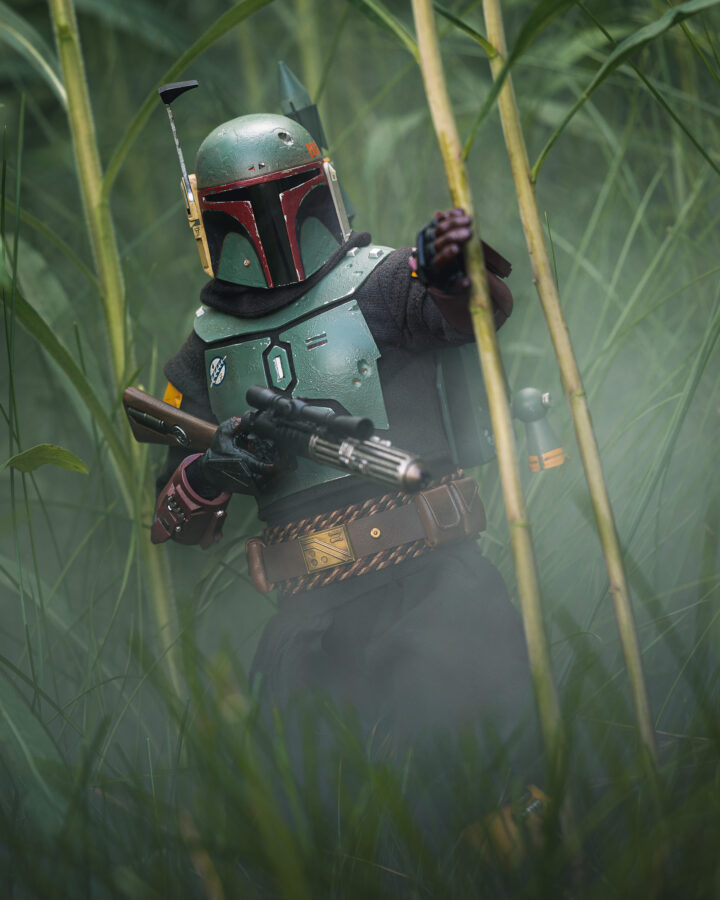
Getting a hold of toys is fairly easy. Local shops, garage sales, big box stores, or online at any number of various retailers and websites. Heck, you could even borrow some from your own kids, nieces and nephews, and friends. Any toy can be a great subject for your photos. Action figures, toy cars, scale models, LEGOs, small scale statues, and more. You also may need to find some ways to hold them up or help them stand. Things such as wire, clamps, goosenecks, toothpicks, chopsticks, acrylic rods, etc, are all great toy support systems.
Lights, Camera, Action!
Now that you have your subject, it’s time to take some photos. You can certainly use the camera on your smartphone, but I would highly recommend a DSLR or Mirrorless camera with interchangeable lenses. Something you can have full control over your Aperture, shutter speed, ISO and more. The ability to shoot in Manual mode would be ideal, although not absolutely necessary. Nearly any lens can be used, but a macro lens will have some advantages so you can get nice and close to your subject and full the frame. It just all depends on what creative look you’re going for.
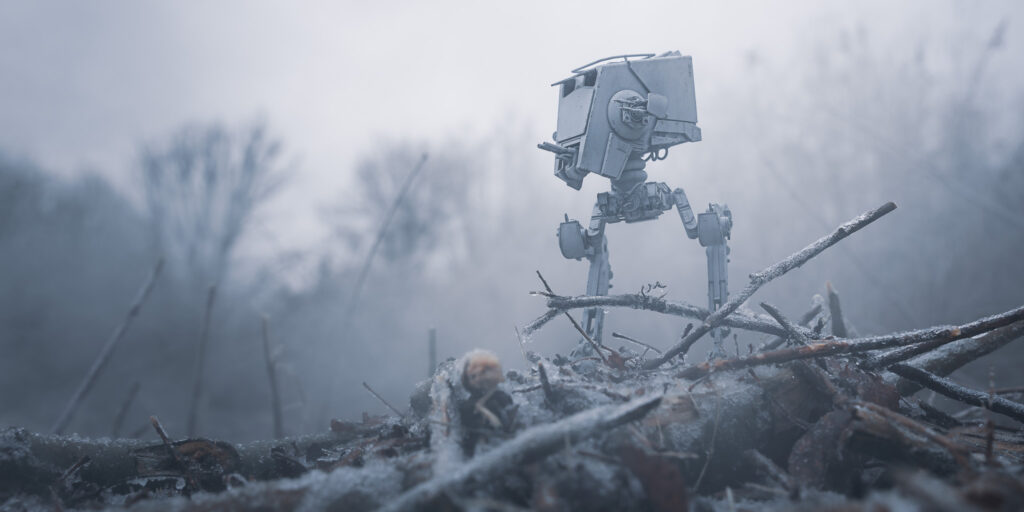
In addition to your camera, a good tripod is a must have. Being able to keep your camera steady will go along way in making sure your photos are nice and sharp. Since we’re shooting toys, getting down low with a tripod replacement such as a Platypod Ultra or Extreme is an amazing tool to have in your kit! They allow you to get your camera a few inches off the ground, right at eye level with your figures which is extremely helpful in this type of photography.
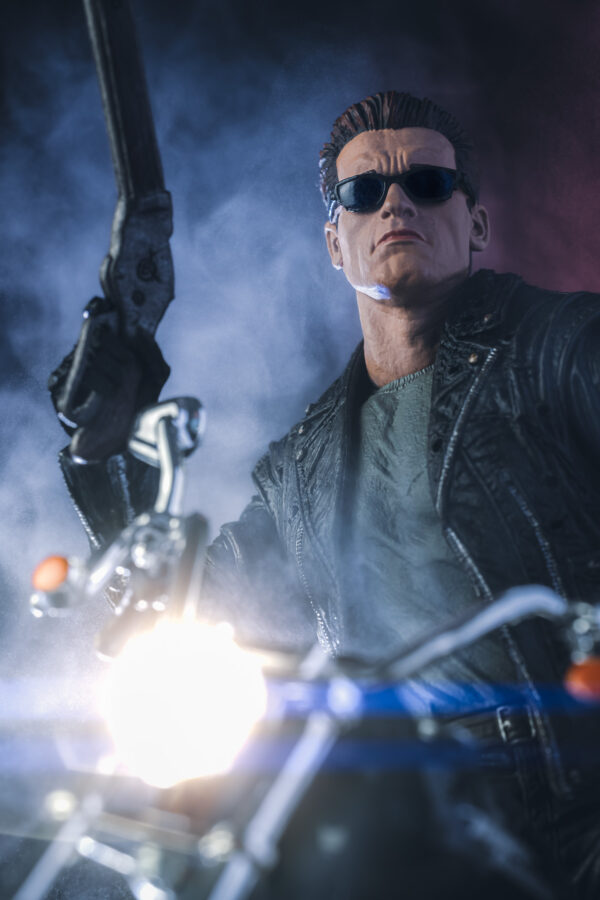
While you can certainly shoot in natural light, having a few lights of your own, especially when shooting indoors, can be very helpful. Constant lighting with small and portable LED lights (Lumecubes are very popular) are great for toy photography. Even better, you can also find full RGB light panels that allow you to instantly choose any color you want for a particular shoot. You could set it to orange to simulate a nice sunset, or blue to create moody moonlight. So many effects are possible. The other nice thing about constant lighting is that since they’re always on while shooting. You get instant feedback as to how your light looks in realtime. Light, shadow, angle, and color. What you see is what you get!
As a photographer, you may already have an off camera flash such as speed lights or strobes. These can also work great for toy photography! While speed lights tend to look comically large when used next to a tiny 6” figure, when paired with a modifier such as a softbox or umbrella, they can provide really nice soft light. The additional power of flash also allows you to work in a fully lit room so you can see what you’re doing. Very convenient when trying to setup a little scene for your shoot.
Extra Goodies
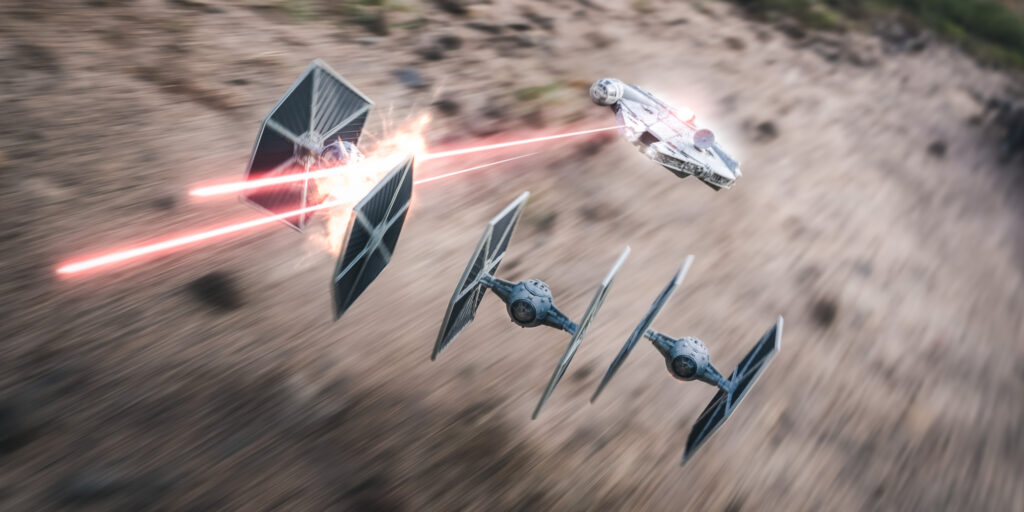
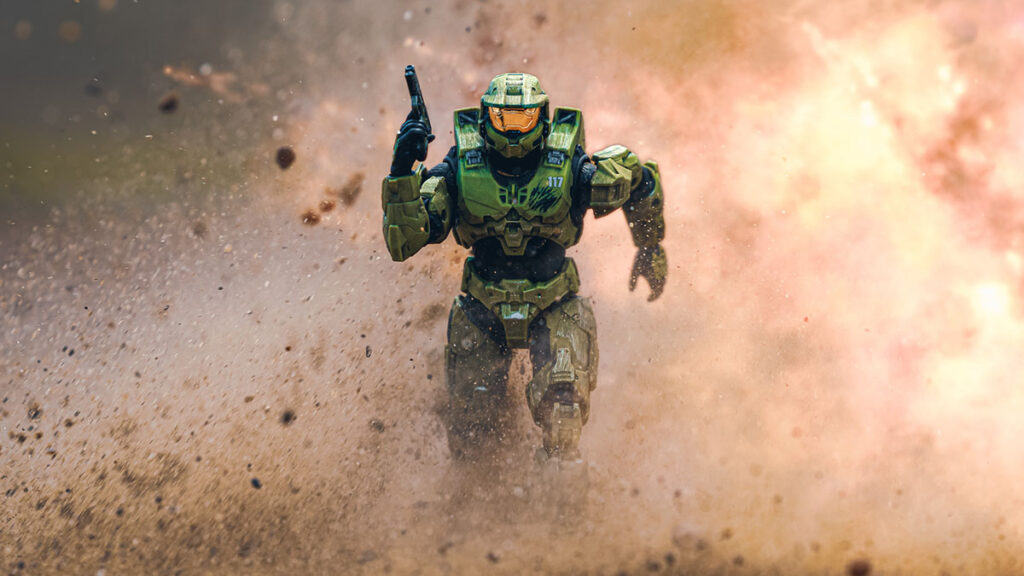
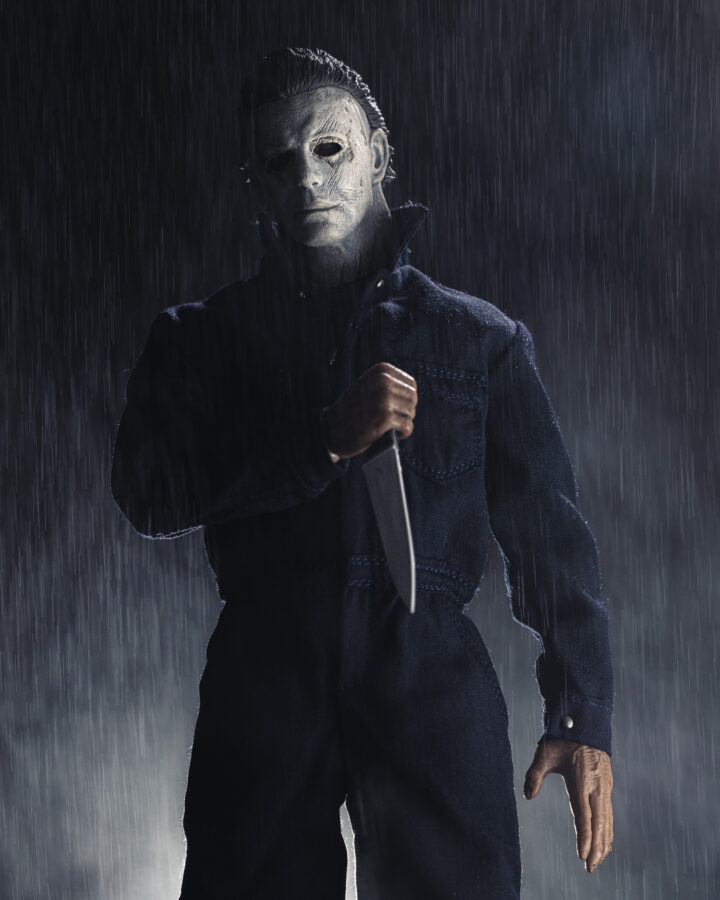
For some additional practical effects, we can grab just a few more fun things to put in your camera bag. Need a little smoke or fog? Grab a can of Atmosphere Aerosol. Need to kick up some dirt or debris, or even create a small explosion? Grab a can of compressed air. Need to create a storm? Grab a simple spray bottle, fill it with water and now you have rain. If you’re feeling brave, you can even use real fire or fireworks for additional effects. Just be careful getting them too close to your subject or you might accidentally ruining that nice new toy you got!
Post Production And Editing
So what do you do after you’ve taken the shot? Well, you could certainly do some basic exposure/color corrections and leave it at that if you’d like. Now if we wanted to push the photo a little bit further, we could dive into post production, and have some more fun! With software like adobe, Lightroom, Photoshop, Boris FX Optics, ON1 effects, just to name a few, you can really stretch your imagination to its limits!
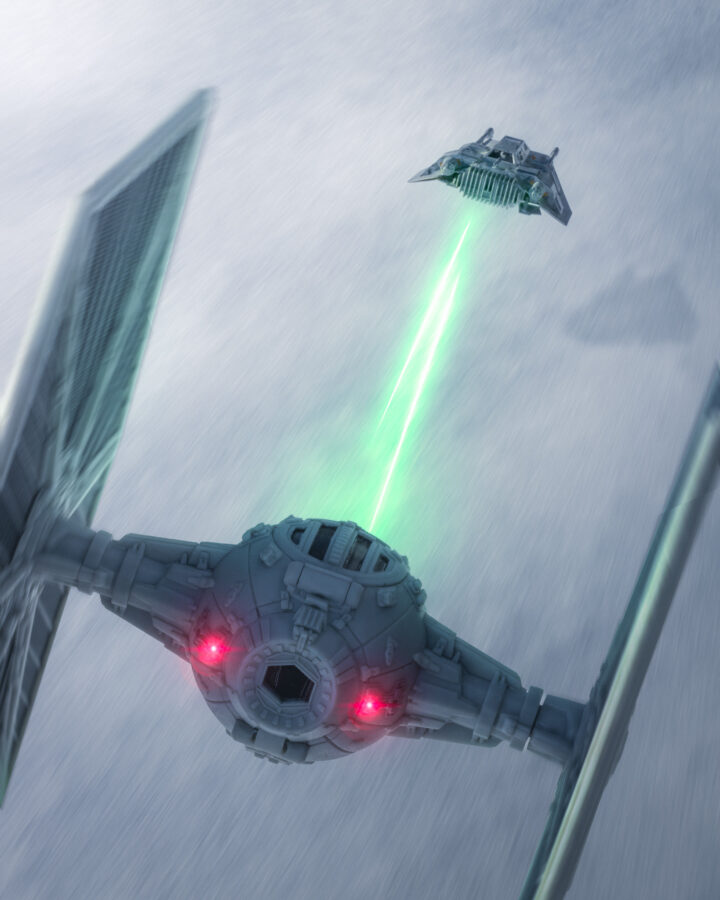
One of the most common post production activities you’ll find you may need to do is the removal of wires and stands. Usually not too difficult to do with Photoshop’s, Cloning and Healing tools. With Photoshops new AI powered Remove Tool, you can do this faster than ever before. Background and sky replacements, lasers, explosions, and so much more can be done after you’ve taken your shots. Often times this is where your photo really comes to life! And now, with AI coming into the picture, things like photo shops, generative fill feature can remove AND add things that used to take hours, in no time at all! It’s honestly amazing, and a little bit scary all at once.
Give It A Try!
I hope this little introduction to Toy Photography got your imagination rolling with some new ideas. It’s honestly a really fun and creative genre to try. In many ways, it’s a combination of other genres all rolled into one. A little bit of macro, some product, a bit of portrait, a dash of landscape, automotive/aviation, and even throw in some practical and special effects to finish it all off if you like. I highly recommend giving it a try!
If you’d like to see more of Jesse’s toy photography, check out JesseFPhotography.com, or look him up on Instagram or most of the major social media platforms. He usually posts a new project each week and often shares much of the process with behind-the-scenes photos and videos.