Editor’s Note: Here’s another holiday-themed post from 2014, this time Corey Barker doing his thing with his take on a Christmas movie poster classic, along with Peter Hurley!
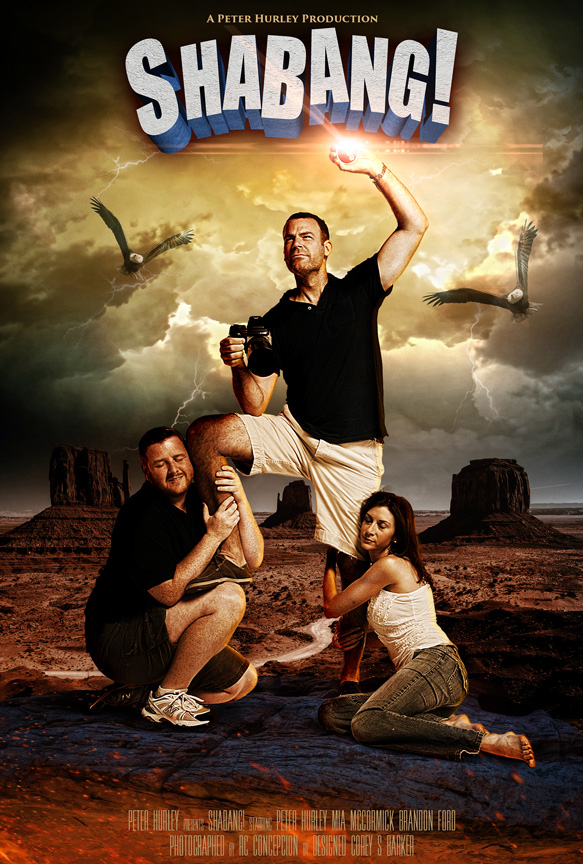
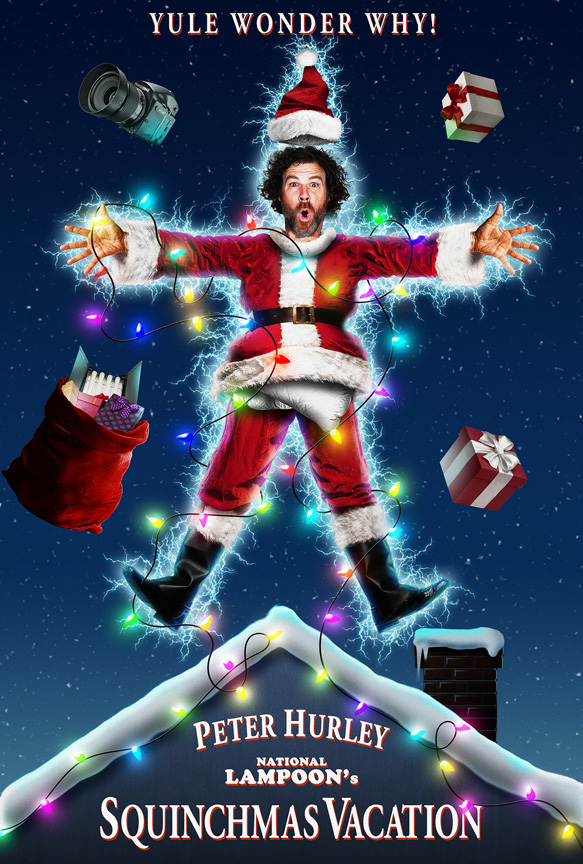
Greetings everyone! Corey Barker here to share with you my latest holiday project. Once again I collaborated with headshot photographer Peter Hurley and we decided to do another movie poster project. Some of you may remember a little project I did with Peter on recreating the poster for the Chevy Chase movie Vacation using Peter as the main subject and then we also recruited Mia McCormick and Brandon Ford to be part of the fun. We gathered everyone in the studio and we had RC take the images I needed. I then took those images that afternoon and created the poster below. I love projects like this where I feel under the gun because under pressure is where I most creative. The result came out so nicely that it ended up being a featured tutorial in my Down & Dirty Tricks Book Vol 2.
Now jump ahead 2 years and it is November 2014 and Peter has once again come to visit our office. This time to work on his new book, which is going to be awesome! So while he was here some of us went to lunch and we started started talking about the Shabang! poster and how much fun that project was. He told me that he was going to be back here in December and that we should do another one. Since it was going to be Christmas time and we wanted to keep the Vacation theme going we decided to do the obvious: Christmas Vacation! I was so excited and yet so bummed because I had to wait another month until we could do it. Though I had plenty to keep me busy in the meantime.
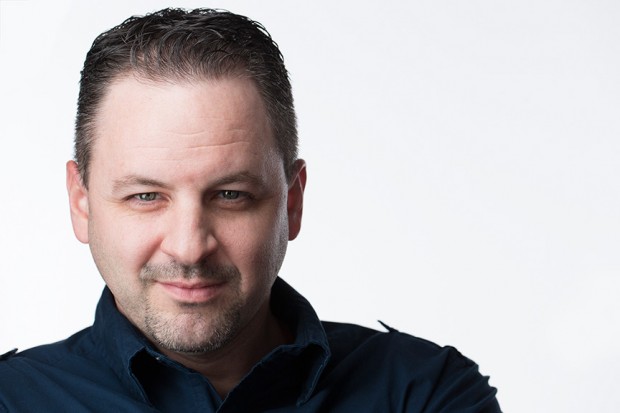
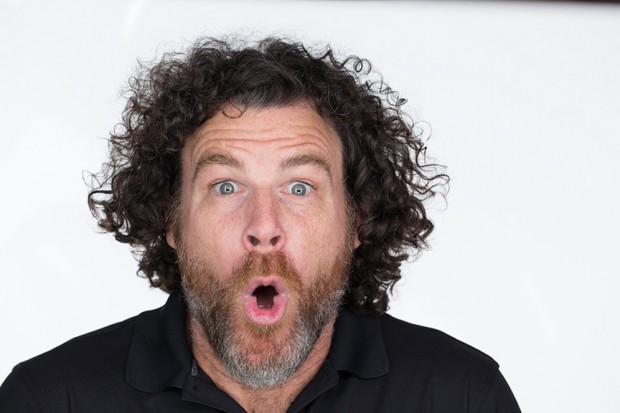
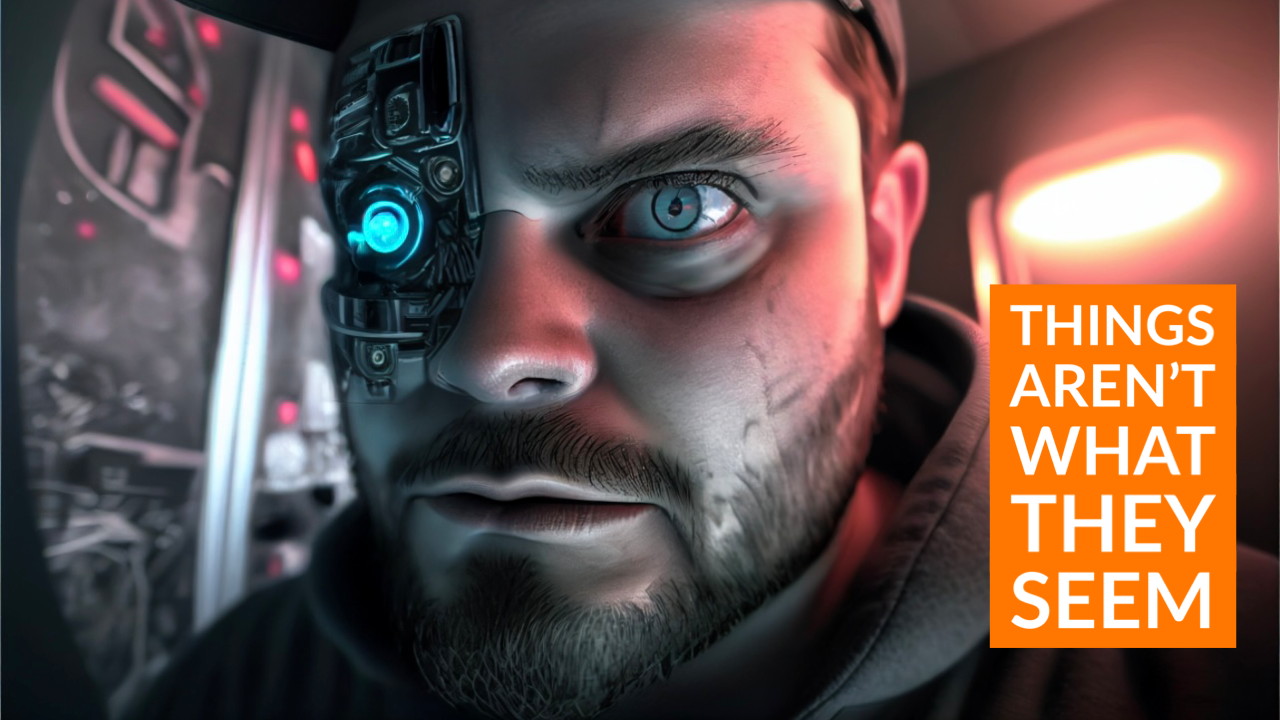
Now it is December and Peter has returned and I cannot wait to get this project started. This time he was here filming a KelbyOne class on headshots and the art of the edit, so he already had the studio set up and ready to go. Of course, while he had it set up I took advantage of that and had Peter take some new headshots of me (see the image above), but then after that it was Peter’s turn in front of the camera. Using the original Christmas Vacation poster as a reference, I wanted Peter to have a similar expression to the Chevy Chase character on the poster. He was doing well but still wasn’t quite there until I told him to act like a cattle prod just got shoved in his bum! That worked and gave me the image I needed. I only needed the head because I was going to create the rest entirely in Photoshop. Let the fun begin!
The Photoshop Process (Abridged) So now I had the images of Peter and now I was ready to get started. Again referencing the the original post I noticed that it was originally an illustration and not a photo. Being an illustrator myself I thought I would go ahead and illustrate the whole thing. However two things occurred to me: One thing was time, to illustrate the entire poster would have taken days for me. I had two days at most to do this. The other thing was the teaching aspect. If I had illustrated it and did tutorials on it it would have only appealed to a handful of digital illustrators out there. There are no doubt designers out there that can’t draw so well but really want to achieve this level of design. So I decided to mostly composite the whole poster using stock photos with a few illustrated elements added in. This would make it easier for someone to learn the technique. So I started by building the background. I created the snow and illustrated the rooftop and chimney first. This established the environment and also establishes a reference of scale as I add other elements.
Once I had the background set I was ready to get started on the main subject. Like I said, my original thought was to illustrate this but just had no time. So I went to Adobe Stock and started searching for images of Santa. I obviously could not expect that I would find a Santa image that looked just like the image in the poster, that would be wishful thinking.
Instead I had to shift my gaze and not look at the entire image but rather break it up into parts. Each of these Santa images are obviously from the same series but each one was picked for a specific part of the design. I chose the first because of the legs and torso because they were facing front, the second and third images I chose for the boots, and the fourth one was used for the arm. I needed a straight arm and this was the closest I could find, but no problem with Puppet Warp. So now I had all the parts I needed to create the body, I already had the headshot of Peter so I was ready to go!
I started with the legs by extracting just that part of the image minus the boots and then brought it into the main design then scaled and position them in place. Then I extracted one boot each from the other two images. I needed them to be turned and did not want to use the same boot and duplicate it as that would have been obvious. Next was the torso, once again I extracted just that part and then added it to the image. Though the torso and legs came from the same image I needed them separate so that could manipulate the torso shape without affecting the legs.
Now the arms. I used the one arm of the Santa holding the bell for both arms. I extracted it then used Puppet Warp to straighten it. I erased the hand and bell and filled in the the fur cuff. I then used the Warp tool to basically sculpt the arm to the scene. Then I duplicated it and flipped it to put on the other side. Because of the abstract nature of the fabric and such it easy to make them look different. I then copied a couple little patches of the fabric to fill in the gaps.
Next I added Peter’s head to the scene and then used a strip of fur I got from the Santa hat image and made it a collar around his neck. The last thing of course was the hands. I found a simple open hand stock image and then used it for both hands. However I did use puppet warp again to manipulate the fingers just slightly so they were not obviously the same. Oh and I almost forgot the pillows, in the original he had a couple pillows stuffed in the suit so thought I would add that too. Now the main subject is assembled, but we are far from done.
Once I had all the pieces together I went ahead and merged all those layers together so I could edit the subject as a whole. Did a little bit more cloning and patchwork to make the suit a little more seamless and then did some dodging and burning to make the lighting and shadows consistent.
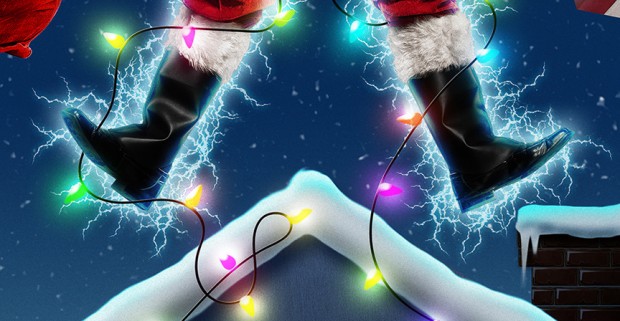
Now it was time to start with the surrounding elements like lights, flying presents, and such. I started with the lights. I used Illustrator to create the cord for the lights because you get much smoother paths using the Smooth tool. Once that was done I brought that path into Photoshop and then used it to draw not just the cord for the lights, but I also created a brush tip in the shape of the light and painted that along the same path in various colors. Then used some layer styles and some blur effects to get the lights to glow.
Now the lighting effect around the subject I created using a custom lightning brush I created. I then just scatter painted the lightning around the edge of the subject. After that I added an Outer Glow layer style to enhance the effect. Finally there were just the prop elements floating around the subject. In the original they were just presents floating around so I wanted to use that but also add a some Peter touches as well, like a PhaseOne camera and lights. The camera you can see floating in the air and the light is in Santa’s sack. Once I had those elements in place I added lighting effects based in their position in relation to the subject. The very last touch of course was the text. Peter came up with Squinchmas Vacation and I added the Yule Wonder Why! at the top.
In the end this version took about 10 hours over two days. I built it to the dimensions of a full-scale movie poster which is 27 inches wide by 40 inches tall. It is comprised of about 50 layers and the file says weighs in at about 1.5 GB. This project will be broken down in step-by-step video tutorials as part of my Photoshop Master FX Series exclusively at KelbyOne.com in the the next couple months.
A big thanks to Peter Hurley for once again being such a good sport and allowing me to to create this image. I hope you all have a Merry Christmas and watch out for cousin Eddie! LOL
You can see more of Corey’s work at KelbyOne.com and MasterFXTraining.com, and keep up with him on Facebook, Instagram, and YouTube.


