Editor’s Note: Aundre is one of the instructors for the upcoming iPhone Photography Conference, so I wanted to share his guest post from 2019 where he shares his insights for lighting and editing photos of diverse people. In addition to this, I also wanted to highlight two films he created on the iPhone since this post to show what’s possible! Below are Flower and Float. Watch these, then make sure you check out his session during the conference!
Whenever the topic of access comes up, we as digital artists love to snipe and gripe. “Man if I shot that (event, celebrity, etc.), I would have done ____, ____ or _____. But whatever, they always give the great jobs to this mope.” Flip the conversation to privilege, however, and see how everyone starts to get uncomfortable.
I mean think about it. What’s the last photo related event you were at? What did you see? Cameras, booths, whatever. But what was the crowd like? Let me fill you in: it was a group that skews older, male, and white.
Now pause.
That in itself isn’t bad, it’s just a reflection of mean income and wealth. Before the emergence of the smartphone, photography was too expensive for the layman to just pick up casually. Cost was and still is our biggest deterrent.
The question I wanted to ask with this piece: what happens when that lack of access/abundance of privilege effects our ability to story tell and leaves large portions of stories untold or shot voyeuristically?
The skinny: subjects see images that don’t fully resemble themselves. Communities see stories that don’t tell the whole tale. Everyone feels the images aren’t honest to their story. The heavy: It continues to leave stories untold or half-assed ones that are lazily told whilst shutting out photographers who may be able to do a better job.
Let’s start with the skinny. You may be in the demographic I described earlier: older, white and male. You are a talented photographer and you want to do more story telling about people of color. What can you do to ensure that your subjects look at your work and get excited?
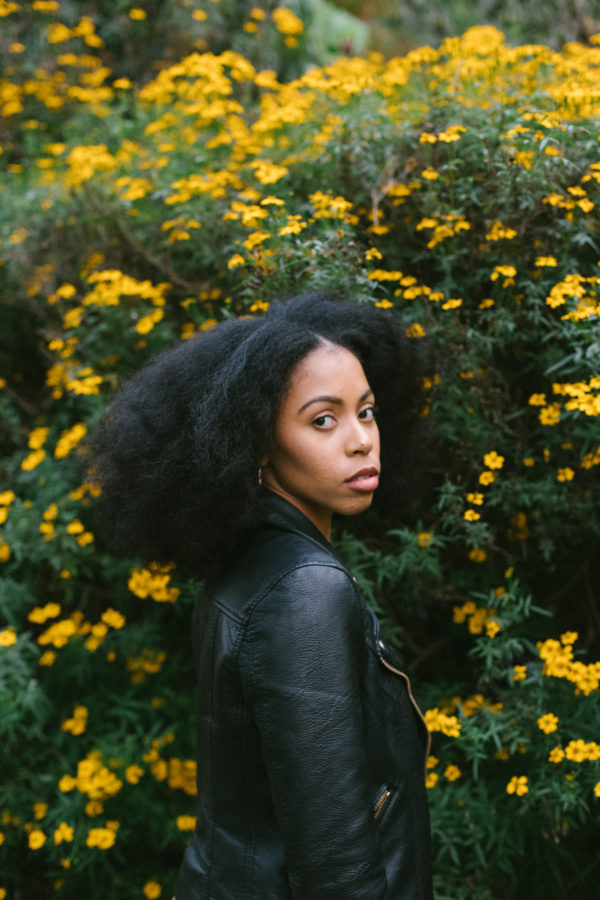
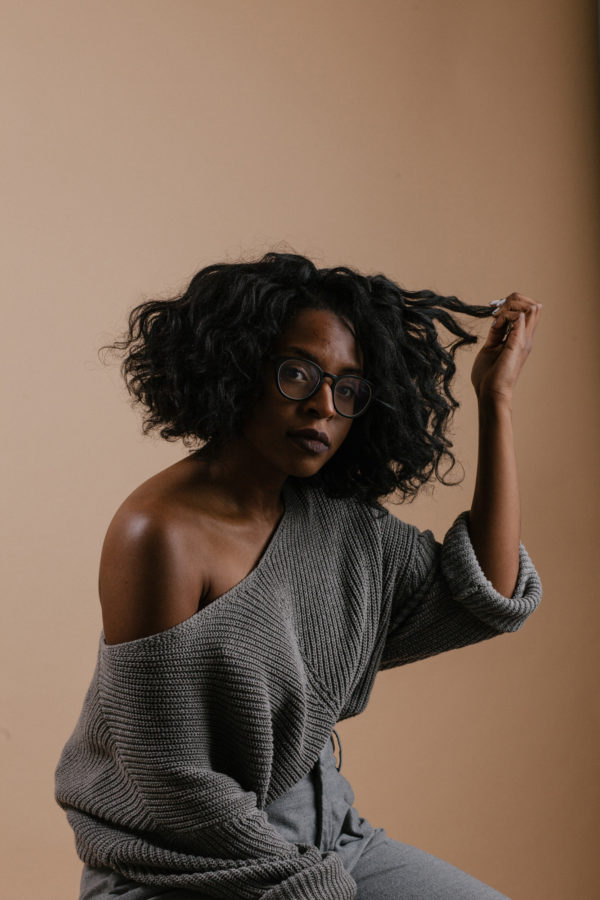
It All Starts With The Hair
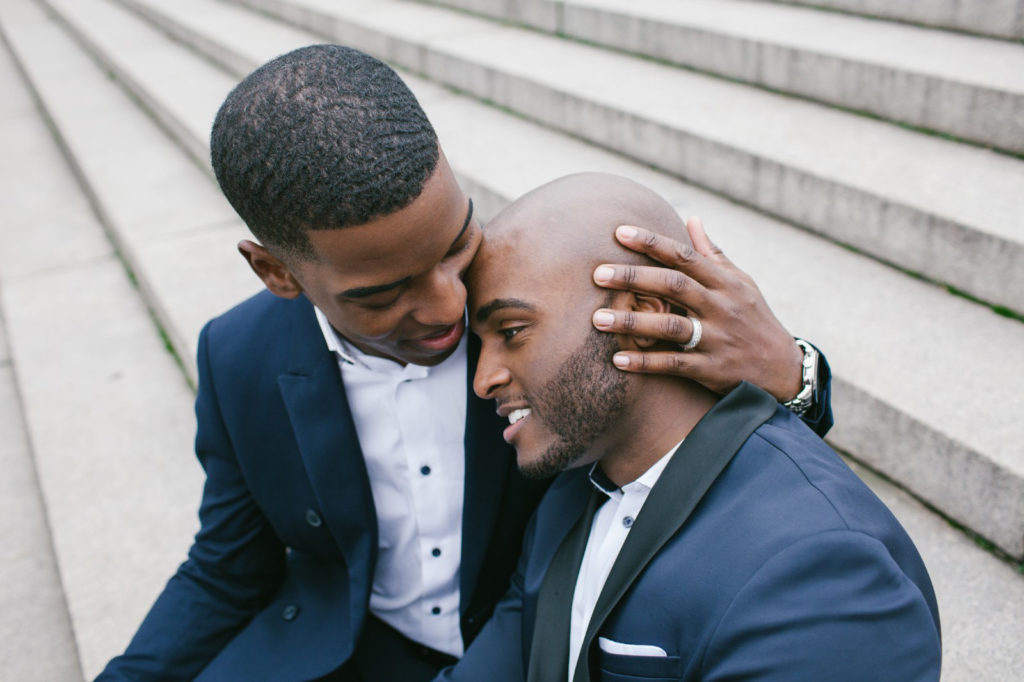
Do you use a hair light? Like a dedicated light for your models in your three light system? If your subject has dark hair, it will absorb a lot of light. Adding a hair light adds separation and helps bring out detail and texture in the hair that could otherwise be lost if only working with a single light. A few of you will chuckle and say of course. Well then great! You’re done, you can stop reading. Nah, I’m playing. Keep your butt here.
Okay so you use a hair light. How is your placement of it? Often the hair light kisses the top of a subjects hair. If you are using a crate or grid, do whatever you can to widen the area that the hair light hits to make sure models with textured hair can get details throughout their hair. For example braids, cornrows, etc. may have different patterns and designs on a part of the head.
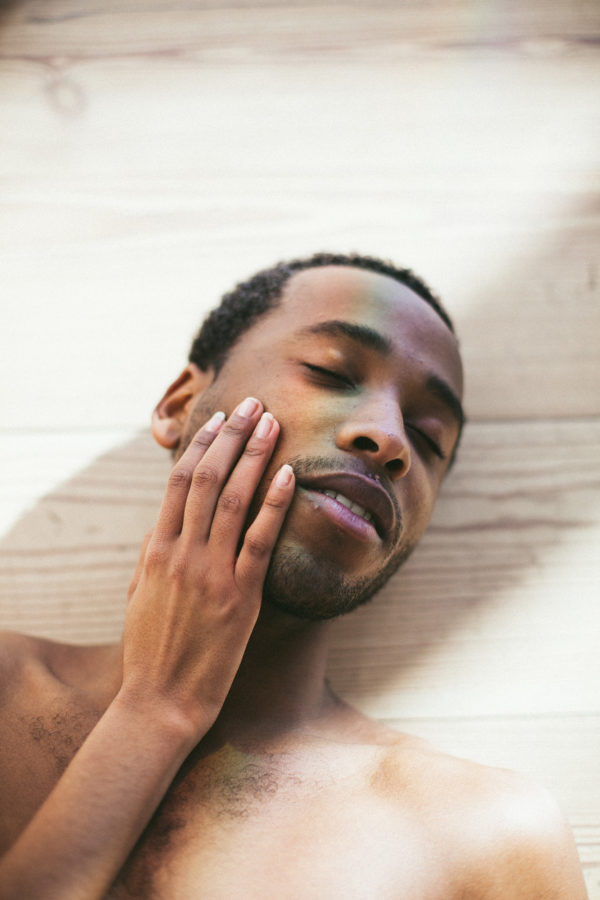
Be Conscious Of Undertones
Skin tones come in warm and cool variations, and which group your subject fits into will determine what colors of backgrounds, outfits, makeup, and accessories will complement them.
You can tell a subject’s undertones by looking at their wrist. A person with cool undertones will have veins in their wrist that appear blue, while someone with warm undertones will have veins that look green.
For best results, pair warmer colors with subjects with warm undertones and cooler colors for those with cooler undertones.
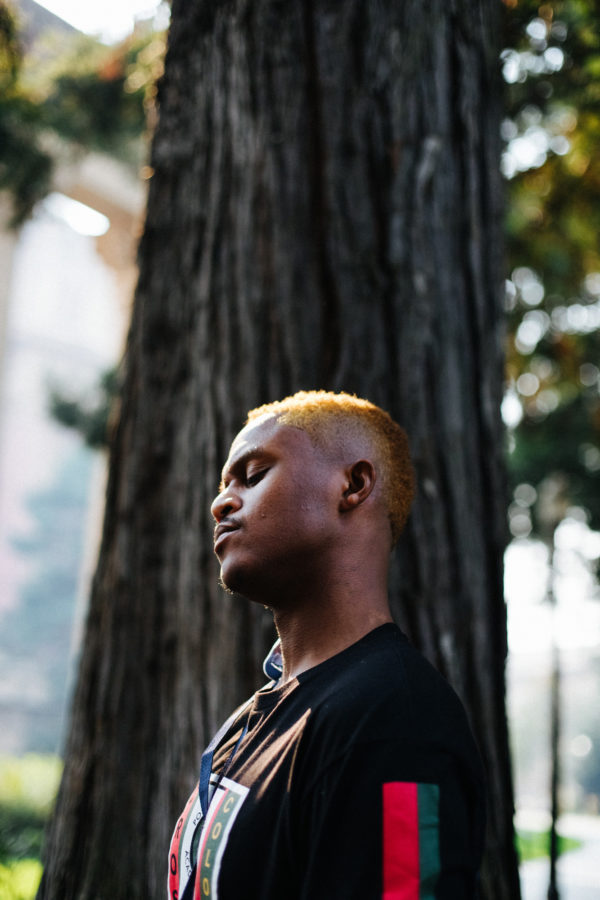
As you choose environments for portraiture, look for complementary colors that work well with the undertones for a soothing portrait, or contrasting or clashing ones for a more provocative look.
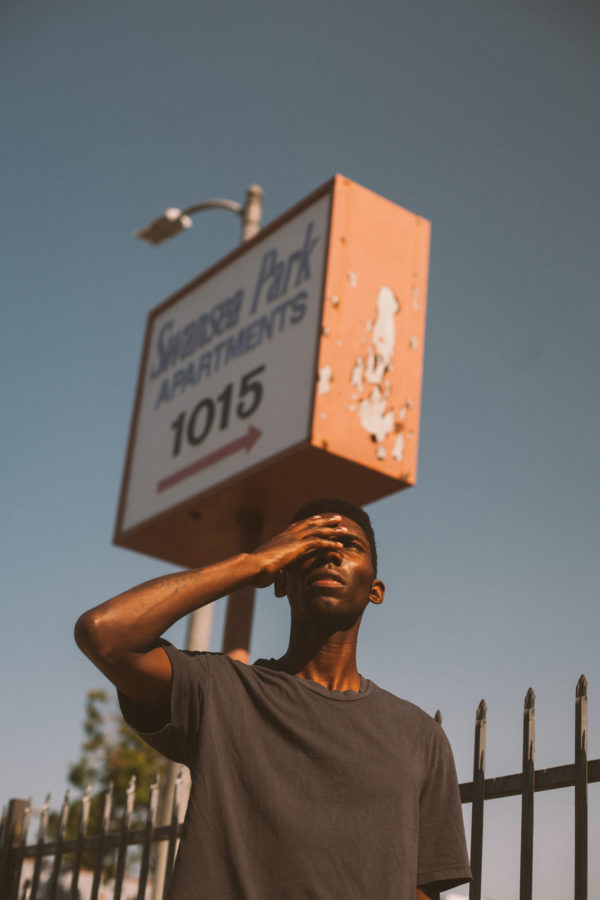
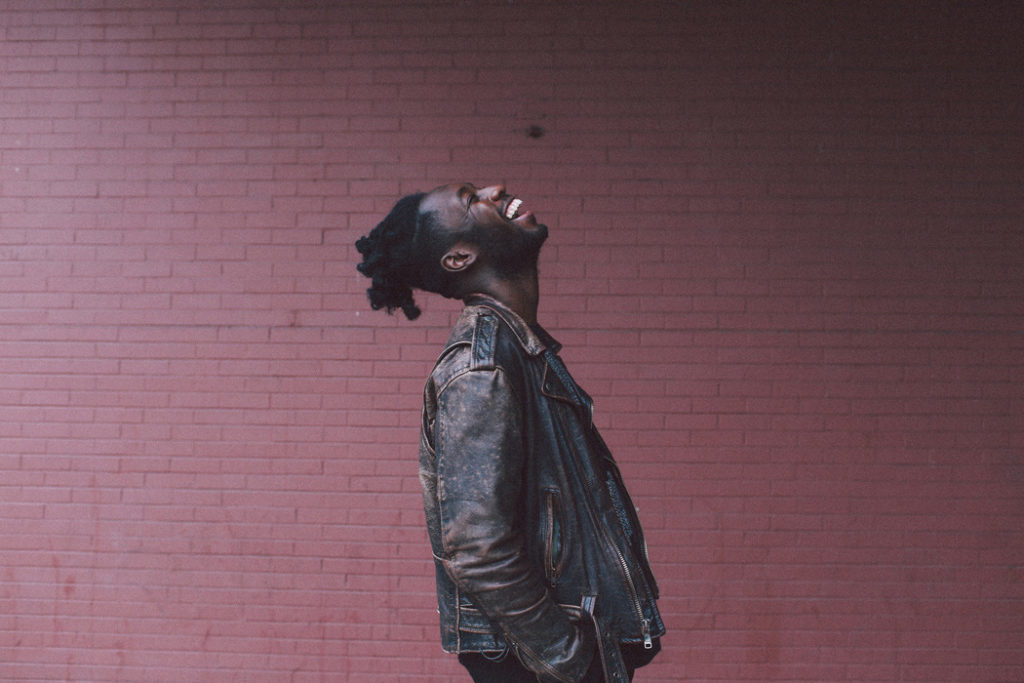
For example: I leaned into Jihaari’s skin’s orange undertones by placing him in compositional opposition to a sign with similar colors.
And you can see how the subtle inclusion of red in the setting of the photo above goes smoothly with Kelechi’s undertones.
Know The Difference Between The Whites vs. Blacks Sliders And Shadows vs. Highlights
The best advice I can give you is leave your histogram up on Lightroom while you play with these and see how the tonality changes.

Resist the urge to lighten someone up…. I’ll say it again for the folks in the back: Properly lighting dark skin is not the same as abusing the exposure slider in Lightroom. How will you know if someone’s skin is exposed properly? It’s the same as it always is. Study the differences in light. Are there highlights and shadows with differing detail? Are the shadows pure black?
If you have to, take time to use the Dodge and Burn Tools sparingly to bring up shadows.

On to the heavy:
If you are shooting a project on a topic or in an area or neighborhood that isn’t your lived experience, why not spend time doing the following:
- Do actual research about the place.
- Get there two days early. Get a good night’s sleep and just walk around and take in the environment.
- Hire a local assistant.
- Follow photographers whose work doesn’t look like yours and who don’t look like you or have your life experience.
- Review your images with your subjects.
- Make yourself accountable: give your subjects a direct line to you after the shoot is over.
- If you think this story isn’t for you, challenge your client or editor to choose someone else! (always helps to recommend a few folks.)
Thank you for taking the time to listen, if you have any thoughts, questions, feedback, praises whatever, you can find me on instagram as @aundre or email me at aundre.larrow@gmail.com.
Aundre is a former Adobe Creative Resident. You can see more of his work at AundreLarrow.com, and keep up with him on Instagram, Twitter, and Behance.