

How to Become A Concert Photographer
Concert photography is one of the most challenging fields in photography, but it’s also one the most satisfying. Imagine combining your two passions – music and photography – and shooting your lifelong idols in front of the stage. For some of you, this might feel like a dream come true.
But how do you start to become a concert photographer?
What equipment do you need?
Which camera settings work best?
In this blog post, I am going to reveal how you can get started as a concert photographer, which equipment you need when you’re on a budget and what camera settings work best. I hope it will improve your skills in this exciting field of photography.
Getting Started
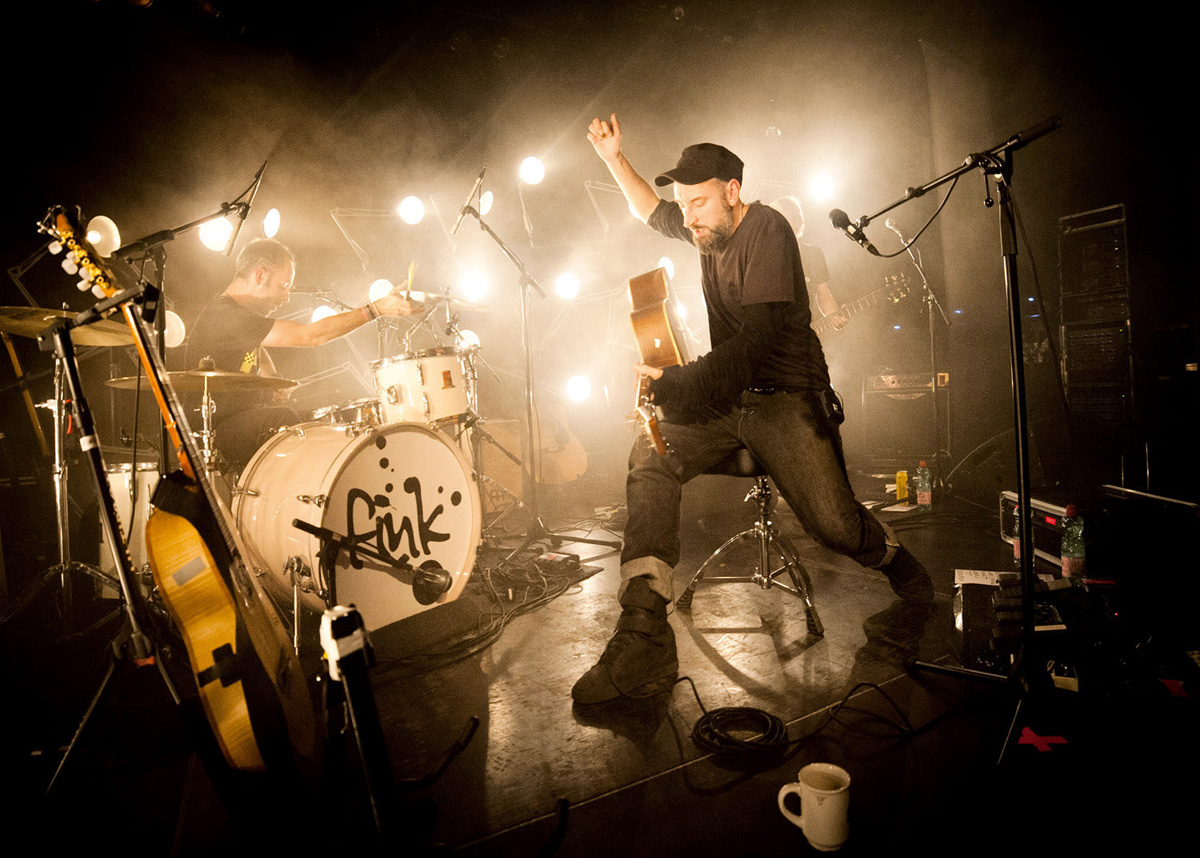
The easiest way to build your career as a concert photographer is to start taking photos of concerts in small, local clubs. In these venues, it’s more likely that you can enter with your camera equipment without any special press accreditation. In my opinion, it’s also the only route when you’re starting out, learning all the basics that will help you nail the shots when you get to shoot the big rockstars later on. Why not ask some friends who play in a band and offer them your skills next time? For sure they would be more than happy to have pictures of their next concert.
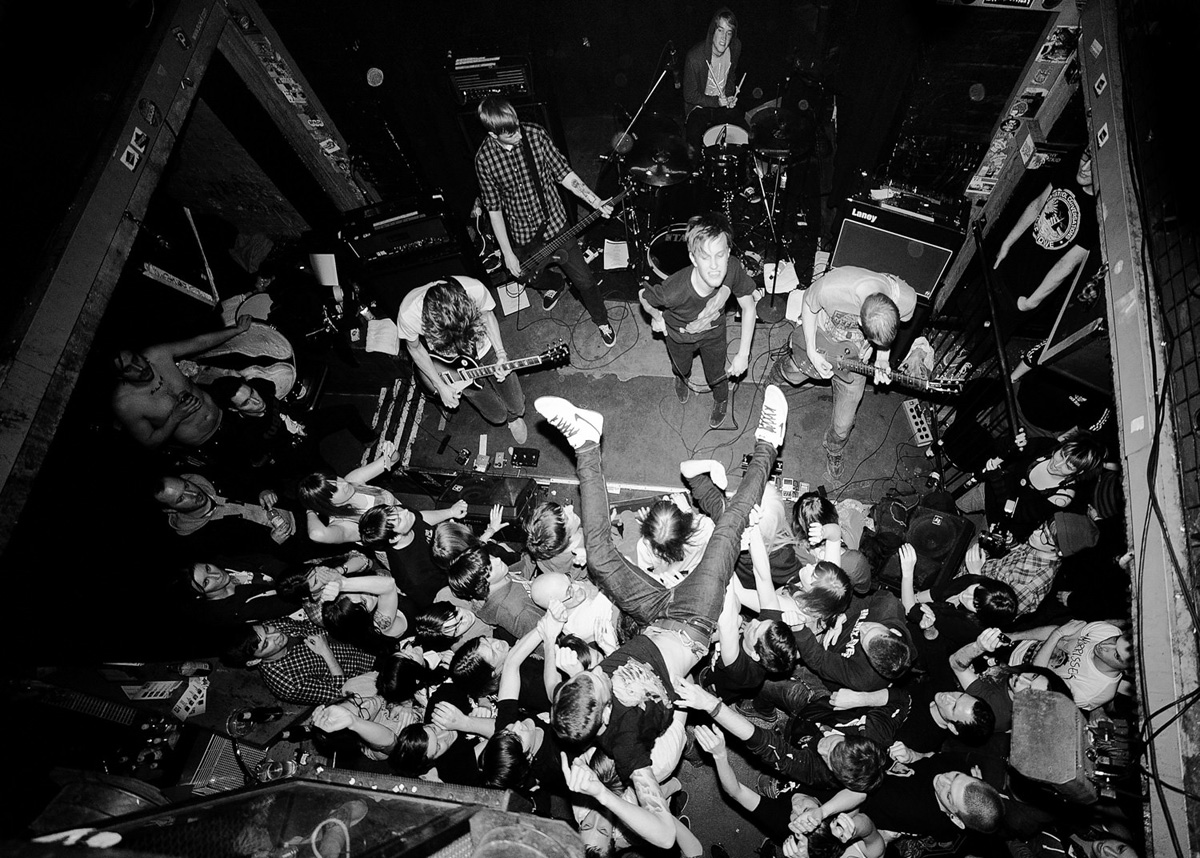
The challenge in these small venues is often the lack of stage light! Most of the concerts I was starting with had only a blue and a red spotlight on stage. Besides the fact that the musicians look like creatures from another galaxy, the light was so low that you hardly got sharp pictures when not using proper equipment.
What is the solution? Get the right camera gear!
GEAR FOR CONCERT PHOTOGRAPHY
Camera: First, you’ll obviously need a camera. There are hundreds of different cameras from various manufacturers in different formats such as compact cameras, DSLRs, mirrorless or micro four thirds (M43) systems to name a few.
If you want to get out to a concert as soon as possible, get yourself a good DSLR and don’t think about it anymore. It doesn’t matter which brand you choose. I use Nikon, others use Canon and there are others who use Sony. Nikon and Canon are the biggest players in the market and offer a wide variety of lenses. Just go to your local photography store, hold some and decide which camera body feels best in your hands.
The ISO capability of your camera is key in concert photography. Depending on your budget, try to buy a crop sensor DSLR camera with a maximum ISO setting of at least ISO 6400. You will be faced with low lighting conditions on stage and therefore need the option to set high ISO values.
Crop sensor DSLRs are mostly available as a kit package together with a lens. You can get a decent camera body with a lens such as an 18-55mm f3.5-5.6. This kind of lens is good for “everyday” photography purposes, like travel and birthday parties outside, but they are absolutely useless for concert photography. So, in addition to your kit lens you will need to get another lens, or save some money and opt for a “body only” purchase.
Lens: For novice concert photographers on a budget, I would recommend the cheap 50mm f1.8 prime lens (it’s available for all brands and is a no-brainer!), because of its ability to shoot in low-light at its largest aperture setting. This lens is made of plastic, is small, lightweight and unobtrusive. The “Nifty Fifty” – also called the “plastic fantastic” – has saved me more than a few times. For small stages, a 50mm lens is a good compromise to get a headshot of the lead singer and a full-length shot of the drummer. Alternatively, you can also start with a 35mm f1.8 lens if you prefer a wider focal length.
You might ask, “but what about zoom lenses? I can have all focal lengths covered in one lens. Why should I buy a prime lens?”
Here’s the deal. The kit zoom lenses that come with cameras have smaller apertures (higher aperture numbers). By using an aperture of e.g f5.6, less light passes through the lens (compared to f1.8), which will result in a lower possible shutter speed. From my experience, an aperture of at least f2.8 is a necessity in concert photography, and therefore a cheap zoom lens is not an option for using as a concert photographer. You can get zoom lenses with an aperture of f2.8, but they are quite expensive and thus are not fitting for everyone’s budget.
MUST-HAVE CAMERA SETTINGS FOR CONCERT PHOTOGRAPHY
The correct camera settings are key to getting awesome concert photos in low light situations. Maybe you were in this situation before. You used the fully automatic mode in front of the stage and – BAM- the little flash monster sitting on top of your camera pops up and throws the ugliest light you can think of onto the singer’s face. At this point, a lot of frustrated concert photography beginners just take their cameras home and never shoot a concert again. But wait! The following camera settings are the ones that I use all the time during concert shoots, and I promise they’ll help you to get awesome concert photos.
1) Aperture vs. Manual Exposure Mode
I started in Aperture priority mode. In this mode, you tell your camera the aperture you want to use and the camera sets the shutter speed accordingly. This is a great option for a beginner to use because you’ll be stressed enough with all the other things going on around you. However, I soon recognized that only the manual mode would give me the flexibility I was looking for. I set aperture, shutter speed, and ISO and then change them on the fly using the internal exposure bar in the viewfinder.
2) Lowest Aperture Number
When deciding which lenses will work best for concert photography, you’ll always come to the same conclusion: use fast lenses and shoot them wide open. Set your aperture to the smallest number on your lens e.g. f1.8 (which reflects a big aperture). This allows the most possible light to enter your sensor and is a must-have setting in ultra low-light stage conditions. The best zoom lenses have an aperture of f2.8, the best prime lenses f1.4 or f1.8. For beginners on a budget, like I said before I suggest to get a 50mm f1.8, which is cheap and therefore a no-brainer for concert photography.

3) Fast Shutter Speed
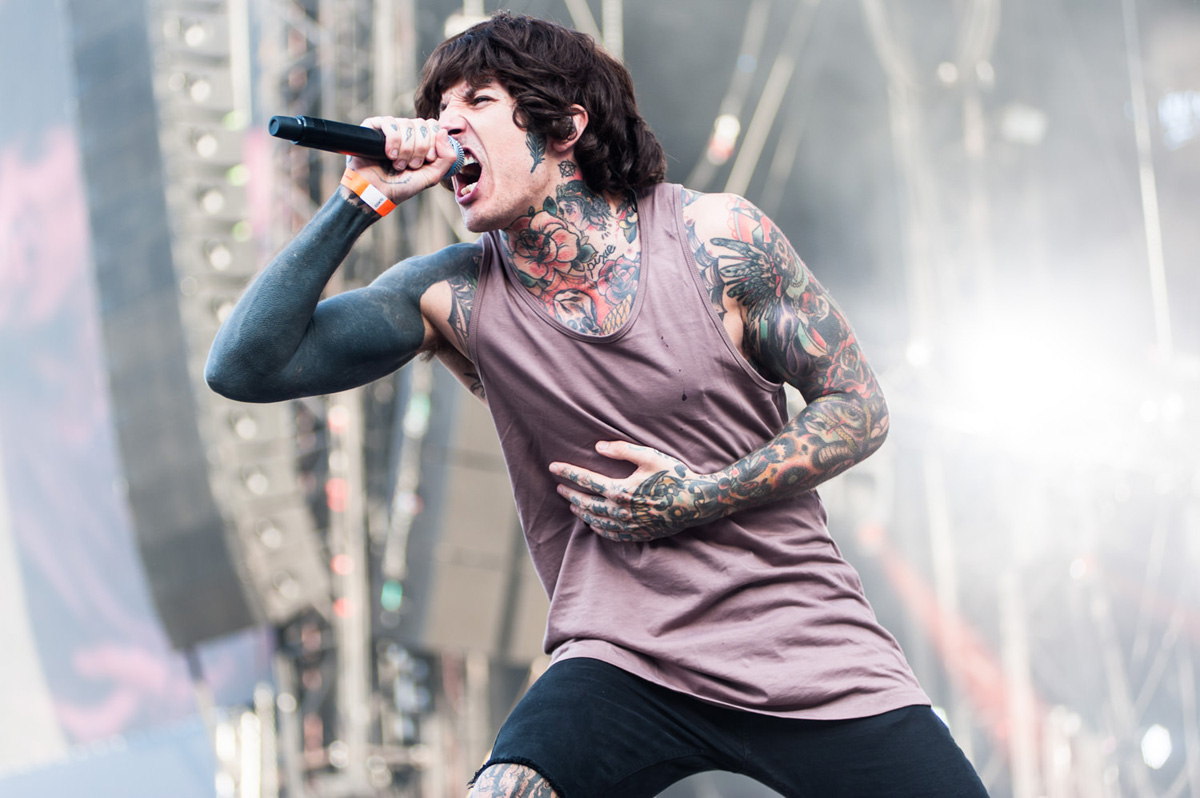
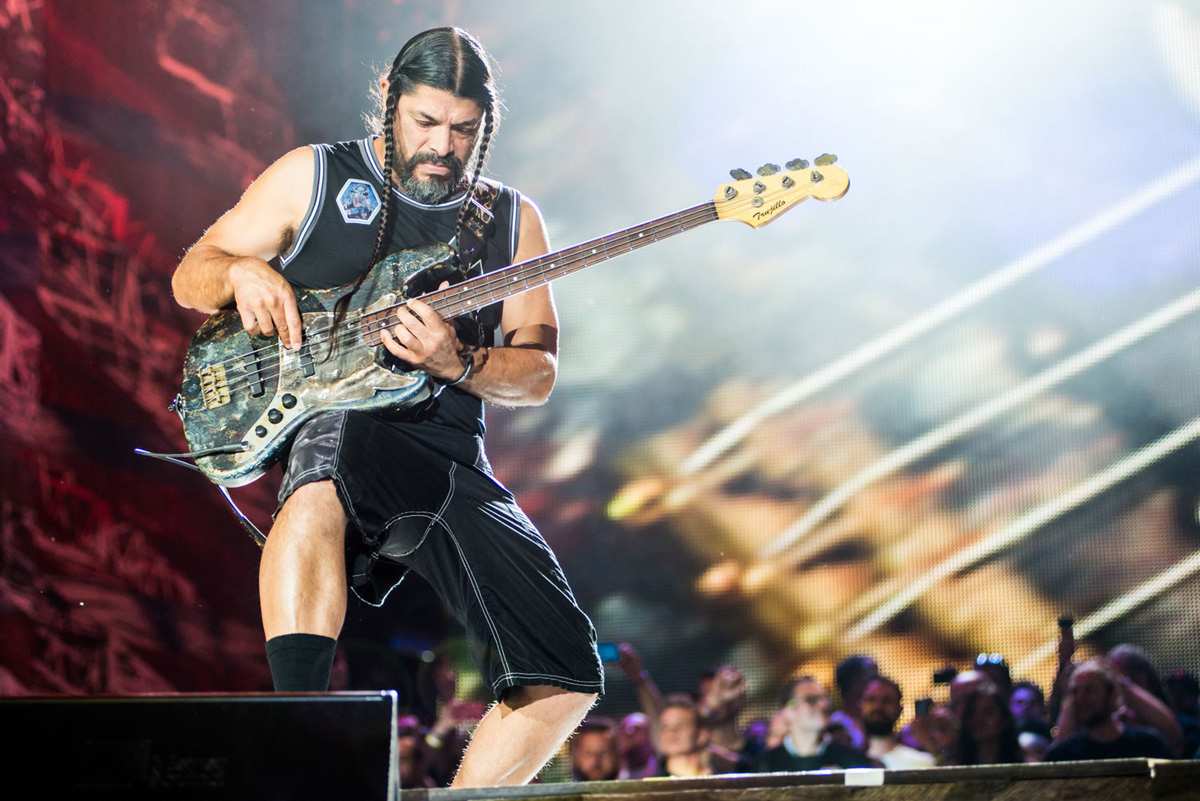
Have you ever been to a concert where the artist was hyperactive jumping from one side of the stage to the other? To freeze these movements we have to use a fast shutter speed. In general, I set my shutter speed at 1/200 and faster. Otherwise, you risk blurred photos.
4) High ISO Values
ISO or film speed refers to the sensitivity of an analog film. Today the term is used for the sensitivity of your digital sensor. The higher the ISO setting the less light is needed for a proper exposure, but the more noise you will encounter in your pictures. Depending on the ability of your camera a good starting point is an ISO setting of 1600. If my shutter speed is too low at this setting, I will crank up the ISO setting to 3200 or 6400.
5) Spot Metering (using Aperture priority mode)
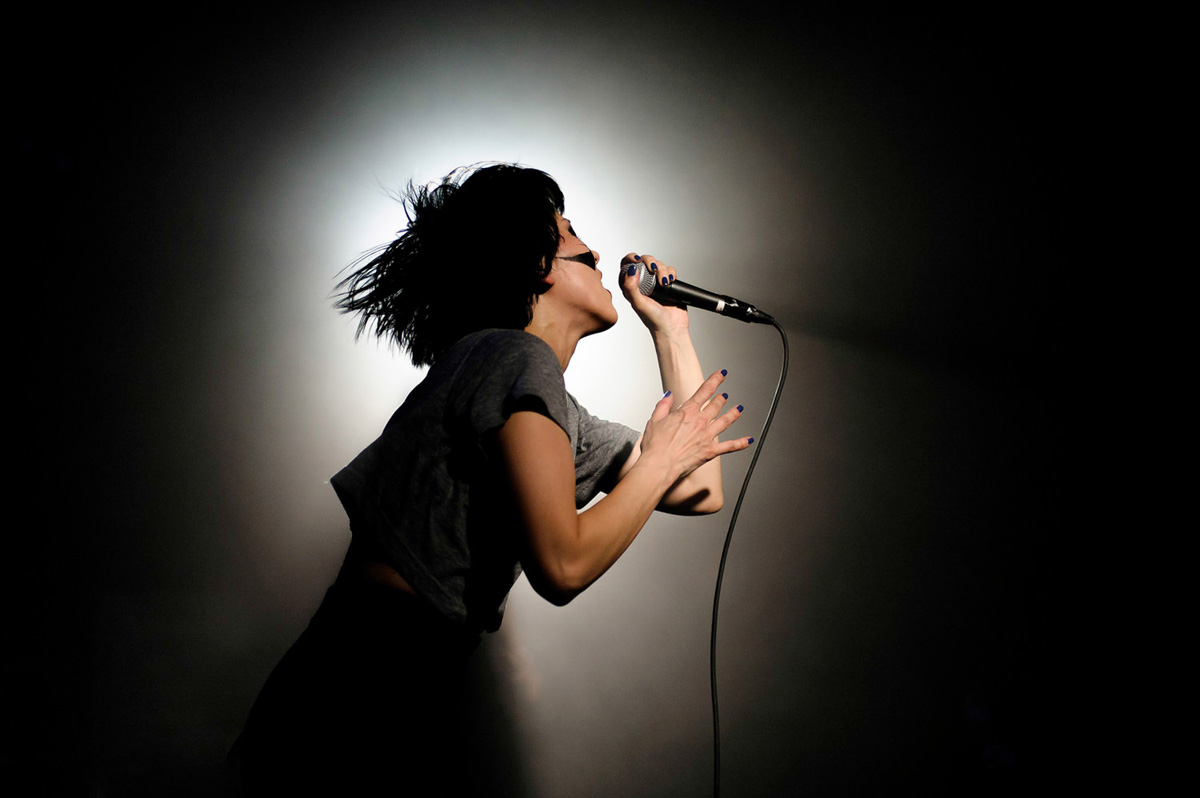
Set your camera’s internal light meter to spot metering. This takes a light reading limited to the center of your viewfinder. When shooting concerts, you will often find yourself in a situation where the artist is lit by a spotlight and the rest of the stage is almost dark. When using spot metering mode, place the artist’s face in the middle of your viewfinder and you’ll get the right exposure for it. When using the matrix (or evaluative) metering setting, the camera will take a light reading at several points in the scene and you’ll probably get overexposed faces if the background is dark.
6) Autofocus Point
On your camera, only use the most central focus point in low light situations. This will be the most accurate one. If you don’t always want to have the artist in the middle of the frame, you have to “recompose.” Simply push your shutter button halfway down to focus on the artist’s face. By holding the shutter button, you lock focus. Now move your viewfinder until you get the desired framing and push the shutter button fully down.
To use this technique, you have to set your camera to “Autofocus single” (AF-S) mode, otherwise the camera focuses continuously whilst you’re reframing your picture.

7) Auto White Balance
Use the auto white balance setting on your camera. The reason being is that I shoot in RAW format and can, therefore, adjust the white balance setting in post-production anyway.
8) Multiple Shot (Burst) Mode
Set your camera to multi-shot mode. It allows you to rapidly shoot three to four photos in a row (depending on the frames per second of your camera model). It’s more likely that at least one of the four photos is tack sharp whereas the others might not be in focus.
9) Never use flash
In general, you are not allowed to use a flash in concert photography. Imagine ten photographers burst their flashes at the same time. This would be quite annoying for the artist. Second, straight flash pictures don’t look awesome. So my tip is to learn the basics without using a flash.
10) RAW Format
Always shoot concerts in RAW format. If you shoot in JPEG mode, the camera’s internal computer adds contrast, saturation, and sharpness to your photos. These files look great when you open them on your computer, but don’t leave much freedom in post-production. If you shoot in RAW format, the camera does not process the photo at all. The advantage is that you can change parameters like exposure, white balance, saturation, contrast, clarity and so on afterward.
With these camera settings, you will be able to get great results when shooting in low light conditions such as concerts.
Summary
– Start in small clubs
– Get a crop sensor DSLR camera with an ISO setting of at least 6400
– Buy a 50mm f1.8 or 35mm f1.8 lens
– Use the camera settings from above
– Enjoy living your passion
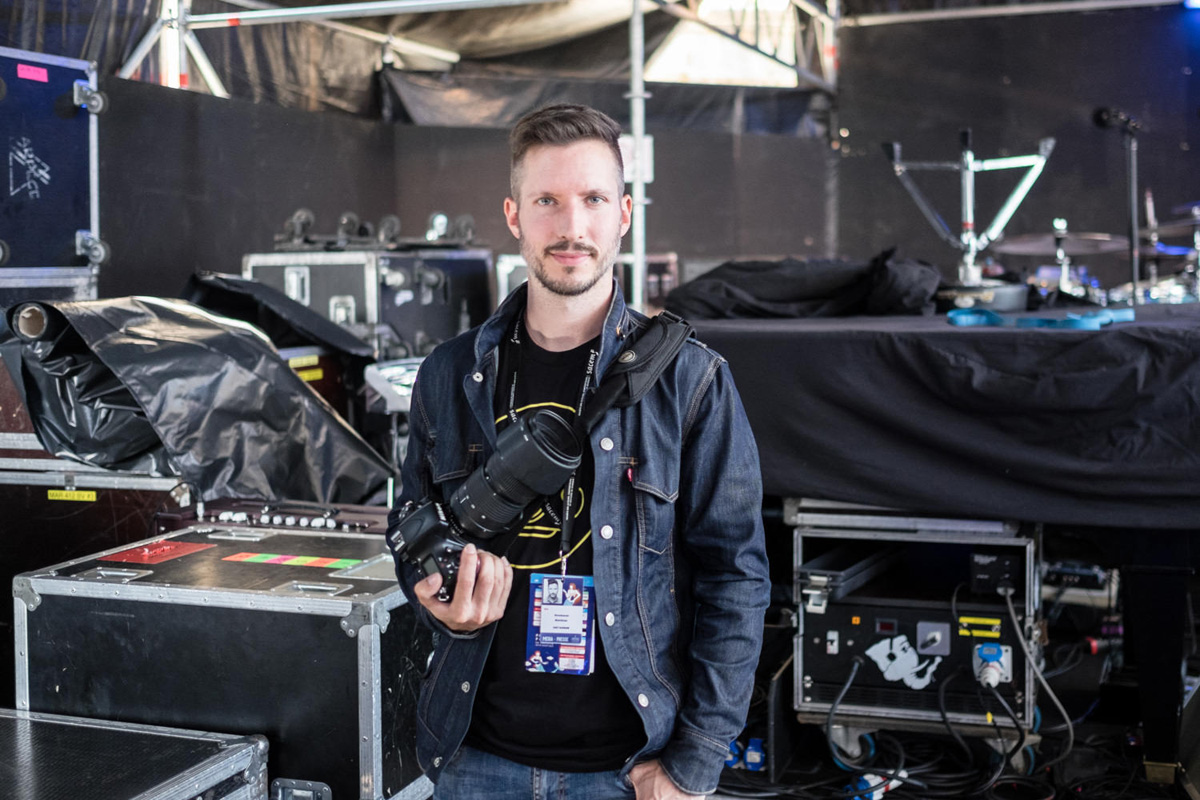
Matthias Hombauer is the founder of How To Become A Rockstar Photographer, a platform that helps passionate people start living their dream as concert photographers. In his weekly HTBARP Podcast he is interviewing the worlds best music photographers who share their crazy story about their Rockstar life. You can follow him on Facebook, Instagram, Twitter, and LinkedIn.

Let me know if you have any questions