#TravelTuesday today was supposed to involve some actual travel, but because of the decisions of two national governments, I’m stranded in the UK rather than making some epic new content in Norway. Fingers crossed it all gets resolved soon because I’ve just about had enough now! I’m Dave Williams, here for you as always on ScottKelby.com. Today, I want to lay down a quick Adobe Photoshop tip to save you some time with hot pixels. Let’s do it!
Hot pixels can have a number of causes, including sensor faults. If you notice the same dead pixel from one image to the next, it’s a sensor problem that you need to have repaired. Now that bit’s out of the way, what about hot pixels in general? What are they?
Hot pixels are often the result of a sensor that hasn’t received enough light in exposing an image, so they’re likely to appear in areas of shadow. For one of a number of reasons, an individual pixel or a small group of pixels will appear red or white, as if hot, which often stands out as a negative attribute to our image because of its distracting contrast. It’s common for us to get hot pixels on our images of the night sky, particularly when we shoot with no moon in near darkness.
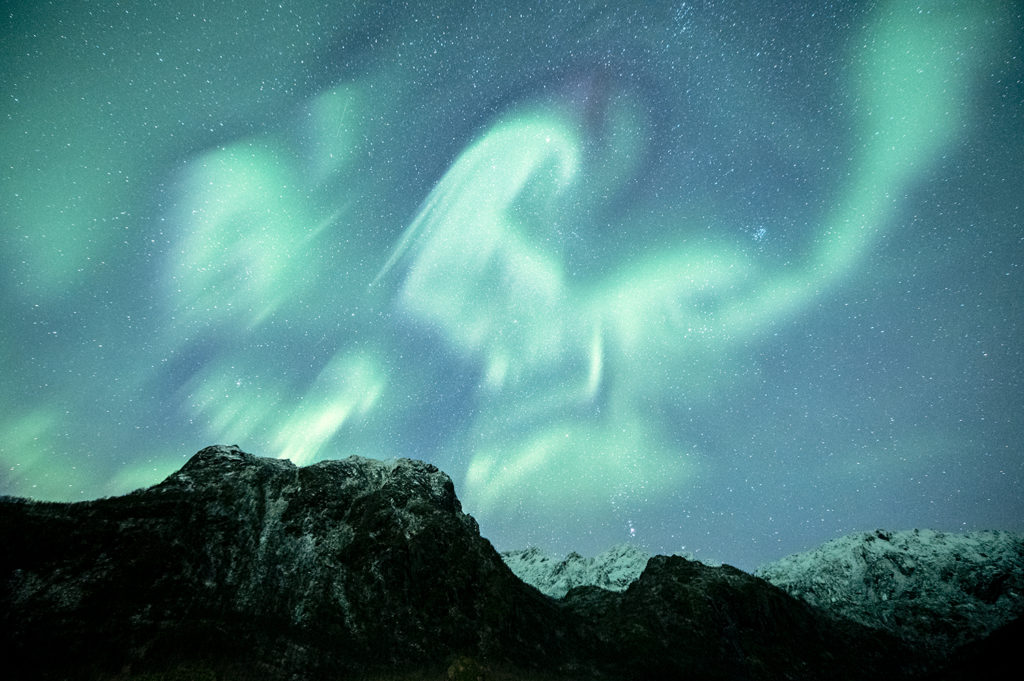
While it’s true that we can find and remove each of these hot pixels ourselves using the Spot Healing Brush tool, there is a simpler way. Take a look at this hot pixel on the left of this image. It’s halfway up and close to the left border.
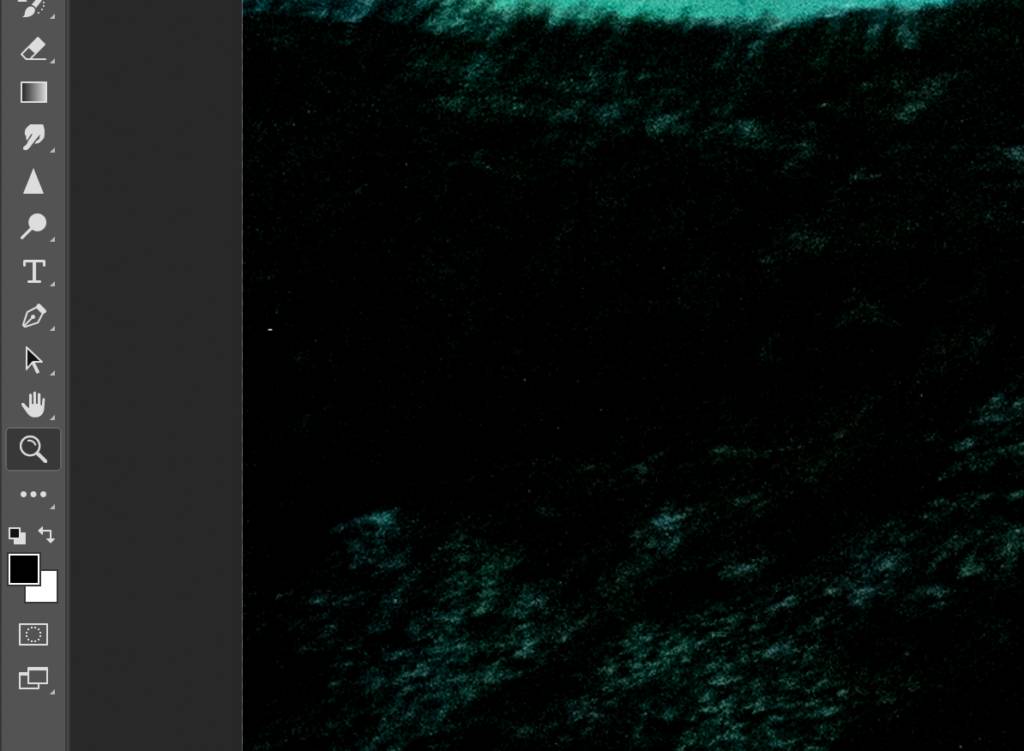
This one has fallen within a dark mountain range on one of my aurora images. There’s nothing there causing any light; it’s just a glitch of the pixel. Spread across this image are a few hot pixels, and to get rid of them all at once there’s a simple method we can use, with just one filter.
If we select the Dust & Scratches filter from the Noise menu (Filter > Noise > Dust & Scratches), we simply need to select a relatively low option for the pixel Radius—usually no more than 5—and those hot pixels are automatically removed.
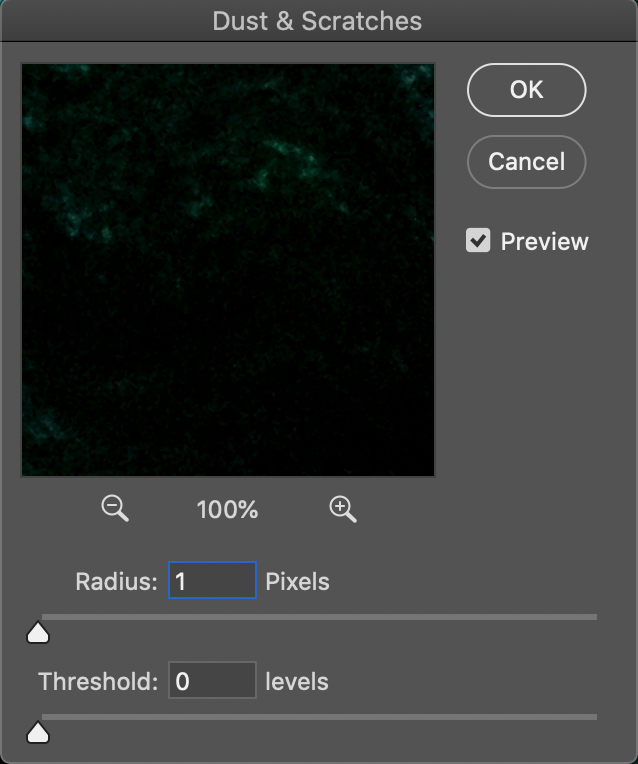
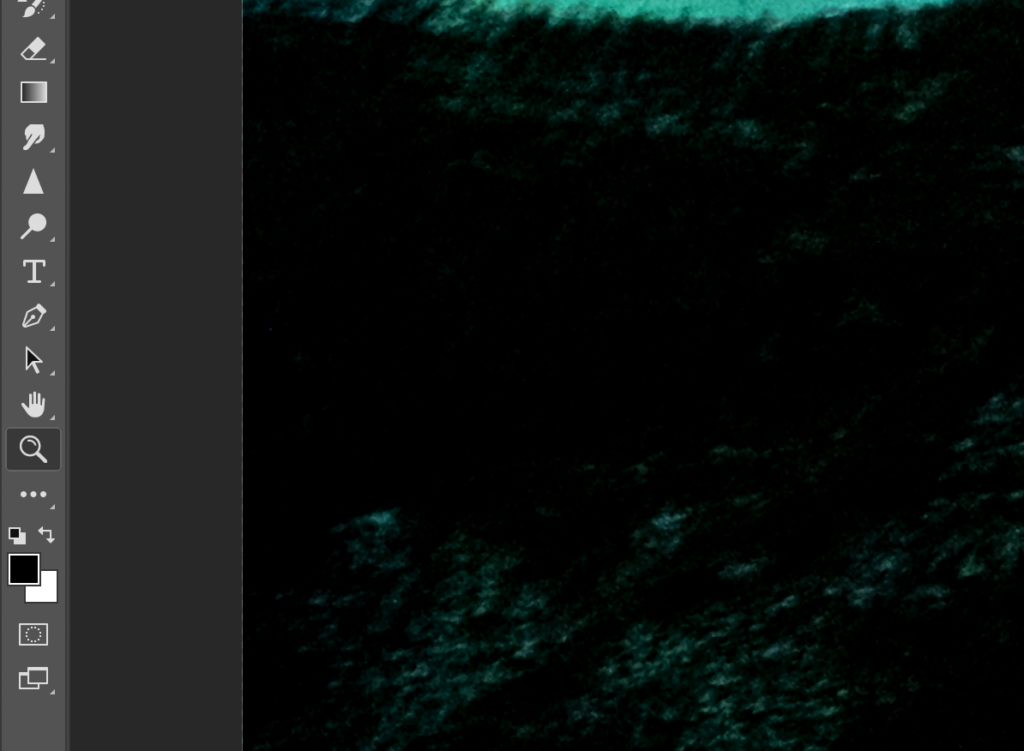
Because this hot pixel was just a single pixel rather than a small group, having the Radius set to 1 has removed it. This simple method has saved time in zooming in and scanning over the entire image, and it leaves us able to quickly deal with technical issues in order to focus more of our time and attention on artistic retouching.
Have a great week!
Much love
Dave