

8 Tips For Getting The Most Out Of A Point And Shoot Camera
1. Read The Manual
This seems obvious, but the best way to get the most out of your point & shoot is to just READ THE MANUAL. This is the quickest way to get a general idea of all of your camera’s features and get familiar with settings and menu options.
Nowadays, with all the information on the Internet, it’s also likely there are some video tutorials on using your specific camera that I am certain would be useful.
2. Not All Point & Shoots Shoot Raw
Some models will shoot RAW. If yours does then without a doubt, shoot in RAW. Shooting in RAW will capture all the visual data (unlike a compressed JPG) and allow you far more control when it comes to post-processing.
If your camera does not shoot in RAW, then shoot in the highest quality JPG possible. Keep in mind that, when it comes time to do your post-processing work, JPGs cannot be pushed nearly as much as RAW images.
3. Get Familiar with the Settings
If you are new to photography, chances are you’re not familiar with the different shooting modes. Here’s an exercise you should do right away: take a series of shots of the same subject using the different modes and adjust the settings between shots.
For example, in aperture priority mode, change the aperture between shots so that you can see what difference the aperture can make on a shot with regarding the depth of field. Then learn how to use exposure compensation to underexpose or overexpose a shot, and take a series of shots adjusting this.
It’s often easier to understand the difference these settings make when you can actually see that difference.
You’ll learn many lessons this way. For example: because it can be difficult to get a narrow depth of field with a point & shoot camera, you’ll find it helps to use a long focal length, get close to your subject, AND use a large aperture.
Also, get familiar with some of the additional features such as the macro setting. I have found this setting to be very useful when shooting portraits close-ups.
Don’t limit yourself. The best way to get familiar with the camera is to try each setting and get a feel for how it works. This will help you get comfortable with the camera and help you to develop your own unique shooting style.
4. White Balance
Your camera’s white balance settings will affect the overall color tint of your images. If your camera has white balance settings, it will probably let you shift between daylight, shade, cloudy, tungsten, fluorescent, auto, and custom.
Either set your white balance to auto or to the correct lighting that you are shooting in so that your images don’t end up too yellow or blue. If, however, you inadvertently change the white balance to the wrong setting, don’t panic. It can be corrected in post-processing, especially if you’re shooting RAW.
5. Learn the Basic Rules of Photography
Sure, rules are meant to be broken, but one that you can’t get away from is composition- learn it! Whether you are using an expensive DSLR or a simple point & shoot, practice composition. Get familiar with where to place subjects and how to fill the frame. Study the rule of thirds, leading lines, symmetry, repetition etc.
6. When to Use Your Flash
Most point & shoots have an on-camera flash that is pretty convenient, but knowing when to use it is crucial.
Generally, most would tell you never to use your pop-up flash and opt for natural lighting—and for the most part I cannot argue that theory. The problem with pop-up flashes (even on DSLRs) is that they can be harsh and unflattering. This is because they are pointed directly at your subject and on the same plane as the lens, providing harsh light.
On the other hand, there are some good uses for flash, such as using it as a fill light. If a scene has a high dynamic range with really bright areas and darker spots, then one of two things can happen 1) Either your highlights will be blown out and your shadows will be exposed correctly or 2) Your highlights will be exposed correctly and your shadows will be black.
Using your flash can help balance the light in the scene and give a more even exposure throughout. By exposing for the highlights, you can ensure that they will not be blown out. You can then use your flash as a “fill” to provide additional light and exposure the darker areas of the scene correctly.
I often make use of this technique when shooting property interiors to ensure windows are not blown out and the interior has a nice even exposure with no shadows—this gives me a good, even exposure of the complete scene.
7. Avoiding Flash When Natural Light Is Limited
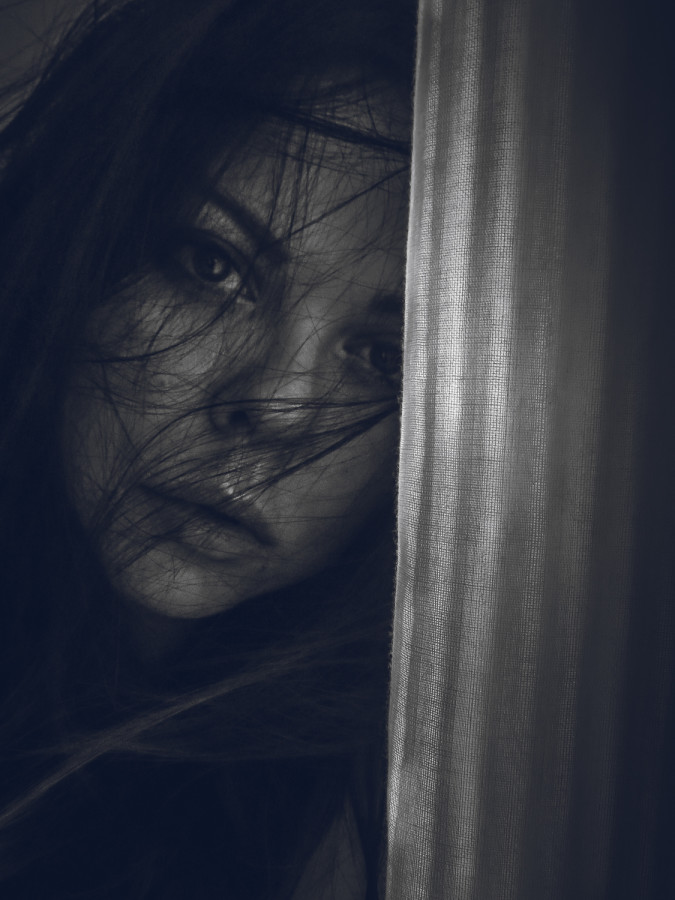
Indirect, softer lighting is always better than harsh, direct lighting. When shooting an indoor portrait, try placing your subject near a window and use all the available natural, softer light that you can.
When natural light is limited, desk lamps, LED lights etc. make a great alternative. Just place them away from the camera and not too close to the subject for softer, more flattering light. You can also soften the light more by holding a white plastic bag in front of the light to diffuse it.
8. Zoom, Zoom, Zoom
The best thing about many point & shoot cameras is the zoom capability without needing additional lenses. The Canon PowerShot I use boasts 35x optical zoom. With patience and a steady hand, you can get some really awesome shots:
Don’t be afraid to experiment with the zoom. Go wide angle and low down for a more dramatic feel, put your camera on a tripod, use a slow shutter speed, and zoom the lens as you take the shot.
You can see more of Meagan’s work at MeaganVBlazier.com, and follow her on 500px, Instagram, Facebook, Twitter, and Pinterest.
This article originally appeared as part of the 500px ISO blog.
“This article originally appeared as part of the 500px ISO blog.”
I caught this at the bottom of the post. I went to the original article and found different images than the ones posted here. More relevant images anyway. While these images are pleasant enough (although I don’t care for the fake footprints or composite birds, etc) they have little to do with the article. Brad, were you not allowed to use the original photos? What’s the point then?
Thanks for reading, Bill
Great tips and advice and incredibly stunning images that give a great and unique mood and atmosphere!