

Hey everyone. Good to see you here again!
A big hug goes to Scott and Brad for inviting me back to be a guest blogger. It’s not only quite an honor to post here, but it’s also great fun to share photo how-to info – and photo inspiration – on Scott’s popular blog.
I call this post, Transforming Your Home into a Professional Photo Studio, which coincidentally is the title of my newest class on KelbyOne, releasing tomorrow!
In this new class (which was shot in a home near the KelbyOne studios in Oldsmar, Florida) I share tips, tricks and techniques for shooting in your home with speedlites, constant lights, Ice Lights and even a small flashlight. The main idea of the class is that you don’t necessarily need to spend thousands of dollars a month on a studio rental, as well as thousands of dollars on lighting gear, to get good portraits.
Let’s start by taking a look at some of the end-result photographs, as well as some of the behind-the-scenes photos, from the class. For each photo I’ll share a quick tip.
After sharing some photos from the class, I’ll share some of my “home studio” images that were taken closer to home, actually in my home in Croton-on-Hudson, New York.
Let’s go!
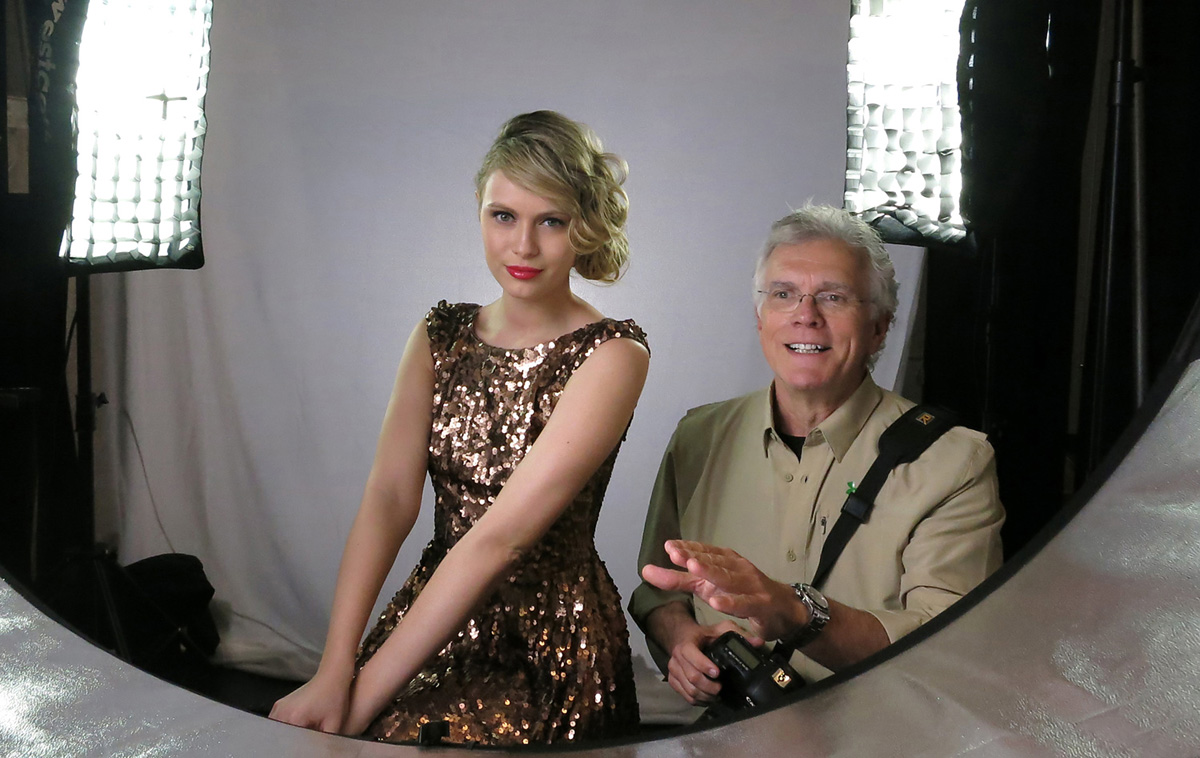
Here’s a favorite shot from the class. I used two Canon 600EX RT speedlites to light our model. She was posed against the plain living room wall.
Tip: Fire a speedlite through a colored gel and a gobo to create a dramatic background.

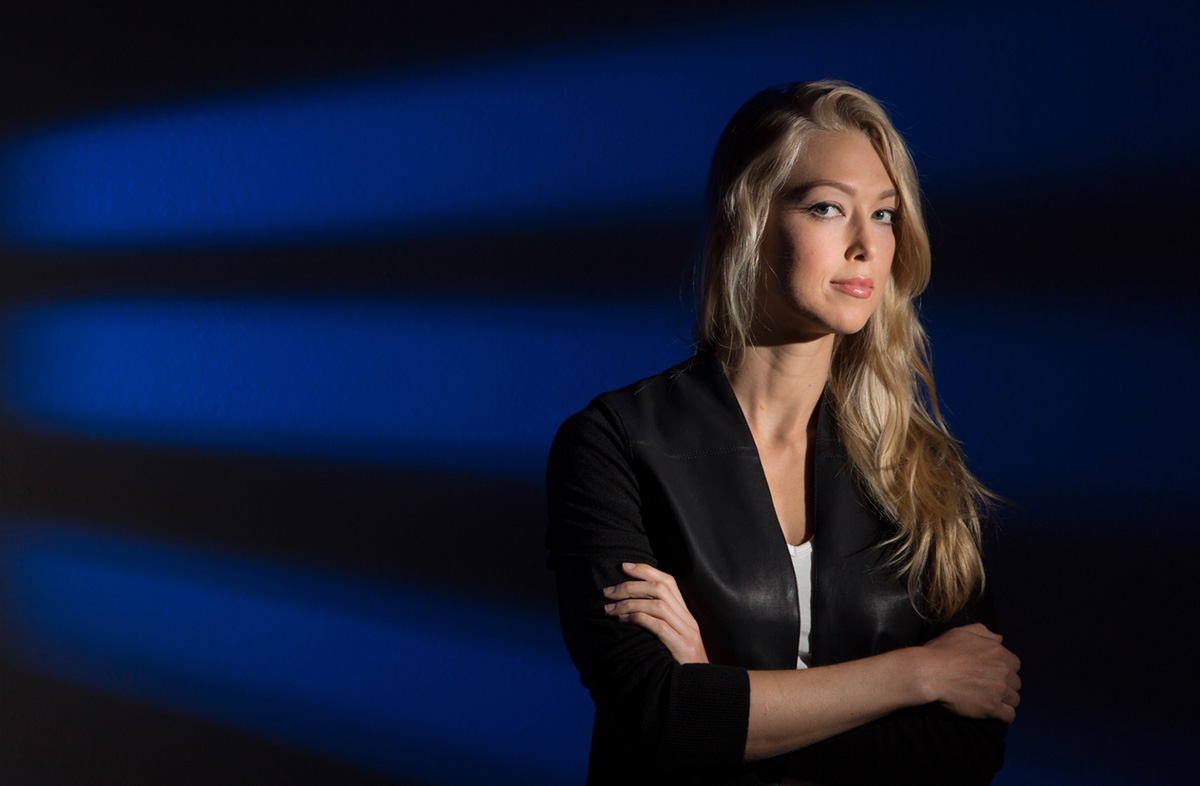
Borrrrrring! This is a natural-light shot of our model illuminated only by room light.
This photograph had nice highlights and strong shadows, which equal good contrast. The light is coming from above and slightly behind the subject.
Tip: Take the damn flash off the camera.

In this behind-the-scenes shot of the previous photograph, you can see our assistant for the day, the talented Kathy Porupski, holding a Westcott Apollo softbox, fitted with my Canon 600EX RT speedlite, above our model’s head.
Tip: When working with a softbox, changing the position of the light even by a few inches can make a big different in the lighting (highlights and shadows), which I go into in the class.
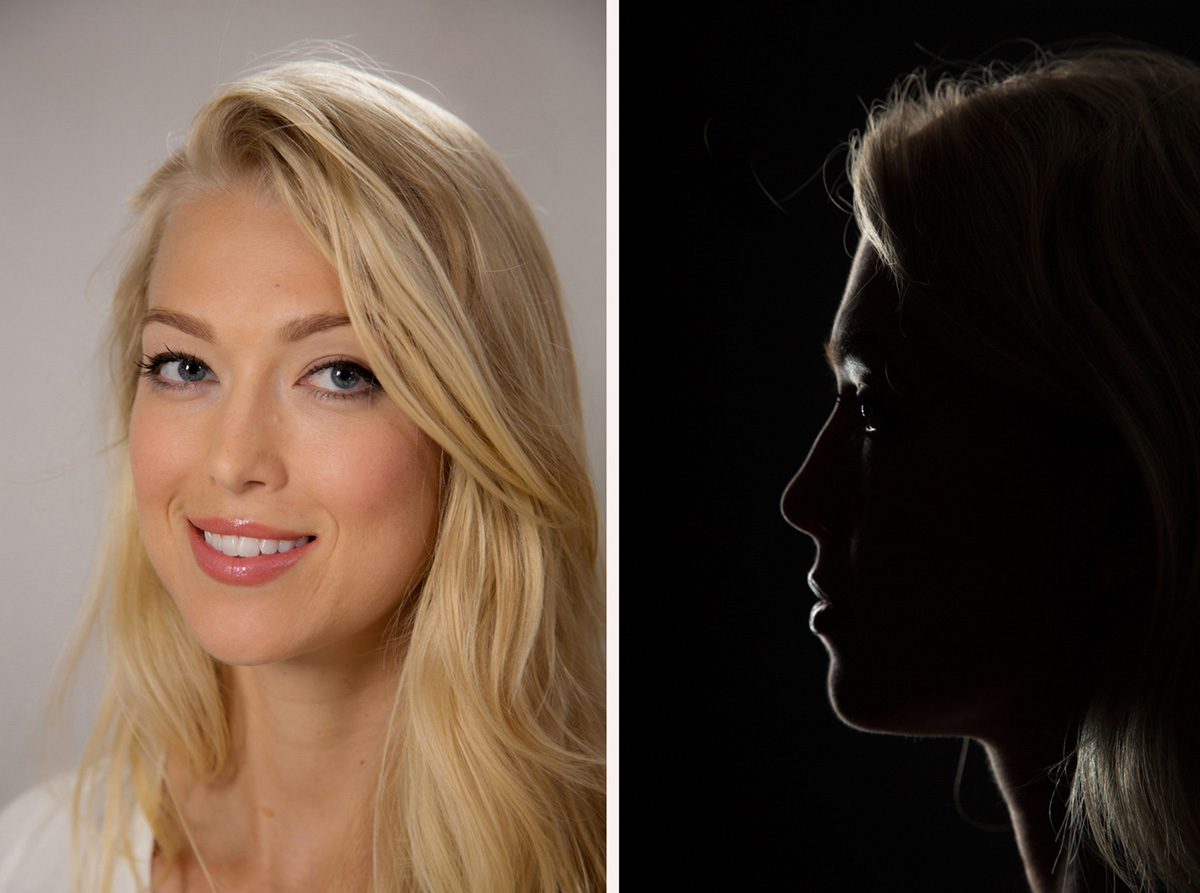
“Light illuminates, shadows define.” “Shadows are the soul of the photograph.” “Shadows are your friend.” Those are some of my favorite quotes about shadows, in addition to Joe McNally’s quote, “If you want an interesting photograph, don’t light the entire subject.”
These two photographs from the class illustrate how fairly flat lighting (from Westcott Ice Lites) can be flattering, and how dramatic side lighting (from a Canon speedlite mounted in a Westscott Apollo softbox) can create a dramatic image.
Tip: Always remember that the most important thing about a photograph is the mood or feeling one gets when the image is viewed. These two pictures of the same model in the same room have totally different moods . . . moods created by lighting.
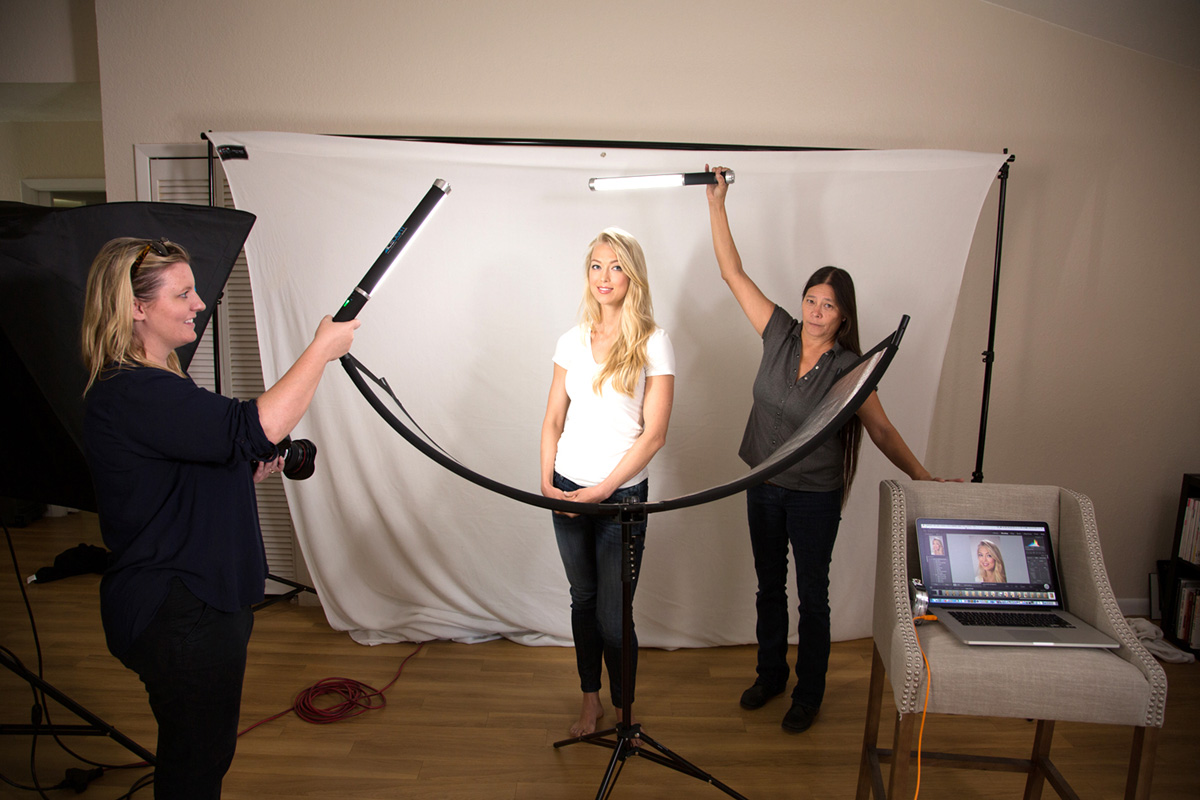
Here’s a behind-the-scenes shot of Kathy and Jen Coffin, the awesome producer of the class, helping out with the Ice Lites. They were cool to work with – both the Ice Lites and Kathy and Jen!
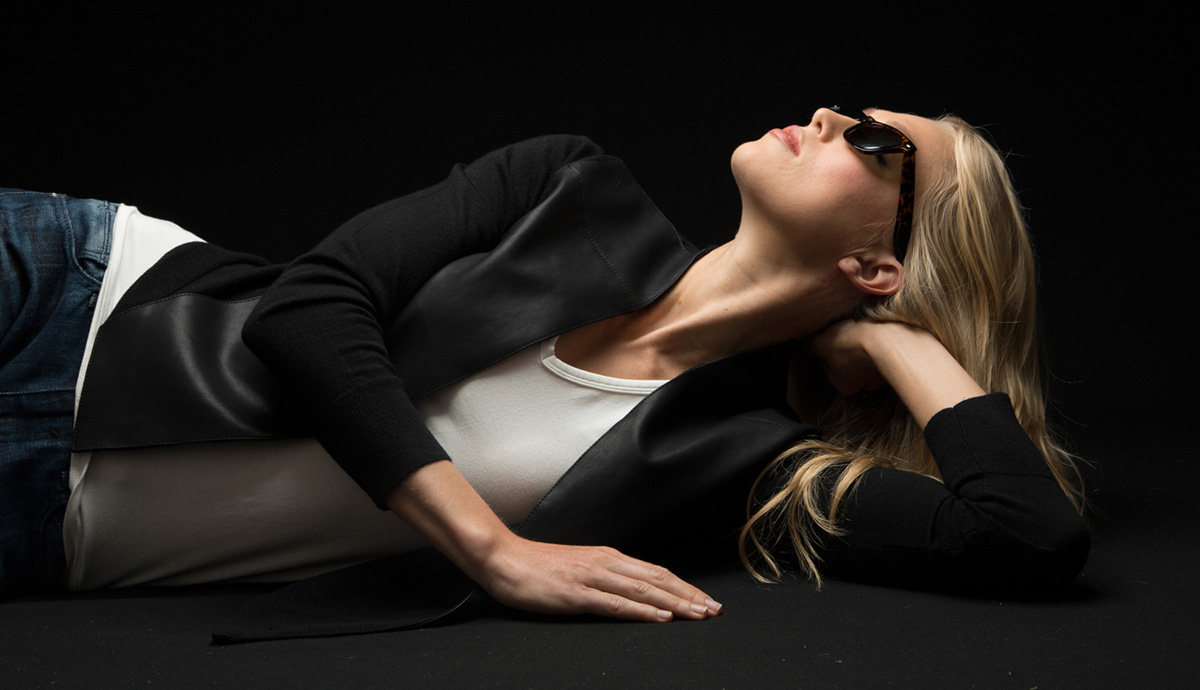
Here’s a look at some of my Croton-on-Hudson images.
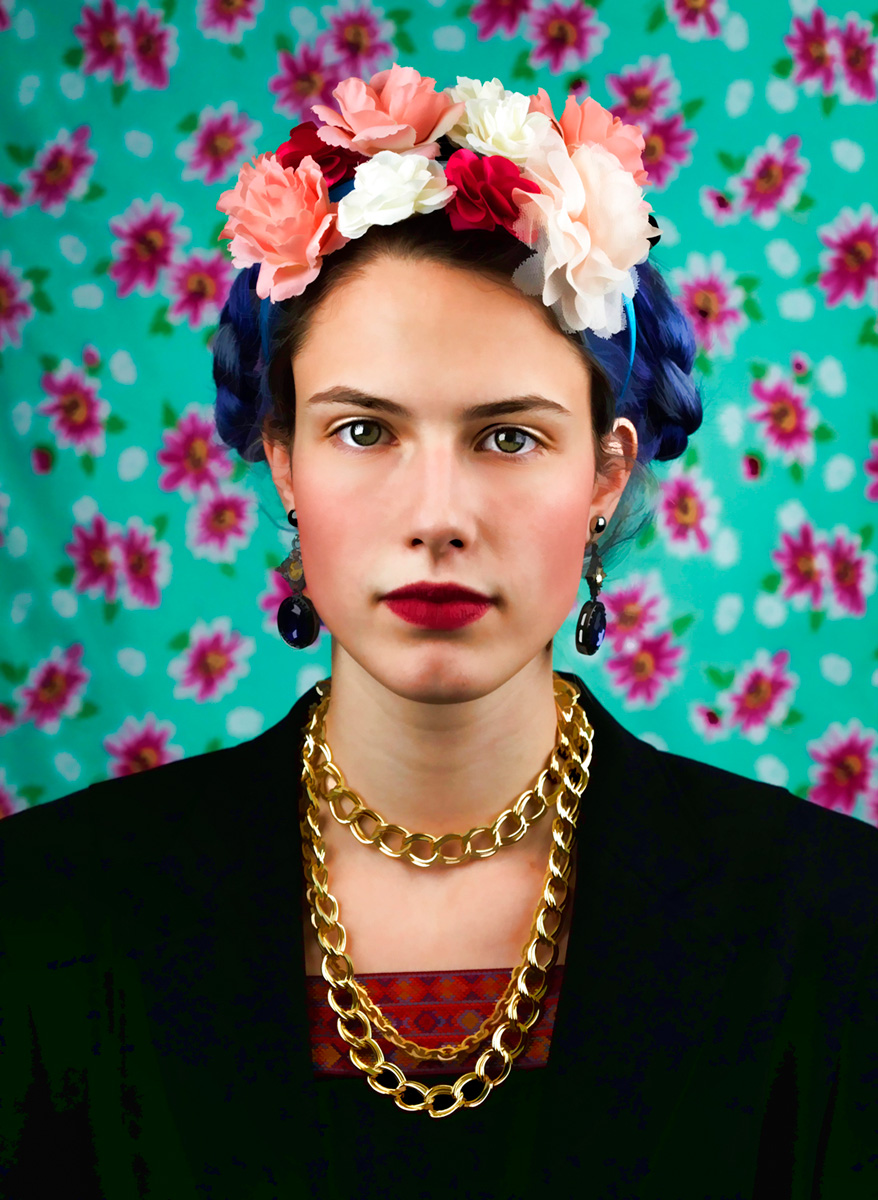
I took this photo in my home office. I call it Finding Frida, because I was trying to find a model and setup that matched a Frida Kahlo poster I had seen on the web.
Tip: Props rock. Sure, the model in this photograph is awesome, but it’s the props and background that make this photo a success.

This behind-the-scenes shot shows my model’s surprise when I got my “keeper” on the very first shot.
Tip: Be prepared (by testing your lighting with an assistant as your model) before your model shows up.
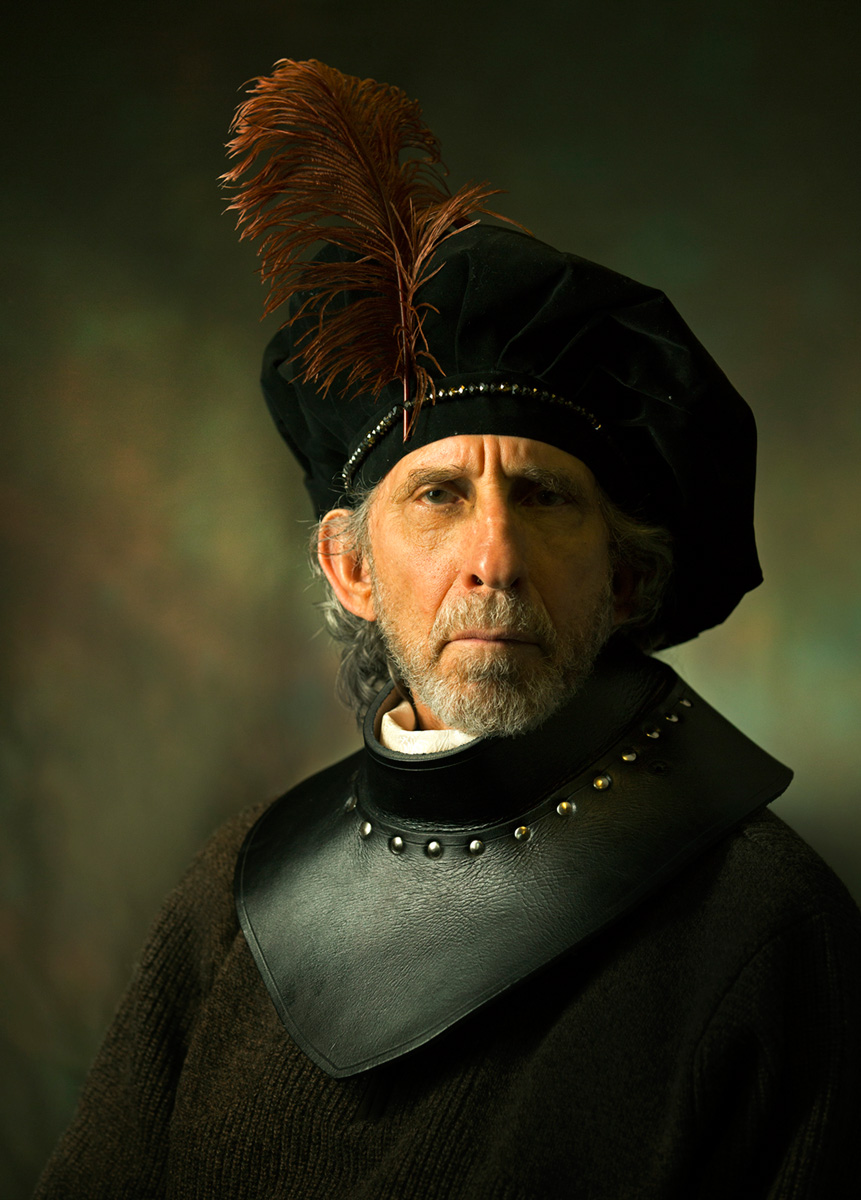
Here’s another photograph that illustrates the importance of props, as well as good lighting. I call this image, Recreated a Rembrandt. Do a Google search on Rembrandt’s Old Soldier and you’ll see why. The dude in the photo is my neighbor, Jay.
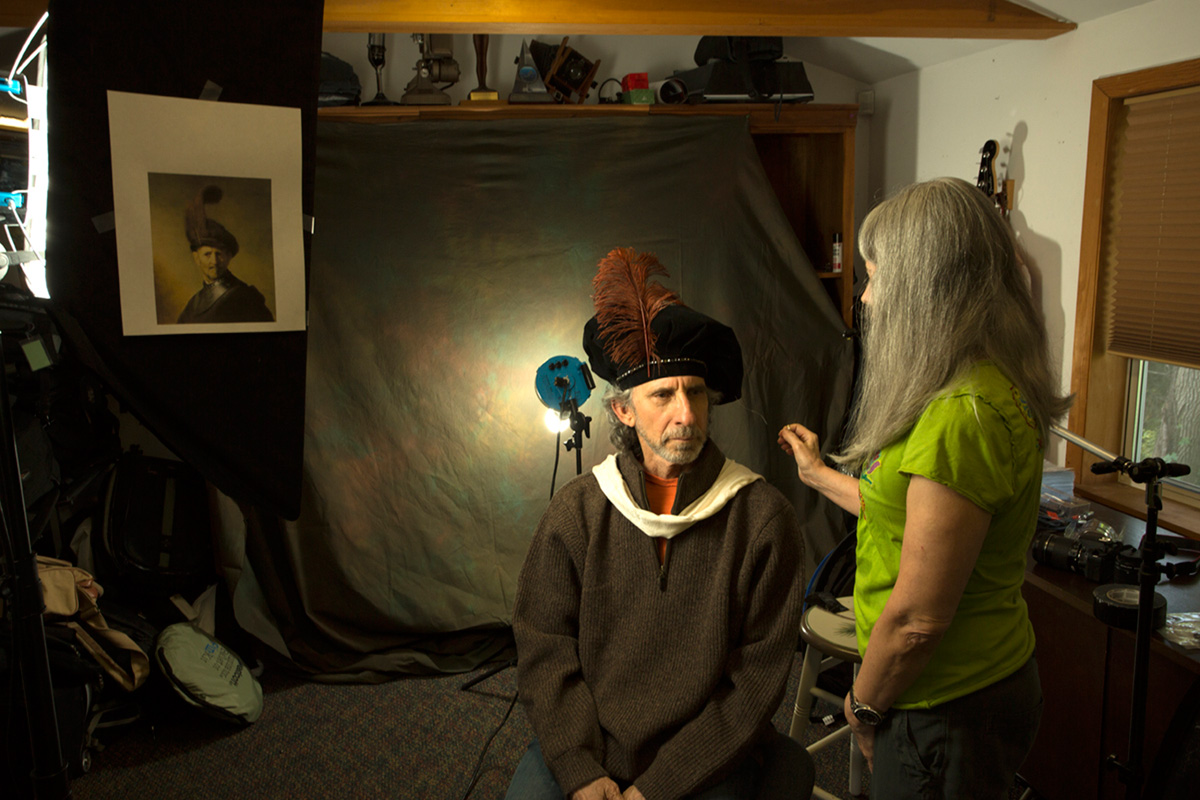
For my Recreating a Rembrandt image, I used two Westcott Spiderlites to light my subject, and a third Spiderlite to light the background – to provide some separation between the subject and the background.

This is one of my favorite at-home portraits.
Tip: Never underestimate the importance of a good subject/model.

In this behind-the-scenes shot (taken in my music room) you see that I am shooting tethered: my Canon 5D Mark III is attached to my MacBook Pro with a cable.
Tip: Shoot tethered so you and your model can easily see the images on a computer monitor, as opposed to viewing the image on the camera’s small LCD monitor.

My Girl with a Pearl Earring photograph, a takeoff on Vermerr’s Girl with a Pearl Earning painting, was my first at-home studio portrait. It illustrated Frank Doorhof’s tip: “When you think you need two lights, use one light; when you think you need three lights, use one light.”
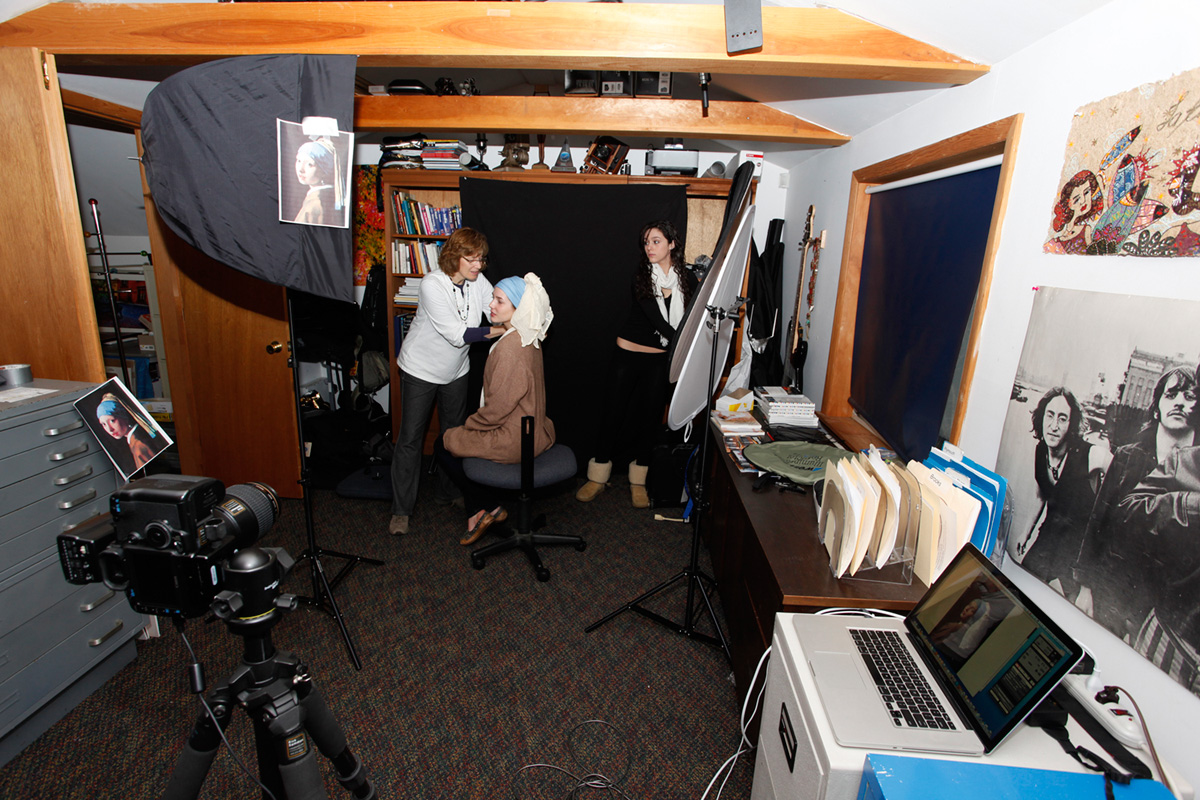
This behind-the-scenes shot shows my wife Susan helping with the pros, and my friend’s daughter, Zoe, assisting with the lighting. The background is a $12 piece of material we bought at the local fabric store.
Well, that’s a super quick look at “Transforming Your Home into a Professional Photo Studio.” I hope you enjoy the class.
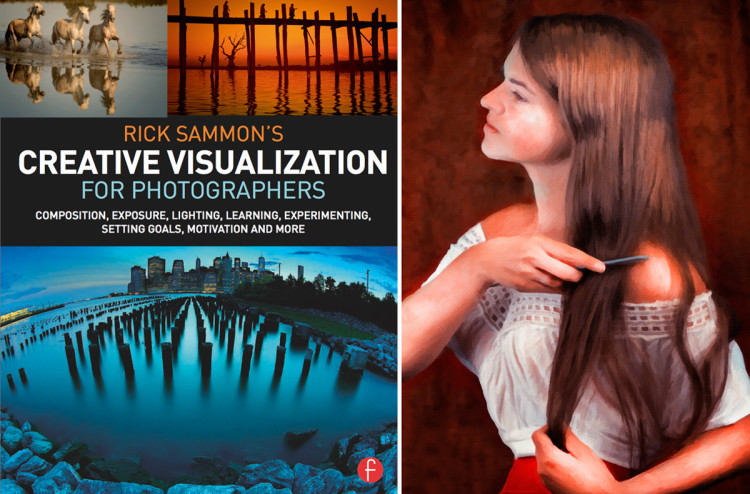
For addition lighting tips, as well as some photo inspiration and motivation, please check out my latest (and 36th) book, Creative Visualization for Photographers.
You can see more of Rick’s work at RickSammon.com, and follow him on Facebook, Twitter, and Instagram. And be sure to keep an eye out for his brand new KelbyOne class, Transforming Your Home into a Professional Photo Studio, releasing tomorrow!


Great post Rick, can’t wait to see you in the Spring!!
Hey Ken – What took you so long to post a comment????!!! :-) :-)
Very good. All of them.
But don’t you spell Salmon with an L?
ha ha
That’s my cousin!
Wow Rick! How serendipitous. I ‘just’ moved my studio space to my living/dining room so when I saw your course I, of course, had to watch it. Thanks for the tips and creative photo ideas. Love your old master photos. Again coincidentally I created a self portrait in the Rembrandt style. Not as true to SOOC as yours but I used some PS to give it a more painterly look. I agree with your use of props, a current shirt and corduroy jacket (mine) don’t take you back to the 1600’s. Love your Vermeer, perfect. I think you would enjoy the documentary “Tim’s Vermeer” (http://www.imdb.com/title/tt3089388/) if you haven’t already seen it. Take care.
Hey John – Thanks for sharing. Keep up the great work!
I can’t wait to watch the class and get started. I have a whole unfinished basement just begging to be turned into a studio.