

Hi Gang: Sorry for the late post today (I’m still up in NYC – supposed to have gone home last night but the weather didn’t cooperate), but better late than never (at least, I hope that’s what you’re thinking). Anyway, today’s is a ad I was in a Web banner for a test-drive of some Olympus cameras, but of course as a Canon shooter I don’t have any photos of Olympus cameras, so I used a shot of a 5D Mark III (photo by Brad Moore) and it’ll do the trick.
NOTE: If you want to follow along using the same image I used here: here’s the link (right click on it to download).
There are actually three cool techniques in this tutorial
So it’s definitely worth giving it a try. Here goes:
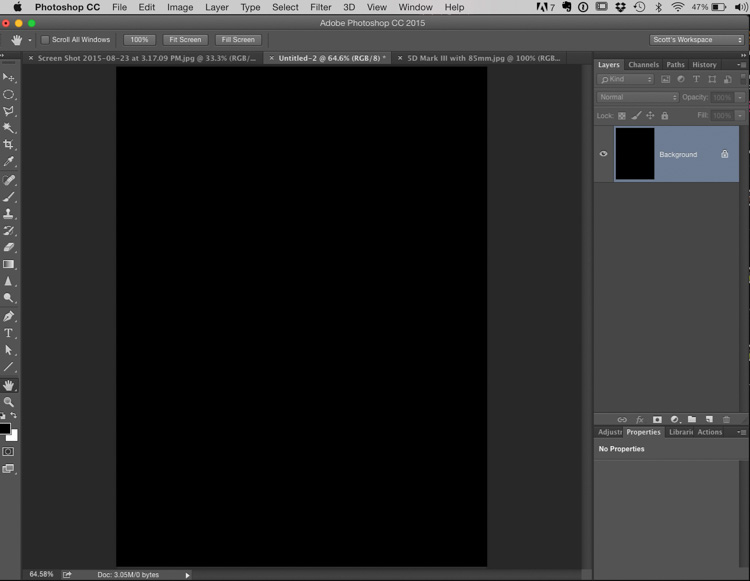
STEP ONE: Open a new document and fill the background with black (as seen here).

STEP TWO: In the Layers panel, create a new blank layer. Get the Elliptical Marquee tool and drag out an oval-shaped selection below the center of your document, then set your foreground color to a light gray (like you see above), and then fill with your selection with this light gray by pressing Option-Delete (Windows: Alt-Backspace). Now Deselect by pressing Command-D (PC: Ctrl-D).
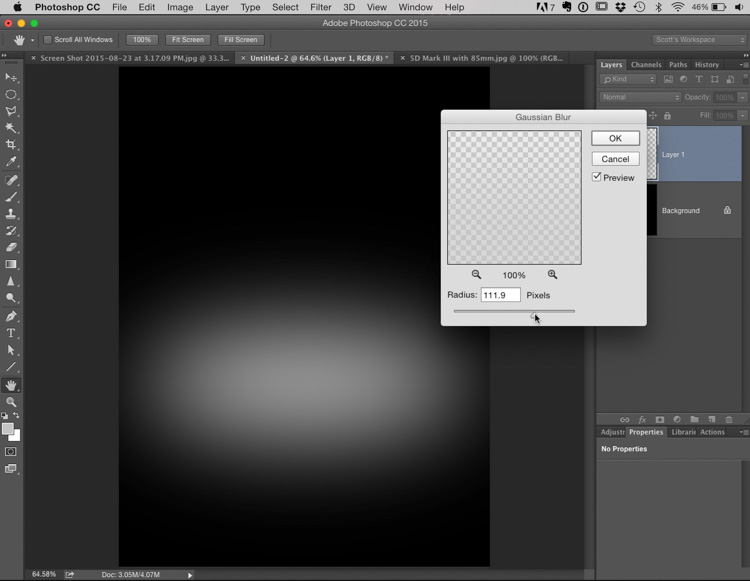
STEP THREE: Go under the Filter menu, under Blur and choose Gaussian Blur. Add a really big blur – enough to make it look like what you see above (in my case, it was around 111 pixels) and click OK.
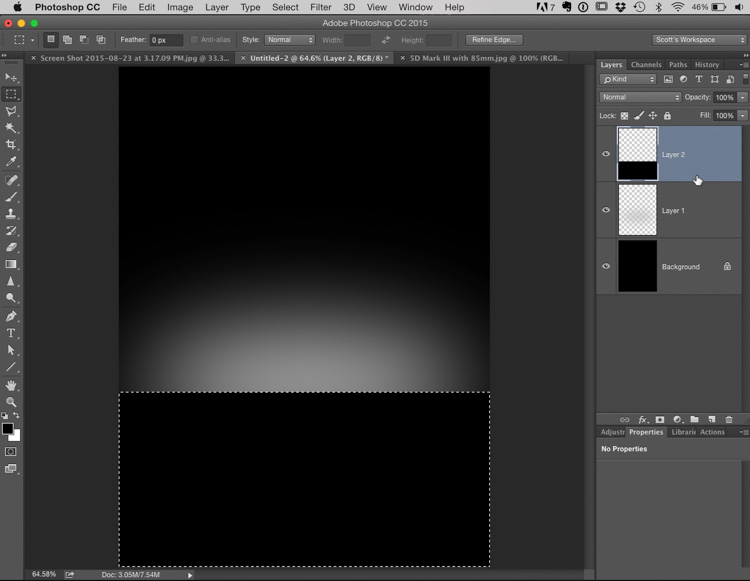
STEP FOUR: In the Layers panel, create another new blank layer. Get the Rectangular Marquee tool and drag out a rectangular selection that covers the bottom half of your circle, extending down to the bottom of the document (like you see here). Press “d” to set your Foreground color to black, then press Option-Delete (Windows: Alt-Backspace) to fill your rectangle with black. Now Deselect by pressing Command-D (PC: Ctrl-D).
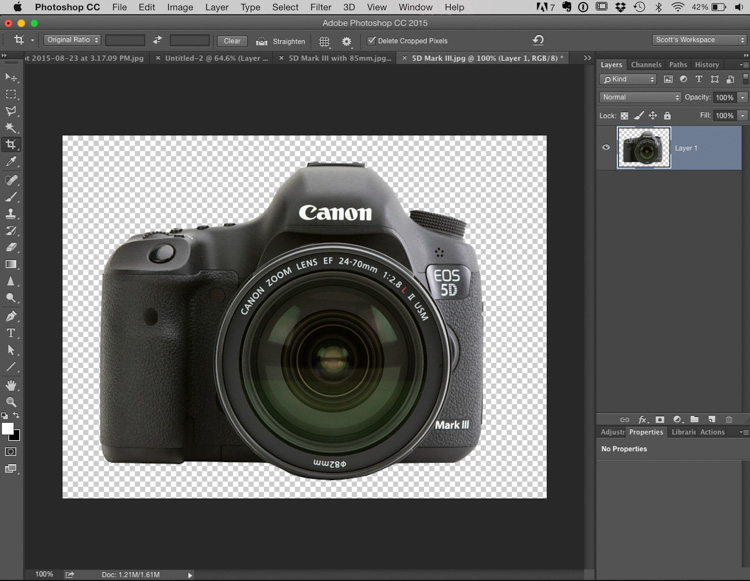
STEP SIX: Here’s Brad’s photo of the Canon 5D Mark III – it’s already on a transparent background so all you have to do hold the Command-key (Windows: Ctrl-key) and click directly on the layer thumbnail and it loads a selection around your camera (this trick basically just selects everything on the layer. In this case, since the background behind it is already transparent, it selects the camera). Now press Command-C (Windows: Ctrl-C) to copy that camera into memory.
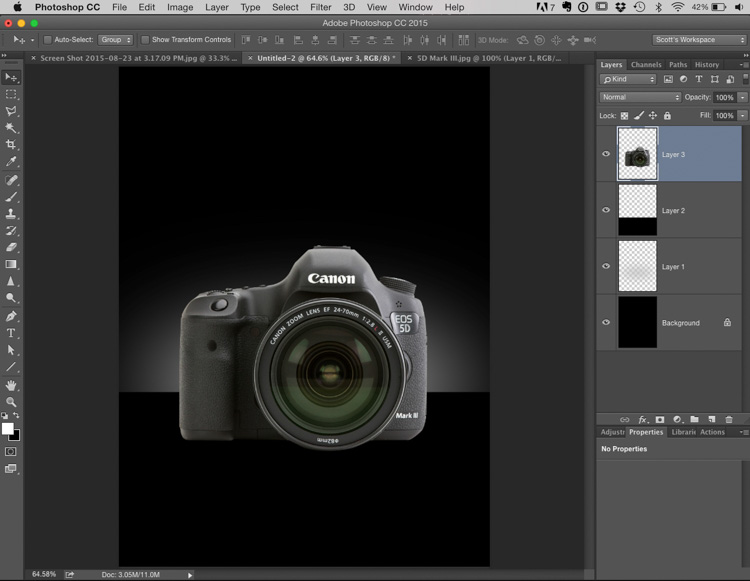
STEP SEVEN: Now go to your original document and press Command-V (Windows: Ctrl-V) to paste the camera into this document. Now use the Move tool to position the camera over the solid black background like you see here.
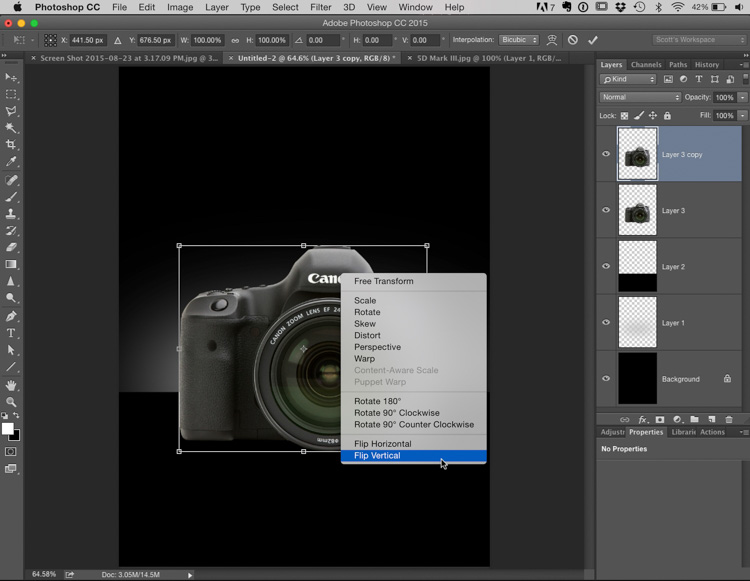
STEP EIGHT: To create the reflection effect; start by pressing Command-J (Windows: Ctrl-J) to duplicate your camera layer. Now press Command-T (Windows: Ctrl-T) to bring up the Free Transform bounding box around your duplicate camera layer. Right-click anywhere inside that box, and from the pop-up menu that appears, choose Flip Vertical (as shown here). This flips your duplicate camera layer upside down. Now press the Return key (Windows: Enter key) to lock in your transformation.
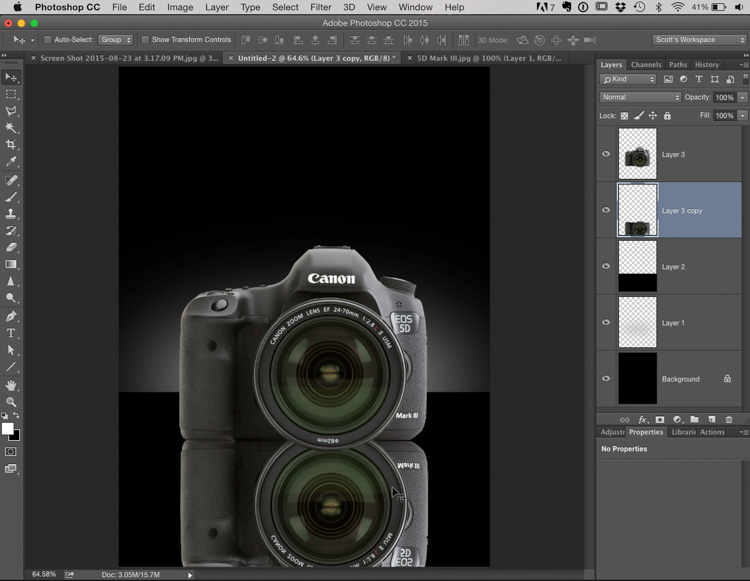
STEP NINE: Take the Move tool and drag this flipped copy straight downward until the bottoms of the two cameras touch (as shown here). NOTE: Because of how the lens is deeper than the body, this faked reflection is not going to be “right on the money” but it’ll be close enough most folks will never know, even if you and I know it’s not spot on). Next, in the Layers panel, drag this flipped layer down one layer, so the reflection appears behind the camera (not in front of it), so it looks like you see here).
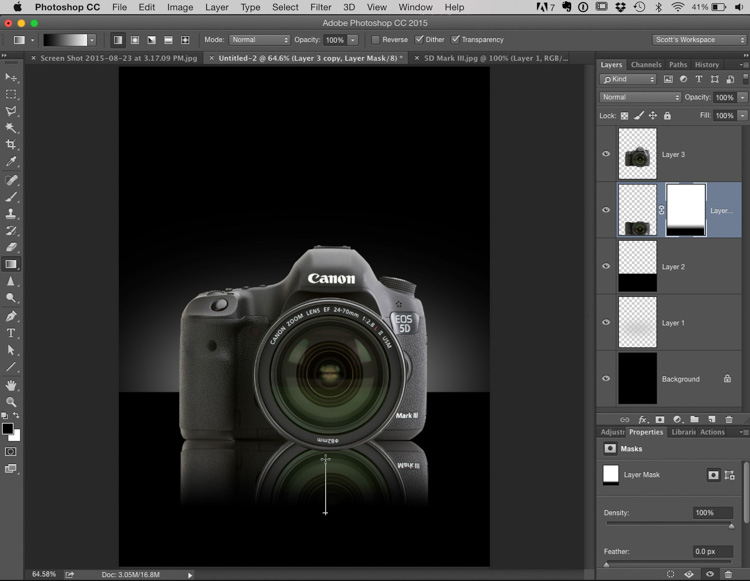
STEP 10: Click once on the Add Layer Mask button at the bottom of the Layers Panel (it’s the third icon from the left) to add a layer mask to this layer. Get the Gradient Tool; click at about the center of the flipped camera and drag upward and it makes the bottom of the camera fade away (as seen here). If your image doesn’t look like this, check to make sure that you pressed “d” earlier to set your Foreground/Background colors to their default settings of black/white. Then check up in the Options Bar to see that you first the first gradient (the linear gradient) selected. Lastly, click on the Gradient picker up in the Options Bar to see that the first gradient choice is selected.
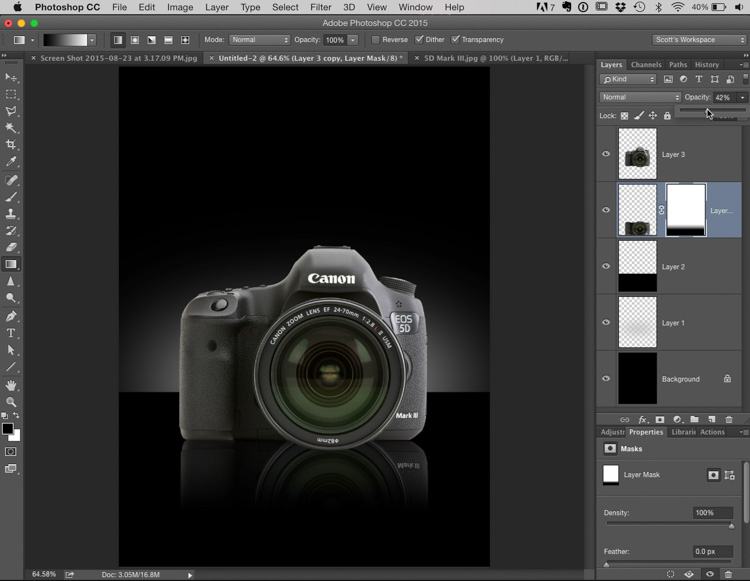
STEP 12: To make the reflection look more realistic, in the Layers panel lower the Opacity of this layer quite a bit using the Opacity slider at the top right corner of the panel. Here I lowered my opacity to around 40%.

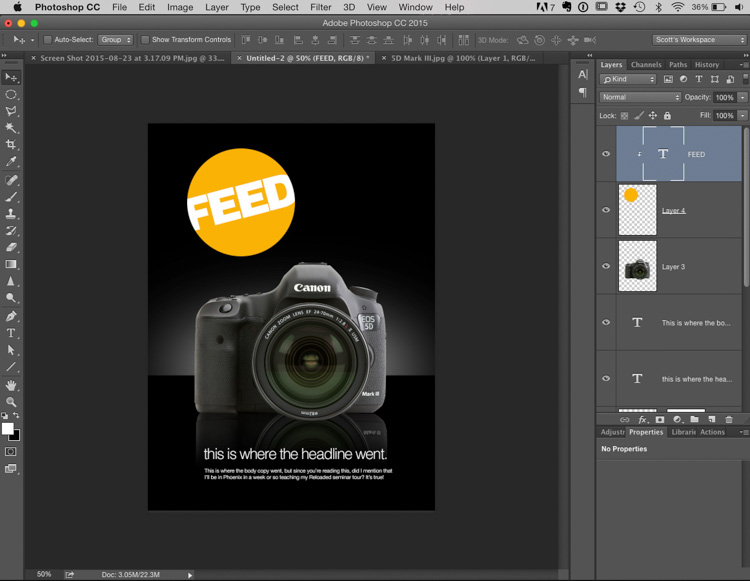
STEP 13: Now you can add some text (as I did below the camera; headline in Helvetica Neue Light, and below it Regular). In the original Olympus Ad they had this giant yellowish circle where they had some text. One thing I did what to show you was how they made some of the overlapping text fit inside that circle, so type a short word in a thick font (I used Helvetica Black here) and make it just a little bigger than the circle so part of the first and last letter extends outside the circle.
STEP 14: Now press Option-Command-G (Windows: Alt-Ctrl-G) to group this text inside the yellow circle, and you can see here how the edges of the letters are now tucked inside.
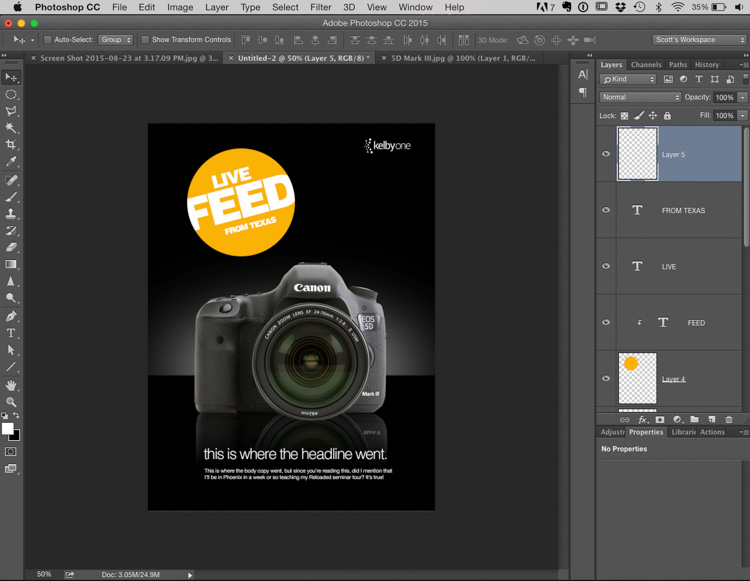
STEP 15: Here I just added some bogus text and my own company logo just to finish it off. OK, so the three techniques we learned here were: (1) How to create a background for a product shot that looks like it was lit in the studio, but blurring that gray oval and then putting that black “table” in front of it. (2) How to create a reflection fade-away effect, and (3) How to group or clip your text into shape, like we did with the circle.
Hope you found that helpful. :)
Have a great weekend everybody!
-Scott
At the airport headin’ home
P.S. I’ve been posting a lot of images over on my Instagram account. If you’re not already following me there, I sure do invite you to. I’m at http://instagram.com/scottkelby
An oldie, but a goodie.
cute for flat items… but this trick fails when using 3D objects as it creates a very bad reflections (as mentioned in the article)
THANKS Scott!
These are great – thank you!
Scott, when you do your wire service images for sports.. EXACTLY how much do (can) you get away with (if any), in any post work you do on those images?
I know cropping…good.. Alteration of the image content itself….BAD. But like shadow, highlights, exposure, contrast… Good? Bad? Anything you can offer up would just be great.
Awesome, have learnt alot for the day