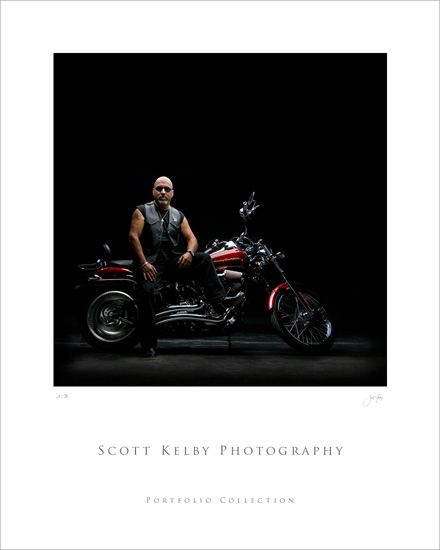
I did a shoot today with Big Electric Cat lead guitarist Tony Llanes, and his Harley (click on it for a larger view). Tony looks like like a tough guy, but I’ve been friends with Tony for around 27 years and he’s a total teddy bear, and one of the nicest, warmest, and most fun guys you’d ever want to meet (and one hell of a guitar player, to boot).
The shoot was done on a black seamless paper background with just one light–an Elinchrom Ranger RX strobe with an Elinchrom Octaback, and we placed it directly above the bike, aiming straight down, for a dramatic, shadowy look. I intentionally let the shadows on Tony just fall, rather than trying to fill them in with a reflector, but there are two reflectors on the floor, just outside the frame, one on each side, bouncing some light back on both the front and back wheels of the bike.
Specs: It was shot with RC’s Nikon D300 because I forgot my rig at home (and RC was nice enough to loan it to me), and it was shot in Manual Mode at 1/60 of a second at f/5.6 at 200 ISO using an 18-200mm Nikon f/3.5 – f/5.6 VR lens. I triggered the flash using a Skyport trigger.
Last week, when I ran a poster-look with a shot of a sand dune, I had a number of questions about which font I used. The font for the regular Dunes shot (and the one used here as well), is Trajan Pro (look in your font list—it’s probably there). For the Pano poster I showed (on the black background), I used the font Gil Sans Light. I added space between the letters (called Tracking) to make the type look a little more airy and elegant.
As far as creating the Poster layout itself, the key is to crop the photo so it’s perfectly square, which already gives the photo a different look. Secondly, in Photoshop add 2 inches of white Canvas Area on all sides, then add 3 more inches just to the bottom. Then add your text (in this case, Trajan Pro), with lots of Tracking (I set it at +240), in the Character panel, and type the first letter of each word in upper case.
The photo itself was processed using my Photoshop 7-Point System, and I had to clone away some things like a wheel of a C-stand, part of a light stand, and the front edge of the seamless.
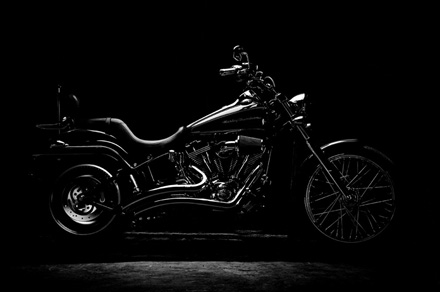
I also wanted to have a few shots that had just a hint of light–just lighting the highlights, and the the shot above is the result (it looks much better larger, so click on it for a larger view). The light is in the same place, but I powered the strobe down as low as it could go. The processing is just in Lightroom, but I did do a final sharpening in Photoshop right before I saved the JPEG. The rest of the specs are the same.
Overall, it was a fun shoot, and next time I’m shooting a specially built green chopper of Tony’s, and I’ll wind up lighting it differently to bring out the color, and who knows; maybe I’ll throw a reflector on Tony and make him look like a nice guy again. ;-)


