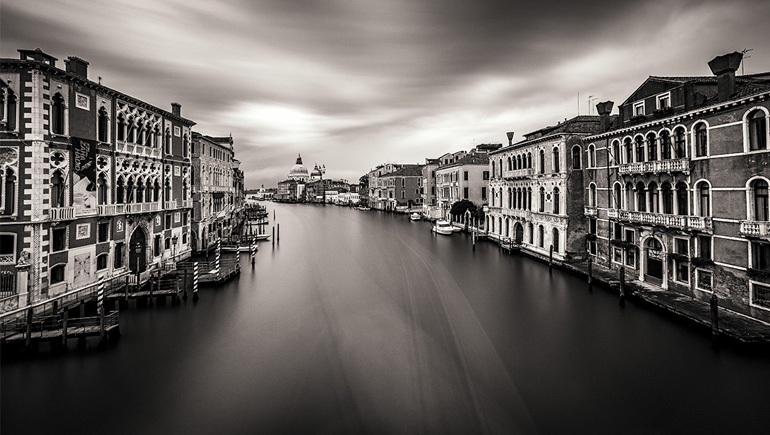
It’s that time of the week already! I’m Dave Williams, I’m right here every Tuesday on Scott Kelby’s Photoshop Insider, and this week I have a really quick and easy Photoshop tip for you.
Contrast can add a real punch to your images, and it’s an important consideration in virtually any post process. Contrast, used properly, can have a serious, attention-grabbing effect. With tonal contrast, specifically, we can do a very, very simple thing to see what kind of difference it makes. Generally better on images without a great range of contrast already, just do this: –
1. In Photoshop, duplicate your layer by pressing Command-J (Windows: Ctrl-J).
2. From the top of the Layers panel, select Overlay as the blending mode.
That’s it!
Take a look at what a difference this makes:


Before and after, and once more…


It’s a really cool way to give your image some contrast impact, which is achieved in this particular blend mode by combining the Multiply and Screen blending modes, which results in dark blacks and bright whites.
Contrast is, generally, attractive and eye-catching, so make sure your workflow includes a good look at it! You can show me (@capturewithdave) and @Kelbyonepics your results over on Instagram, we’d love to see!
Much love
Dave


Another Alternative: Use the Soft Light blend mode (a kindler, gentler version of Overlay)… another great option for adding contrast. Once the blend mode is applied, the opacity can be lowered to taste!
ot on, thanks Donaldo
Good one-quick and effective. Nice.
Thank you :)
Nice tip! Thanks, Dave!
You’re welcome Scott :)
Nice and easy! Thanks Dave! :)
You’re welcome ;)