

That’s right! It’s Friday and you know what that means – It’s “Photoshop Down & Dirty Tricks” Friday!
The collage you see above is only one part of today’s trick, which has a whole bunch of steps, but every single one of them is easy, and you’ll learn all sorts of cool things along the way, so don’t let the amount of steps dissuade you. By the way — the US Military makes loads and loads of images available for download for free — just do a Google search and you’ll find about a bazillion to use to practice along. OK, here we go:
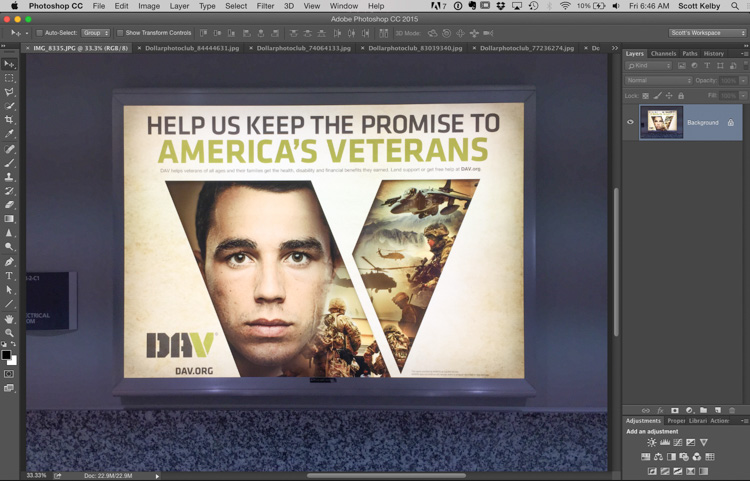
Here’s what we’re aiming for – this military collage tucked inside a giant letter “V.” I saw this backlit sign in the airport and took a picture of it with my iPhone so I could break it down and show you guys how to do something similar.
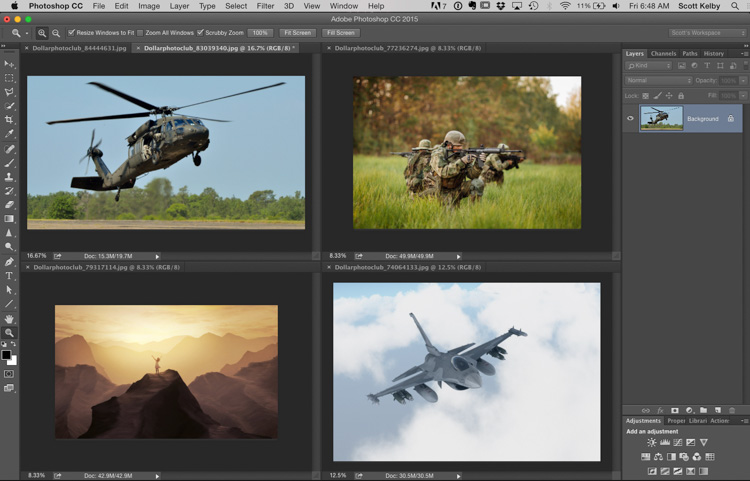
STEP ONE: Open all the images you’re going to use in your collage (I bought these from DollarPhotoClub.com for a buck each. I needed a mountain shot, so I got that one with the woman on the mountain top but I figured I could cover her with the jet so you’d never know. Also, these images aren’t all from the U.S. Military so they don’t all exactly match – remember: it’s about the technique – not the images.
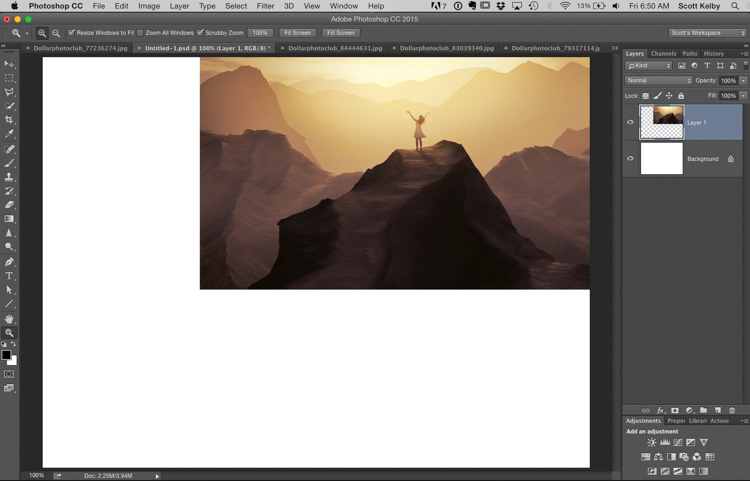
STEP TWO: Open a new document then copy and paste one of the images into the document. I used the mountain stock photo, and I use Free Transform (Command-T on Mac / Ctrl-T on Windows) to shrink the size of the image down and then I positioned it up in the corner like you see here. Once the Free Transform bounding box appears; hold the Shift key (that keeps your image proportional as you resize); then hold a Corner Point and drag inward to make it smaller. When it’s the size you want it, press the Return key (Windows: Enter) to lock in your transformation.
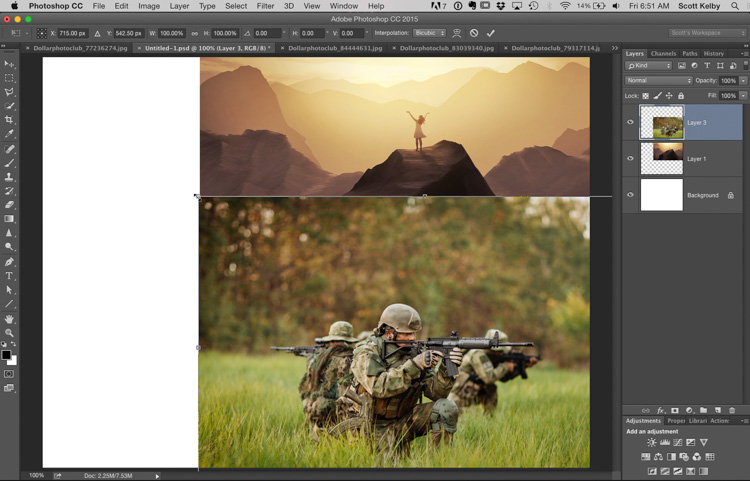
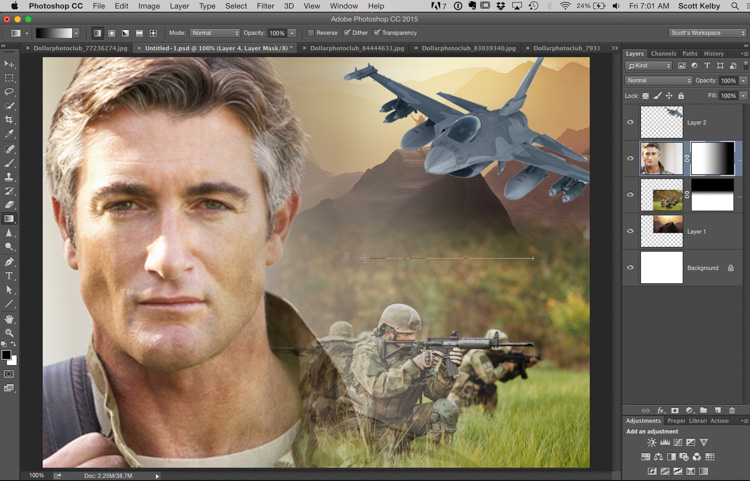
STEP THREE: Next, I sent to the images of the soldiers in the field and I copied and pasted them into our main document, and again used Free Transform (you can see the Free Transform handles around the image) to shrink it down to size (as seen above). I intentionally made it overlap the mountain image because in the next step we want to blend them together.
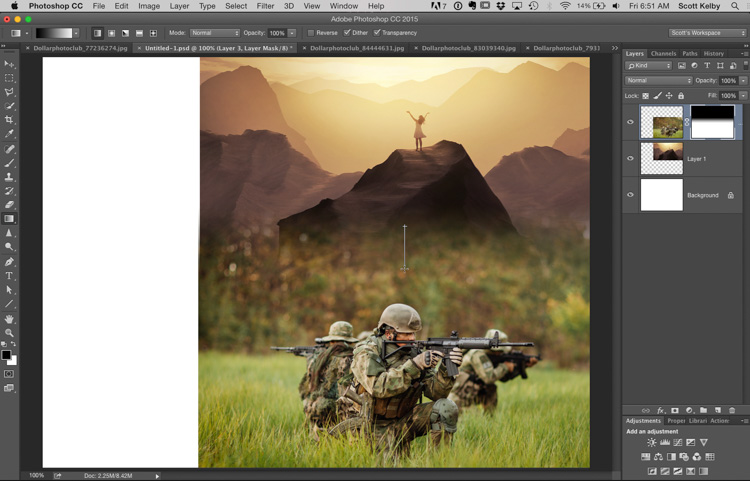
STEP FOUR: To make the two images blend into each other we’re going to add a Layer Mask (at the bottom of the Layers panel; click on the third icon from the left). Next, get the Gradient tool; press “d” to set your Foreground/Background color to their defaults of Black/White; now take the tool and drag it from the top of the soldier image down an inch or so (as shown above) and this creates a smooth blend between the two.
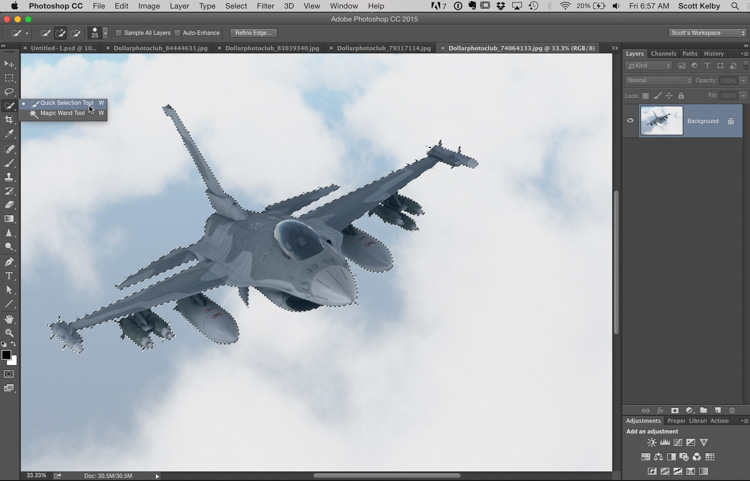
STEP FIVE: Now switch to a jet fighter image (again, you can find these online for free all day long). We’ll need to select just the jet, and to do that I used the Quick Selection tool; with a small brush size, and I painted over the jet to select it (as seen here). I had to use the Lasso tool (holding the Shift key) to pick up any areas the Quick Select tool missed. So, that’s what you do here — select the jet.
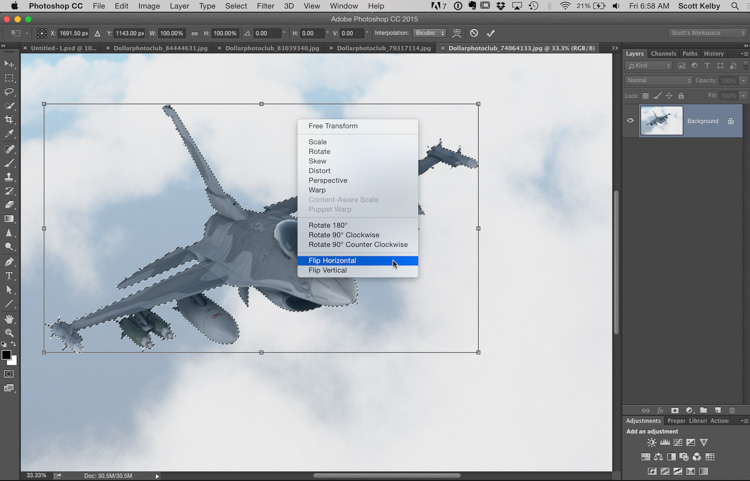
STEP SIX: Once the jet is selected; press Command-T (Windows: Ctrl-T) and once the Free Transform bounding box appears, right-click inside it to bring up a pop-up menu of transformations (seen here), and choose Flip Horizontal (as shown here). This will flip the jet so its going the other direction (like the one in the real original poster). Once it flips, press Command-C (Windows-Ctrl-C) to Copy that flipped jet into memory.
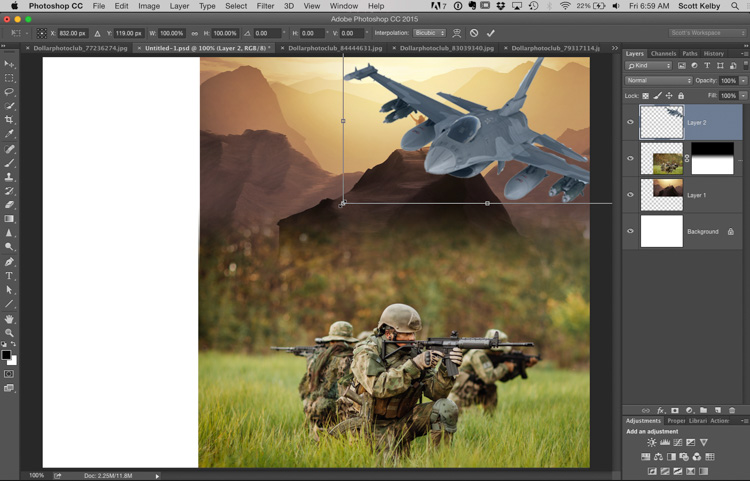
STEP SEVEN: Now Paste that jet into your main image and use Free Transform again to scale it down to size, and then drag it to where it mostly hides the woman on the mountain. As you can see, I didn’t do a good job of that here. LOL!! So, when you do it, position it a little more carefully.
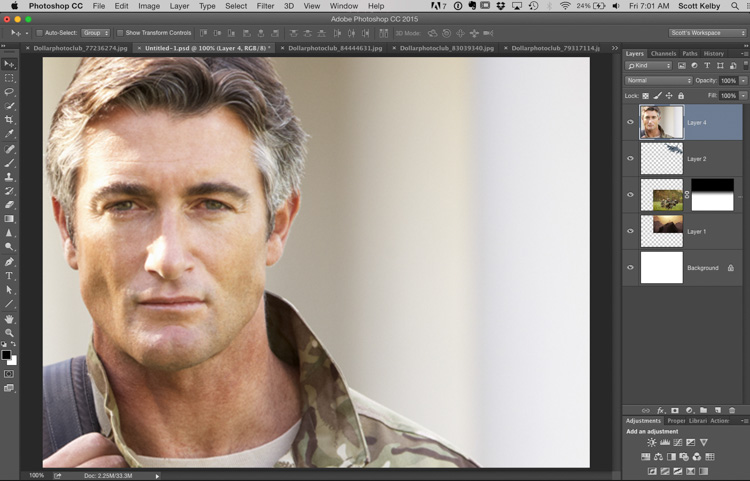
STEP EIGHT: In the original they had a large closeup of a solider, so I found this guy on dollarphotoclub.com. Select all and Copy him into memory.
STEP NINE: Now go back to your main image and Paste him into the document and drag him over to the left side of the image. We’re going to blend him using the same Layer Mask technique we used on the mountains and the soldiers except that we’re going to drag right to left, instead of top downward. Add a Layer Mask (at the bottom of the Layers panel; click on the third icon from the left). Get the Gradient tool; and drag it from the right edge of the large soldier image to the left a little (as shown above – look right above the smaller soldier’s head and you can see me dragging the gradient tool — it’s a straight line with a + on the end) and this creates a smooth blend between the two larger soldier image and the other two images in the background.
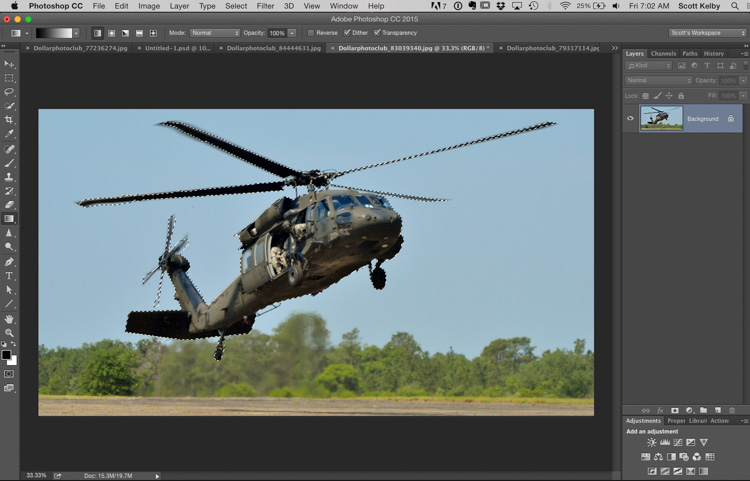
STEP 10: Now let’s open the chopper image and make a selection of it. I used the Quick Select too again, but the rotors were a little tricky to select so I held the Shift key (holding that Shift key lets you add to your current selection), and then I used the Polygonal Lasso tool to select each individual rotor. Once you’ve got the chopper selected, press Copy it into memory.
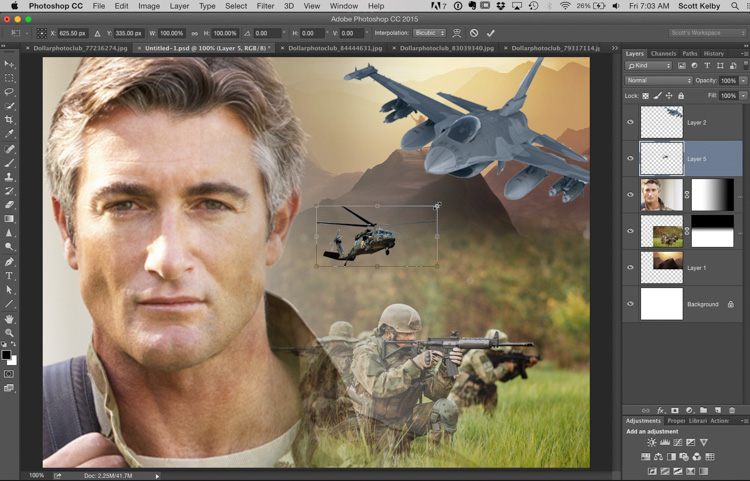
STEP 11: Now return to your main document and Paste the chopper into this image. You’re going to need to use Free Transform to make this Chopper a LOT smaller (as seen here – you can see the Free Transform bounding box around the chopper.
TIP: If you drag in an image and then bring up Free Transform but the image is so large that it extends off the image area and you can’t reach the control handles in the corners, just press Command-0 [zero] on Mac or Ctrl-0 on Windows and the window will automatically resize so you can reach all four corners. Really handy.

STEP 12: We need a second chopper, so press Command-J (Windows: Ctrl-J) to duplicate your small chopper layer. Now bring up Free Transform on this 2nd chopper and scale it down in size so it looks like it’s flying alongside, but behind the other chopper (as seen here).
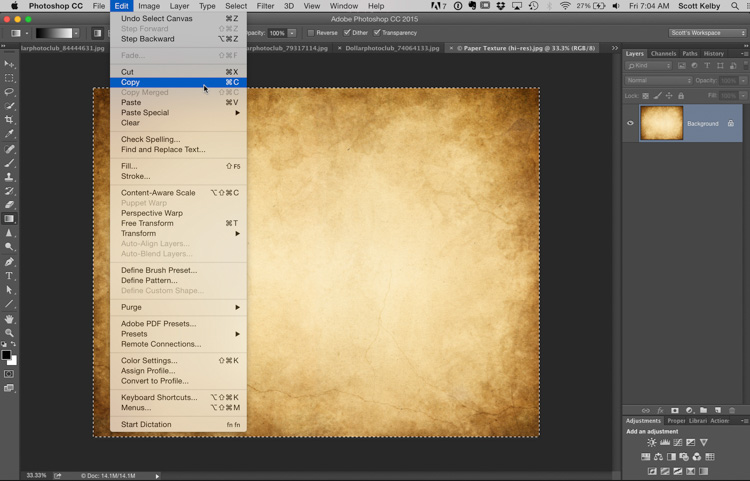
STEP 13: This step is really important because all of our images are taken at different times of day, with different white balance settings, in different light, and then don’t look unified in any way, so we’re going to add a texture and color over them all that unifies them because now they’ll all share a similar overall tint. This is a popular trick when doing composites, and it really makes a big difference. In this case, we’re going to open a paper texture stock image (this is actually one I’ve been using for years that I bought from iStockPhoto.com – man, have I gotten my moneys’ worth out of this one! Anyway, open the image; Select All; then Copy it into memory (as shown here).
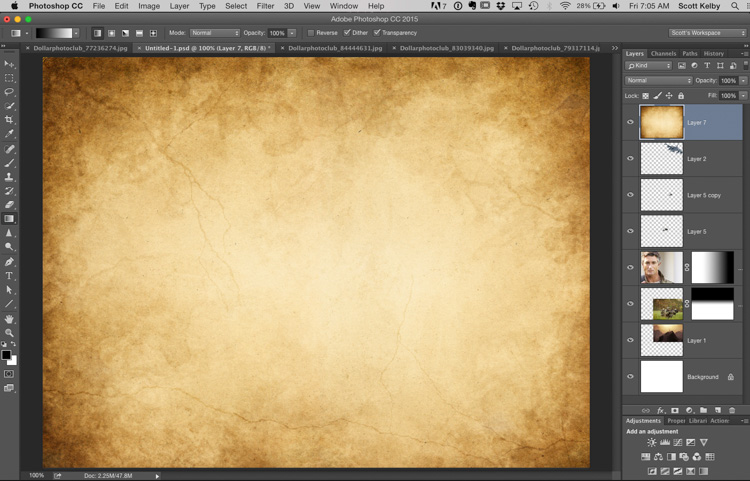
STEP 14: Go to your main image and Paste it on top (as seen here).
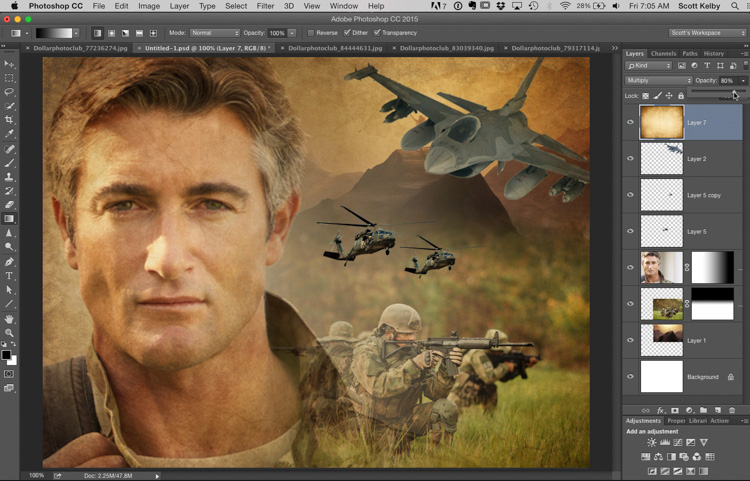
STEP 15: To make the paper texture blend in with the images below it, press Shift-+ (the plus-sign) and keep pressing it over and over to toggle you through the different Layer Blend modes until you see one that looks good to you. In this case, the Multiply blend mode seemed to look best, but it was a little too heavy of an effect, so I lowered the Opacity of this layer (over in the Layers panel) to 80% (as seen here). See how adding that texture and color unified all the images (though in retrospect, I would have lightened the choppers and the jet — they look a little too contrasty).
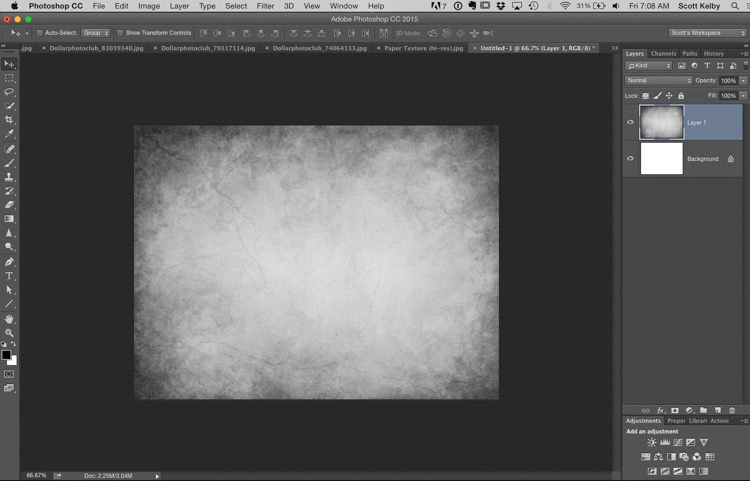
STEP 17: Now it’s time to start on our poster. I opened a new blank document but it was just solid white. I went back and looked at the original image, and it had a faded texture as its background, so I went back to the paper texture file I just used a moment ago; I selected it; then Copied and Pasted it into this new blank document (as seen here). Of course, it’s really yellow and their background just had a hint of yellow on the edges, so I removed all the color from the paper texture by pressing Shift-Command-U (Windows: Shift-Ctrl-U), which is the keyboard shortcut for the Desaturate command.
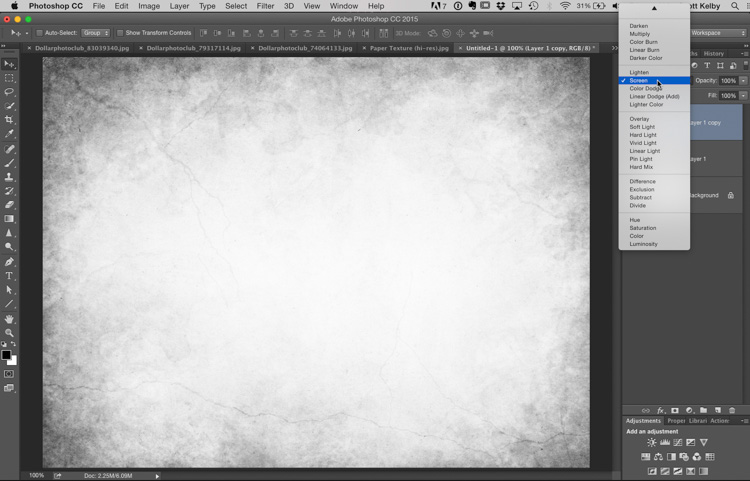
STEP 18: The background looked kinda dark, so I duplicated this texture layer by pressing Command-J (Windows: Ctrl-J) and then changed the Layer Blend mode to “Screen” (as seen here – the menu is at the top of the Layers panel) which really brightened up the background.

STEP 19: Now to make the big “V” shape that the collage winds up being inside of. Create a new blank layer (click the New Layer button at the bottom of the Layers panel). Get the Polygonal Lasso tool (the selection tool that draws straight lines), and create the left side of your “V” (as seen here). Then press Option-Delete (Windows: Alt-Backspace) to fill your selection with your foreground color (black). Now you can Deselect by pressing Command-D (Windows: Ctrl-D).
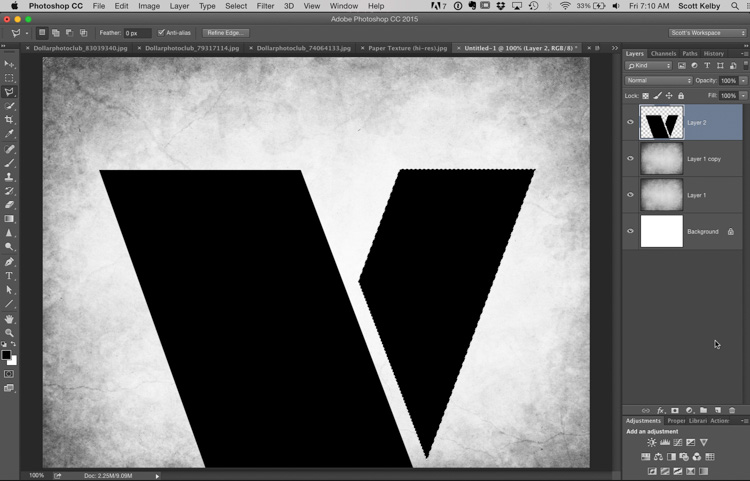
STEP 20: Now you can make the other side of the “V” the same way (I looked at the “V” they used in the original poster to make this other side of the “V.” Of course, once you’re done with your shape, fill it with black and deselect.
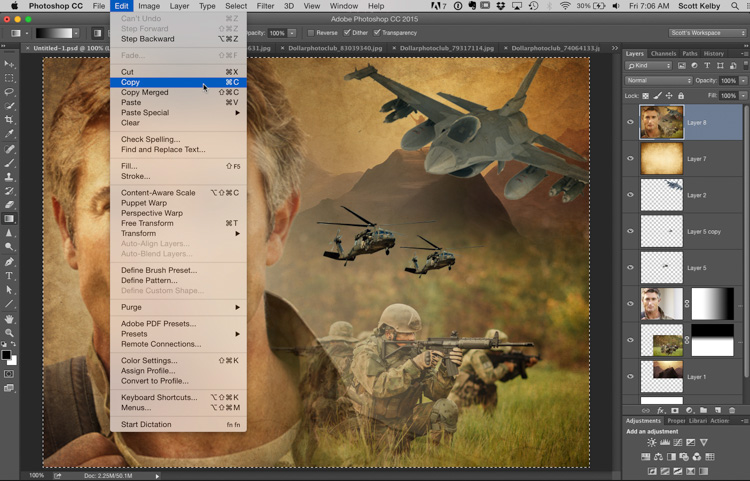
STEP 20: Now go back to your main document. We’re going to create a new layer on the top of the Layer Stack that looks like we flattened the image. To do that press Shift-Option-Command-E (Windows: Shift-Alt-Ctrl-E) and a new layer will appear that looks like it’s flattened. Select All and then Copy this layer into memory (as shown here).

STEP 21: Now paste your collage image into this new document, and then use Free Transform to scale it down so it’s just a little larger than your “V” shape (as shown here).
TIP: To help make sure I positioned it and sized it right, I lowered the Opacity of this layer while I still had Free Transform in place — that way I could see the “V” as I was resizing and dragging. You can do this over in the Layers panel (even when Free Transform is active).
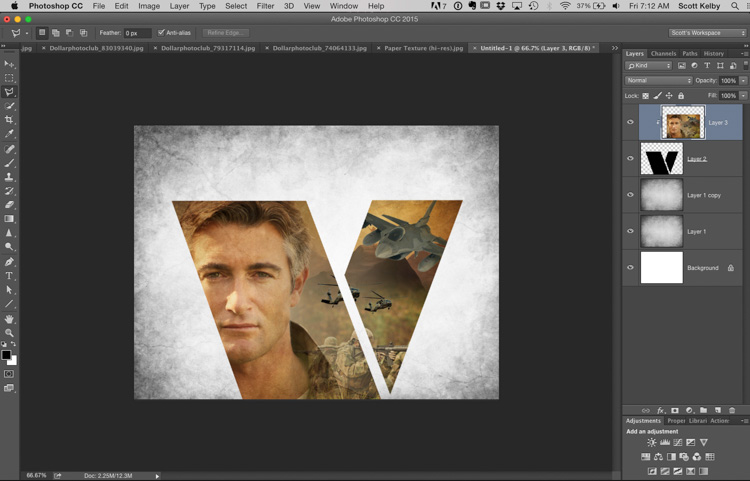
STEP 22: Now you can raise the Opacity of your collage image back up to 100%. Next, to get your collage inside that “V” shape, just press Option-Command-G (Windows: Alt-Ctrl-G) and it groups your image inside that black shape below it (as seen here). You can reposition your image inside the “V” shape by just click and dragging it.
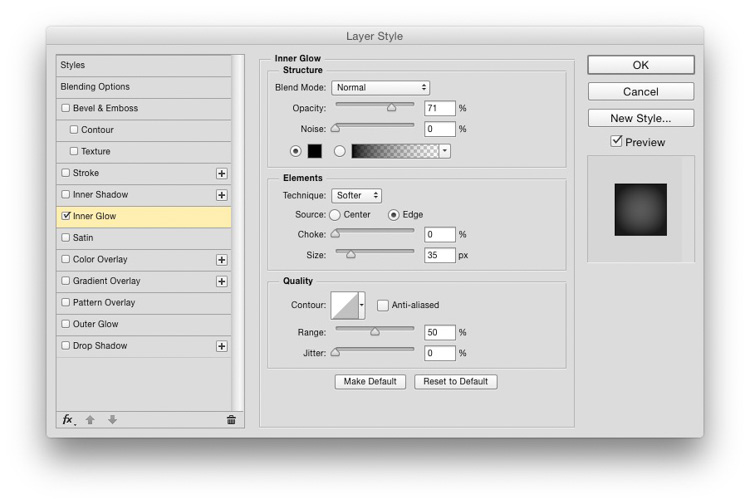
STEP 23: In the original poster, there was a shadow inside the letter “V” that helped the illusion that the image was down inside the “V” and you can do that by: clicking on the “V” shape layer; going to the fx icon at the bottom of the Layers panel and choosing Inner Glow. When the Layer Style dialog appears (when above) change the Blend mode (at the top) to Normal. Set your color to black (click on the little square color swatch to bring up the color picker, then pick black), and increase the Opacity (so its darker) and the Size (so the shadow is larger) and click OK.
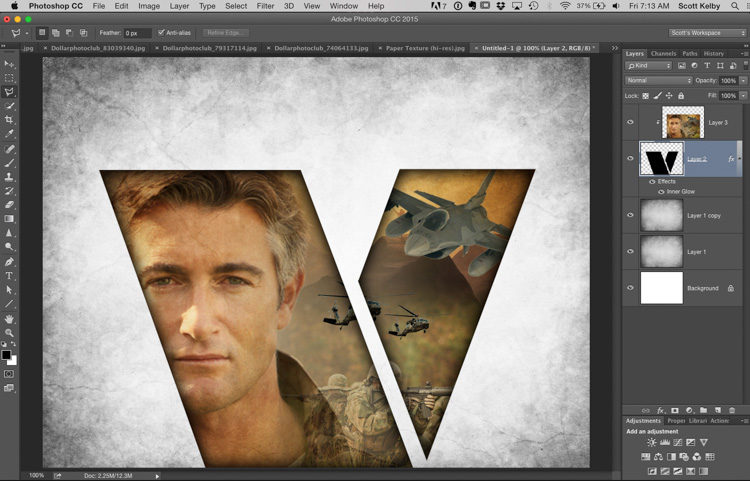
STEP 24: Here you can really see how that Inner Shadow looks when it’s applied to the “V” shape.
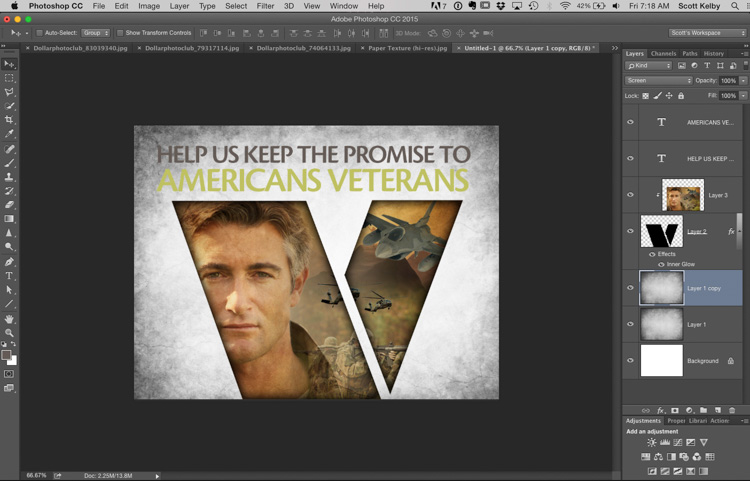
STEP 25: Now I added their headline (I didn’t have the exact same font they used, so I chose something close, which in this case was the Adobe font Cronos Semi Bold. I went back and looked at the original poster and saw that they had a line of body copy below the headline, so in the next step I’ll move the headlines up a bit and add that extra line, but there’s another problem I noticed when looking at the original. The background is actually still too dark, and there’s no yellowing around the edges, but we can fix that (in the next step).
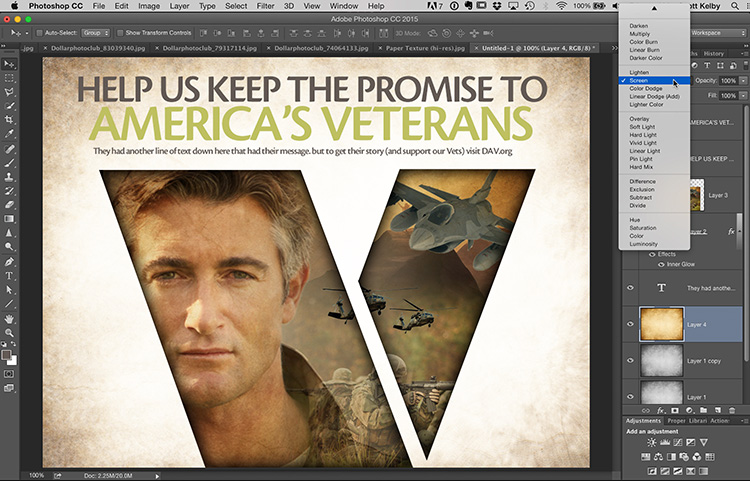
STEP 26: I went back to the original paper texture image; I Copied and Pasted it into our main document and in the Layers panel I dragged it down to here it was right above the background layers. I wasn’t sure which blend mode would give me the small amount of yellow tint I needed so I used that same Shift – + shortcut I have you earlier to toggle through all the different Layer Blend Modes until I came to the one that looked best, and in this case it was “Screen” mode, which added that little bit of color but also made the background lighter at the same time, so give us our completed image. Well, it would have been completed by I had to go back and fix my type (In the Step 26 you can see my typo in the headline, where I wrote Americans Veterans instead of “American’s Veterans”). Luckily, I caught it and fixed it.
OK, that was along tutorial (whew!) but we really covered a lot of techniques. Hope you enjoyed it and found it helpful.
I’m off to Phoenix!
I’m teaching my all-new “Shoot Like a Pro: Reloaded!” tour in Phoenix on Tuesday (here’s the link), and then that night I’m shooting a Maserati convertible in an automotive studio in Phoenix, so I’m really psyched. Hey, if you have a super cool car and want to come by the studio – I’ll shoot it, we can have some pizza, and I’ll make you some prints. Leave me a message below.
Hope you all have an awesome weekend, and I’ll see around 300 or so of you in Phoenix on Tuesday.
Best,
-Scott
P.S. This poster (I saw in the airport, and the inspiration for our tutorial today) was an ad for the Disabled American Veterans organization, which is a veterans advocacy and assistance group, and is supported by your donations. I, and my family, are very grateful to the men and women of our military and the sacrifices they’ve made for our country and our freedom. Today I made a donation to the DAV, and you can too at their Website DAV.org.

nice dirty trick that comes with clean explanation.
Great, thank you. I wrote this in Google+ but you might not have seen it. The people in Phoenix will have a real treat when they see ‘Reloaded’. BTW Did the lady in London who won the Photoshop World trip manage to get across? I really hope she did. Have a great weekend!
Scott I just finished photographing the Veterans at my church. I a, putting together a book and a slideshow for Veterans Day Sunday we have in Nov. A truly humbling experience. Veterans are our National treasure. Thanks for the tutorial this may come into play in the book and slideshow.
Scott this is excellent! I photographed a WWII Honor Flight to DC. I am using this! THANKS SO MUCH!