

Heads up! I’ve rebranded somewhat – I was using the guise Hybrid Dave and have switched it all over now to Capture with Dave. You’ll find me by using the handle @capturewithdave across all platforms, and at capturewithdave.com. I’m still the same guy, and I’m working on some great content for you all, so watch this space. Let’s kick this off!
Combining the awesome features of Adobe Spark Post and Instagram Stories will make your stories stand out from the crowd, affording you a winning combination of animation and interactivity to give you the creative edge.
Your Adobe Spark Post app is included in your Adobe Creative Cloud subscription, along with Adobe Spark Page and Adobe Spark Video. Here are my seven killer tips for combining Adobe Spark Post with Instagram Stories – let’s go!
1. Select a template that matches the dimensions of a phone screen. Don’t forget they’re all slightly different, so allow some bleed as if you’re printing, and then go in and set the palette and font to match your brand.
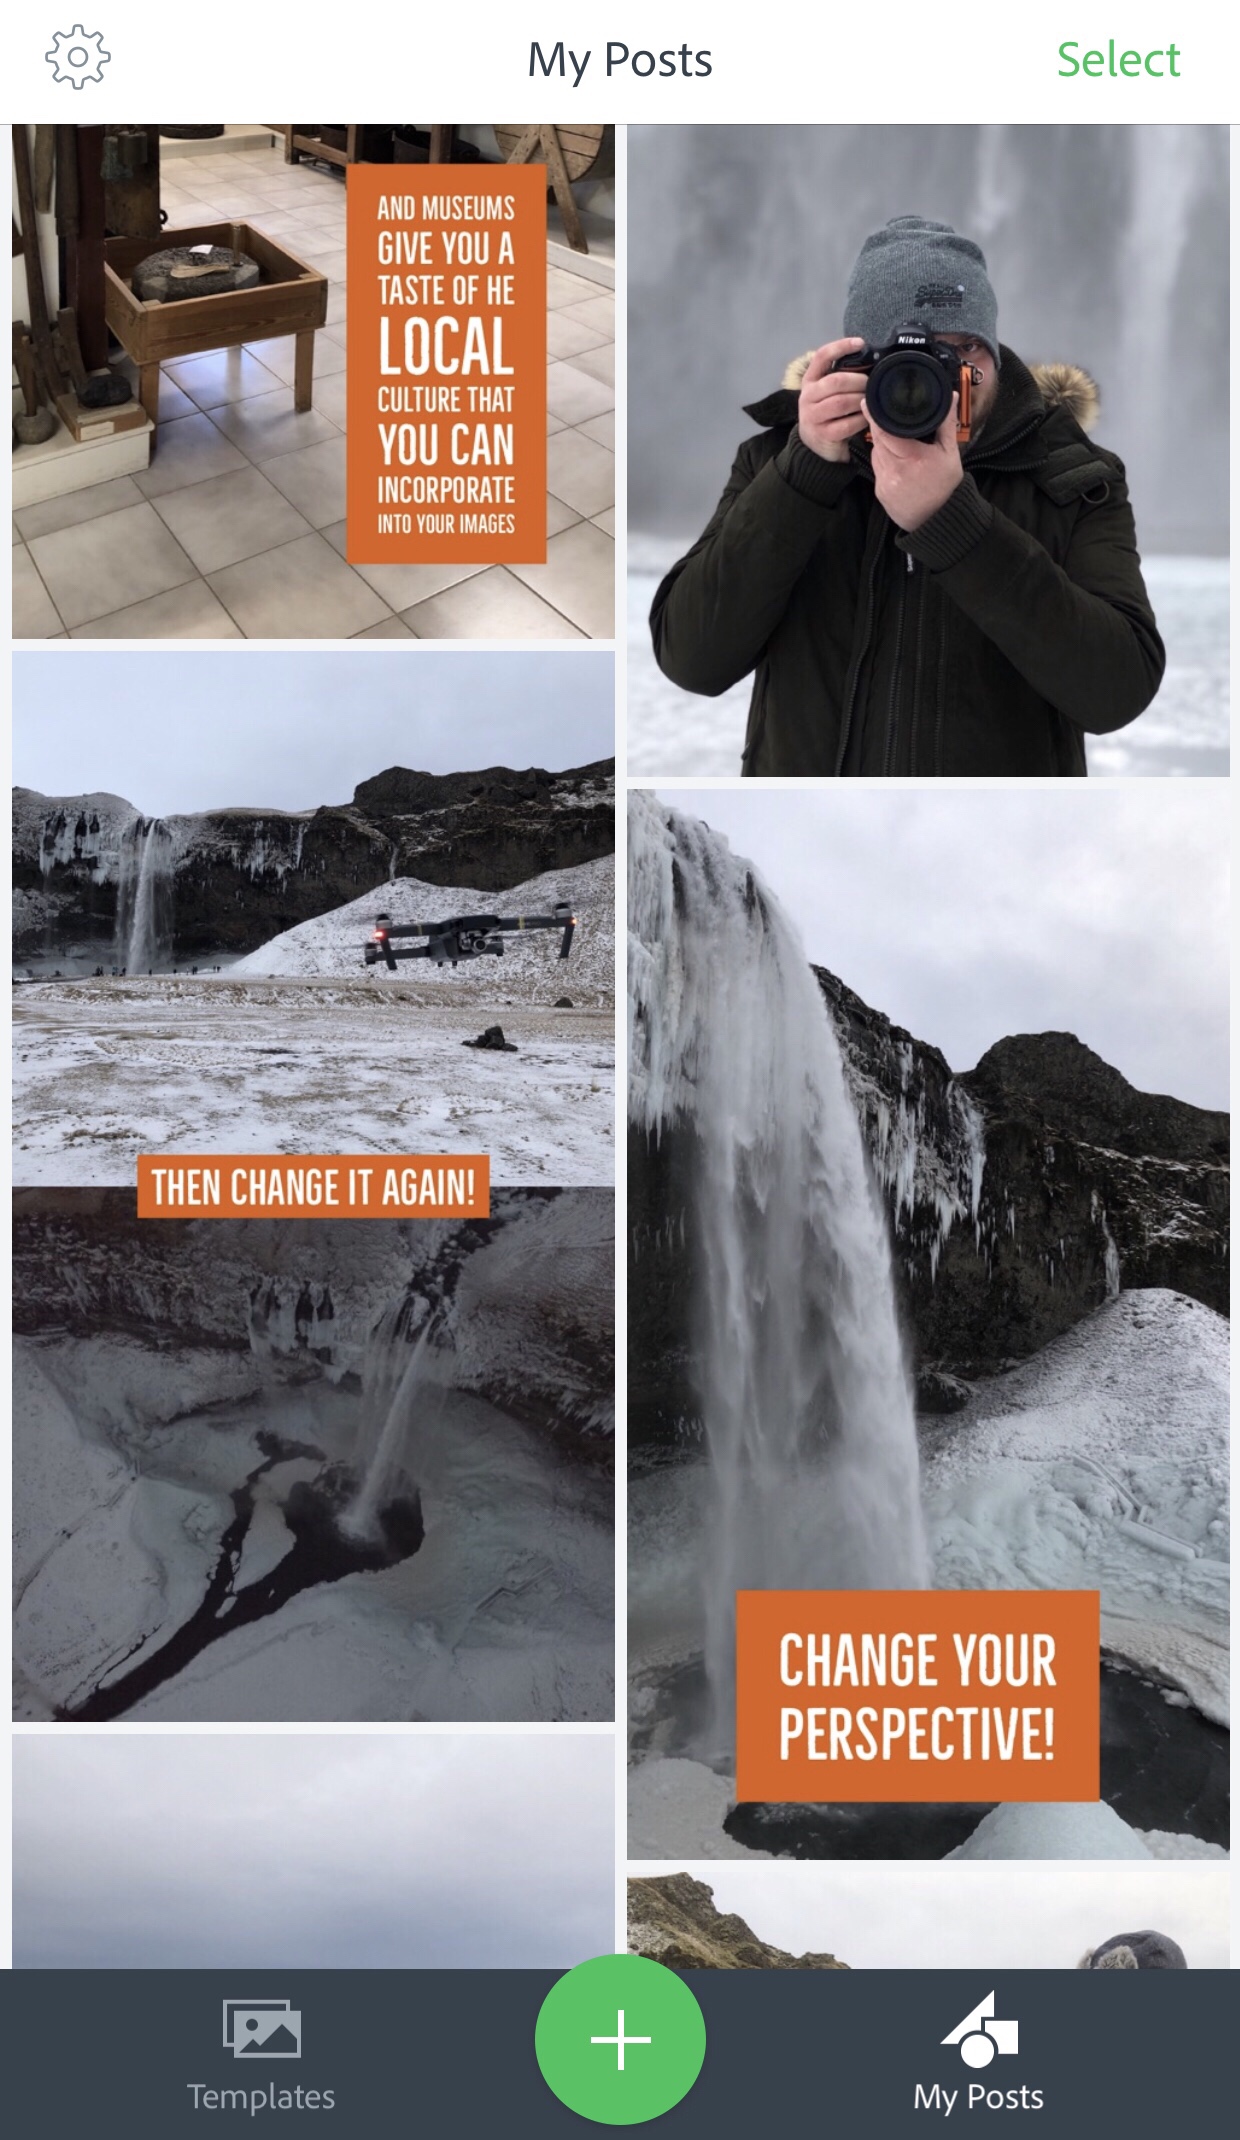
2. Once you’re happy with your own template, create your first post and save it. That way, every time you create a new post, you can simply work off the last one by opening it up, duplicating it, and making the necessary changes.
3. Make the most of the animation features that you can apply to the background and the text. Make it dynamic and eye-catching!
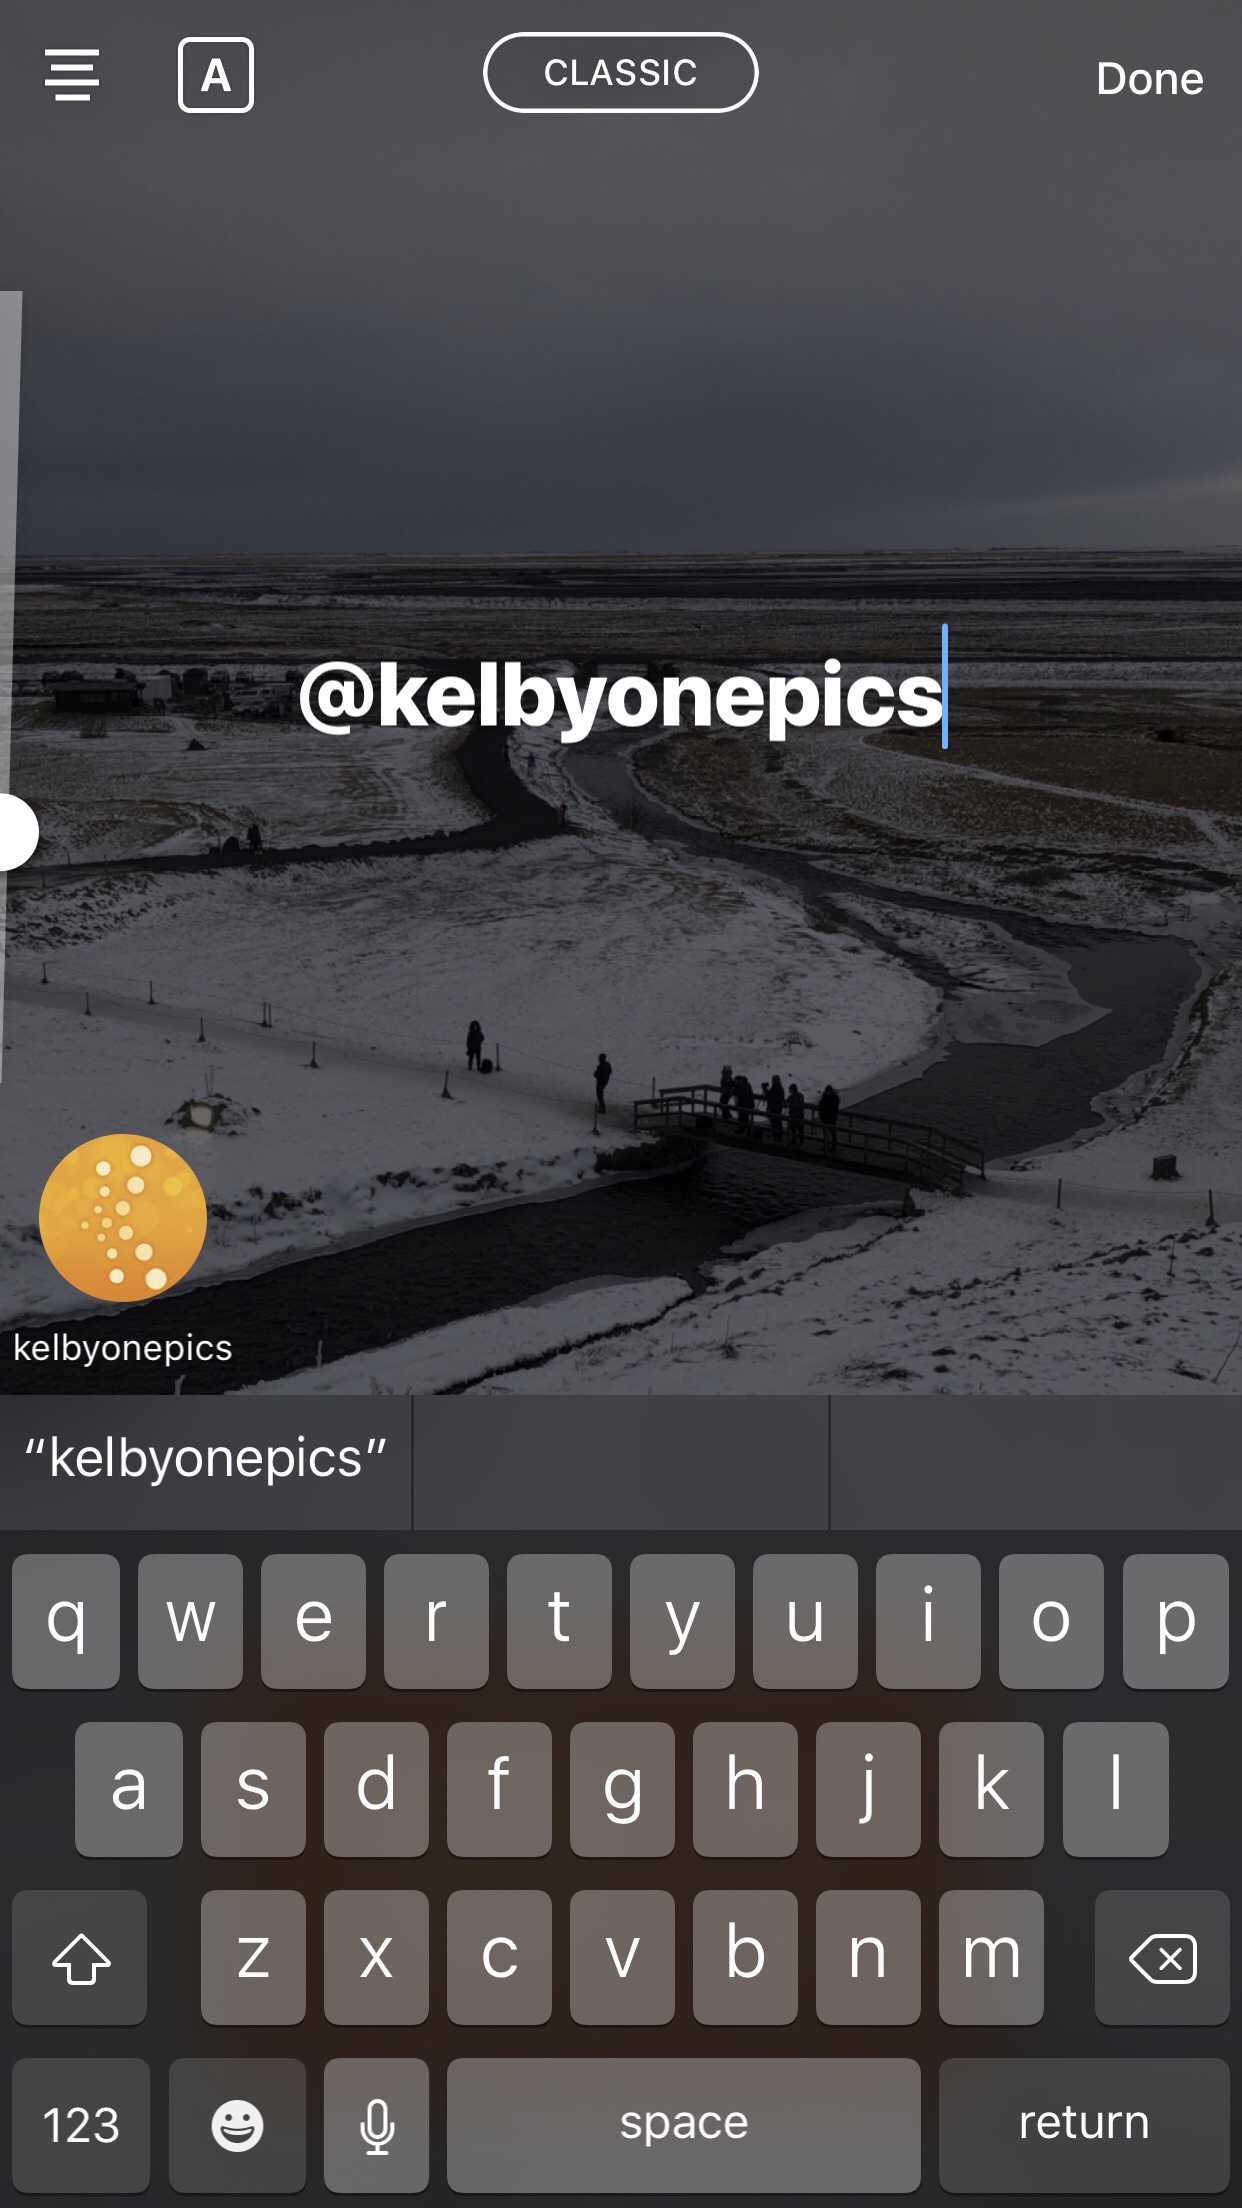
4. Don’t forget which features you can only use effectively within Instagram. These include tagging accounts, locations, weather conditions, and polls. If you intend to use any of these features, be sure to leave space in your post on Adobe Spark Post and add that element in Instagram when posting your story. If you tag an account, for example, in the text on Adobe Spark Post, it won’t work within Instagram as a tag and the tagged account won’t be notified, nor will your viewers be able to click on it! Similarly, if you want to tag a location (which will give your post a chance of being featured on that location’s story), you must do it in Instagram – again, a tag within Adobe Spark Post won’t be recognised by Instagram.
5. Use your Live Photos to make quirky clips. When you open a Live Photo from your iPhone in Adobe Spark Post, it gives you two options: use Live Video or use the still. This Live Photo of Roberto Pisconti (@robypisco), standing in front of his name in lights when he visited London last week, was perfect for that!
6. If you record a screen capture and want to change it, like in this clip, to have a practically seamless change of content from an Instagram element (in this case a poll) to an Adobe Spark Post element (the moving text), then consider options to help you do this, such as taking a screenshot, which is how I ended up using two Instagram Story posts to make this.
7. Make the most of the design features of Adobe Spark Post to give your story the best feel and the biggest impact. You can do all kinds of things with the text in the post – just play around with it and see what potential it has!
Thanks for checking this out! If you watched my Instagram takeover from Iceland in January, this is how I made house posts. I’d love to see what you do, so when you use Adobe Spark Post to create your story, tag me – @CapturewithDave – I want to see what you can do!
Much love
Dave


So “capture” isn’t some suggestive link to maybe having moved to Capture One … :)
Oh no, didn’t even cross my mind!