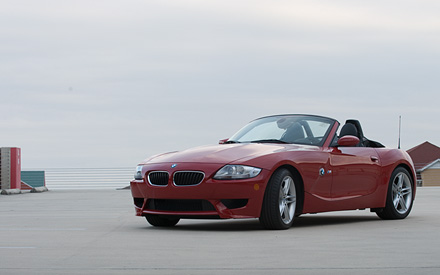
A number of people asked to see the unretouched car shot as it came out of the camera….well, here it is (click for a larger version).
I was able to darken the sky by setting the Recovery slider to 100 (in Camera Raw), and throwing the rest of the Seven Point System at it. The car didn’t get that much attention (except for the “painting with light” steps from the Seven Points), but cloning those wires over the roof the hotel was a HUGE pain.
Retouching the ground and those wires took 90% of the retouching time (I used a combination of cloning and copying those wires up onto their own layer and using that copy of them to the right of the car to cover up the hotel roof). Hope that helps. :)


