

How I Became a Pro
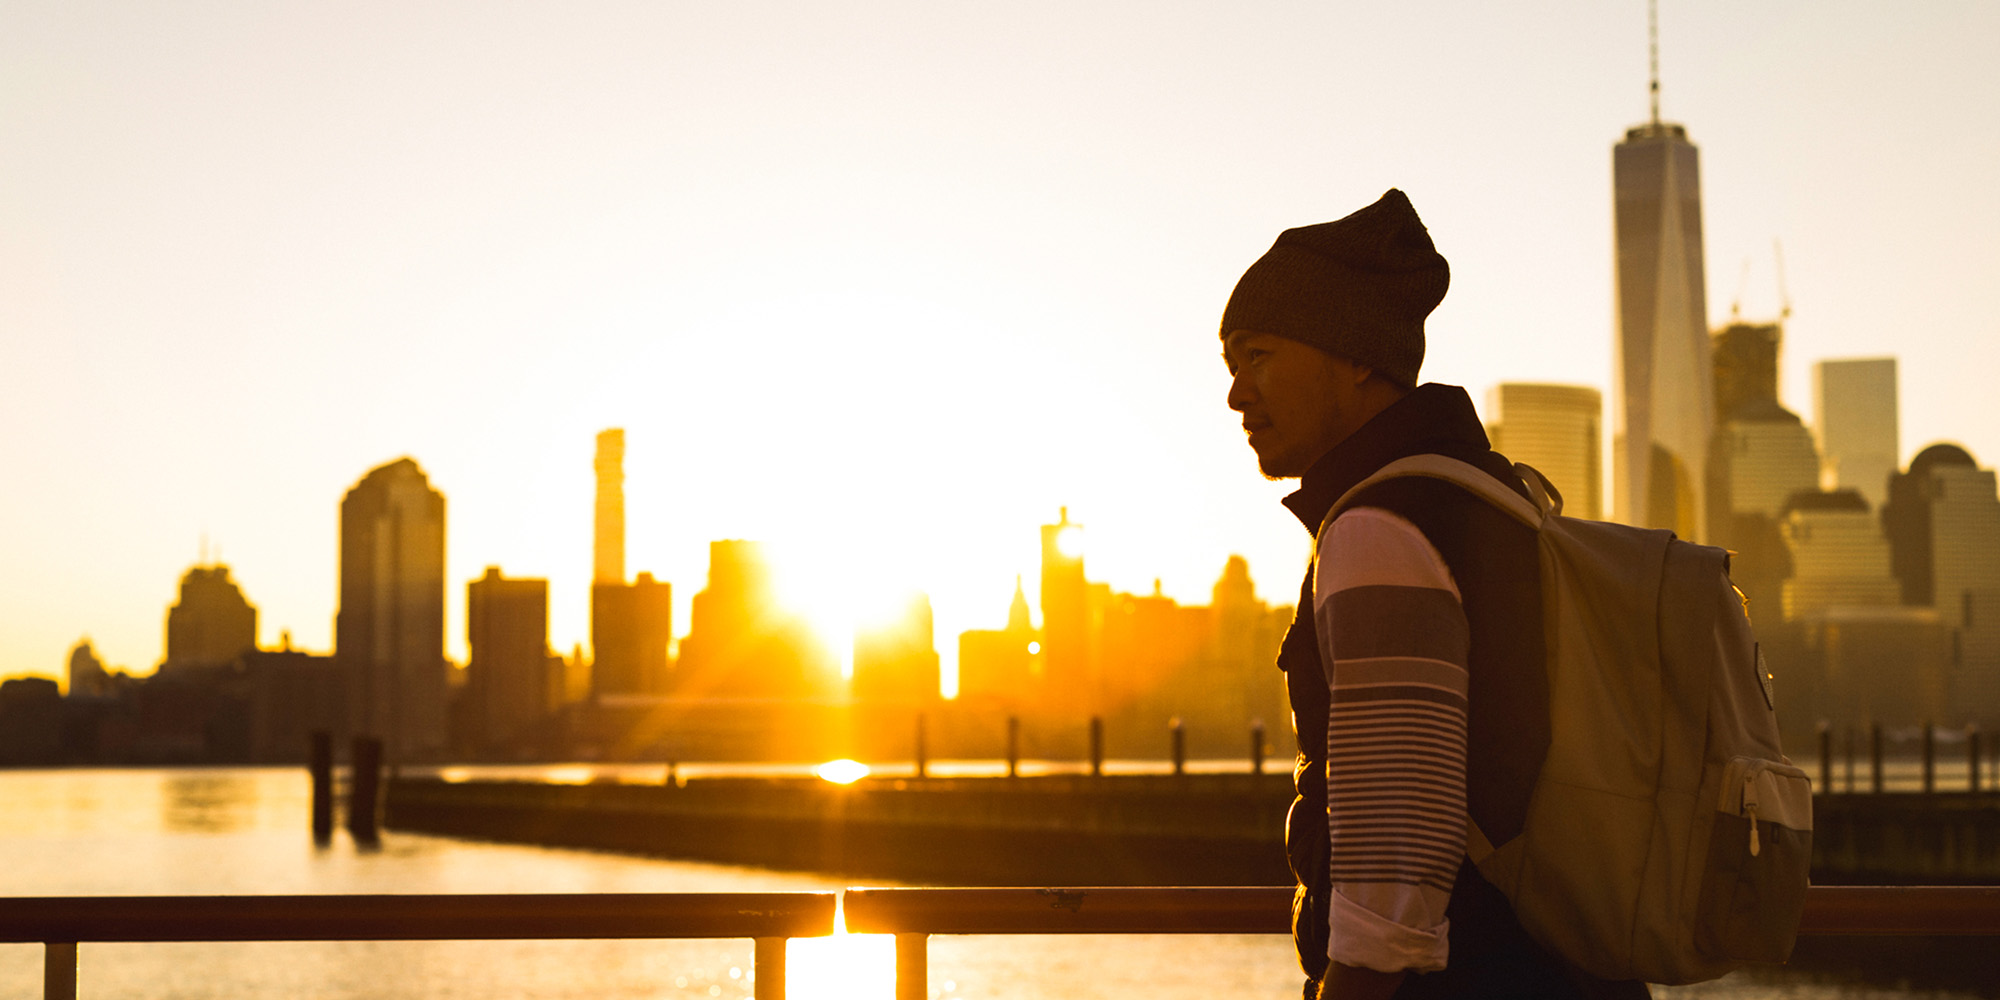
Never in a million years did I think I would become a professional photographer and shoot for brands like Sony Electronics, 1800 Tequila, Pei Wei and Toyota. Being a first-generation immigrant from China, I was always told to play piano or violin, or I would be beaten mercilessly with bamboo reeds. In 1985, my parents left a country where they didn’t have much and moved here with nothing but a dream. Even though they had no formal education, they were entrepreneurs and always believed they would succeed in America. These principals have always stood with me and guided me when I most needed it.

My foray into photography is a story that will make most photographers cringe. When our daughter was born, we wanted professional pictures taken. At the time, I didn’t realize how much photographers charged and thought they were wildly overpriced. So the next day I decided I’d just do it myself, and went out and purchased my first DSLR. The irony of this is, of course, that I entered photography as the epitome of everything a photographer despises – someone who undervalues the art and thinks they can do an equally good job on their own.

Thankfully, my ability and appreciation of photography steadily grew from that point. At first I used it as a stress reliever from the everyday trials of the corporate world until I realized I had a true passion for it. I would head out on my lunch break and after work and just shoot whatever I could find. I worked on my compositions and shot everything from landscapes and cityscapes to portraits and street photography. I just loved learning about photography and would spend countless hours on the internet watching YouTube tutorials and reading forums for tips and tricks.
Education has become an important element in my life. I went on to earn a Bachelor in MIS and Master in Business Administration. I was never a great student, but always remained driven to complete my degrees. I went on to work for a few Fortune 500 companies in different areas: sales, education, and healthcare. Each position taught me extremely valuable lessons in how I apply myself to my everyday life and business.
As my passion for photography and content creation grew, so did my urge to leave my 9-5. Conventionally, I had a “great job.” I was the Director of Marketing and Operations at a multi-million-dollar company with benefits and flexible hours, but it just wasn’t fulfilling. I was doing some freelance work as a creator, but I still felt like I was a slave to someone else’s dream. So I started my exit plan and waited for the perfect opportunity to present itself.
With a wife and two young children to think about, there was a lot on the line. But about two years ago, I decided to take the leap to become a full-time creative. Thankfully, I was able to take a lot of the lessons I learned from the corporate world and apply them to my new life as a full-time creative.
Here are some things that have helped me through my transition:
Five Ps – Proper Planning Prevents Poor Performance
Have a plan of action. It’s a lot harder to jump into things and try to make it work, so I plan before I jump. Ask yourself, how will you quit your full-time job? Do you have enough money saved? What is your plan to scale your business? Do you even know what type of photographer you want to become?
Hustle
Understand that your talent alone will not make you successful. The business side of things is a lot harder than you think. Remember you have to do your own marketing, accounting, and creative work.

Network
Building relationships and networking is probably the single most important aspect of your business. Get out to networking events and talk to people. Everyone needs a photographer for something. Understand your niche and where your business will come from. Bring business cards or create a vCard.
Be Social
Many people use social media in different ways. Take advantage of it and create a brand that represents you. Having a great portfolio will go a long way. Also, keep in mind that the images people respond to on social media don’t necessarily translate into commercial work. Editing and shooting for social media and what agencies look for are two different things.
Know Your Value
At first, you may feel you need to undervalue yourself to get business. Stay firm in your self-worth. But at the same time, remember this is an incredibly saturated field. In short, be honest with yourself, and you’ll arrive at an honest price that properly values your work and time while still staying competitive in the market.
You can see more of Quay’s work at AroundQ.com, and keep up with him on Facebook and Instagram.

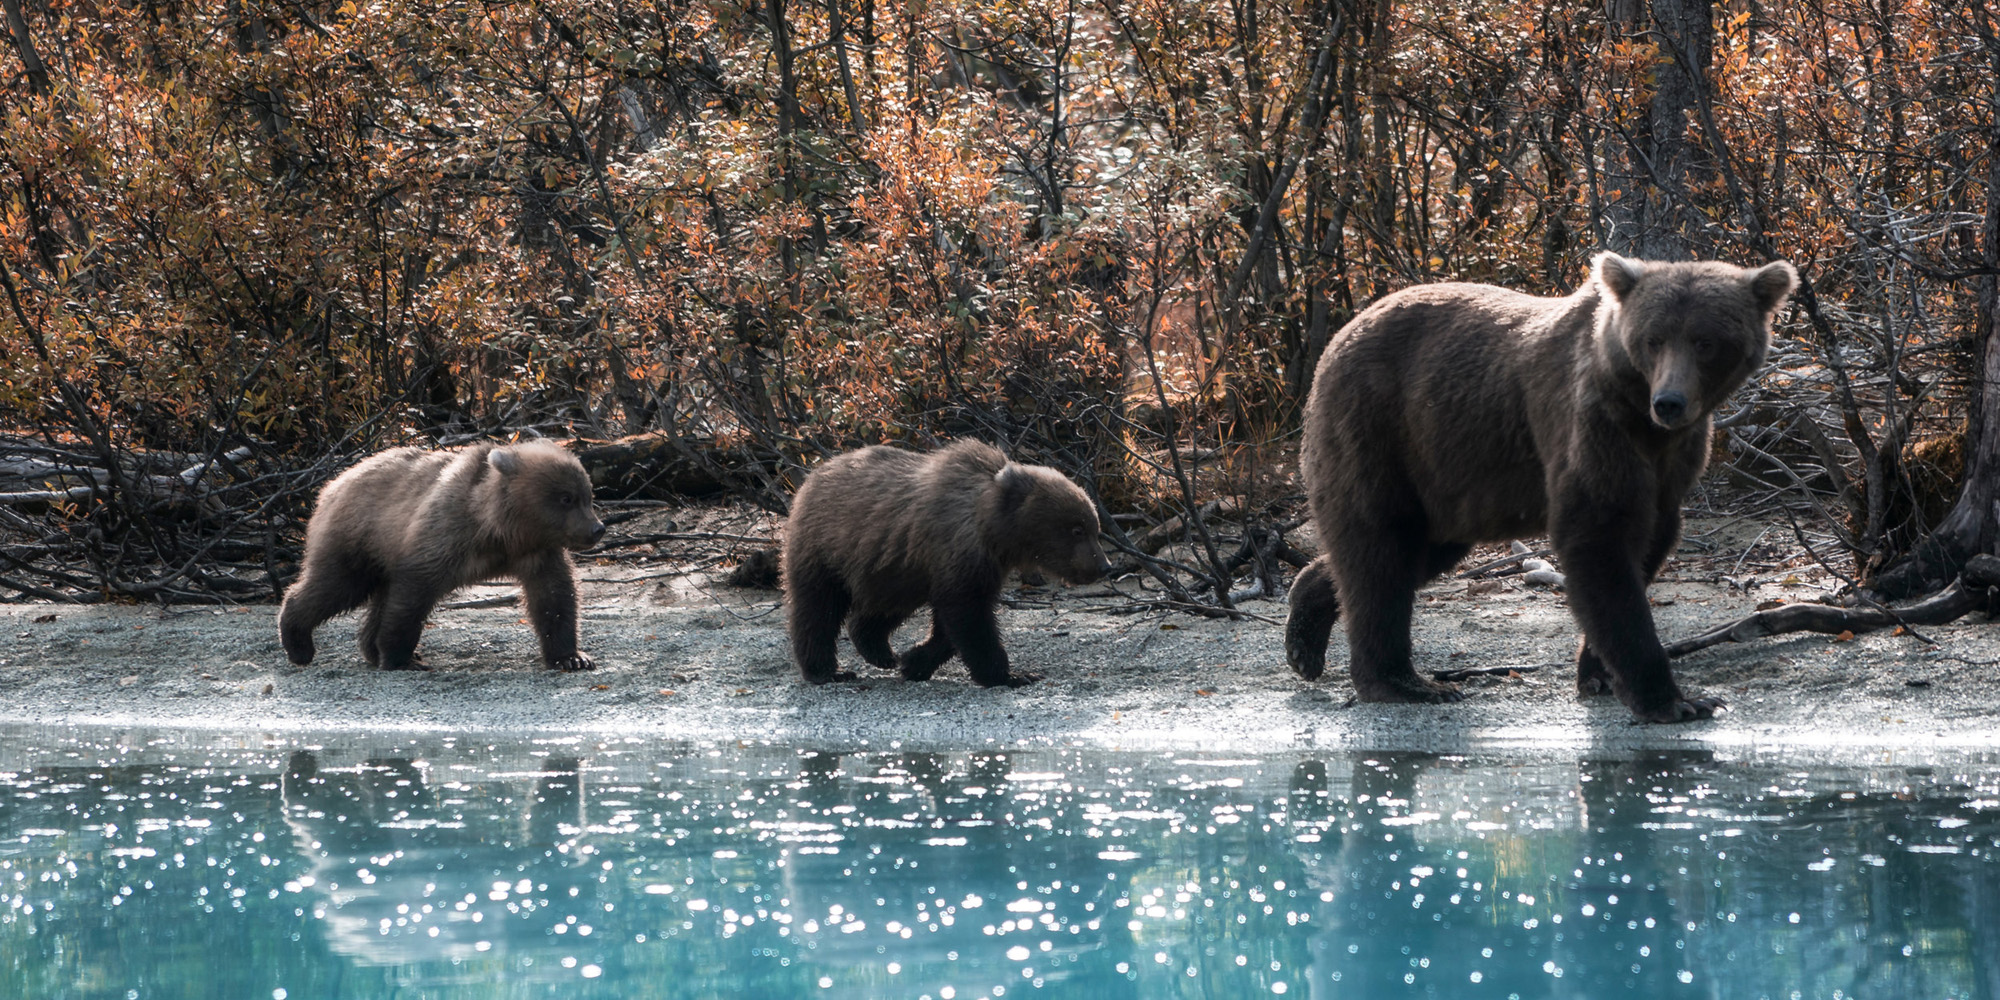
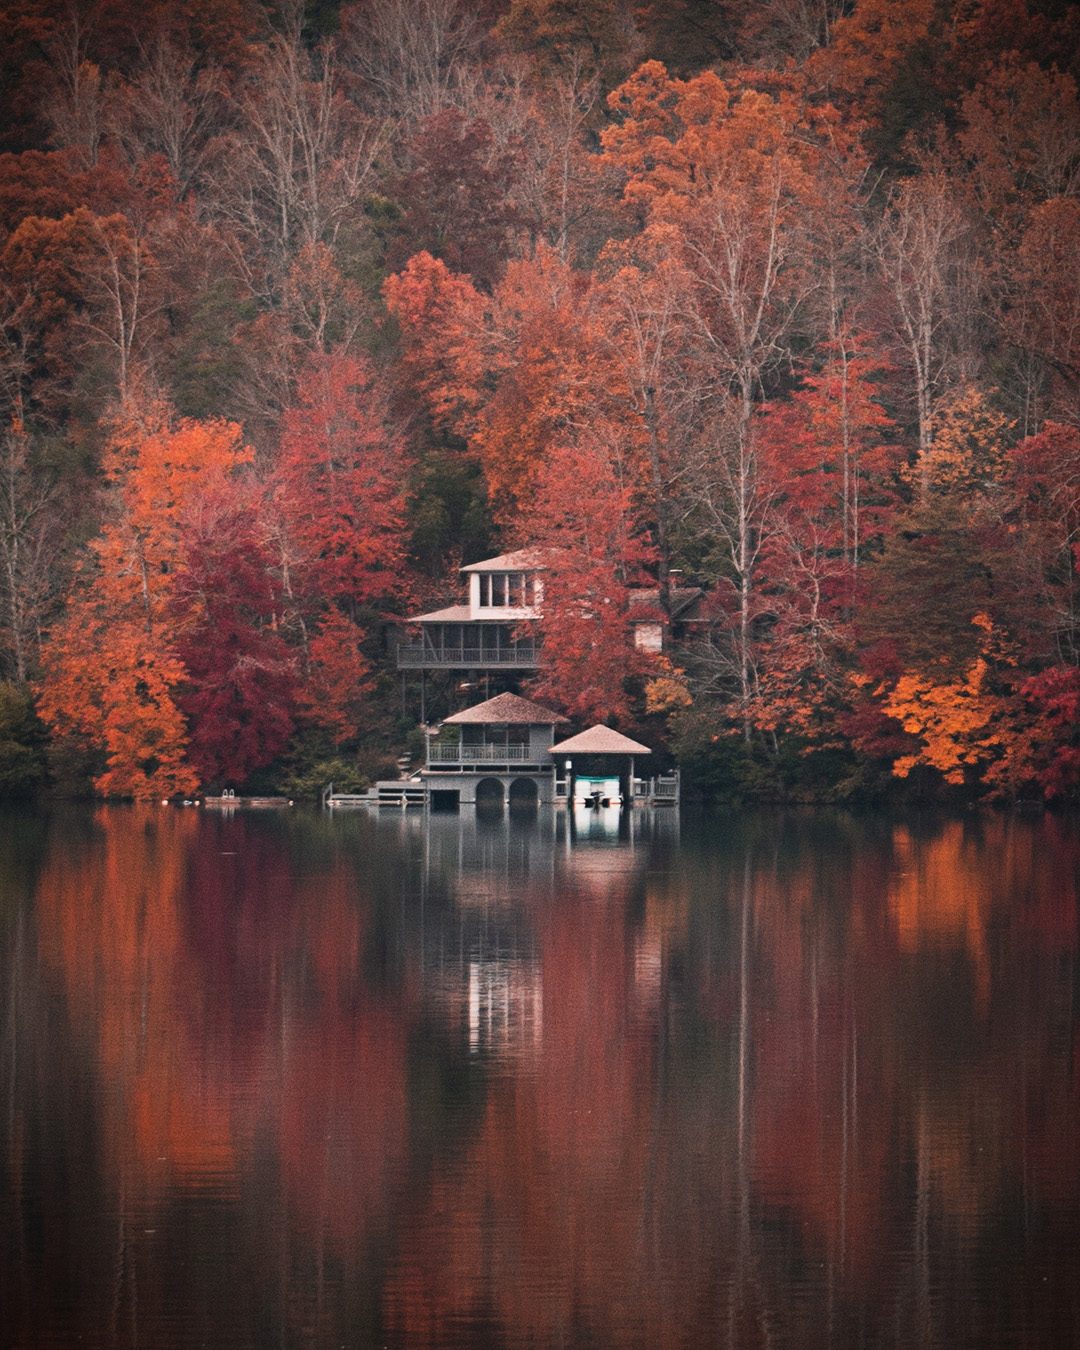
Loved the boat and dock shots, and especially the bears, How did you manage to get that shot of the bears? Were you far away or hidden by something?
The bears were shot with a 100-400mm with the 2x adaptor.