Dave Williams here again, just like every #TravelTuesday on ScottKelby.com, and this week I want to touch on some iPhone photography tips that might be useful. Today, the iPhone Photography Conference kicks off, with the pre-con having been held yesterday with Scott and Larry Becker. iPhone photography is huge—we all have a camera in our pocket and learning to use it properly will bring out a whole range of new skills and creative ideas. So, in preparation for these big moves, let’s take a look at some top iPhone photography tips:
The absolute top-of-the-list iPhone photography tip is something we often overlook, or perhaps we wait until it presents a problem rather than preventing the problem in the first place. It’s something we do with our main camera all the time, yet we forget to do it with our iPhone camera.
1. Clean Your Lens
Our iPhone camera’s lens gets dirty from being in our hands, our pockets, our purses, and cleaning the lens with a lens wipe, microfiber cloth, or even just using our clothing will make our photos much sharper.
2. Use the Grid
We can activate the gridlines overlay on our image preview from within our camera settings. Use these lines to their full advantage to help create better iPhone photos, particularly for better composition and a level horizon.
3. Level Your Flat Lays
When we take shots straight down, such as flat lay shots, two plus signs appear on our screen: one white and one yellow. We can use these two plus signs to ensure our image is taken straight down by aligning them for a level image.
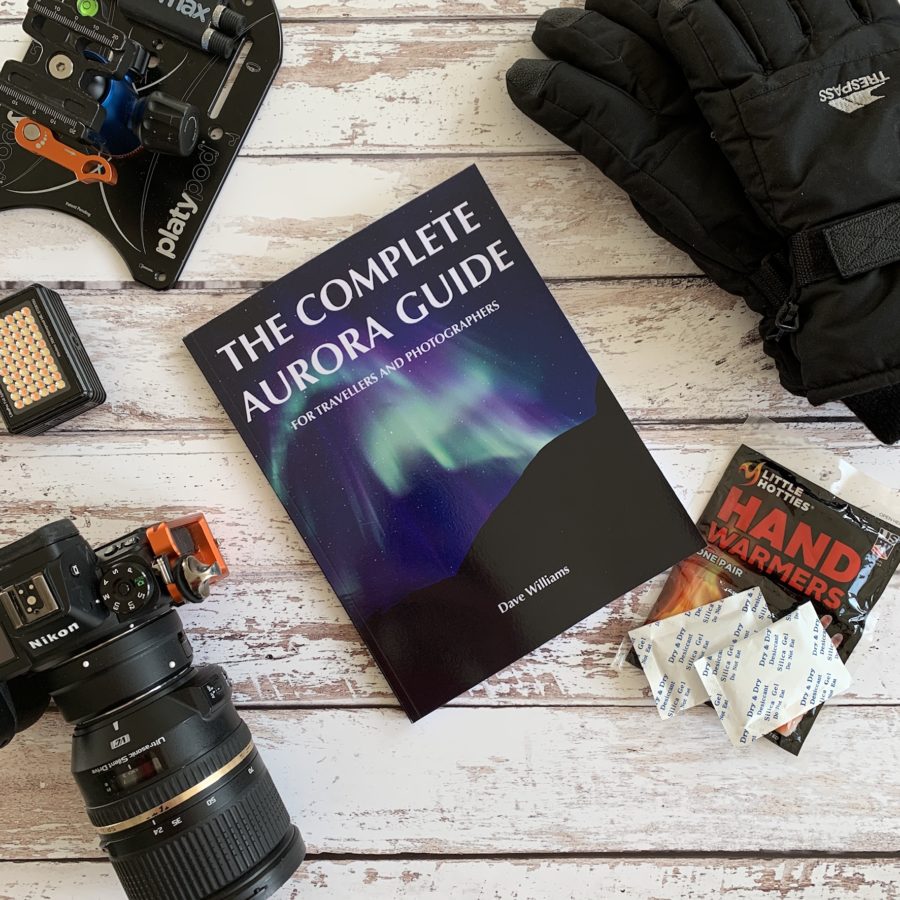
4. Zoom with Your Feet
Just like we would with a prime lens, zooming with our feet when shooting on iPhone helps preserve image quality. When we are shooting at the native focal length we use the entire capacity of the sensor, however, when we zoom we’re actually performing a digital zoom and just cropping on pixels, thus degrading the image quality.
5. Use Portrait Mode for Depth
Portrait Mode is a great feature of the iPhone camera and it takes the view of two lenses to create a quasi-bokeh effect. By utilising bokeh, like we would normally in our photography, we afford more focus to the subject of our photos.
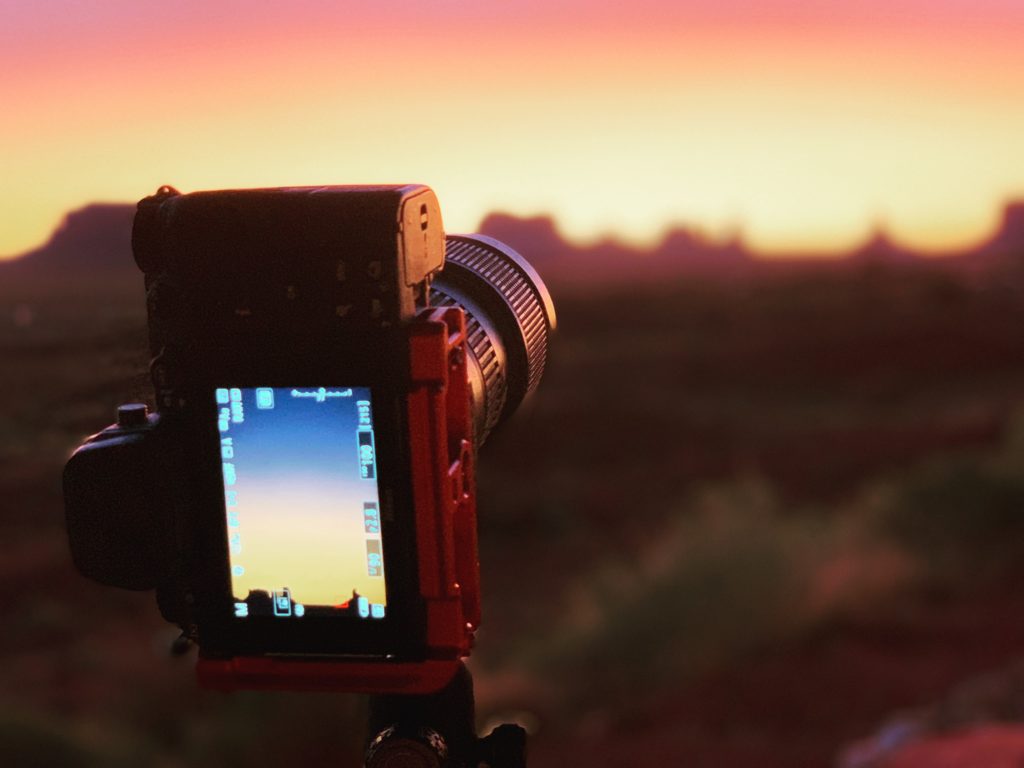
6. Live Mode
Live Mode gives us a lot more creative flexibility with our iPhone shots, including the ability to create a long exposure or a Boomerang. It also helps us to save a moment if it’s missed, but still happened just either side of us pressing the shutter button, because we can select the best frame from a series of images. To make sure Live Mode is enabled, open the camera app and tap the circles in the top right-hand corner, ensuring they are yellow.
7. Shoot Wide
The 0.5 lens is an amazing wide-angle lens built right into the iPhone. Having an adapter mounted to shoot wide-angle is a thing of the past and we can now pack a lot more into the frame with no extra hardware to buy.

8. Vertical Panoramas Are a Thing
Sometimes it can be in our interest to shoot a vertical pano in order to squeeze a lot more into the shot. Simply activate Pano Mode as normal, then turn your iPhone sideways, tilting up or down rather than from side to side.
These eight iPhone photography tips will immediately set you on your path to taking better iPhone photos, but there’s a whole load more to learn if you want to.
Until next week, I bid you adieu.
Much love,
Dave


1 comment