

Happy Tuesday! For my post this week on Scott Kelby’s Photoshop Insider for #TravelTuesday I’ll share with you a little trick to create a rainbow in Adobe Photoshop.
A real rainbow in a photo is a pretty cool thing to catch. Here’s a little selfie example: –
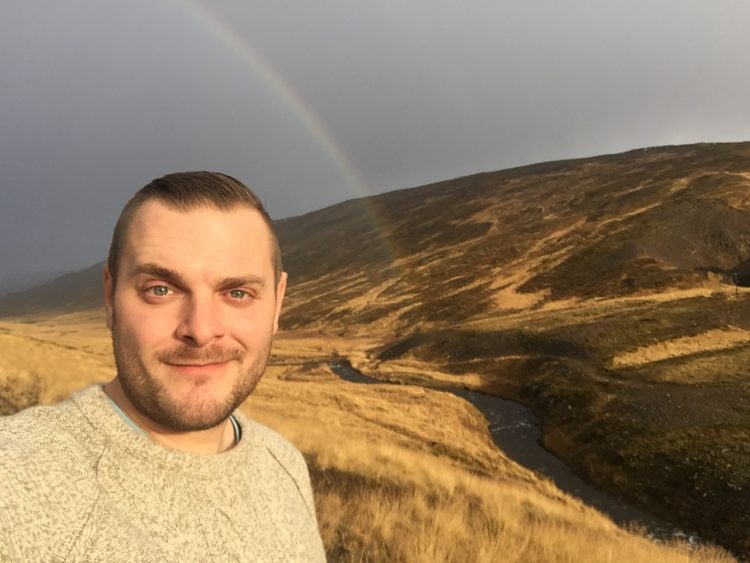
This was taken in a little valley at the neck leading into the Icelandic Westfjords in 2016. Now, if you look carefully and cast your eye aside from the beautiful English gent you’ll notice that there is actually a rainbow in that shot ;)
We’ll take this as a brief rainbow study and see what we need to try and simulate with our fake Photoshop rainbow. Note that the rainbow is pretty thin, extremely transparent, and not as saturated as we’d perhaps expect. We need to keep these observations in mind with our editing, let’s do it.
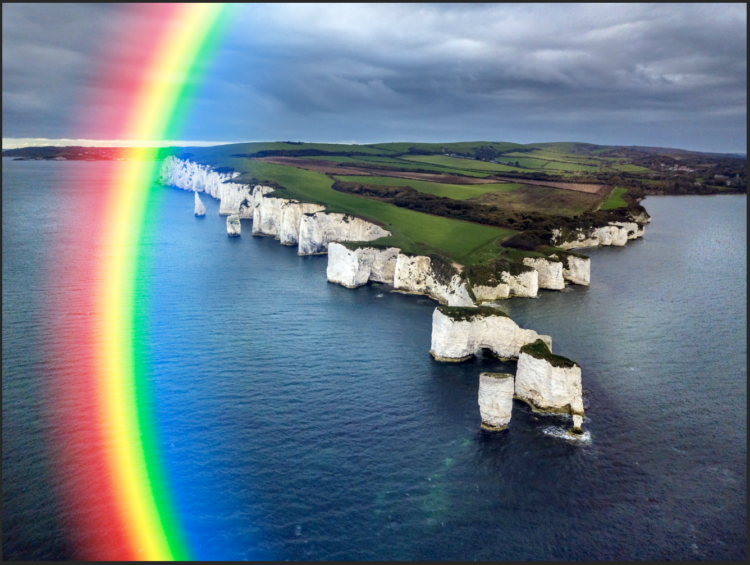
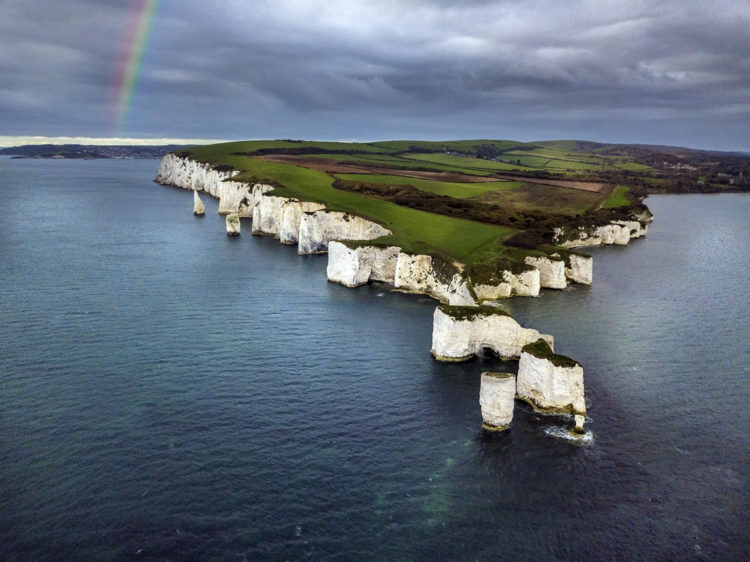
First off, crack open that shot. I’m using a moody skied drone shot from Old Harry Rocks, Dorset, England.

Let’s get straight into it and get that rainbow in there. Firstly, let’s create a new Layer with CMD + SHIFT + N (Windows: CTRL + SHFT + N)
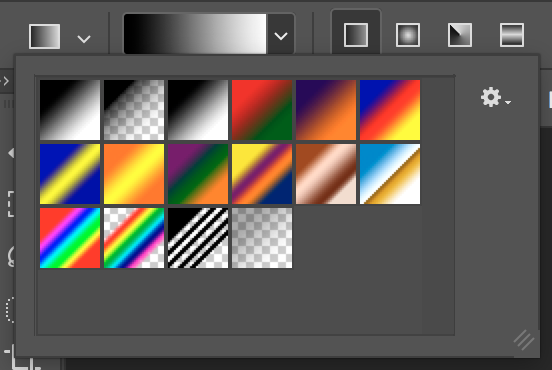
Working in this new Layer, hit G to select the Gradient Tool. From the Toolbar up top open the Gradient Picker, click on the Gear icon, and select Special Effects and hit OK.
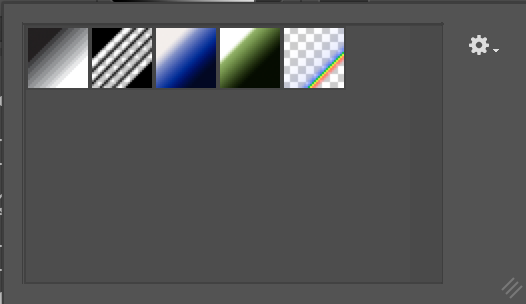
From the Gradient options, select the rainbow on the right named ‘Russell’s Rainbow.’
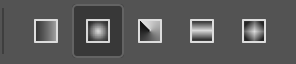
Now, change the Gradient Type to a Radial Gradient.
With this Tool, create a rainbow with a realistic arc. I find that a nice wide circle works best. When we do this we’ll see the entire circle, so concentrate on the portion which is in the sky and we’ll deal with the rest shortly.
In the Layers Menu, change the Blend Mode to Screen. Now select the Rainbow Layer with CMD + A (Windows: CTRL + A) and then hit T to use the Transform Tool to resize and reposition the rainbow. Here we need to think about what we figured out earlier – rainbows are thin!

And now bearing in mind the rest of what we learned, we need to desaturate the rainbow and make it more transparent. We can usually achieve this in one go by using the Layer Opacity Slider. I’ve taken mine right down to 25%.

And that leaves us just with the piece of rainbow that’s currently sitting in the sea! Rather than Photoshop in a pot of gold, let’s fade it out. Normally a rainbow won’t go right down to the ground, there’ll be a bit of a gap. Let’s do it that way in our image. Hit G to select the Gradient Tool again, and go back to the gear icon and select Reset Gradients and hit OK. Now check the black and white gradient named Foreground to Background. We will work on a Layer Mask so go ahead and create one from the Rainbow Layer. Now, making sure the Linear Gradient is selected in the Toolbar, make a line from the bottom to the top of the rainbow and note what happens. The most effective line in this case is from just below the horizon to just above it, which causes this to happen: –
As always with our post process it’s hard to decide when we’re finished, but at this point we are in fact done!
You can take this method and apply it to any image it fits, and I would love to see what you do with ti! As always, tag me on Instagram where I’m @capturewithdave so I can see your rainbows!
Take care,
Much love!
Dave
2 comments