Hi all! Dave Williams here, coming at you this week from a very cold Chicago where I’m spending a few days shooting in the city. Perfect timing, it seems, to share some top tips for shooting a cityscape.
When we shoot a cityscape, we can often relate it to landscape photography, applying similar camera settings to achieve similar results. What differs in the main is the objective of the photo. We are quite often seeing a faraway land and putting our spin on its appearance by making notable points within the scene stand out, by bringing something in focus (whether that be one element or the entire skyline), and sometimes reflecting the local culture within the shot.
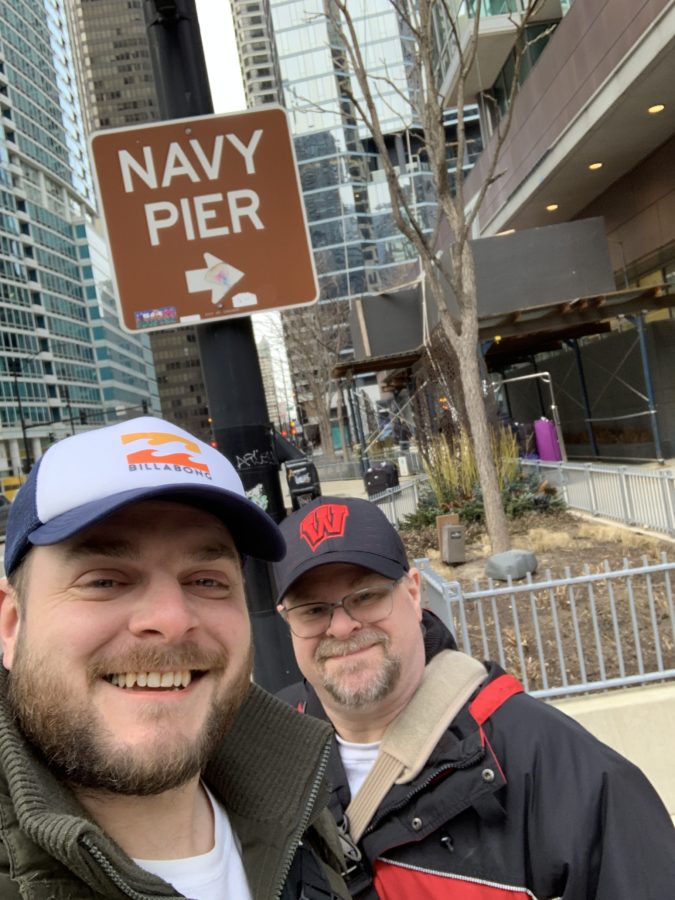
Yesterday, I was shooting Chicago with KelbyOne member Kevin Scott, who I know reads this blog daily.
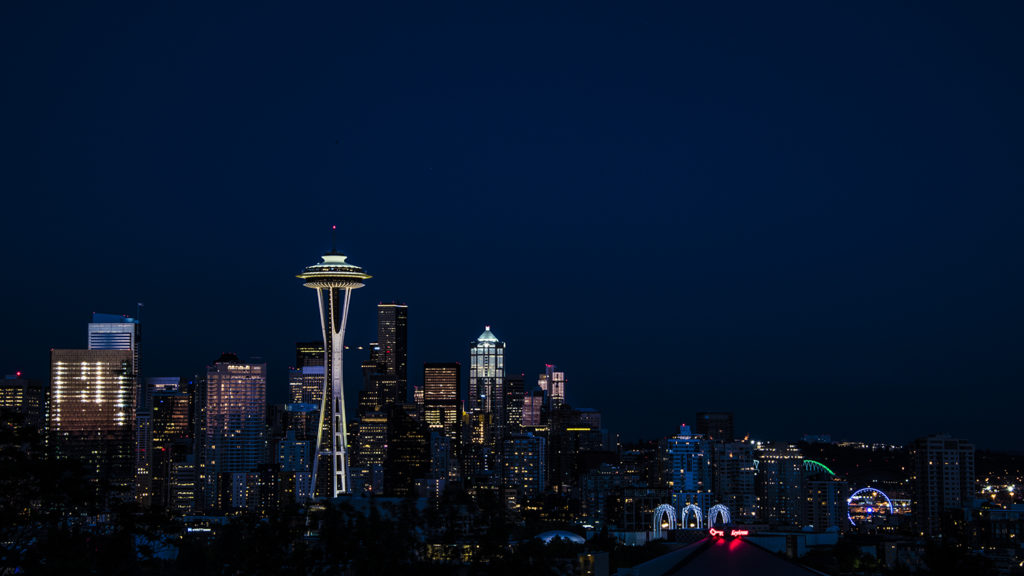
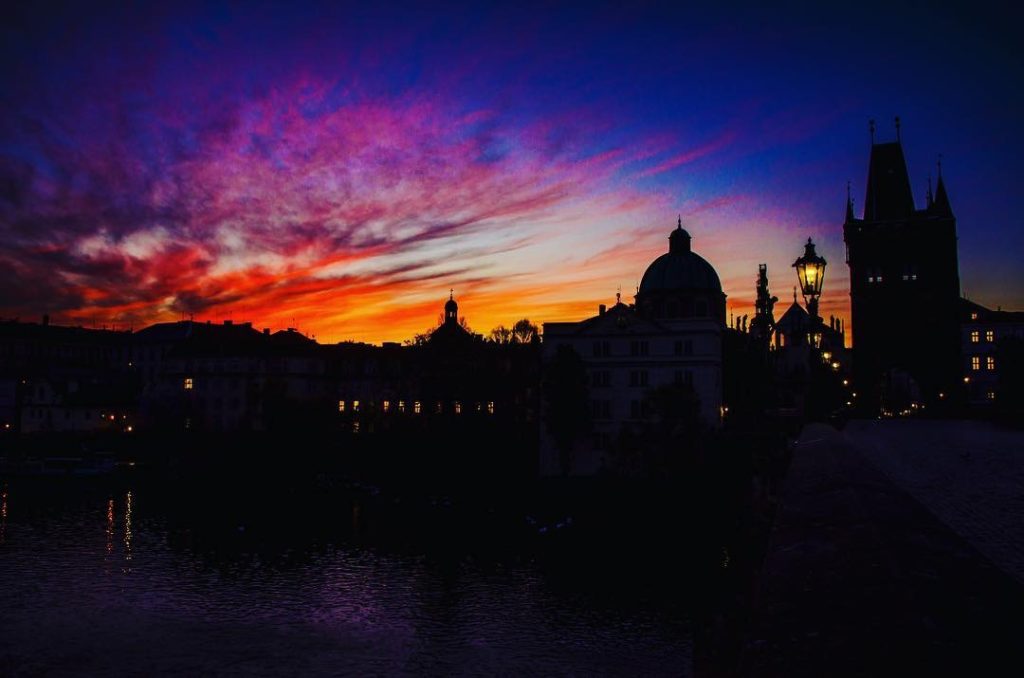
Tip 1: Golden hour and blue hour are the best times for shooting a cityscape. As the sun rises, the city is quiet, as it begins to wake up. The changing colour of the light can bathe the city and warm it up, ready for the day ahead. In a similar

Tip 2: Change your perspective! The city is usually shot from a handful of good locations, over and over again. If you get the opportunity to shift perspective and shoot from somewhere else, you should absolutely make the most of that.

Tip 3: Bad weather = good! So, yesterday, I was moaning quite a lot about the cold—I won’t lie about that. That cold weather did something for the city, though, and the ice was an extra element. This translates to a rainy day, too, where the rain gives nice, shiny, reflective surfaces to shoot within a scene. The reflection not only adds a mirroring effect or a deeper element to the photo, but it also adds a level of saturation and an often overlooked location can look really great!
Tip 4: Consider the foreground. Speaking of bad weather, the ice was my foreground yesterday and it’s a foreground that isn’t permanent, so it gives my photos an edge over the rest of the market. I won’t go too much into the subject of foregrounds, save to say that they’re a good thing!

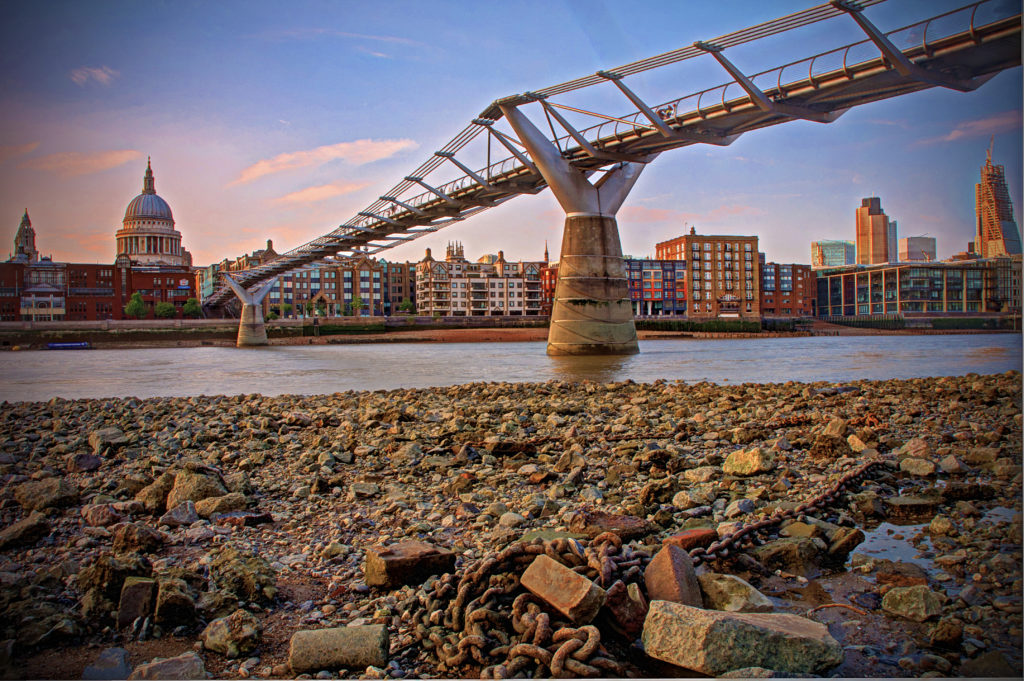
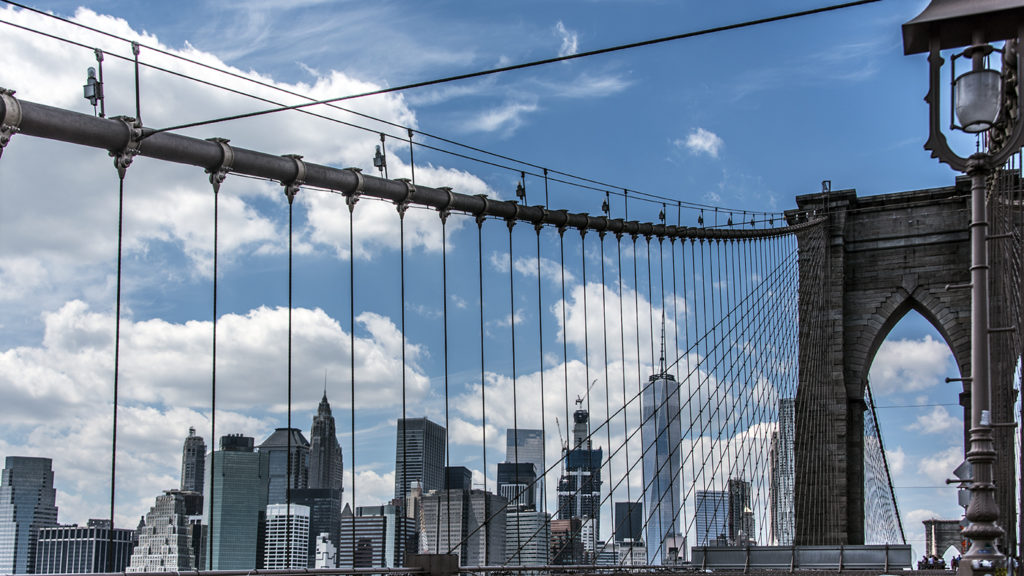
Tip 5: Lead in with leading lines. Leading lines are a powerful compositional tool because they force depth and they cause the viewer’s eye to move exactly how and where we want it to. What can potentially be a messy scene can suddenly become coherent with this simple addition.
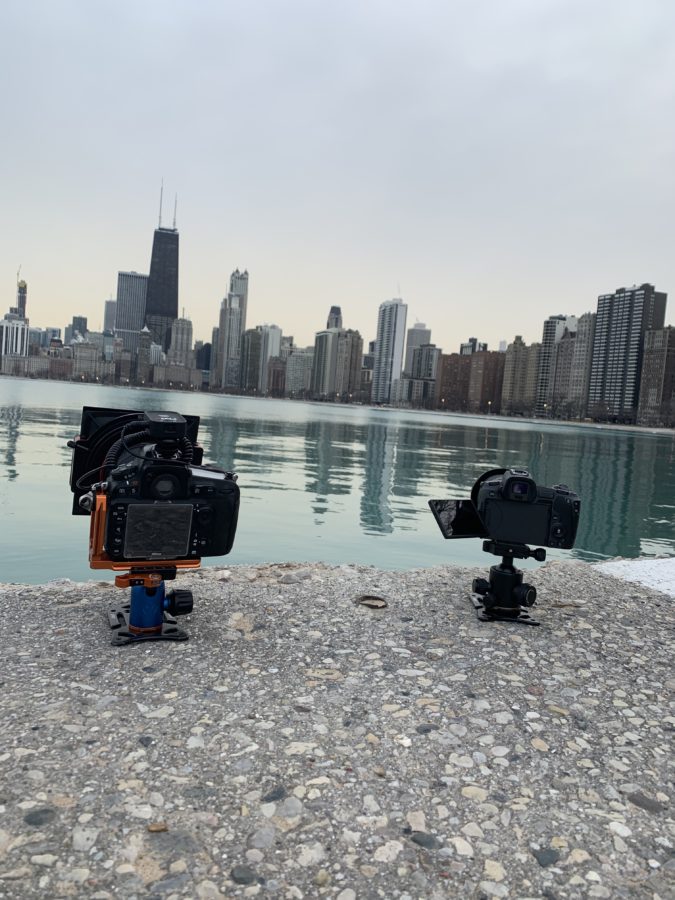
Tip 6: Stabilise. To get the length of exposure we need, in order to keep the entire range in focus for such a deep scene, we often need to use a tripod, or where tripods aren’t allowed or are too heavy to carry around, a Platypod.
Tip 7: Use your imagination! Look for patterns, look for light, think about
Do you notice from the photos I’ve shared that there’s no real right or wrong? It’s more a case of considering what’s there and how to make the most of it, whilst keeping the photographic principles we know in mind!
Much love
Dave