

BREAKING THE PLANE- 3D For Photographers
I was recently watching a tutorial on advanced product retouching in Photoshop, during which the instructor spent an astounding amount of time removing imperfections and isolating every element to its own layer. It was eye-opening, but not in the way I expected. During my career I’ve captured a client’s or art director’s vision on a two-dimensional plane with lighting, subject matter, resolution, and camera angle baked-in forever. This had me looking for another way to approach image and motion creation.
During a recent series of trips to New York, I found myself with quite a bit of downtime in the evenings which allowed me to dive headfirst into the world of 3D. 3D is nothing new, but as of late the software and hardware is advancing at lightning speed, and I noticed that it wasn’t being used in generating food imagery nearly as much as it should.
In order to use 3D in production as a food photographer, I needed to become adept at modeling, texture creation, photogrammetry, VFX, compositing, and sculpting. Not an easy task and as many know, but the learning never ends!
My current software workflow includes Modo for hard surface modeling, Substance Designer and Substance Painter for texture authoring and painting, Zbrush for sculpting 3D meshes, Reality Capture for photogrammetry, SpeedTree for foliage generation, Marvelous Designer for fabric, Houdini for VFX, Redshift for rendering, and of course Photoshop for the final touches!
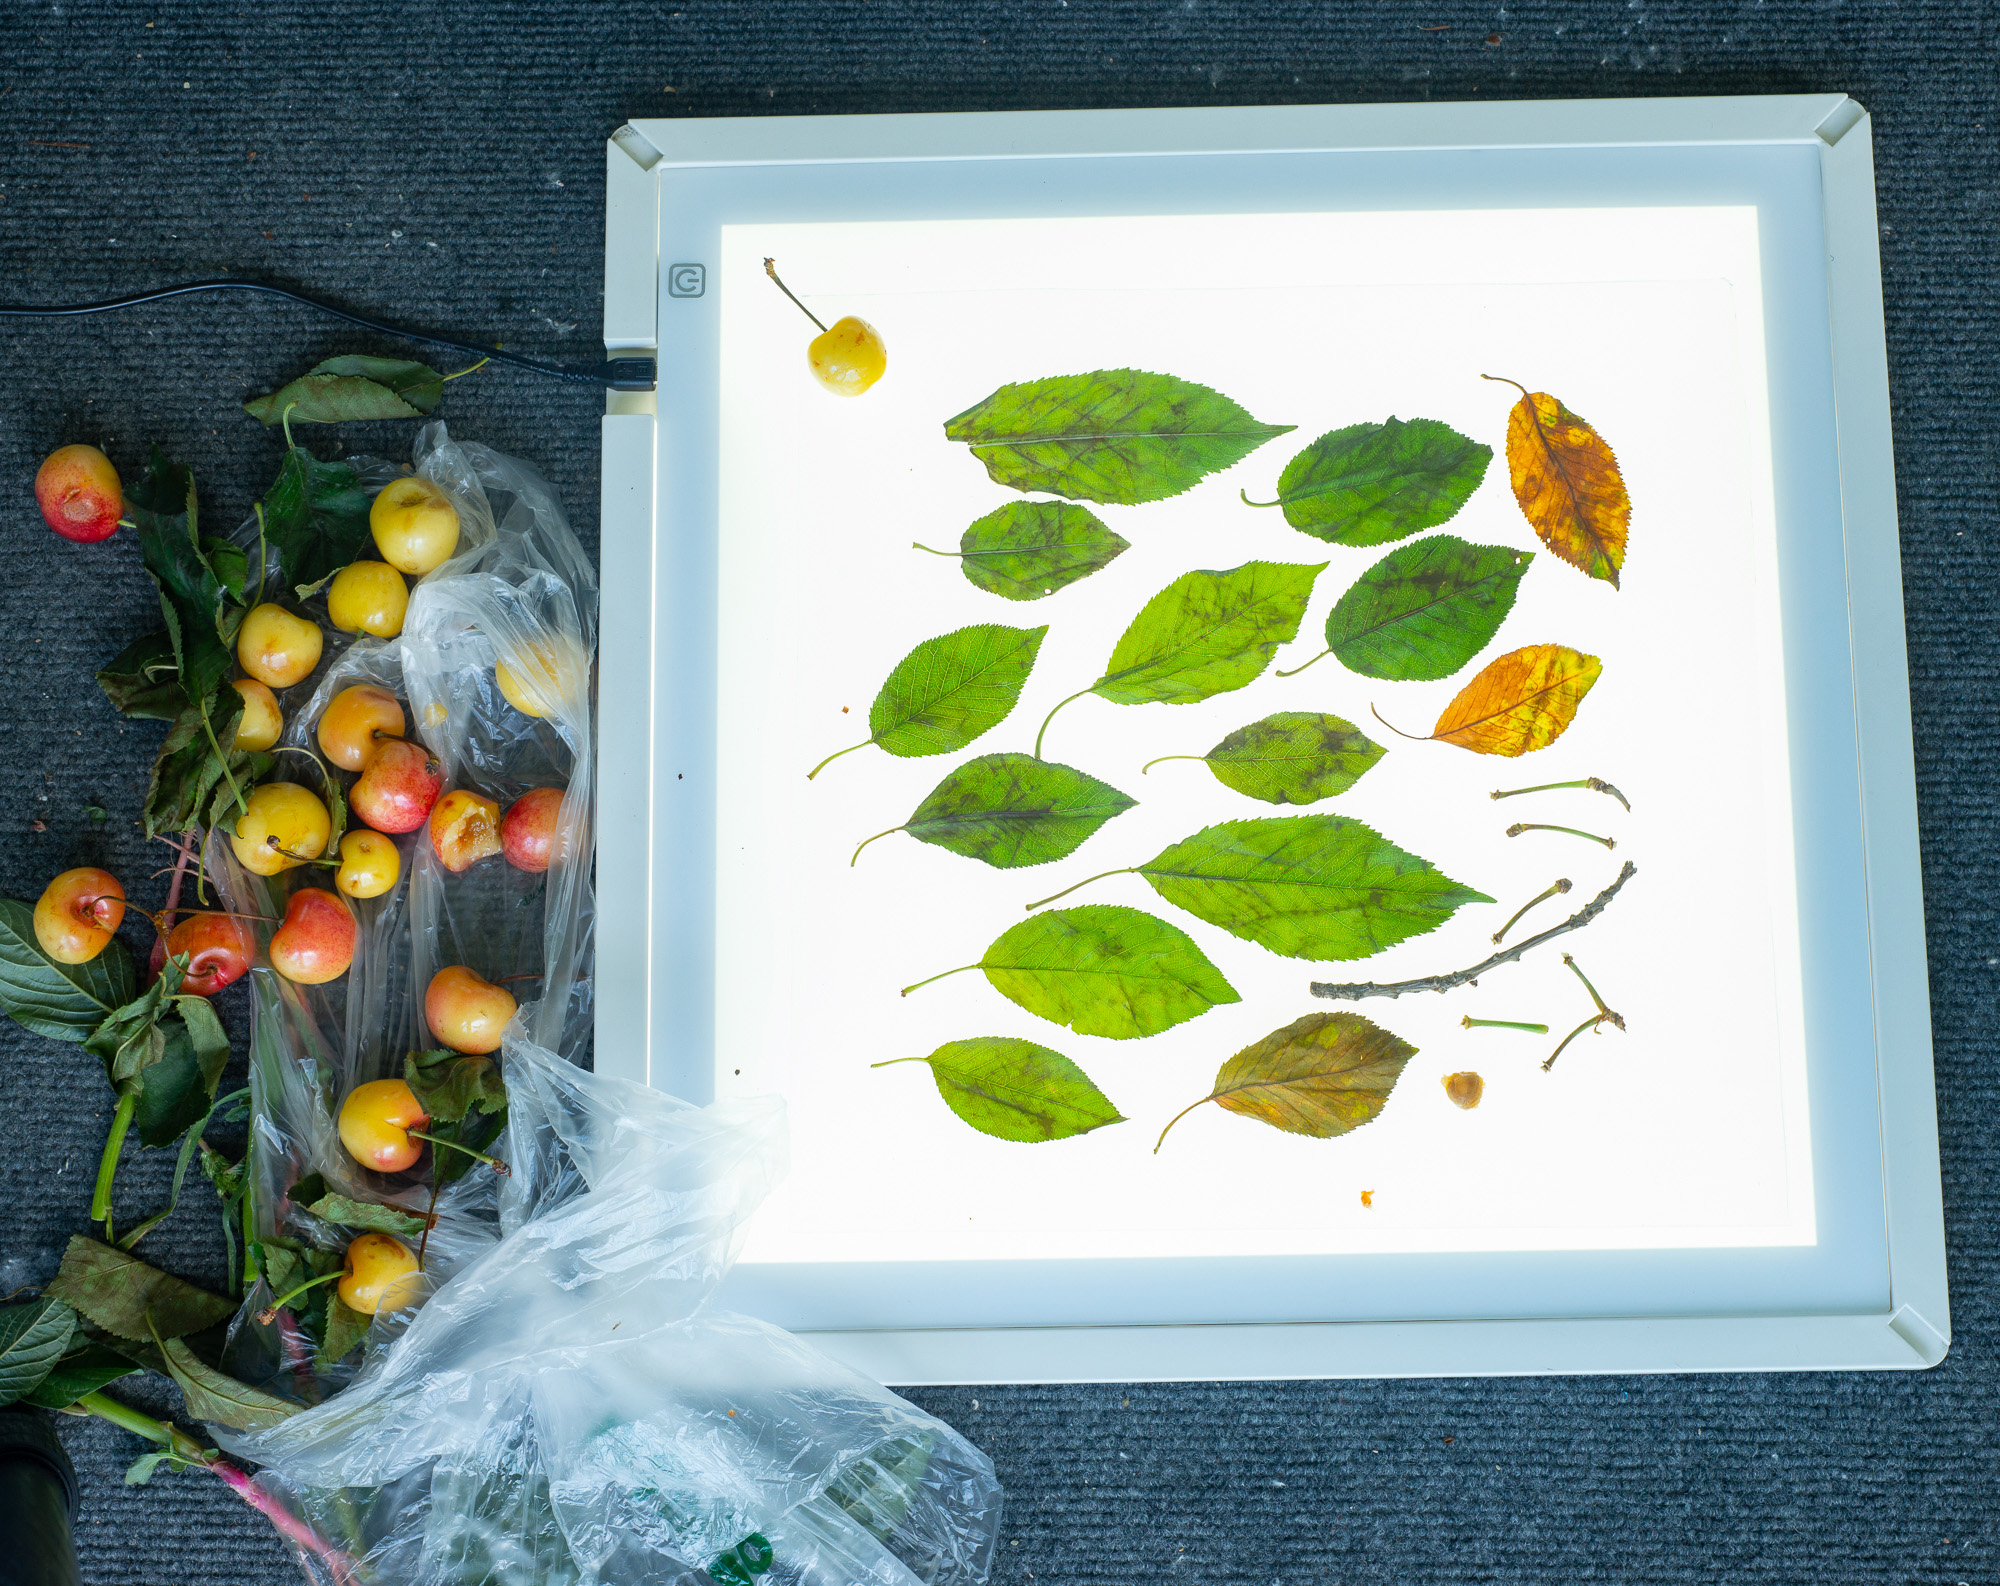
For organic objects, nothing beats photogrammetry! To create this oyster asset, I shot the oyster on a Lazy Susan from every angle possible and stitched the images together in Reality Capture. The resulting 3D mesh is then cleaned up in Zbrush and the color texture is cleaned up in Photoshop.
My favorite breakthrough in 3D and one that doesn’t get nearly enough focus in 3D software development is VR. I currently use MODO for modeling, and they recently implemented a VR viewport allowing the user to physically enter the 3D space. This is important as I’m used to moving around a physical subject and my hope is eventually to be able to conduct a virtual photo shoot live within this realm.
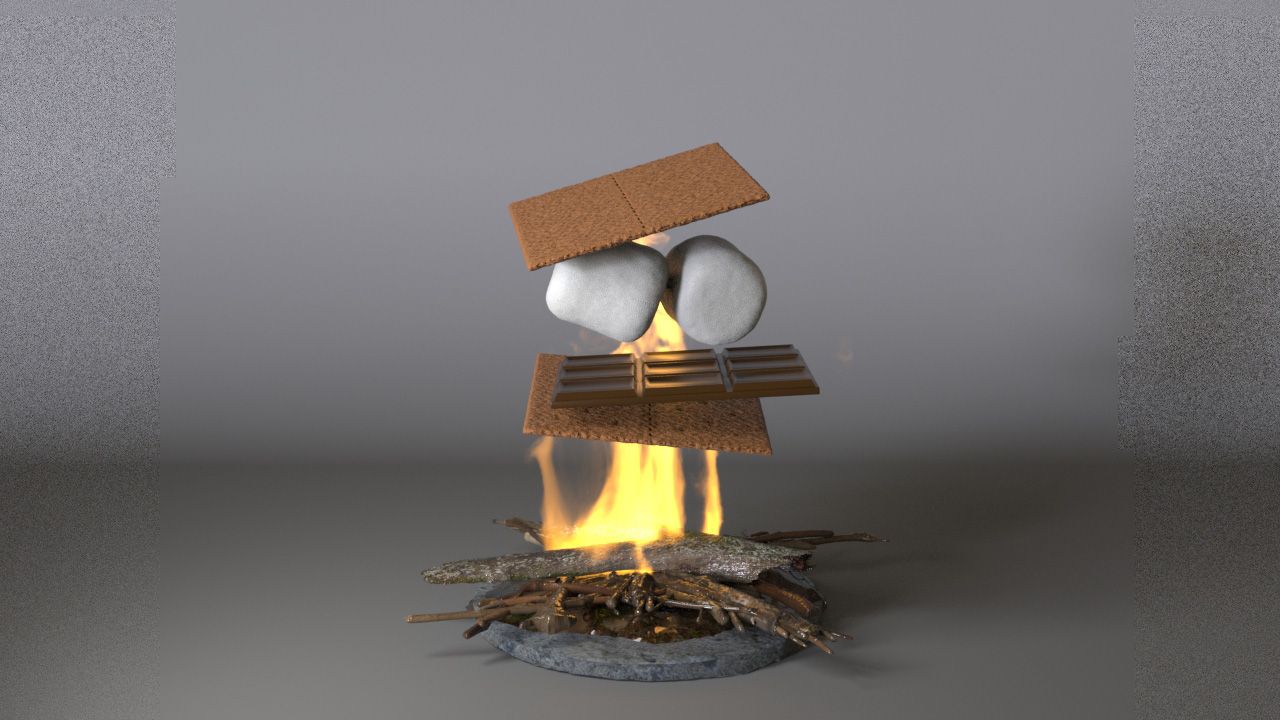
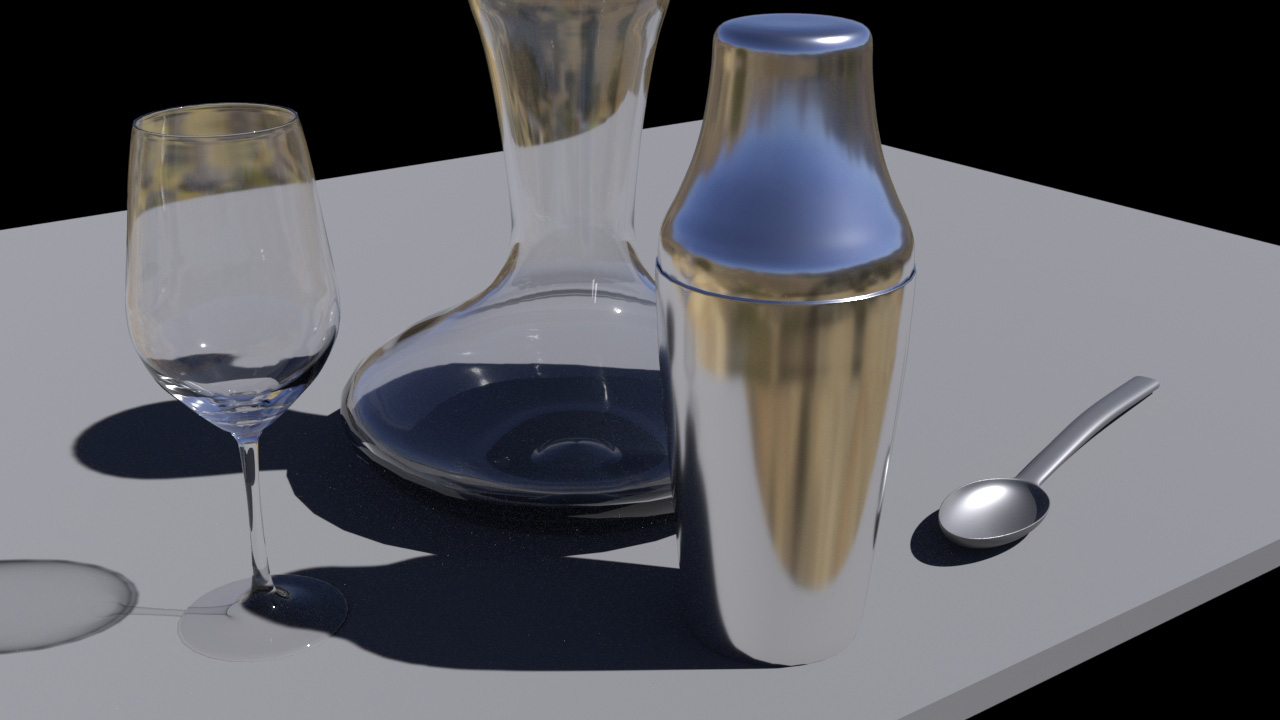
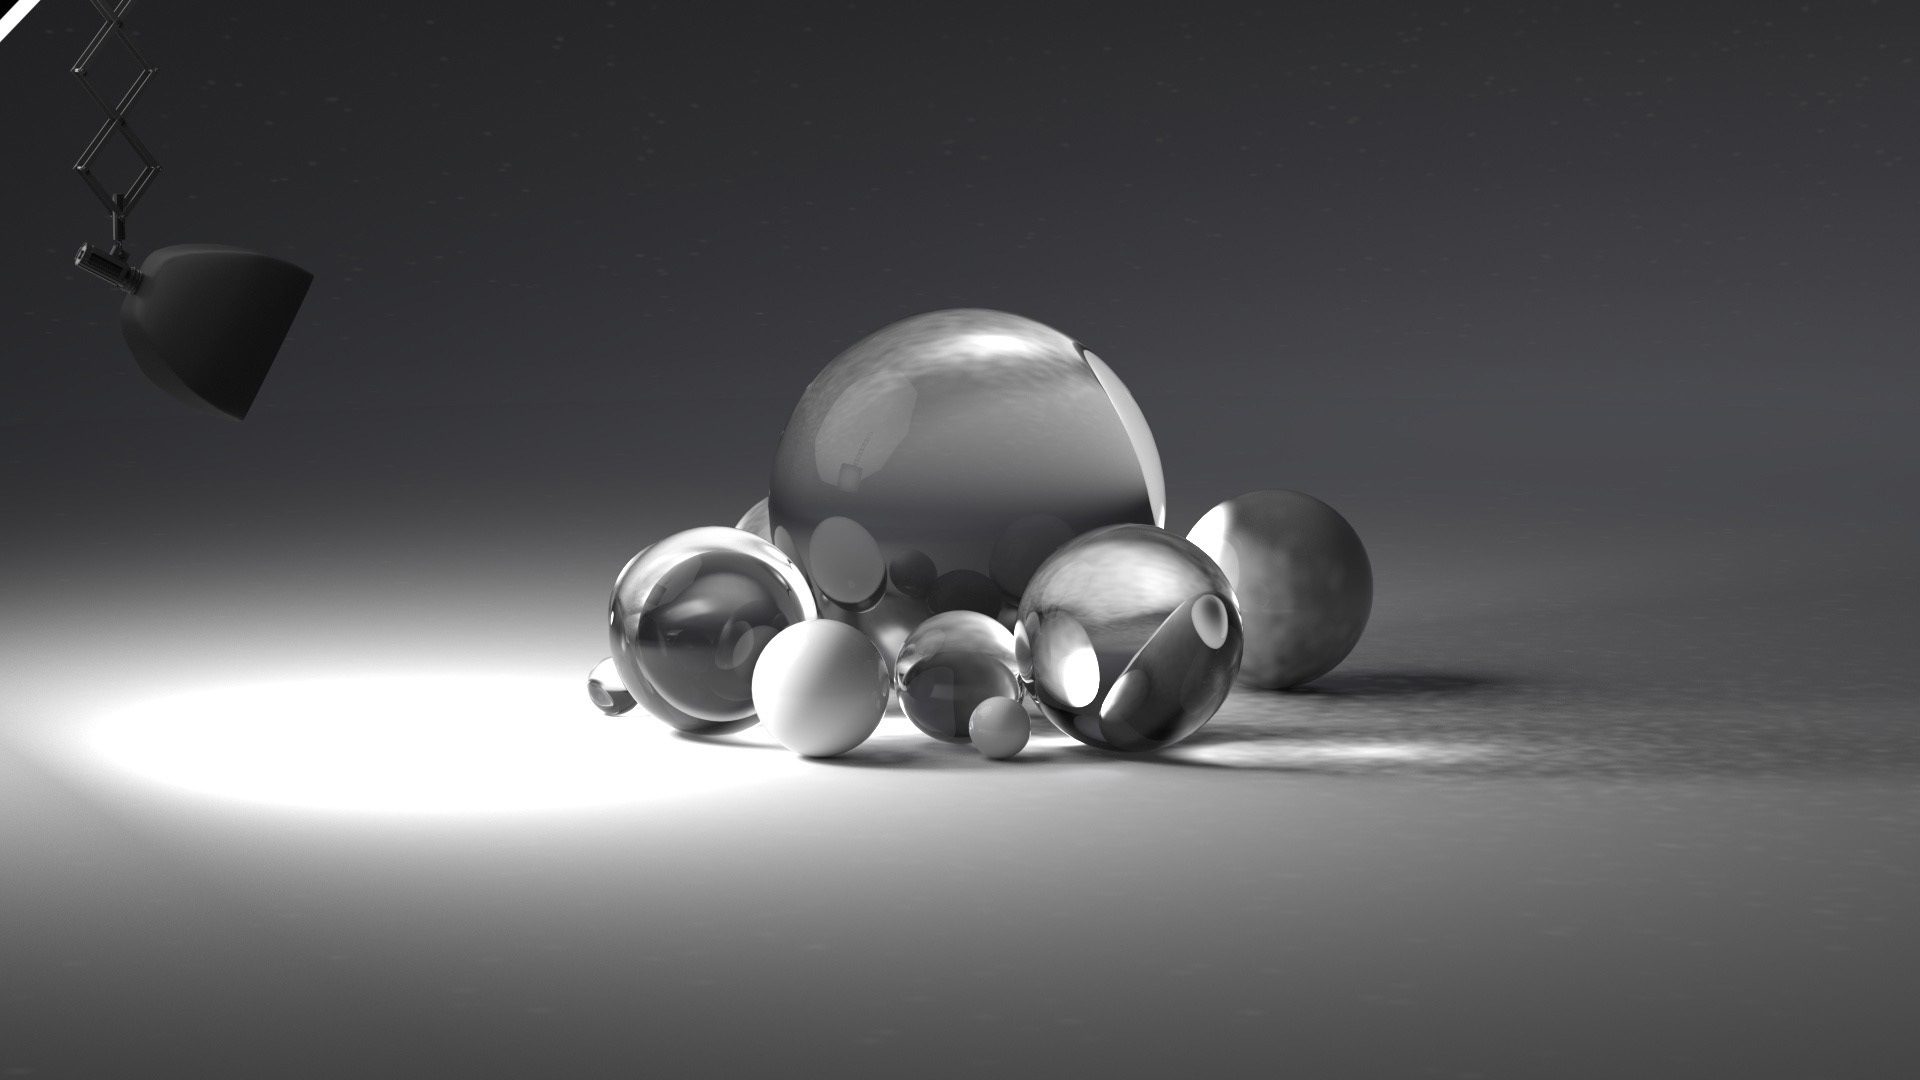
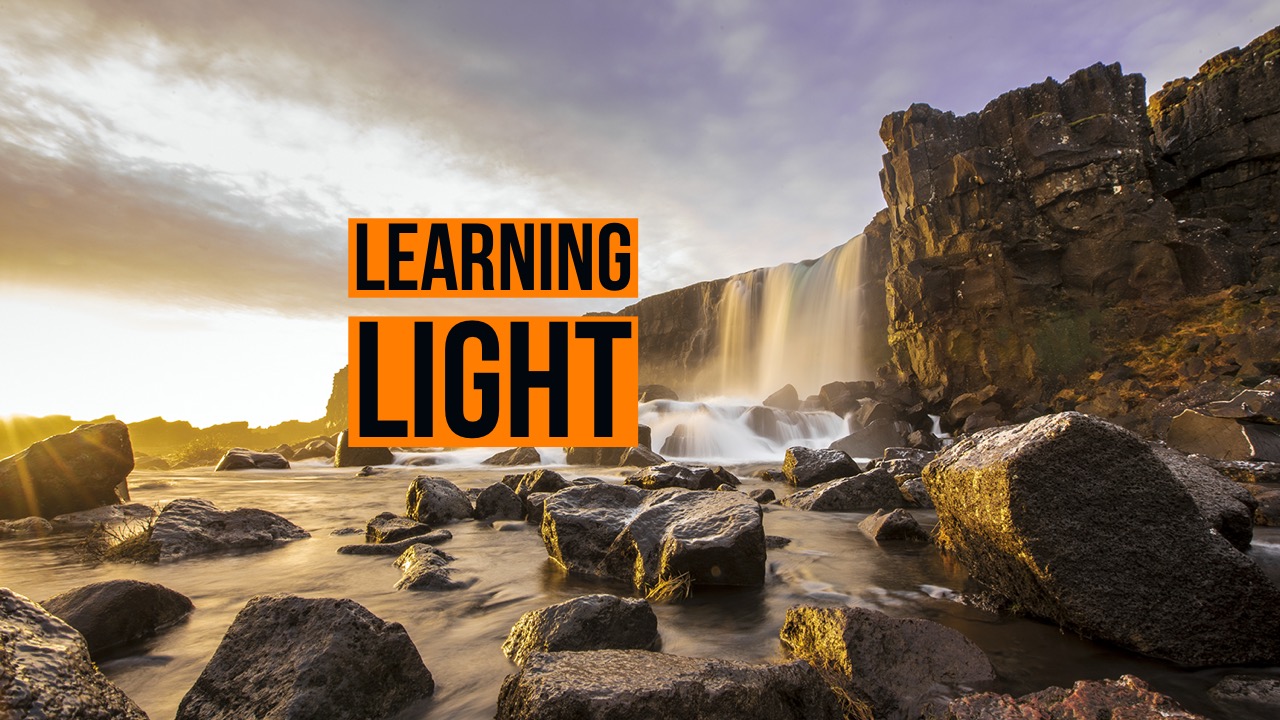
The strength of 3D lies in the ability to create any photorealistic environment you want and change anything from lighting to export resolution forever. Learning 3D also makes you a better photographer. Photographers always tout their understanding of light, but it took me all of two minutes learning PBR material authoring to realize I didn’t know squat!
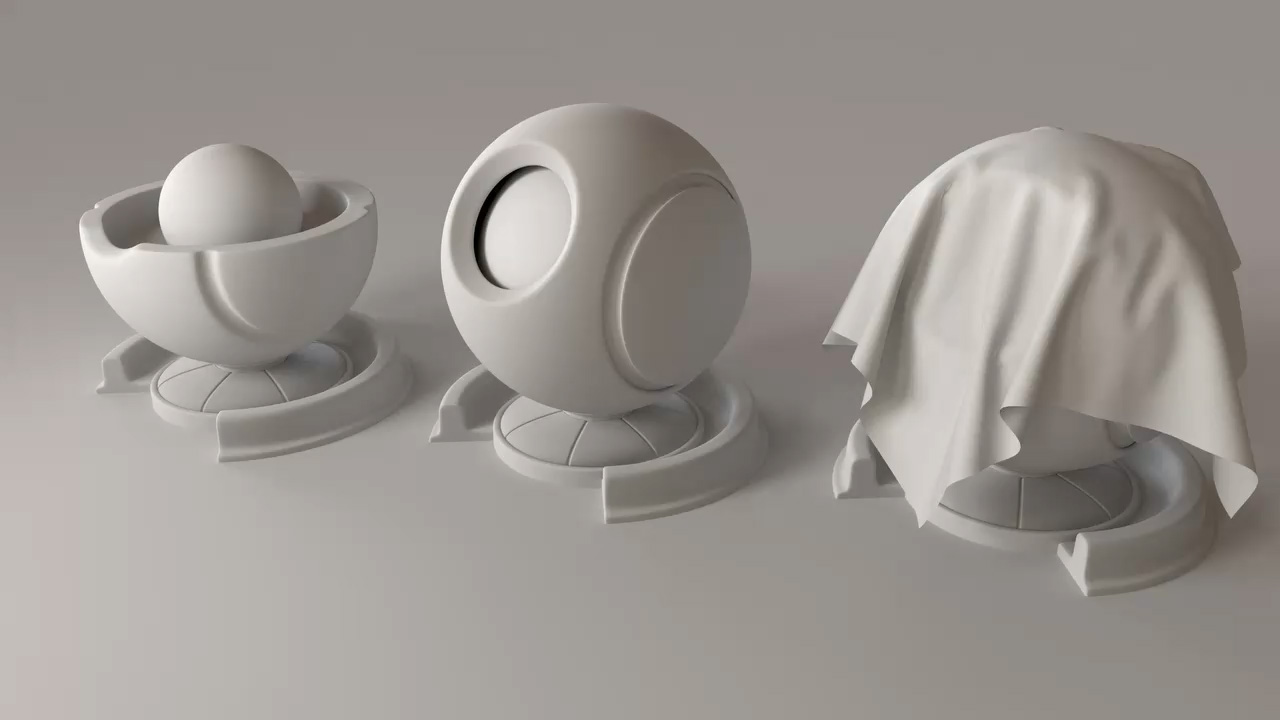
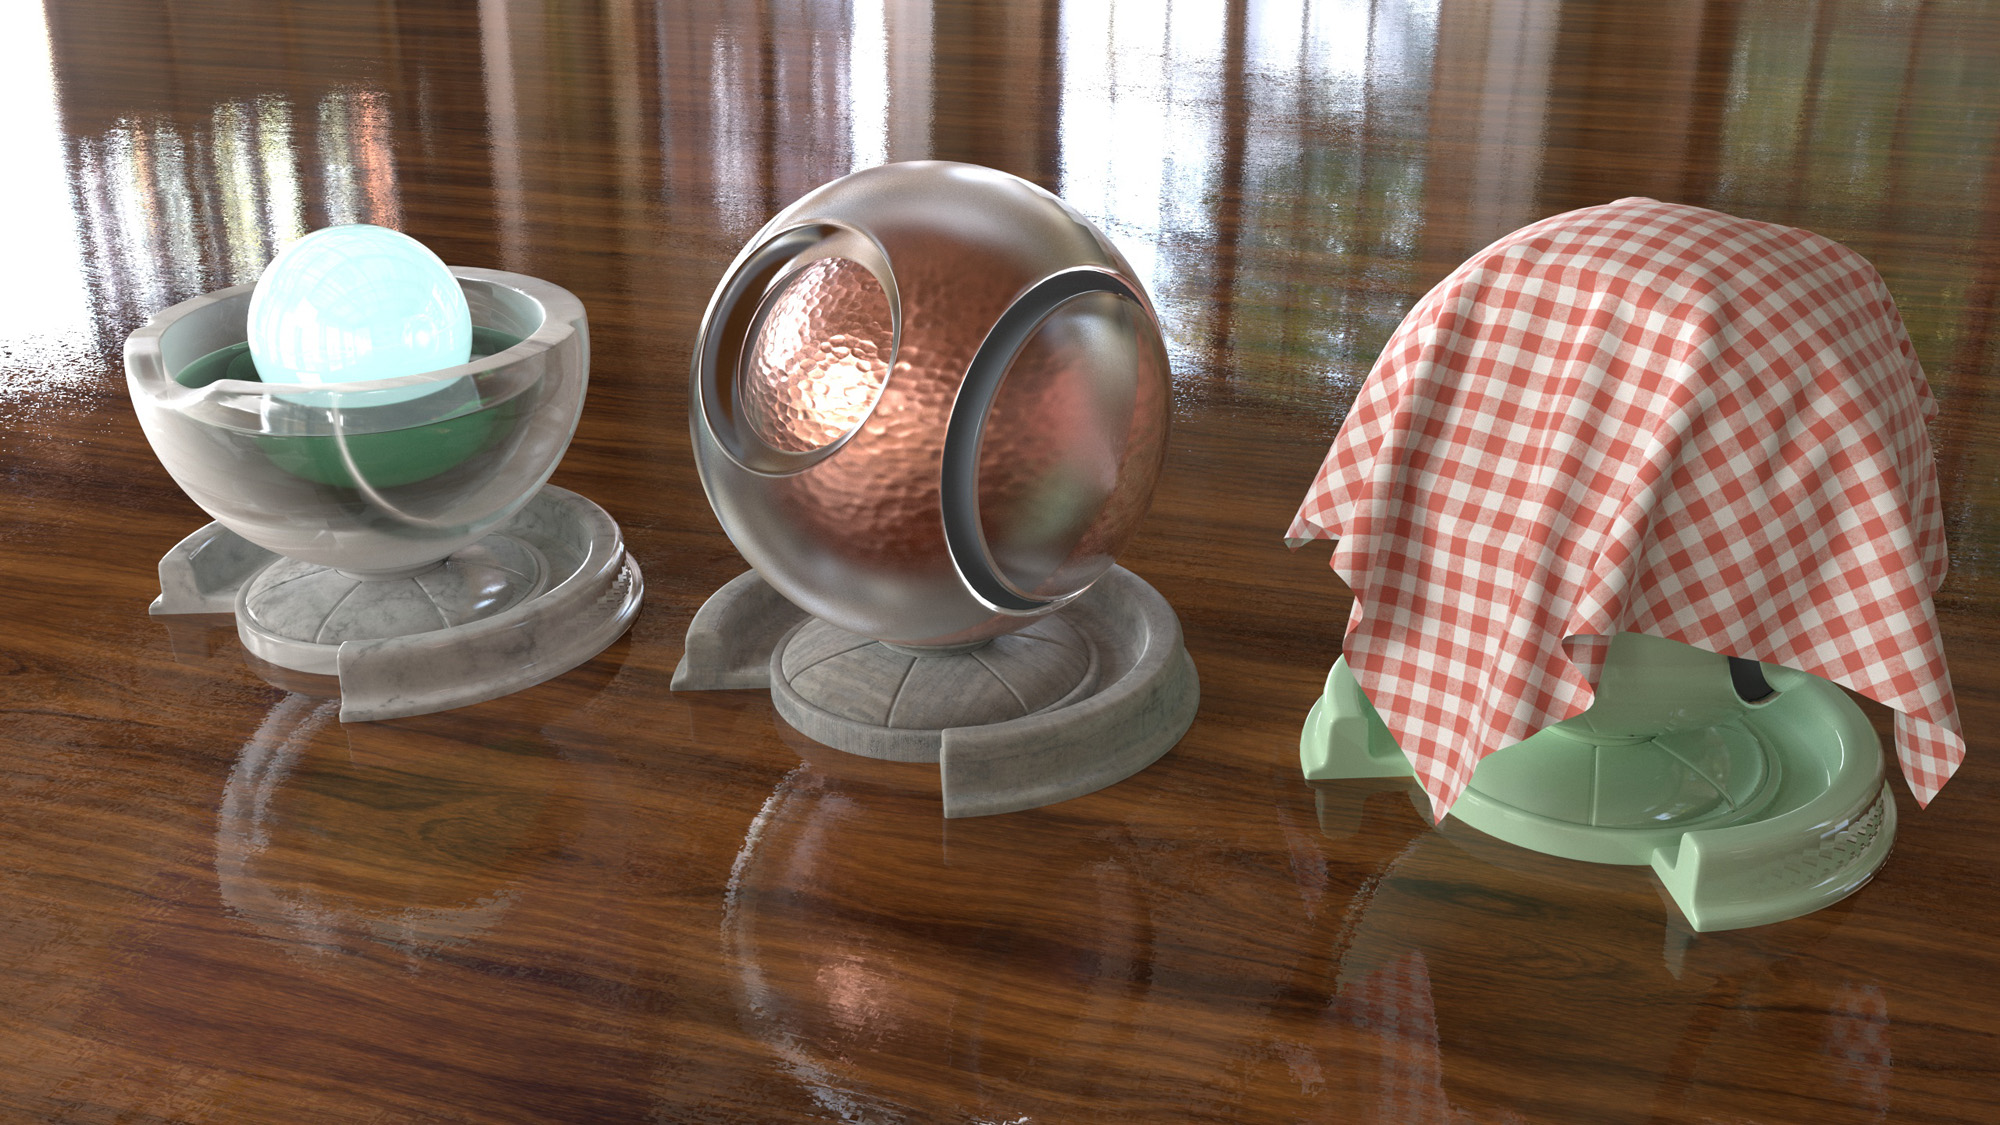
I use Redshift for nearly all of my rendering needs and I tend to render out EXR files that contain the various “passes” needed for post-production. This process separates depth, luminance, puzzle matte, roughness, albedo, emission, sub-surface scattering, and other passes so that each element can be manipulated separately in Photoshop or After Effects If the export is for motion.
As much flexibility as 3D offers, every still image render ends up in Photoshop where the final creative touches are applied. Having a strong knowledge of Photoshop, lighting, camera operation, etc. gives photographers a strong starting point to learn 3D.
The more I progress in adding 3D to my wheelhouse, the more I realize that this hybrid approach to image creation will soon be a requirement for emerging photographers.
There’s an enormous amount of information to take in when learning 3D, but hopefully, this will help you know where to begin when adding 3D to your image creation wheelhouse.
MODO VR:
You can see more of Steve’s work at SteveHansenVisuals.com, and keep up with him on Instagram.

Very cool – lots to think about! Thanks for the info! Perhaps a class or two on KelbyOne??
Aaahhhh, over my head. Interesting though and a reminder that new skill sets are always going to be in front of us. It’s fun to get a glimpse of new techniques that come with amazing technology. And tech always trickles down to those of us at a more elementary level ? so best to pay attention.
Wow really interested thing. It’s a really amazing technology. Love them.