


Editor’s Note: Here’s a great 2019 post we’re revisiting on auto-matching colors in Photoshop from PiXimperfect’s Unmesh Dinda!
Hidden Feature to Auto-Match Colors Like A Boss!
INTRO
Apart from lights, shadows, and perspective, one of the most challenging tasks in making a great composite is matching colors of the subject with the new background. Although there are a bazillion ways of accomplishing that in Photoshop, today we are going to explore an underutilized feature, hidden inside a “double click,” that will allow you to automatically match colors absolutely non-destructively.
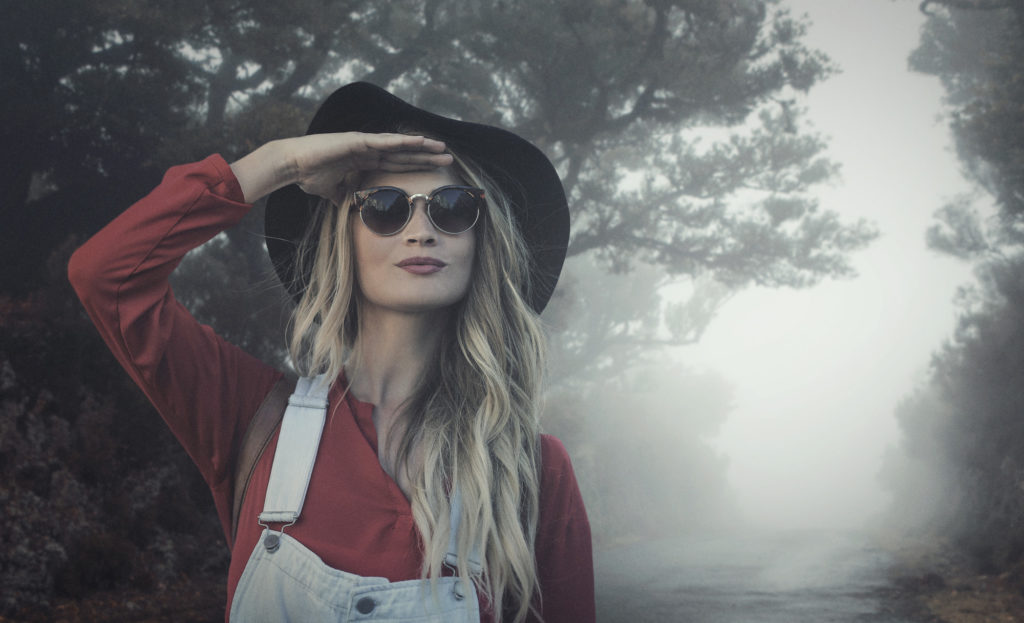
More often than not, this feature produces perfect results. However, sometimes, you might need to perform a little bit of manual adjustment, and even then, this acts as an incredible starting point. In today’s example, we have intentionally chosen a challenging set of images which would require an additional adjustment.
So without any further ado, let’s get started!
Before We Begin:
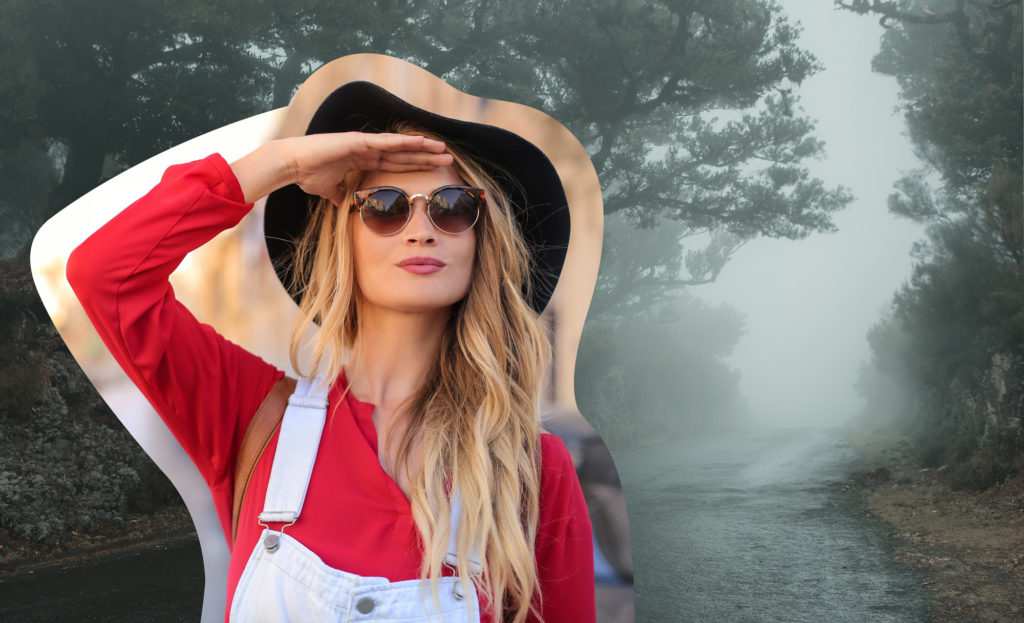
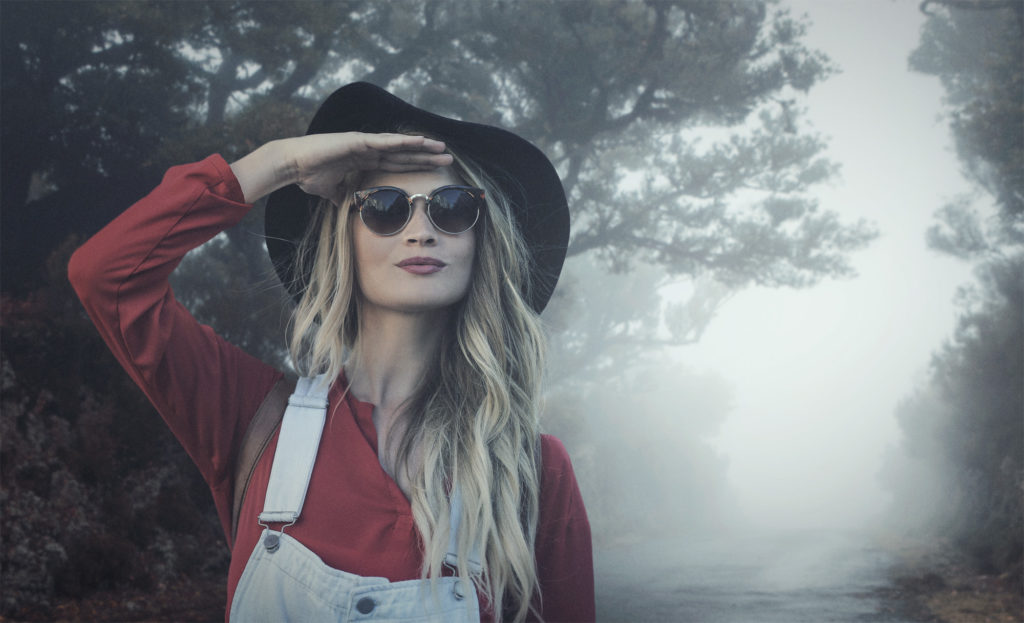
Use your favorite techniques to cut out the subject and place it on a new background. For this image, I have used the “Select and Mask” feature to create a primary mask. Since masking hair, in this case, was extremely difficult, manually painting some strands of hair on top made more sense.

I have also used “Perspective Warp” to lower the horizon line of the background to match with the position of the subject.

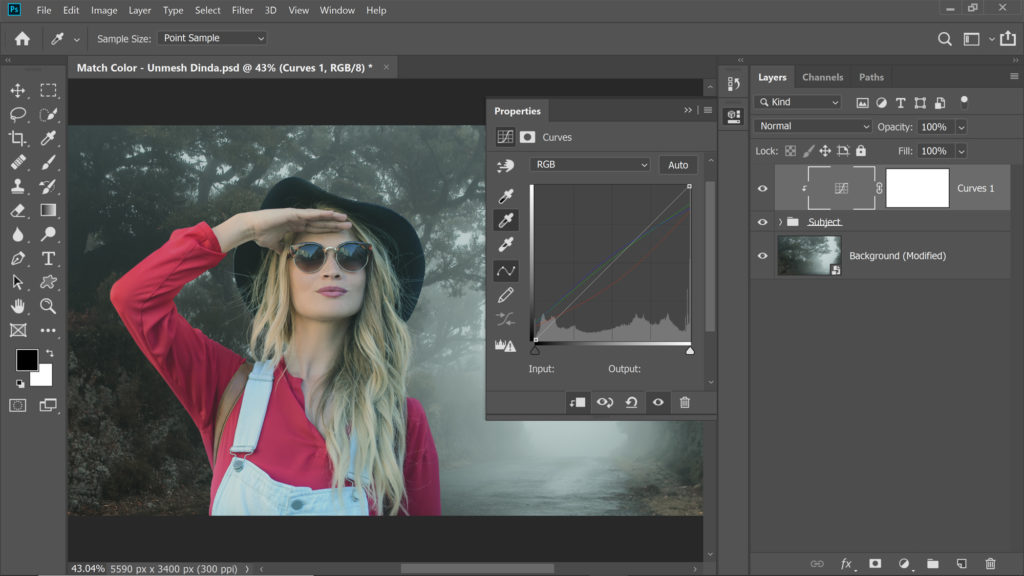
Step 1: Create a Curves Adjustment Layer
Once you have the subject placed on a new background as separate layers (as shown in the image attached), select the topmost “Subject” layer and click on the Adjustment Layer icon in the layers panel, and choose Curves.
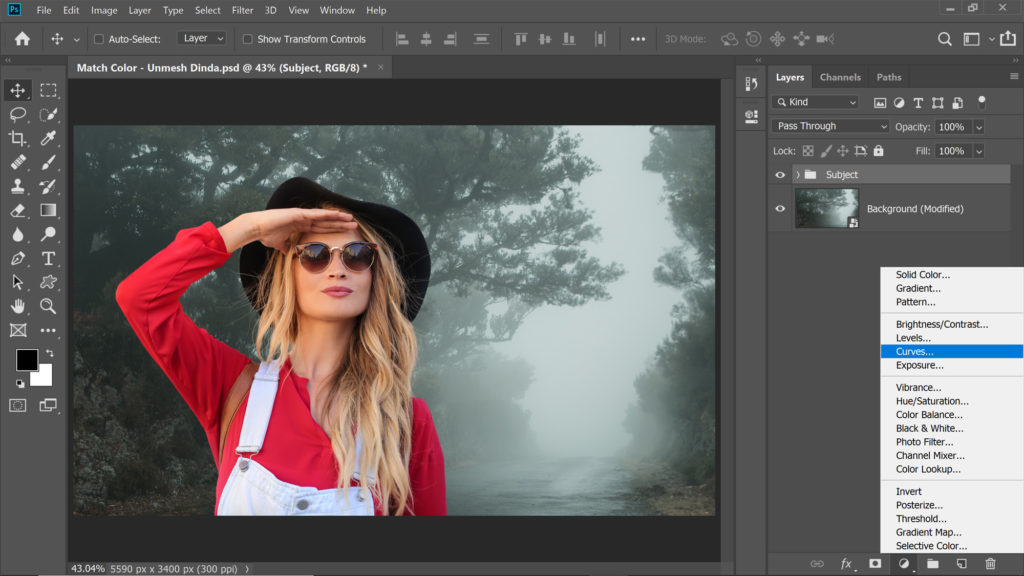
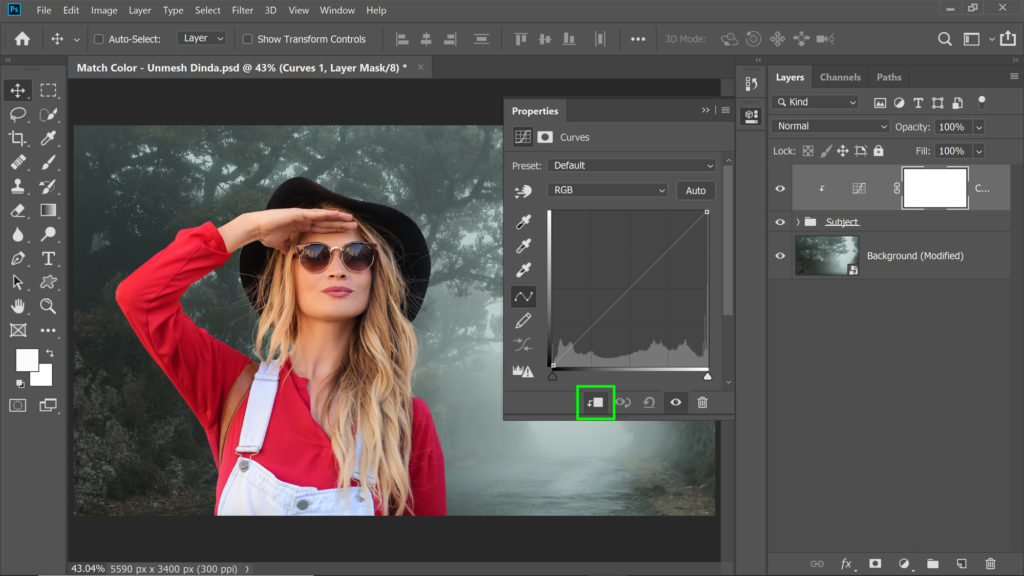
Step 2: Create a Clipping Mask
Whatever changes we make in the Curves properties, it will affect the entire image, including the background. We want to limit the effects of Curve only to the “Subject” layer. To do that, create a clipping mask by clicking on the “Clipping mask button” in the Curves properties.
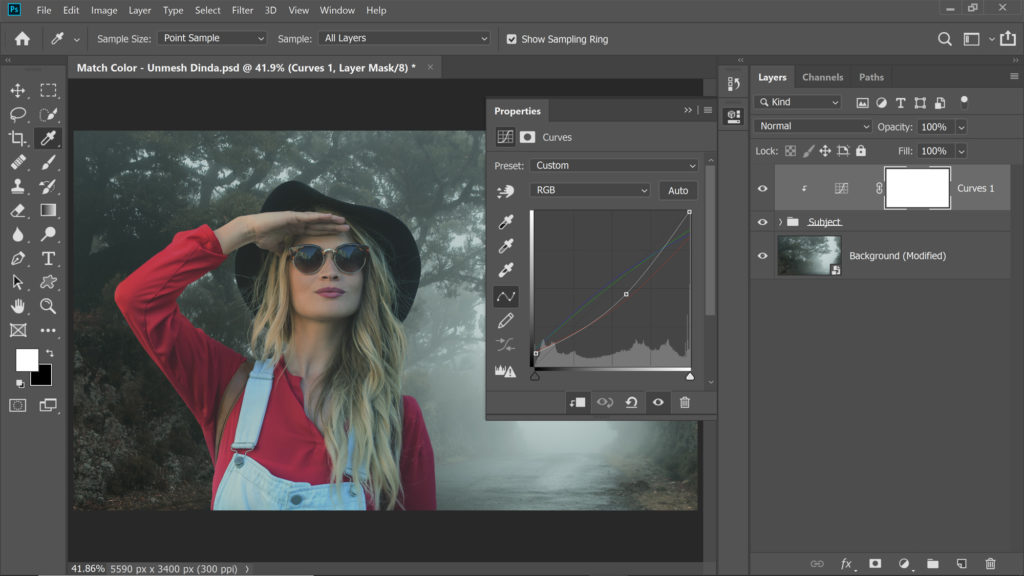
Step 3: Match Colors with Eye-droppers!
We have always used eye droppers in Curves to set the black, white, and gray points, but did you know you could customize them too? Yes! And that’s what we are going to use today.
Select the Curves symbol in the Adjustment layer.
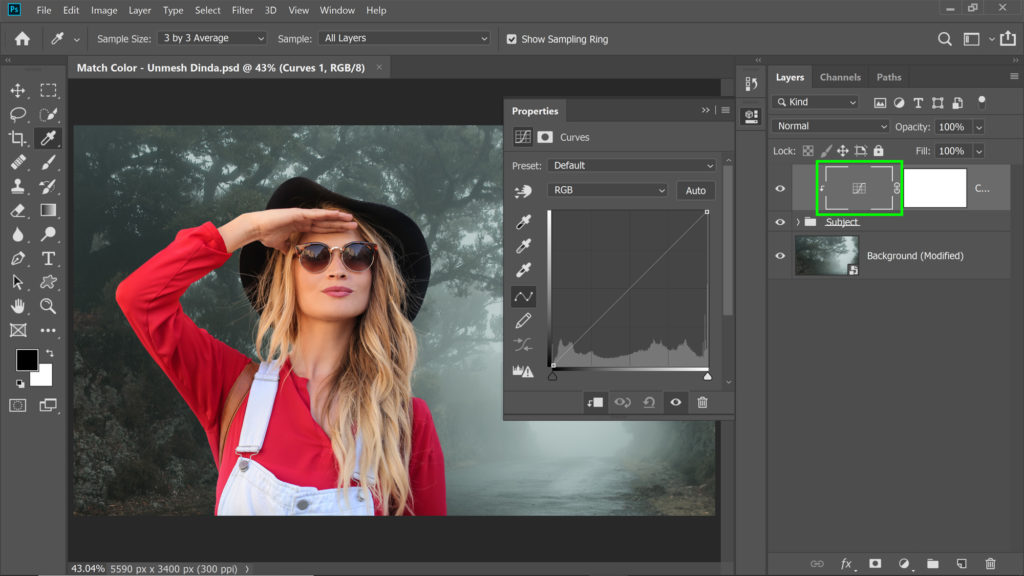
Double-click on the first black-point eyedropper. The Color Picker shows up.
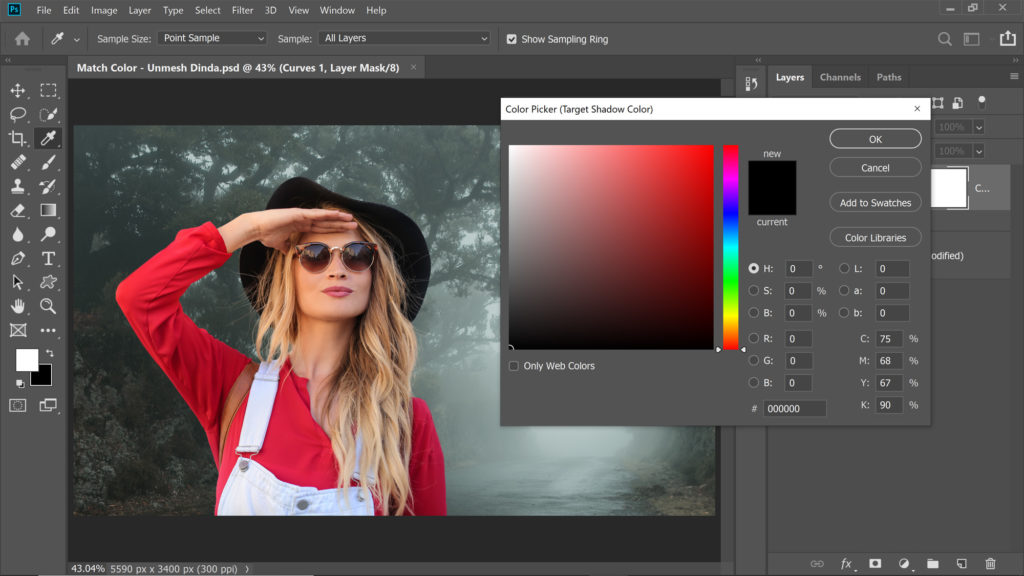
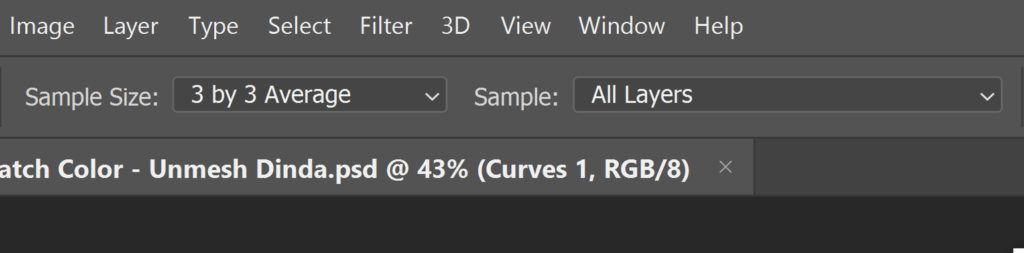
Make sure the “Sample Size” is at least 3 by 3, and the “Sample” is set to “All Layers.”
With the Eyedropper, sample the darkest area of the background.
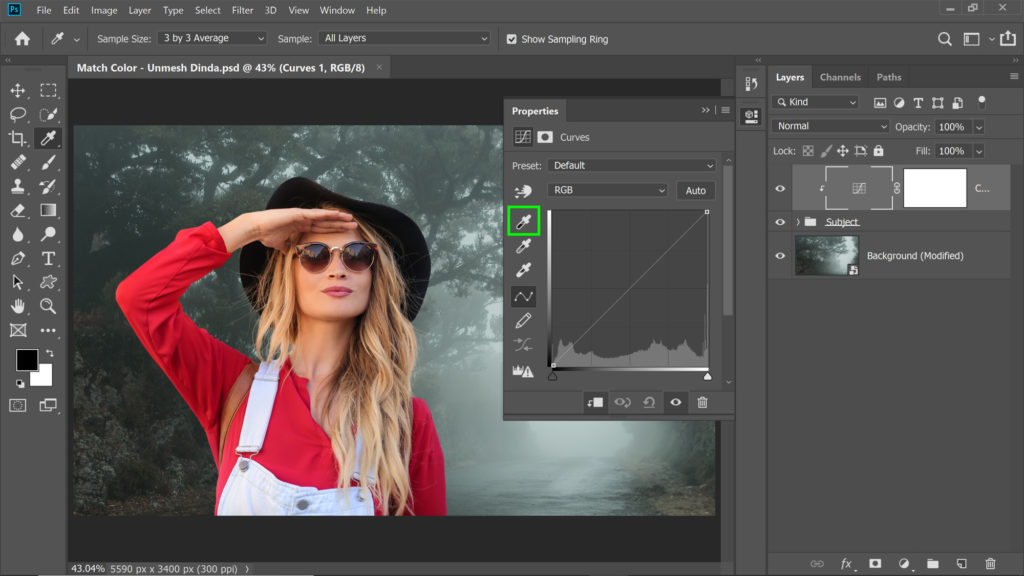
Hit OK and choose “No,” when the dialog box asks “Set the new target colors as defaults?”.
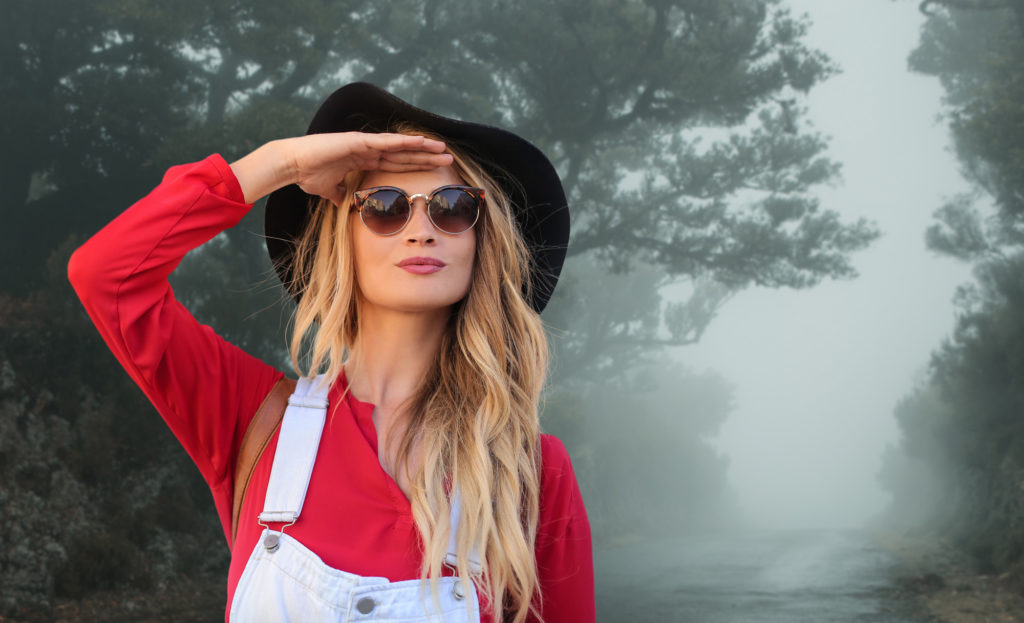
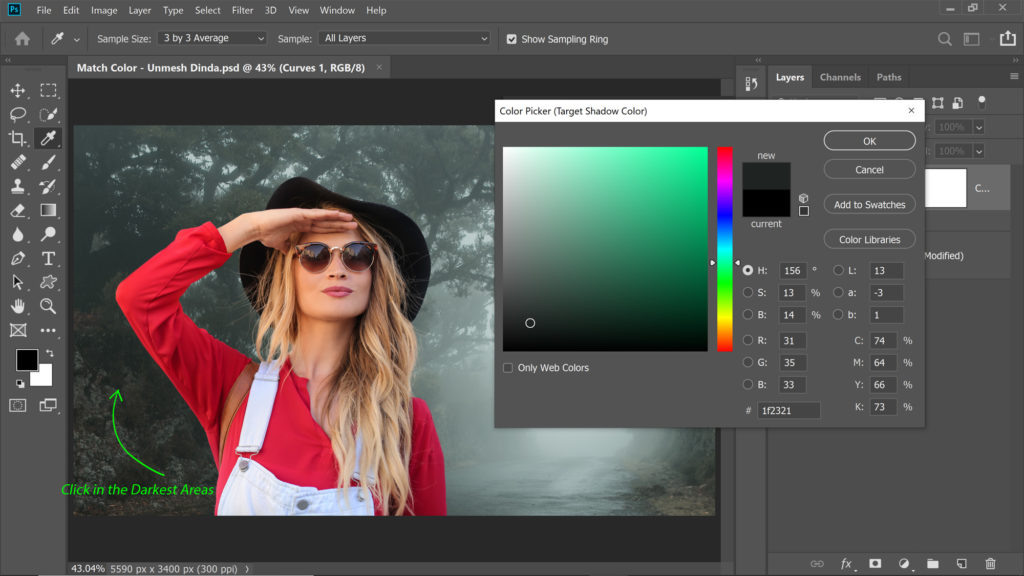
Time for magic! With the same Eyedropper click on the darkest area of the subject. Automatically the shadows of the subject have matched with the shadows of the background!
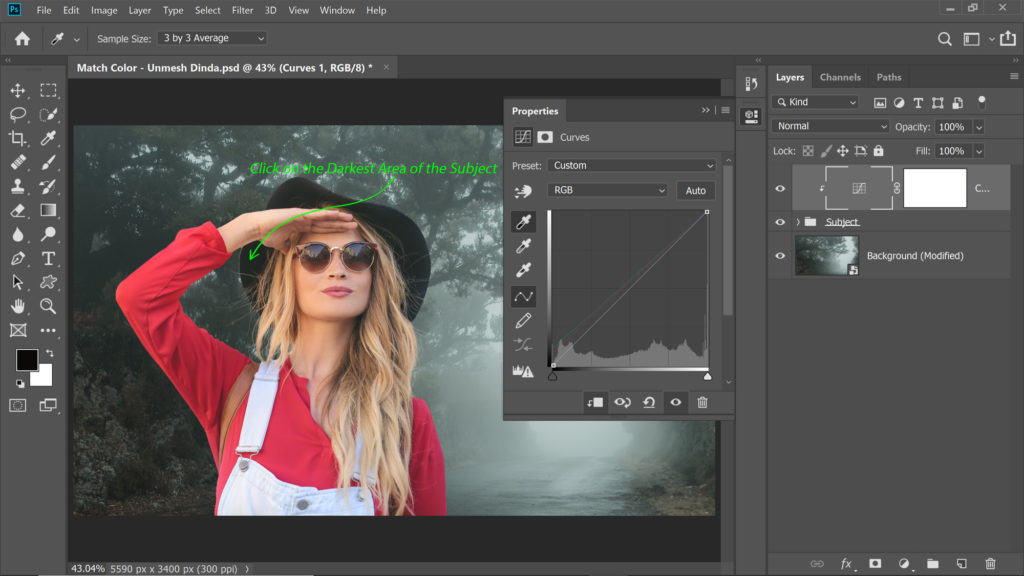
Let’s do the same for all the eye droppers!
Similarly, set the colors of the White point eyedropper (the bottom one) to the brightest area of the background (the bright fog), and the gray point eyedropper (the middle one) to the mid-tone area which should have been neutral in real life, like the road. And then, click on the brightest and the neutral regions of the subject. For the white point we clicked on the lady’s white strap on her cloth, and for the gray point we clicked on the rims of the sunglasses with Sample Size set to “Point Sample.”
This technique will automatically match the shadows, mid-tones, and highlights of the subject with that of the background.
Step 4: Additional Adjustment Ideas
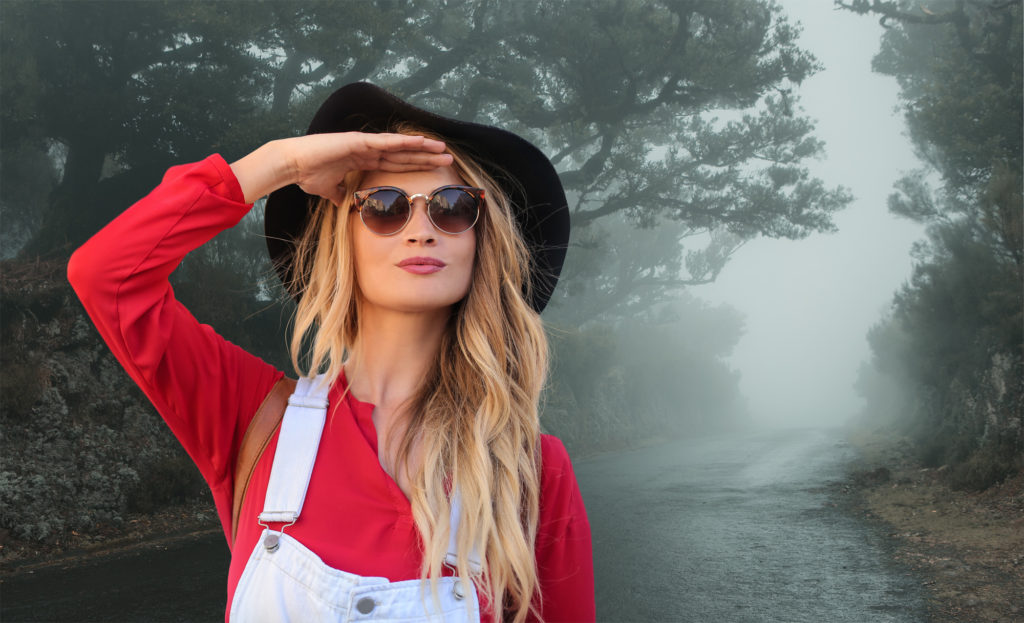
In the Curves properties, inside the RGB channel. We can take down the curve to make our subject even darker and the shadows a little brighter to match the brightness with the background.
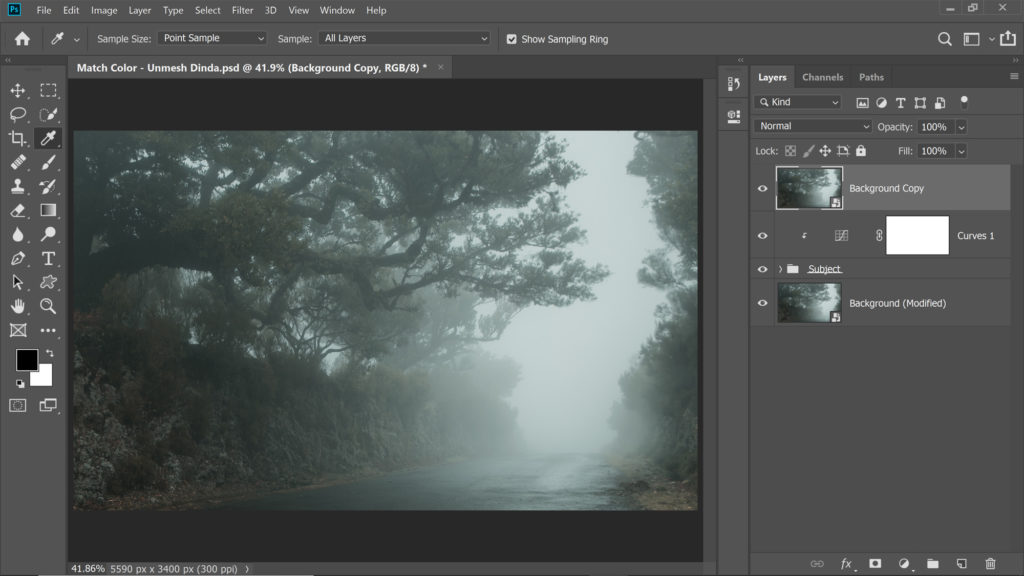
You can also make a copy of the Background layer and place it on top.
With the Background copy layer selected, press Command-Option-G (PC: Ctrl-Alt-G) to create a clipping mask.

Blur it out by adding a lot of Gaussian Blur (Filter > Blur > Gaussian Blur)
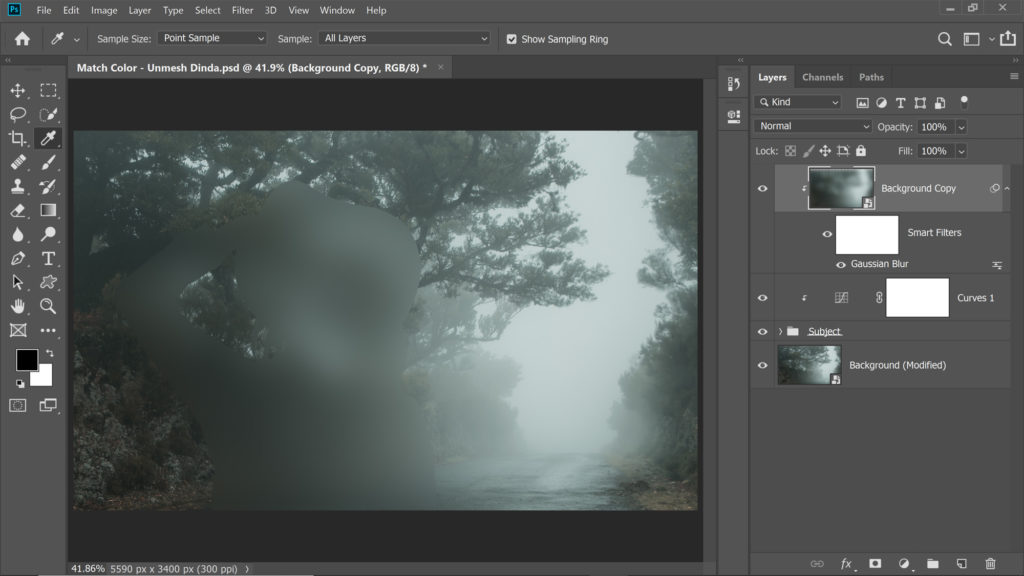
Change the Blend Mode to Color and reduce the opacity to desaturate the subject a little bit and match her color even more with the background.
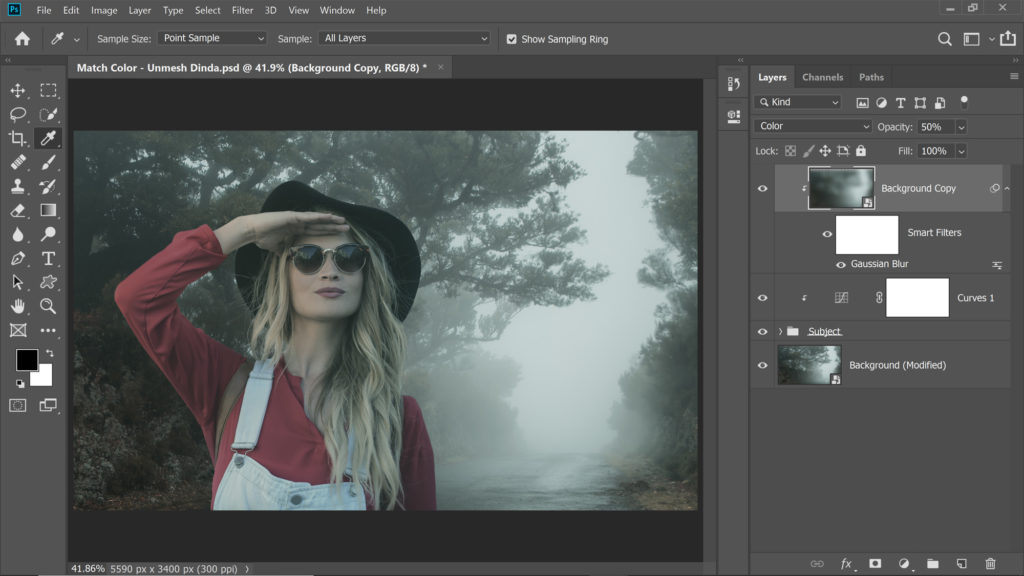
You can also select the Background Layer and apply a little blur to create a shallow depth of field effect. The possibilities are endless!
CONCLUSION
We can totally write a book on Matching Colors for composites. For this example, I went ahead and added some overall noise, Color Lookup, and minimal dodging and burning to blend the composite even more. However, it all started with the magic of Curves and three eyedroppers! I hope this proves to be useful as a great starting point for every composite you create.
You can see more of Unmesh’s work and tutorials at PiXimperfect.com, check out his class and articles on KelbyOne, and keep up with him on YouTube, Instagram, Facebook, and Twitter.

1 comment