

In January 1927, the first ever color photograph taken underwater appeared in National Geographic. The picture introduces us to a hogfish living it up in the Florida Keys, and underwater flash photography was born. Photographer Charles Martin, with an autochrome camera, teamed up with marine biologist Dr. William Longley, and together, they headed to the Florida Keys. The biggest problem they faced was underwater illumination, and they solved it with magnesium flash powder. That’s right, explosives! And those of us who remember film days thought developer was nasty!
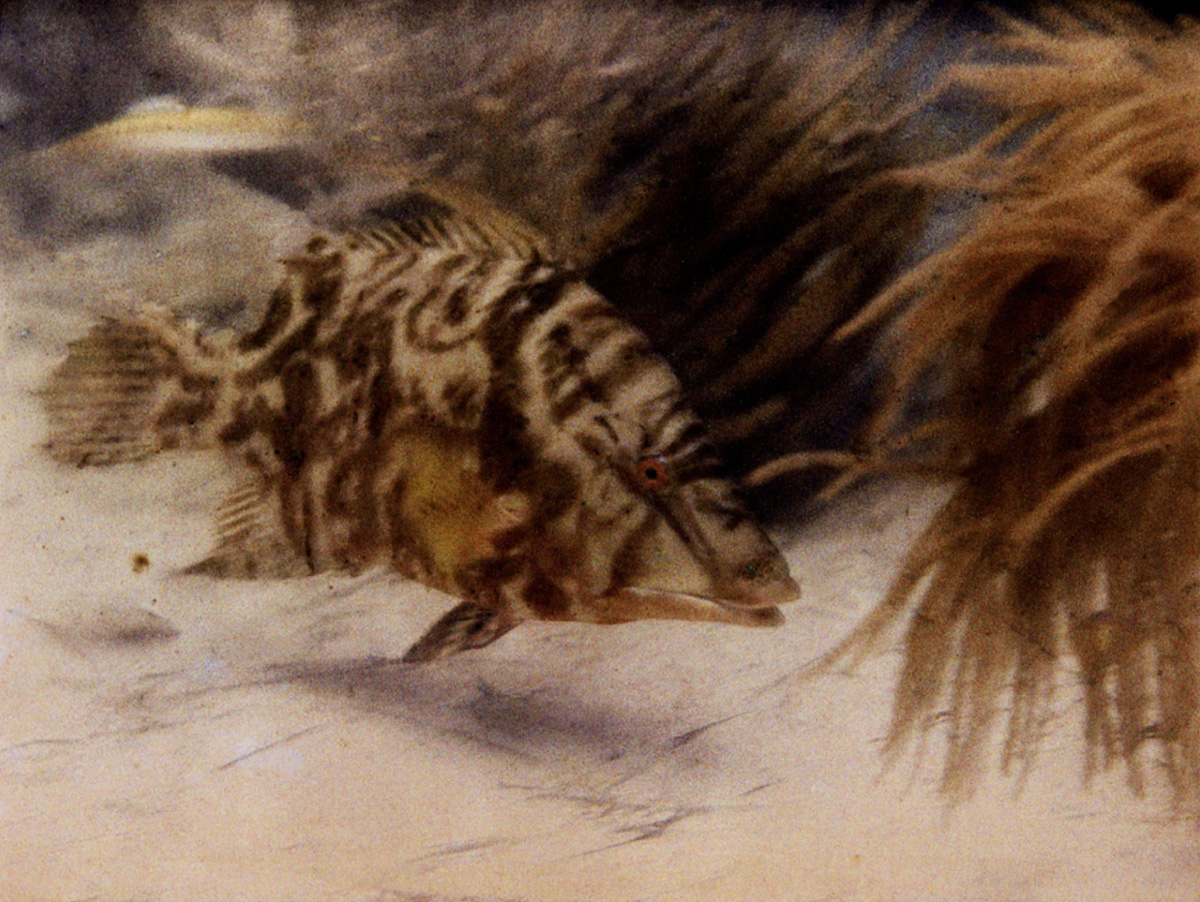
That little hogfish changed the course of photographic history forever. It’s been ninety years since the days of Martin and Longley’s experiments, and underwater photography has progressed by leaps and bounds. Modern camera and lighting technologies have made it possible for us to explore the beautiful underwater world and to take our love for water, photography, and creativity to new heights.
…or should I say depths.
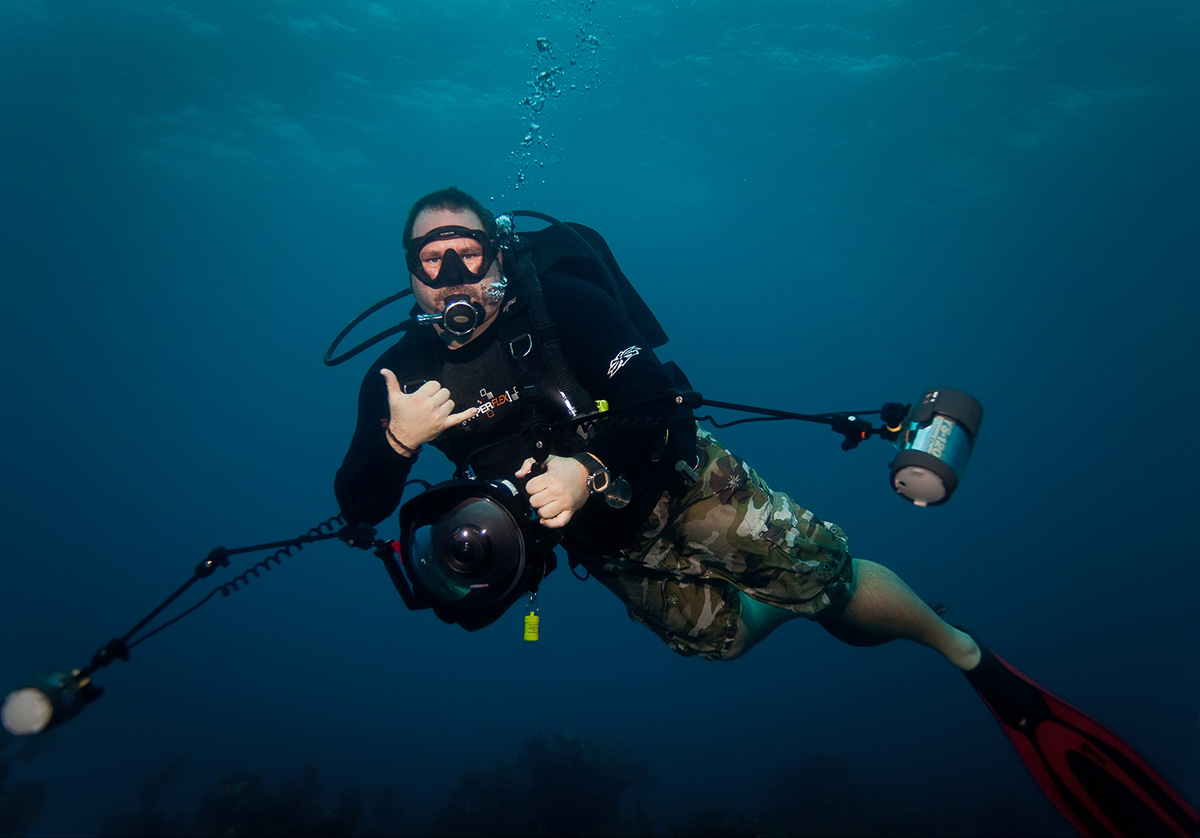
I have always had two passions: photography and the water. I picked up my mom’s camera when I was ten years old and never put it down: I knew I wanted to make pictures. After high school, I attended the University of Florida and then moved to Daytona Beach where I worked on various projects and building my book. I got the opportunity to head to Los Angeles and work for Turbo Magazine & Import Tuner. After a few years on staff, I decided to branch out on my own again and started pursuing a career in advertising, working in all creative aspects from photography to creative direction to production. Growing up in Florida I played in the ocean, springs, and rivers. Later, I would also dive them and complete instructor level training with the 2 top SCUBA agencies in the world, PADI & NAUI, and becoming a NAUI certified SCUBA instructor. Then, eleven years ago I combined both my passions and started focusing on underwater photography and I’ve never looked back.
Let’s be honest, underwater photography looks awesome. It is eye-catching and different, and it gives us a view into a world that most of us do not get to see every day. Using a camera underwater can be difficult, with many more challenges than we face on dry land. How many have tried it with a disposable camera on vacation, a GoPro, an iPhone housing or even the ol’ “fish tank in the pool,” only to come back with lackluster images?
I know I have. But that was part of the learning curve, and there are different techniques needed for underwater photography that I have picked up over the years. Hopefully these pro-tips will get you started whether you are a new to photography or a pro making the transition to the underwater world.
1. SAFETY
This is something we don’t normally think about in our daily photography, but it is the most important. Make sure you are a good swimmer and are comfortable in the water. Safety must come first. If you don’t feel good about swimming without a camera, you are putting yourself in danger when you add a camera to the mix. You don’t want to be thinking about keeping your equipment safe or adjusting your camera settings when you should be focused on safety. If you are going into deep water, make sure you have experience with snorkel or scuba gear and that operating this equipment is second-nature for you. Learn to dive properly first! You can’t focus on buoyancy control, camera and strobe settings, and composition all at the same time, so you should have enough diving experience that you do the buoyancy control part automatically.
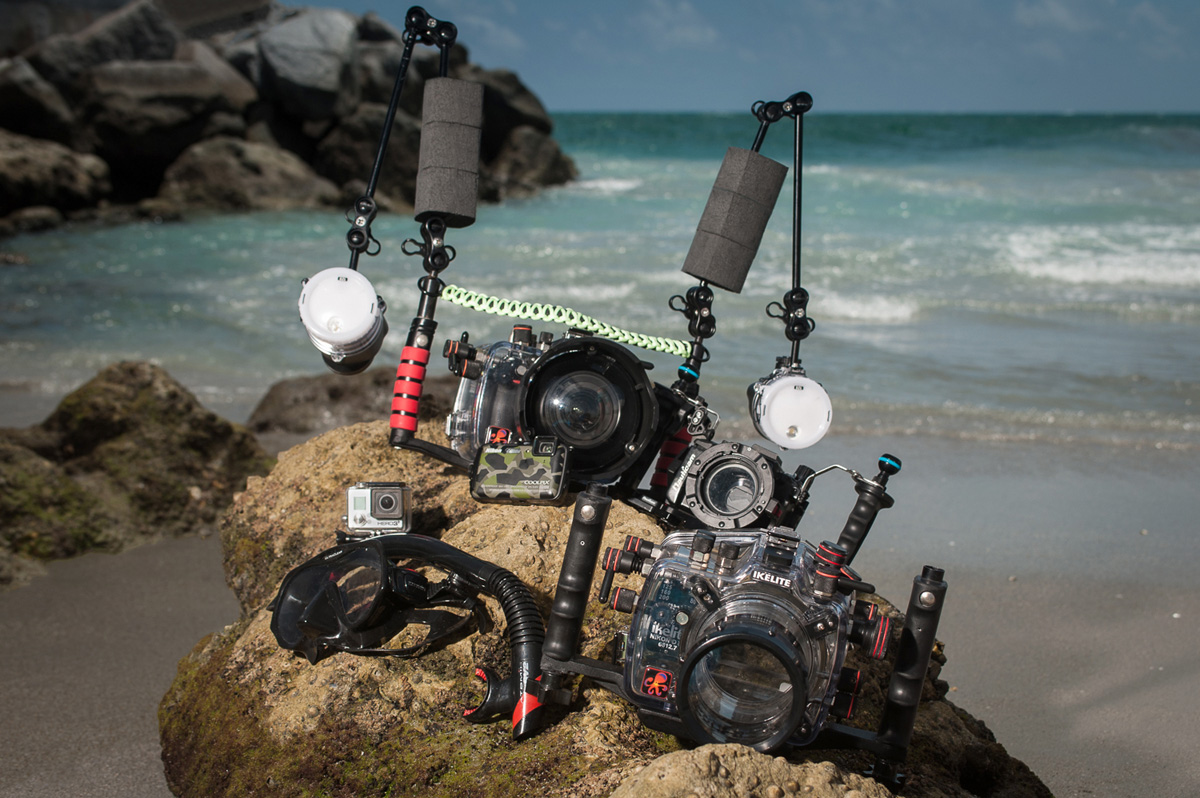
2. CAMERA & HOUSINGS
The best quality underwater photography is still pretty expensive. However, you can still get some decent images on a budget. On the low end, a GoPro can do a pretty good job as an entry into underwater photography. However, it is limited by the fact that there are no manual controls. Some “waterproof” point-and-shoot cameras can do a little better job, certainly the ones that have manual controls and that you put into a housing. The best option is to use a DSLR with a waterproof housing with strobes.
3. GET CLOSE
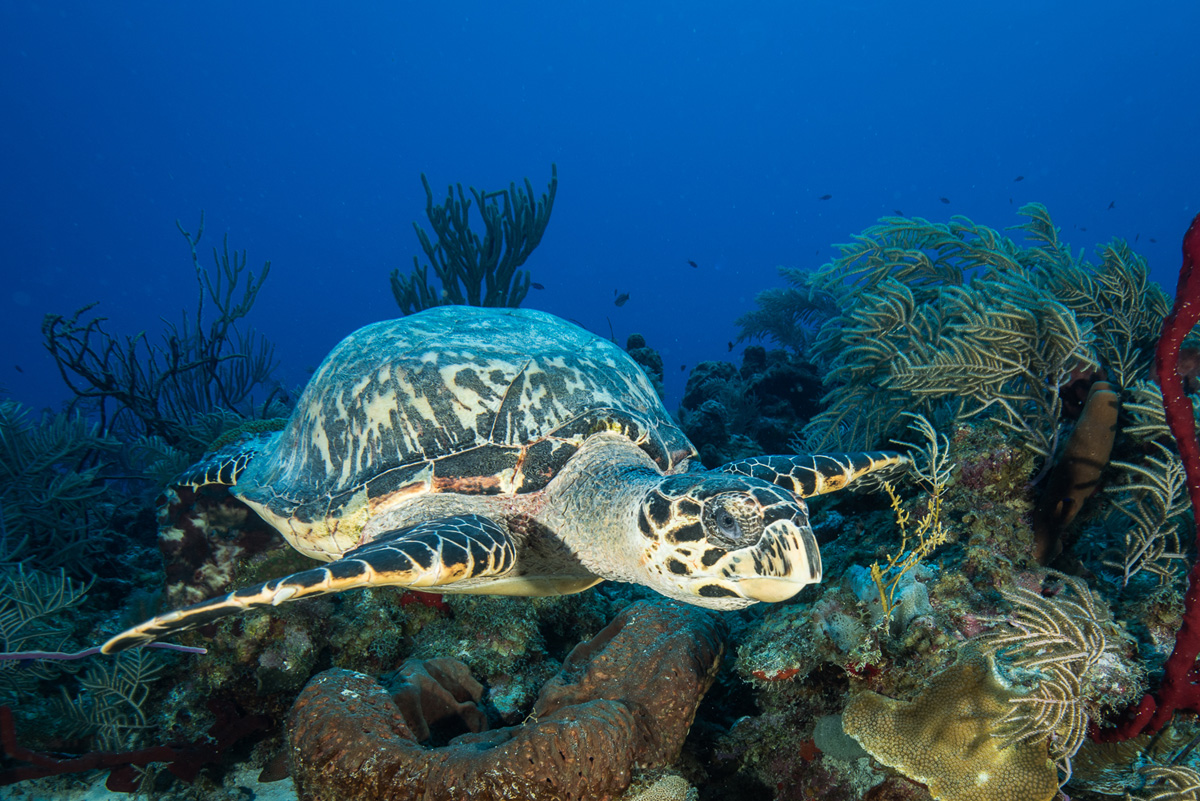
And then get closer! All those little particles in the water between you and your subject are called “backscatter,” and cause images to look less clear and more hazy, especially when light hits them. The closer you are to the subject, the fewer problems you will have with clarity and contrast. This means that most of the time you will be using a wide angle lens underwater. Telephoto lenses will not work very well shooting through a large volume of water.
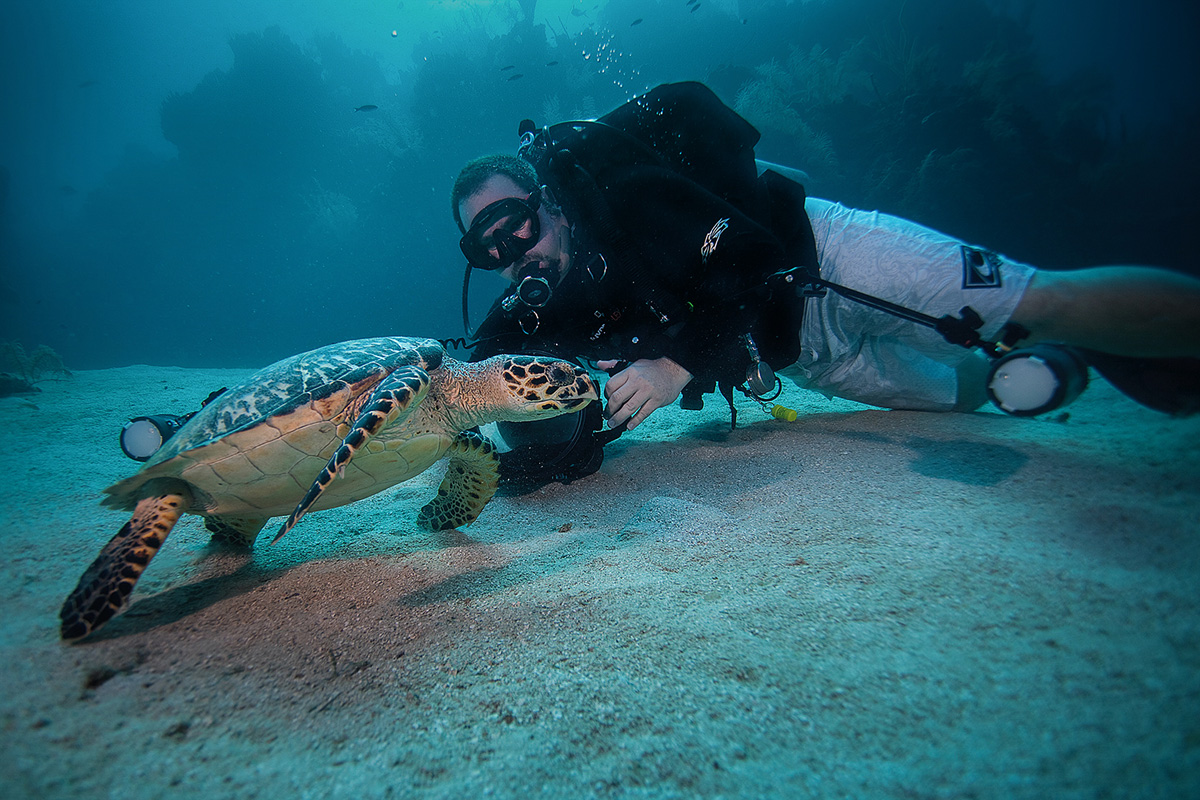
Pro Tip: While you want to get close, do not chase the marine life. Doing so never got an underwater photographer anywhere except back on the surface, quickly, with a memory card full of bad shots. Be patient, set up your shot, and wait for the scene to develop. It doesn’t matter how good of a swimmer you are; the fish are faster.
4. BRING BACK THE LIGHT
Water is nearly 800 times as dense as air, and it sucks out color from full spectrum light. Specific frequencies of ambient light get absorbed at different depths. Remember the mnemonic ROYGBIV (red, orange, yellow, green, blue, indigo, violet) from high school chemistry?
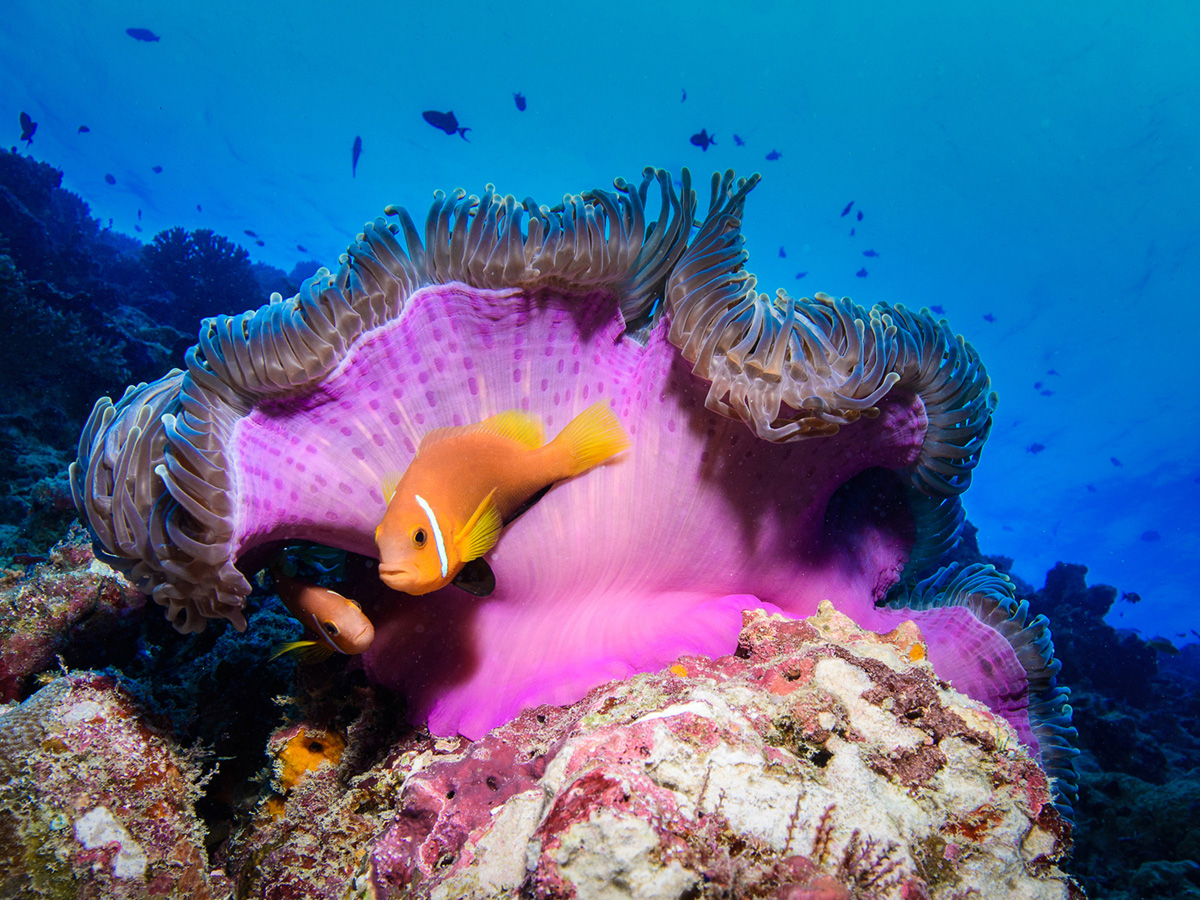
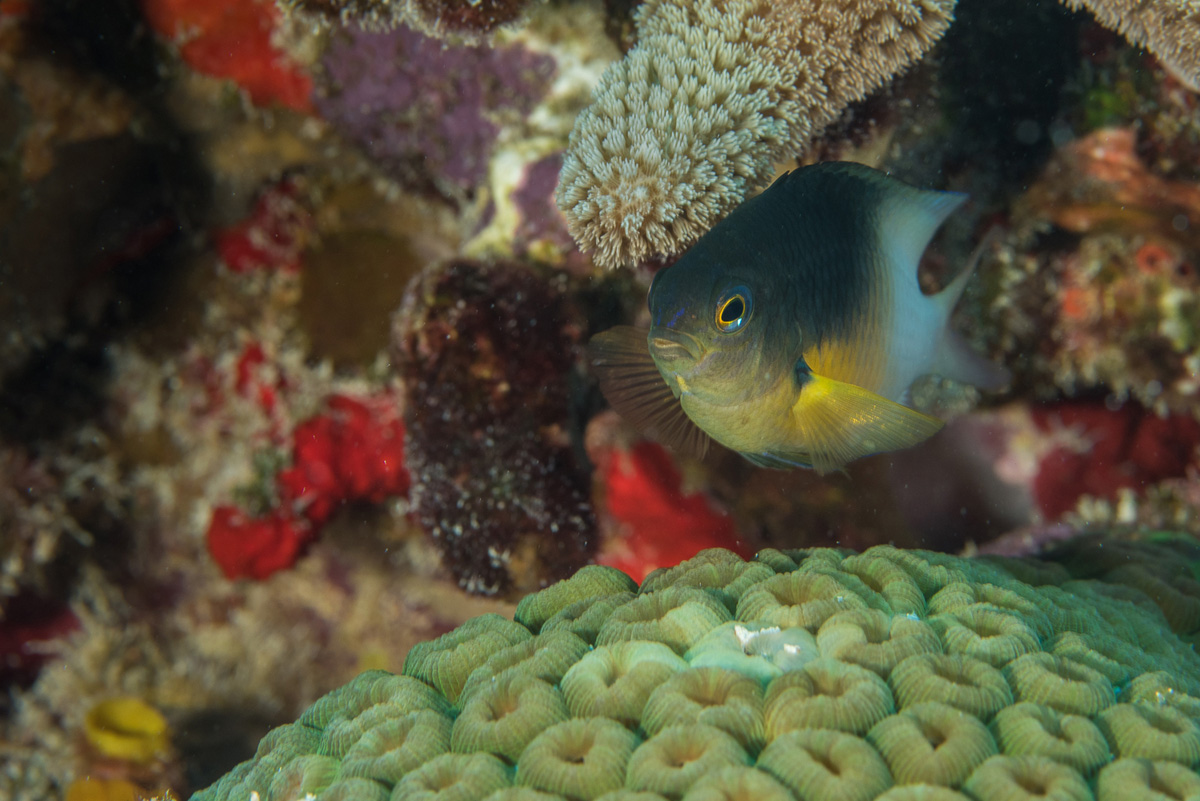
Underwater, red nearly disappears at around 5 meters (16.5 ft.), followed by orange at 10 meters (33 ft.), yellow at 20 meters (66 ft.), green at 30 meters (99 ft.) and eventually even blue at 60 meters (198 ft.). In other words, there are not many colors left at deeper depths. That’s why so many underwater images look blue and lack color contrast. The best solution is to add artificial lighting by using underwater strobes that will bring back color, create contrast, accentuate textures, and retain details that were lost from the water’s absorption of natural light. After purchasing a camera and housing, strobes are arguably the best investment you can make to improve your underwater photography.
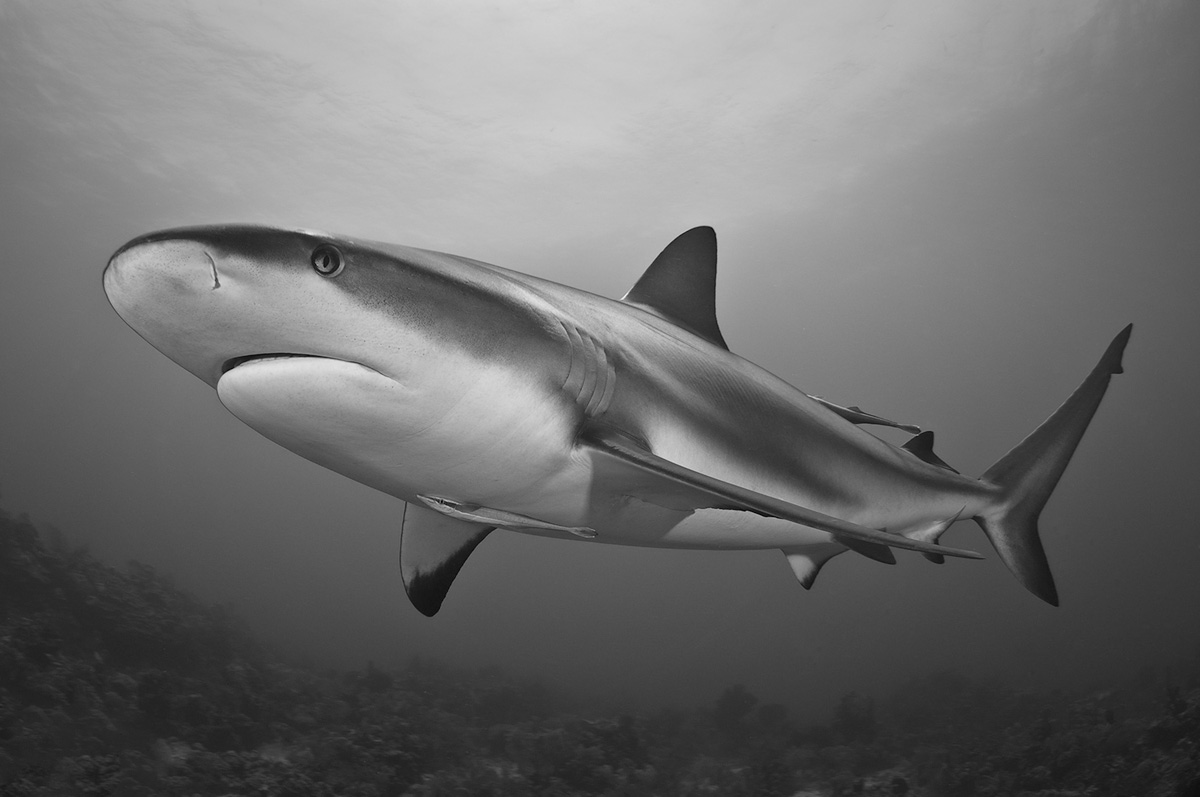
Pro Tip: If you don’t have strobes, they miss-fire, or your subject is just too big, try black and white and boost the clarity & contrast!
5. ALWAYS SHOOT RAW
The flexibility of RAW files will allow you to bring back some of the contrast and color to your photos. Also, there will be a blue cast to most of your images since many of the warmer red wavelengths don’t make it into deeper water. You can use RAW adjustments to help balance out the color spectrum.
6. SHUTTER SPEED
Shooting around 1/125th will freeze motion underwater and still leave a good amount of ambient light in your scene. Move your shutter speed up a couple of stops to darken the background or down a couple of stops to have a lighter blue. Make sure you know what your camera’s sync speed is to avoid that annoying black bar from crossing your photo.
7. GO MANUAL
Beginning your underwater photography foray in “auto mode” is not a problem, but eventually you will want to start using manual controls. While “auto” or “program” works fine on land, those settings were designed for shooting in air, not water. Additionally, if you are using an external strobe, you will want to manually control your exposure, as your camera won’t be able to automatically balance the natural light in the scene with the additional light from the strobe. TTL can be a mixed bag and it’s not consistent underwater.
Pro Tip: Light is quickly lost the deeper you go, so you will want to bump up that ISO. With modern DSLRs ISO sensitivity isn’t much of a problem, and you can easily shoot at 400 or 800 with no noise.
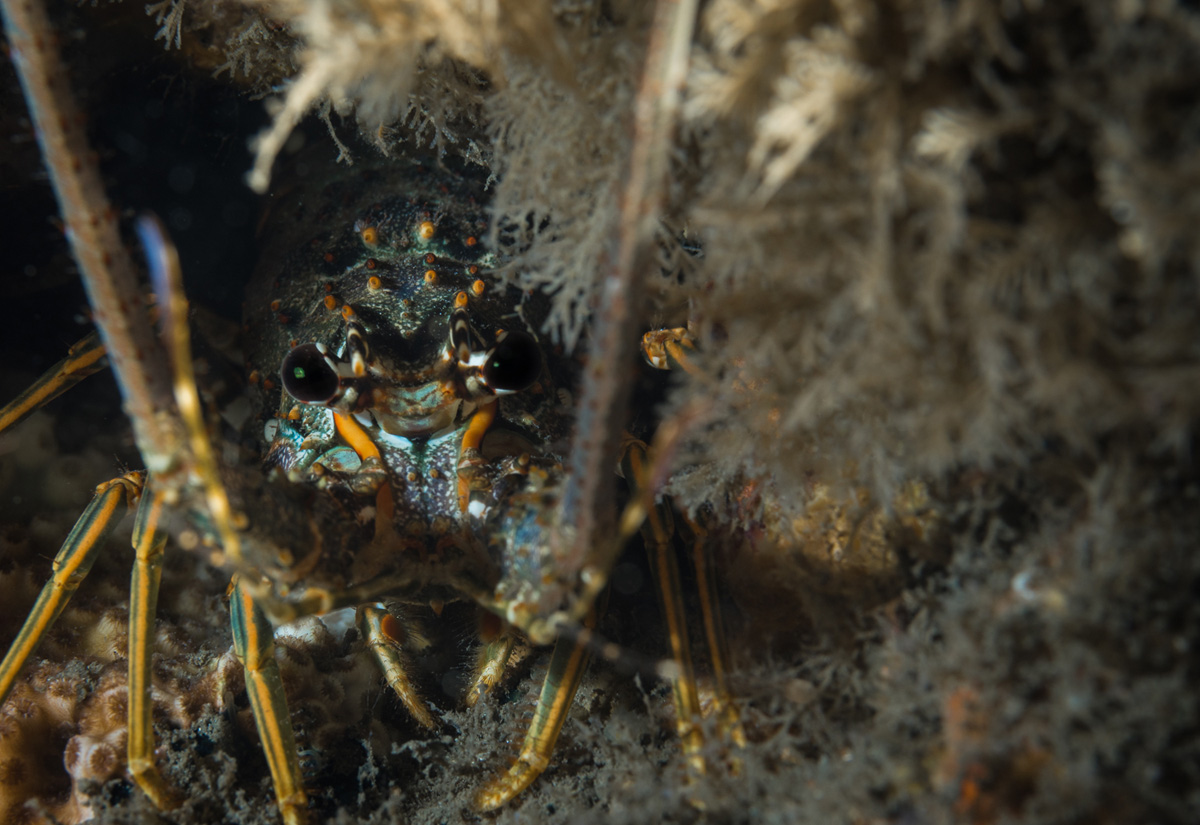
8. THE RIGHT LENS
Unlike topside photography, not all lenses are best suited for underwater use. Deciding which lenses are most useful actually goes back to rule number 3: the need to get close. Because you are forced to be in close proximity with your subject, you will need to use lenses with close minimum focus distances. This is why underwater photography is usually categorized into either macro or wide-angle, as the lenses that work best for shooting close are macro or extreme wide-angle lenses. Midrange zooms tend to have minimum focus distances that are too far for underwater photography, so you can leave that kit lens on land.
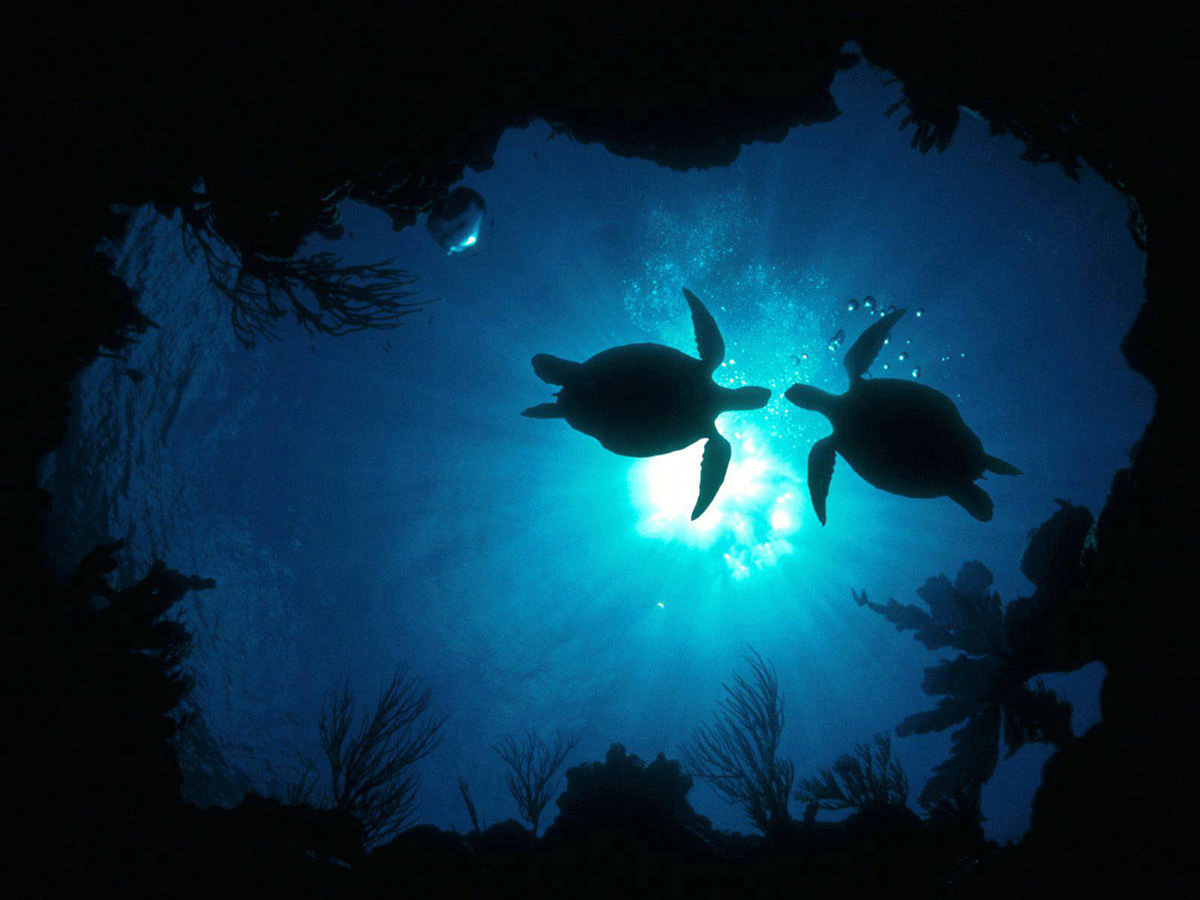
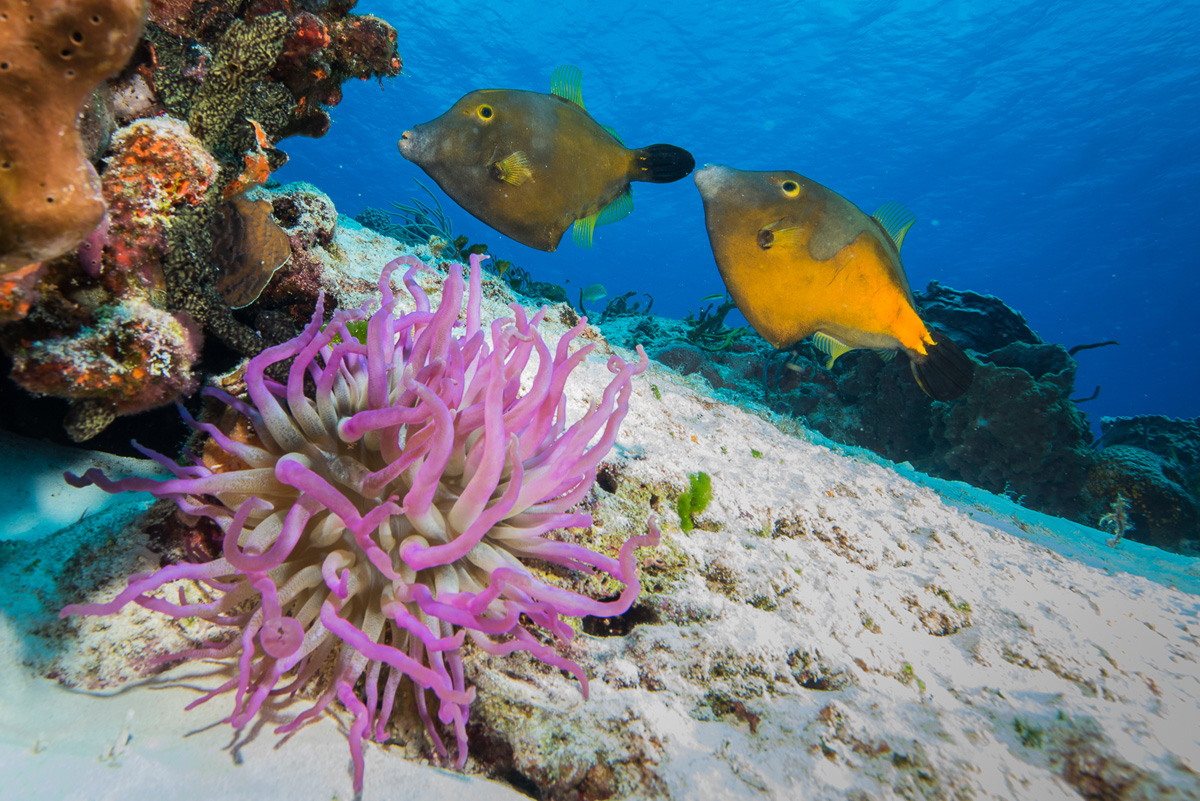
9. SHOOT UP!
Underwater subjects look better when shooting them with a slight upward angle. The tendency to shoot down is a more natural one, as we are usually swimming with the reef below us, but images of the tops of most subjects shot this way are almost never appealing. By shooting up, you can include the water column in your image and can create necessary contrast between the foreground subject and the background.
Pro Tip: Try shooting with the sun behind your subject for a nice back light.
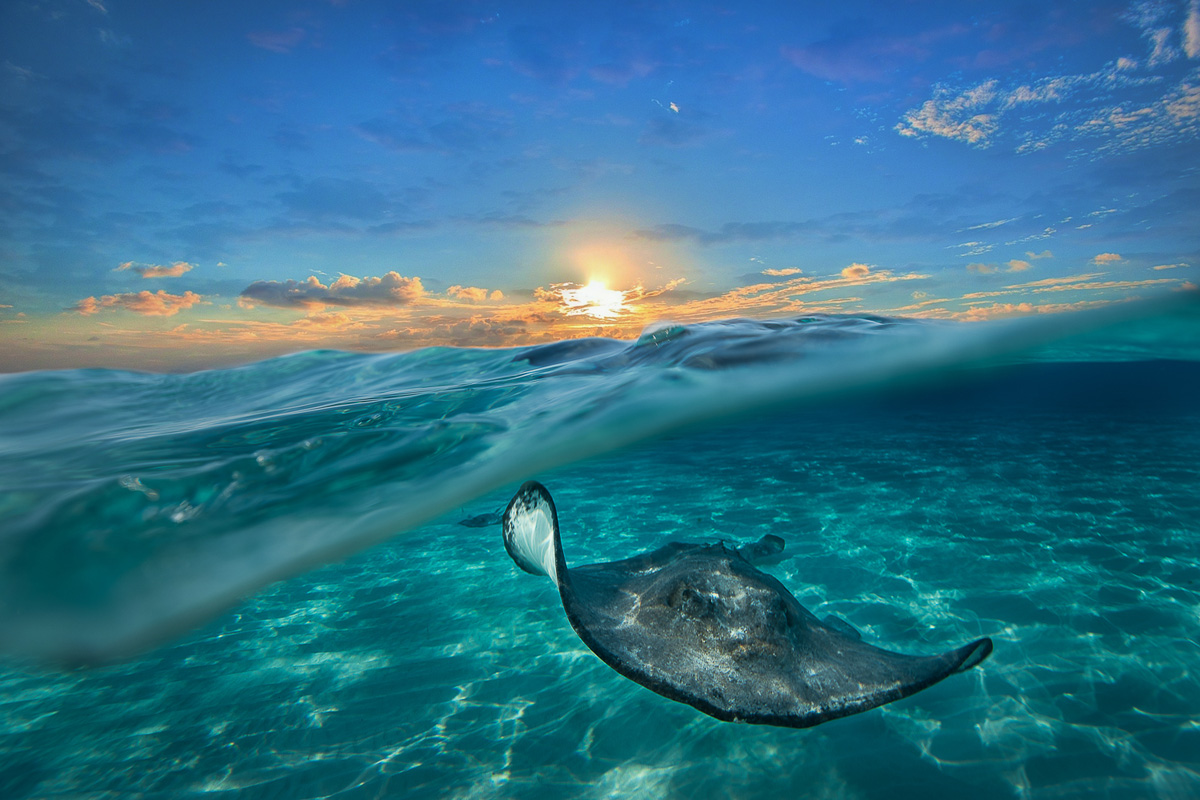
10. DO THE SPLITS
And use a big dome. A good split-shot is comprised of several elements: a strong topside scene, a strong underwater scene, and an interesting water line across the frame. The larger the dome port, the more surface area to create this water line. The big dome provides more room for the waterline to move up and down on the dome while still splitting the water. Shoot wide or with a fisheye, because you want to have plenty of room for both under water and topside scenery.
Don’t forget, shooting split-shots is similar to landscape and close-focus wide-angle photography in that you need a large depth of field in order to keep the entire image in focus. In most split-shot scenes, there’s an underwater subject, say a stingray, within a meter or two of the lens and also a topside subject that can be anywhere from three meters to hundreds of meters away. Stopping down to a low f-stop like f16 allows you to keep both scenes in focus, including the water’s surface just in front of the dome.
Pro Tip: The best split-shot will be unusable if blurred out by water droplets on the dome. My preferred method of keeping those drops off the dome is to use my custom mask antifog: baby shampoo. That’s right, this is the good stuff. Putting a dab on the dome, rubbing it in, then dunking it a few times will help shed water and give you a few minutes to capture a spot-free image. In a pinch try licking your dome, it may be a little salty, but the photos will be sweet.
Remember, underwater photography is all about being safe and having fun. Taking pictures underwater is a completely unique experience, and by following a few of these tips you will be producing stunning images that your land-lubbing photography friends will drool over.
My last tip for the day something I tell every student, diver, and photographer: Take nothing but photos and leave nothing but bubbles.
Fantastic post! Thank you so much for the information Dalton – I will definitely put some of those tips to good use!
Awesome write up! Would love to see more on this topic.
Great article, and I love the Pro Tips! I’m an experienced diver but a novice underwater photographer, so I appreciate the advice – can’t wait to read more!
Good article – I don’t know much about underwater photography other than my credit cards being there for gear. ;) I really love the feel of the bw shark photo – thanks for taking time to educate us on your specialty.
Dalton…was so pleased to see you are a GATOR !! I am also an underwater photographer, and a GATOR… Ha!! If you are ever in Indonesia, please give me a ring…I can show you some spectacular spots to take photos!!
Those are some stunning pictures! Great write up!
I love the easy to follow instructions plus the pro tips. Your photos are gorgeous!
Great tips for all levels from novice to pro. I love the focus on safety first. Thanks for the post.
This was awesome! V helpful post. Especially the tip of baby shampoo! :-) if our camera doesn’t shoot RAW what do you recommend?
Ethan that is a very good question, most cameras have a few different jpg settings so make sure your camera is on its maximum setting so it can capture as much data as it can. Then add 1 or 2 strobes, that is really where the magic happens in underwater photography, remember #4 the color spectrum disappears quickly as you descend and the only way to bring that color back is to add light.
Stunning photos , have been following your work for a couple of years now. Had the pleasure of meeting you recently at a wedding and we talked a little about diving and photography. Your work on Instagram lately has been awesome, a great mix of different subjects and styles . Keep up the good work.
Great article outlining some fantastic tips for the novice and pro photographer alike. I will definitely incorporate these tips and observations into my teaching. I enjoy your underwater shots so keep em coming – great work Dalton!