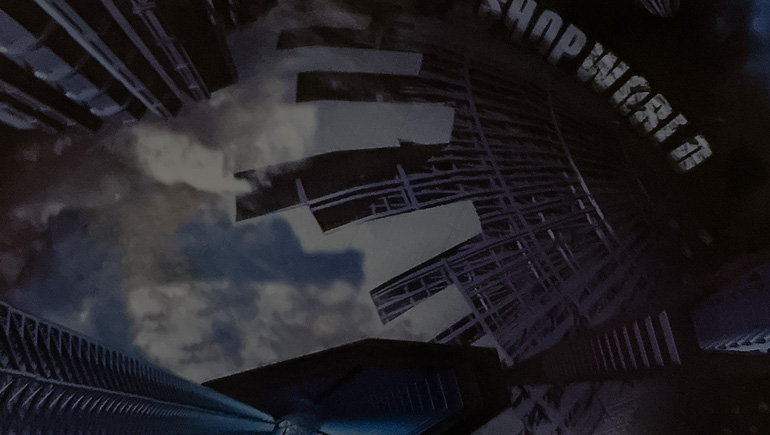
Just a quick heads up — this tutorial (which is WAY more interesting than it sounds) is for intermediate-level Photoshop users, so if you’re a beginner, this is one you can out for now. It’s how to use Photoshop Lens tools to fix a bad shooting location. The techniques aren’t hard — they’re actually pretty easy — I’m just moving at a speed for intermediates, and I’m not explaining all the detail behind each step (for example, if I can go to Free Transform and flip horizontal) you’d have to know what that means to get a lot out of it. Anyway, give it a look — it’s pretty wild!
Hope that takes you into your weekend in a wild way (seeing what Photoshop can do in situations like this — pretty amazing, right?).
If you’re a Lightroom user…
I’ve got an intermediate speed and level tutorial for you over at http://lightroomkillertips.com today – it’s a start to finish project, and if you were OK with the speed and style of the video here, you’ll super dig the one over there. Hope you’ll check it out.
Have a great weekend, everybody!
Best,
-Scott


Very cool, Scott. Thanks for showing that!
That was useful – thank you!
Easy, awesome ,…., kelbyone!
Hey Scott.
when you paste the right side of the building you missed the top of the fountain that was on the right side and paste it to the left side… apart that great technique to straight things up. Thks. Paulo
Thanks Scott – I love the more intermediate tutorial!