I want to thank Scott and Brad for allowing me to share my travel photography process and tips. I’m an architectural photographer that started out using 4×5 view cameras, which just means I’ve been photographing architecture a long time.
Tips for Photographing Architecture While Traveling
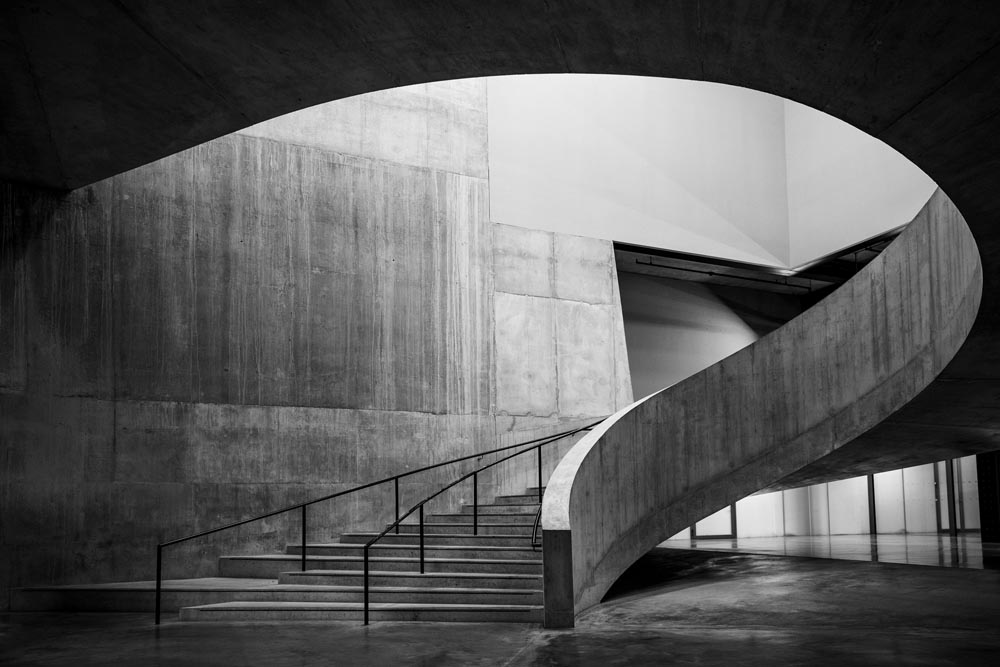
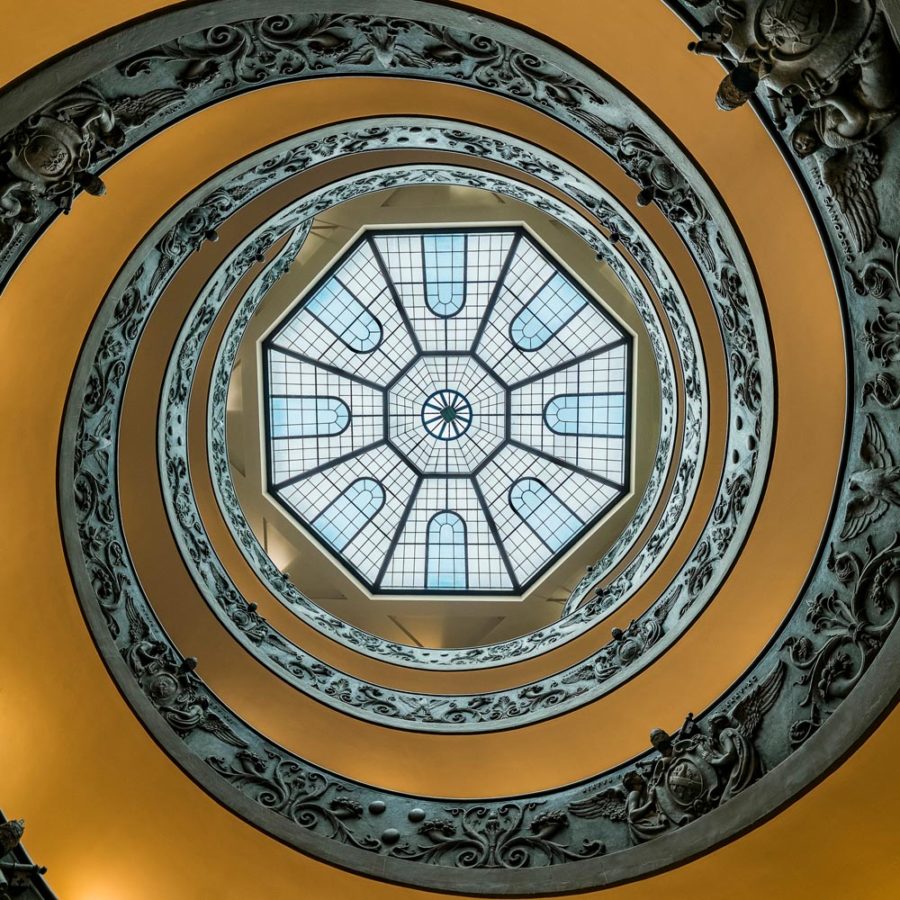
You might think that when traveling I would focus on something different, like people or landscapes, but my real love is still photographing architecture. Now I even find myself planning trips that allow me to photograph beautiful and spectacular buildings and their interiors. Here are a few tips to help you capture great architectural images in your travels.

Planning Your Shot List
The number one thing you can do is to plan your trip as far in advance as possible and give yourself plenty of time to do the research needed for success.
One of the first places I go is Google Images. I start with Google because they have almost every image ever made by mankind with links to websites where the images came from. I’ve found information there from other photographers that allowed me to know exactly where and at what time they took their photos. This can be very helpful when you don’t have time to scout the location in advance.
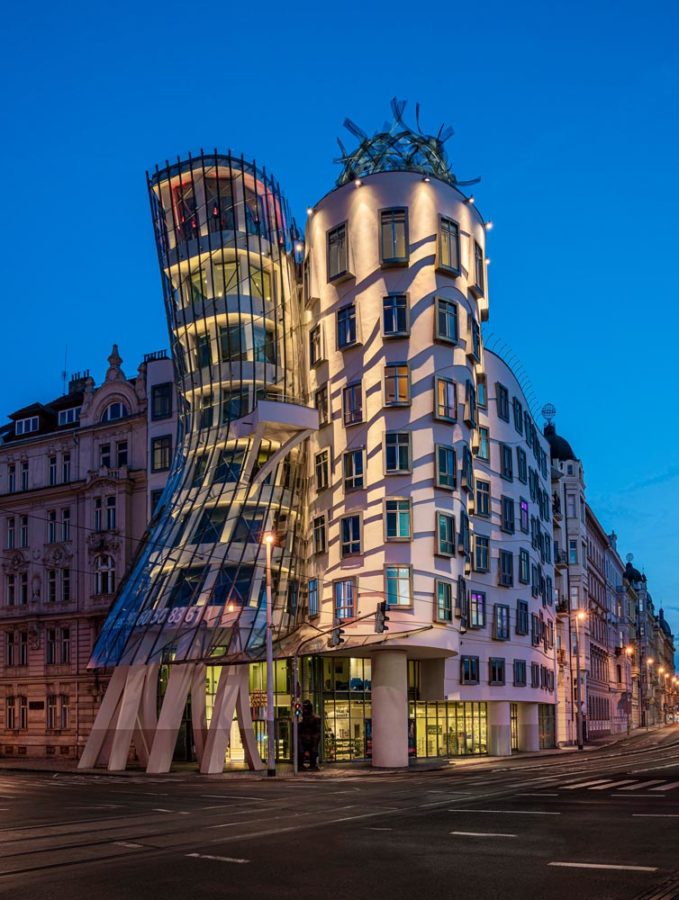
Google may be good for finding a location, but not for inspiration. That is where 500px.com comes in. If you want to get excited about your travel location and subjects, you’re going to love 500px. It is visual overload with great images that will motivate you. The not so good with 500px is that locations are not always provided, which can be frustrating.
The Gear
Now that you know what and where you want to photograph let’s talk a little bit about gear.
I bring two camera bodies with me, the Sony a7r III and the Sony a7 III as a back-up camera. I love the large 42-megapixel full frame sensor of the a7r III, which gives me the ability to crop in if I need to.
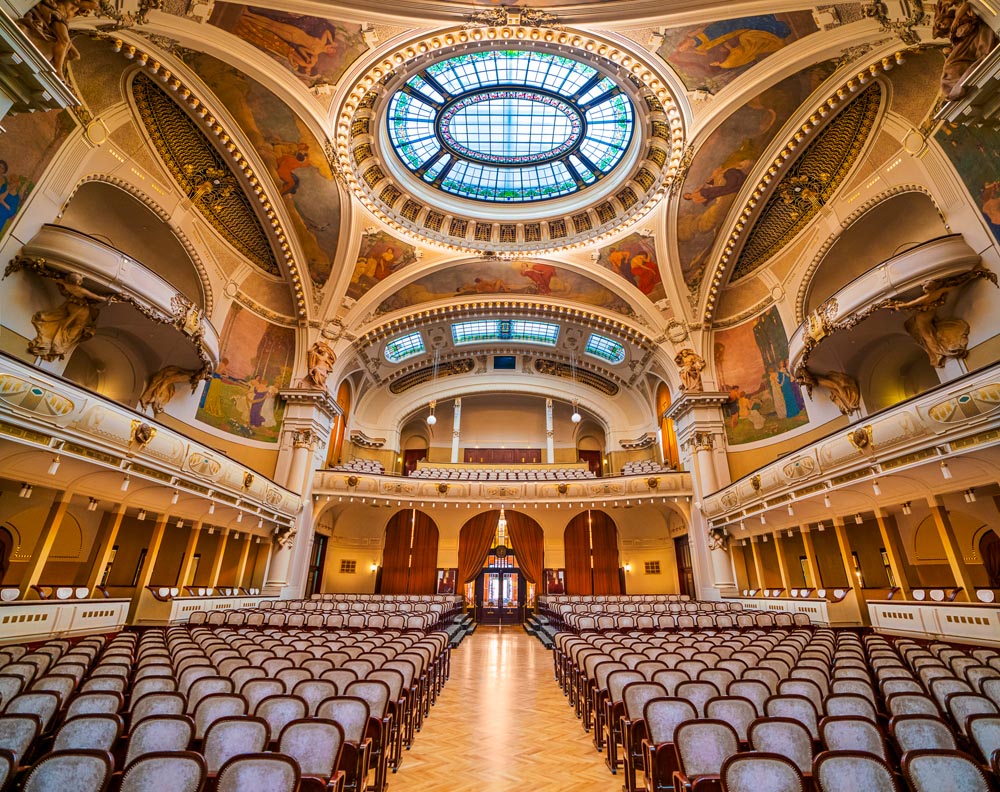
I take the following three zoom lenses that cover most situations: 16-35mm f/2.8, 24-70mm f/2.8 and the 70-200mm f/4, all Sony lenses. Tilt/shift lenses are great for taking architectural images, but they are also heavy, so I take either my 17mm or 24mm tilt/shift lens. If I have room and don’t mind a little extra weight I may bring the Rokinon 12mm fisheye f/2.8 lens. Though used infrequently, this lens is fun to use and can create some unique perspectives.

I carry my tripod with me when I fly, rather than putting it in my checked luggage, in case I arrive at a location but my checked luggage does not. I also take my Platypod in my carry-on. You will want a Platypod as the world has gone a little crazy about not letting photographers use a tripod, but they don’t see the Platypod as one and will let you use it.
The Think Tank Street Walker HD camera bag is my choice for a carry-on when I’m flying. It is an international carry-on size and I always want my gear with me. It can also carry my laptop and tablet, so I have just one bag. You will also want to pack a smaller bag in your checked luggage as there are many places where you can’t bring in large backpacks. The smaller bags are generally not a problem, plus you may not want to carry extra weight around all day.
Locations and Plan B
I like to have a plan of action as to what and when I am going to photograph, plus a plan B in case the weather doesn’t cooperate. This gives me the best chance of success. I’ve found that using a custom Google Map and marking locations helps me know where to go, plus alternative subjects in case that particular location has scaffolding covering the building. This has happened more times than I care to count, and knowing where an alternative subject is located close by has allowed me to come away with great images.

Smile
One of the best tips I can give you is to be nice and smile. Smiling has allowed me to get into places I could not normally get in to photograph and, if you can get a security guard to laugh, you might just get 5 minutes allowing you to capture a space without people in your shot. It’s worked for me quite a few times.

Use A Tripod
If you can use a tripod without being tackled by the tripod police it can help you take multiple exposures. This allows you the ability to remove people from your images. Photographing from a tripod also accomplishes two other things; first, you take more time to compose your images and, second, it will make your images sharper.
Early Photographers Get The Image
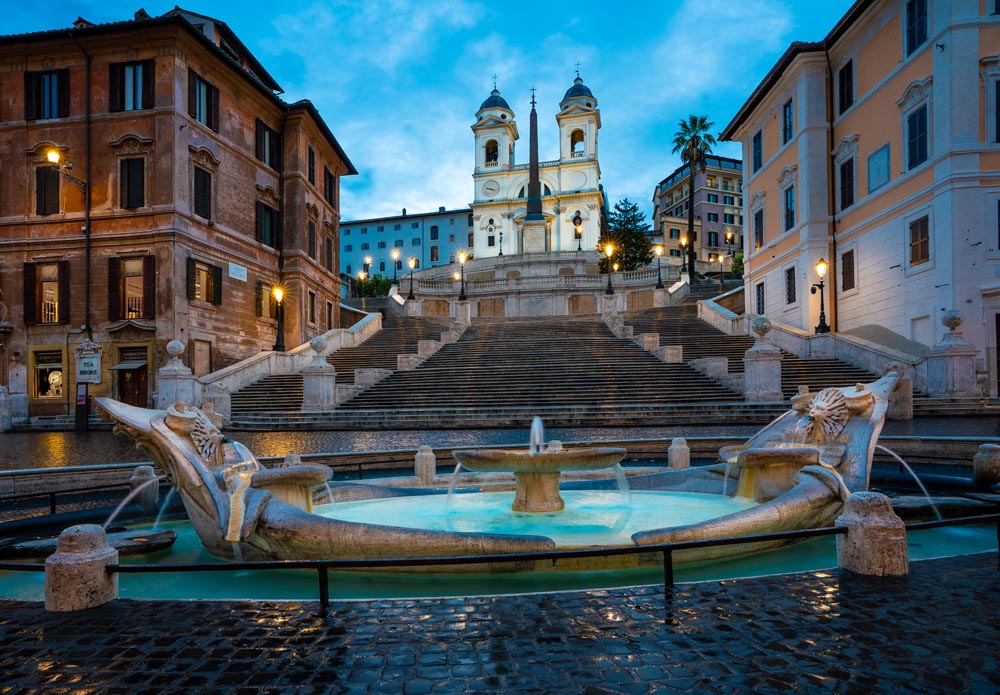
Arrive to your location early. You have a much better chance of not having other tourists in your images early in the morning as they are still in their beds. You also have more time to explore and choose the best composition and angle.

Filters
Bring along neutral density and graduate filters. If you want that silky look for your water images, you need a neutral density filter, and it’s not a bad idea to have a few different graduate filters for the sky. Using a neutral density filter can extend your exposure time and, in some cases, remove people.

The Weather
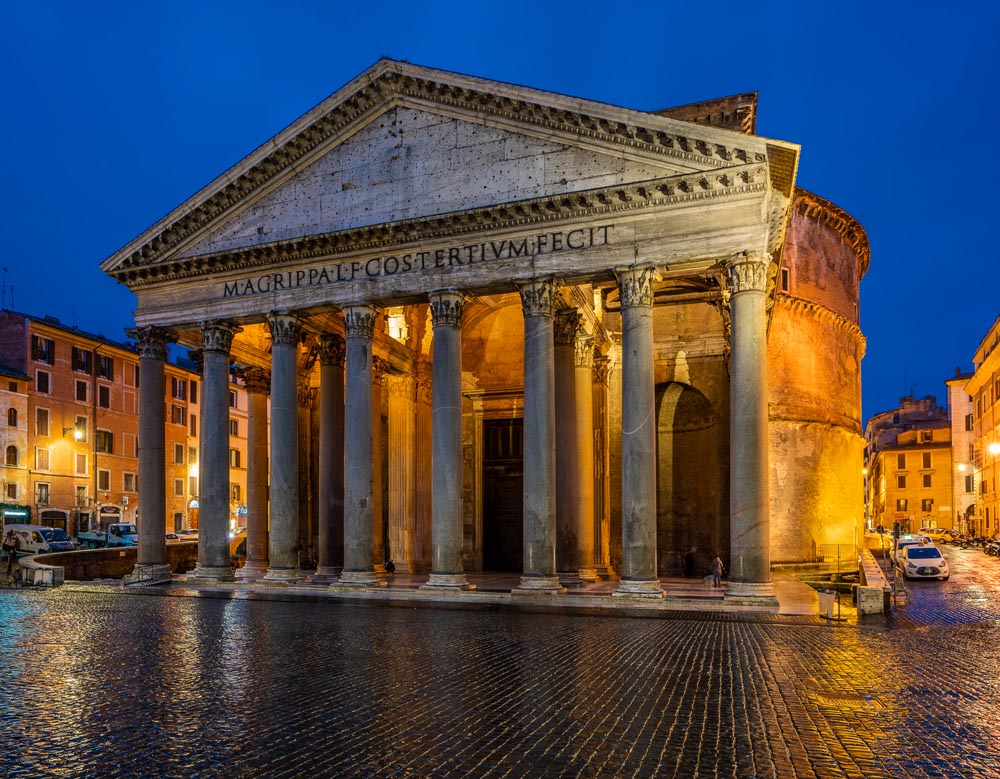
I always check the weather before traveling, and if there is a chance of rain I pack my rain coverings for me and the camera. The great thing about rain days is fewer people are out, and if you buy a red umbrella and ask someone to walk into your shot, it can add interest to your photo. Having locations planned to photograph when it rains can lead to some great images or allow you to take a break and enjoy your location.
The Four P’s:
Preparation
Most great photographs don’t just happen. If you plan and prepare you’ll give yourself a much better chance of coming away with images you’re really proud off.
Practice
You only get better by taking more photos, which includes making mistakes and experimenting with new techniques.
Patience
Not every one of your images are going to be hung in a gallery, but over time you will get better. Don’t give up! Persistence is key to helping you fulfill your vision and achieve your goals as a photographer.
Photoshop
Taking the photo is just part of the process of creating great images. The final stage is your postproduction in Adobe Lightroom and Photoshop. If you want your images to come to life, then you will want to become good with these tools. Trust me, it will make a big difference in your photographic journey.
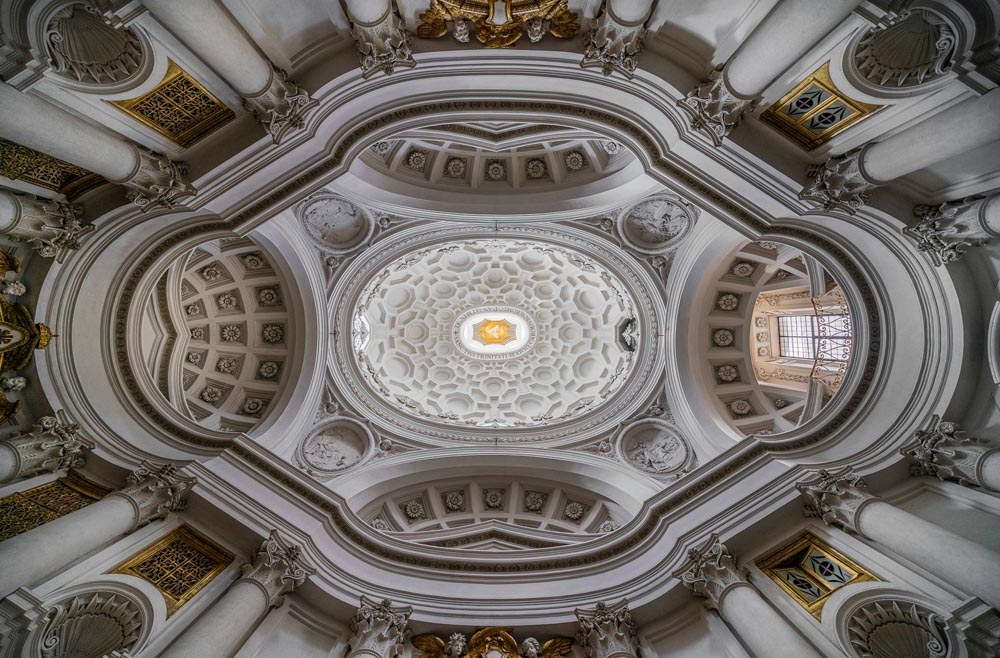
These tips should help you take better travel architectural photographs and, hopefully, find some of the passion I have for architecture and photography.
You can see more of Randy’s work at RVDPhotography.com, check out his workshops at TheDigitalPhotoWorkshops.com, and keep up with him on Instagram and Facebook.


