

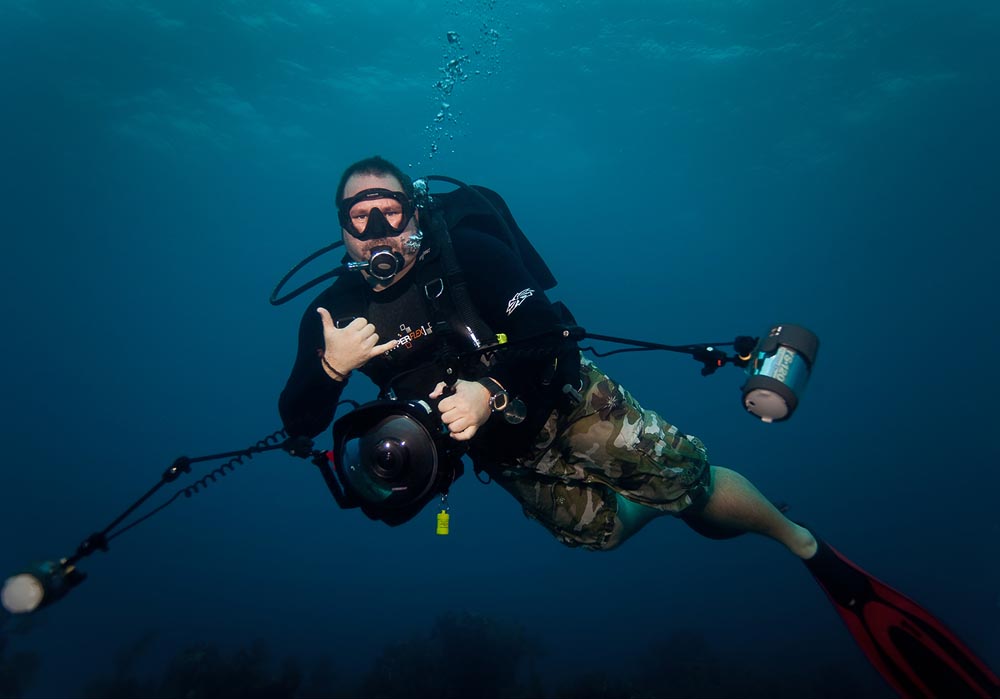
Have you ever wondered what it would be like to be an underwater photographer? Imagine sitting on a boat, putting on this heavy gear (40-50 pounds) and then, after you giant stride into the water…. you’re weightless!
Actually, more than that, you’re floating (“wait, what?”), yep, floating. You get your camera rig handed to you from the boat, hook up with your buddy, let a little bit of air out of your BCD and descend, weightlessly gliding through the water in search of adventure, from the smallest sea critters to the largest pelagic predators, maybe even spotting a wreck!
You may be thinking “very cool, but how do I get there?”
Well, you have to start by being comfortable in the water – which takes education and practice – because when you are shooting on land, you don’t have to worry about breathing, but underwater, there is no air except what you bring with you. Even the best swimmers can always use practice and improvement; though I grew up freediving and spearfishing, I recently took a freediving class just to hone those skills even more.
Depending on what type of underwater photography you want to do, if it’s in a pool or other shallow water or you’re looking for large pelagics like dolphins and whales you don’t need SCUBA – you can simply take a freedive course to learn how to handle that environment, but don’t neglect a water-based first-aid course to keep yourself and others safe.
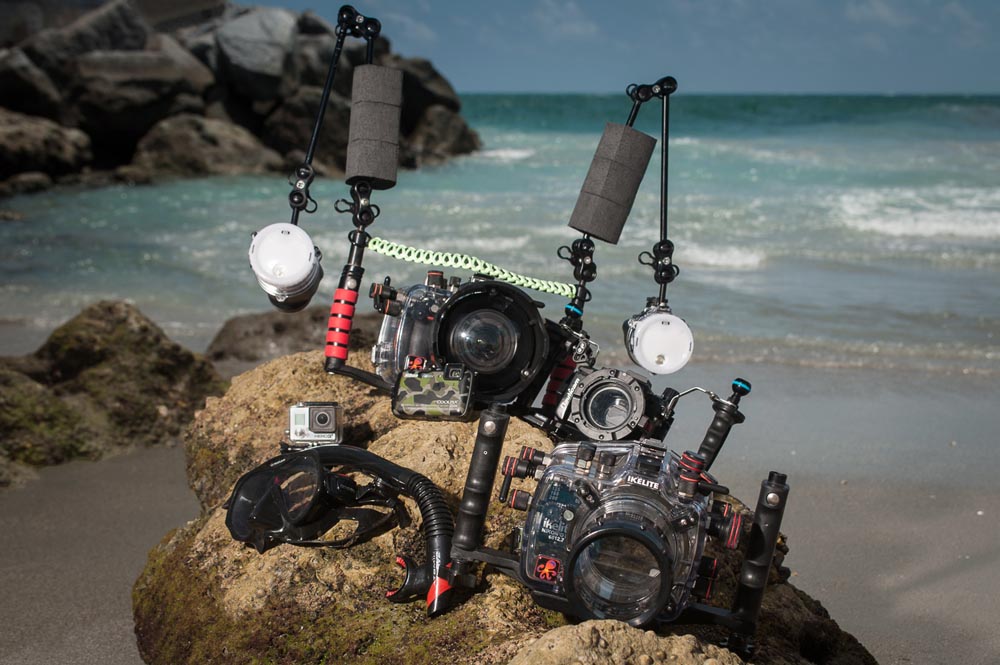
Now you’re feeling good and your comfortable in the water, how do I get my camera in there with out ruining it? There are several answers anywhere from a $50 plastic bag off Amazon that I would advise against, up to a pro level DSLR with an aluminum underwater housing and strobes that would run you the price of a small car.
But let’s start with something that is good and won’t break the bank, if you are planning on just working in your pool or in the shallow waters of a spring or river (Less than 33 ft.), Outex makes a great solution around $400. If you are looking for something a little more robust like a surf housing from AquaTech you will be between $1000 and $1500. The pinnacle will be a full dive housing that’s rated to depths from 60 meters or more; like Ikelites ABS-PC housing going for $1600 up to a fully machined aluminum housing like the one from Seacam for $5000 and that’s just for the base housing no ports or lights.
This is all assuming you know the camera you want to use, which is a topic in and of itself because the optics underwater are more different than on land and what makes a great land lens might make it a poor underwater lens.
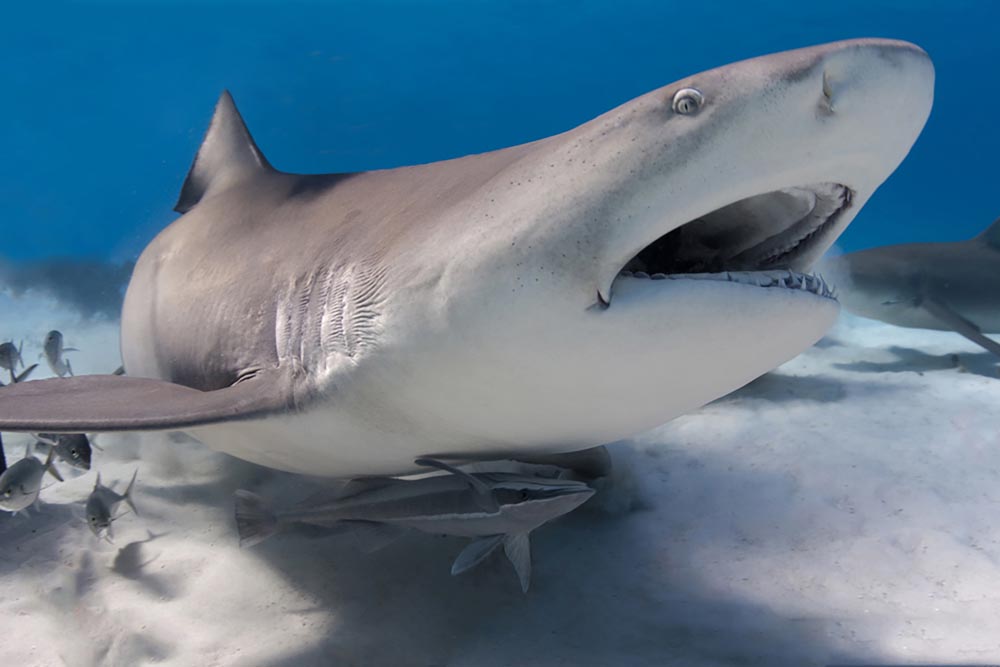
Once you’ve picked out your housing and lights and learned about the dynamics of underwater photography, it’s time to start planning… Are you doing something in a pool, local spring or beach, taking underwater portraits like Kristina Sherk or getting shots of your pooch like Kaylee Greer? Or are you on the hunt for something deeper like a wreck, a colorful reef or maybe a big shark? No matter your subject you start in the same spot logistics and planning. You should have a plan for each underwater shoot from a mood board to water safety. There is an old saying in SCUBA diving: plan your dive and dive your plan.
You’ve trained and you’ve planned, now it’s time for the fun part: getting in the water! You are on location, you’ve set up your camera rig and double checked everything about your housing, from seals and ports to bulkheads and lighting cables (if you’re working with a housing without a vacuum system, a quick dip in a pool or other test site can save you a lot of frustration and hundreds of dollars) and everything looks good.
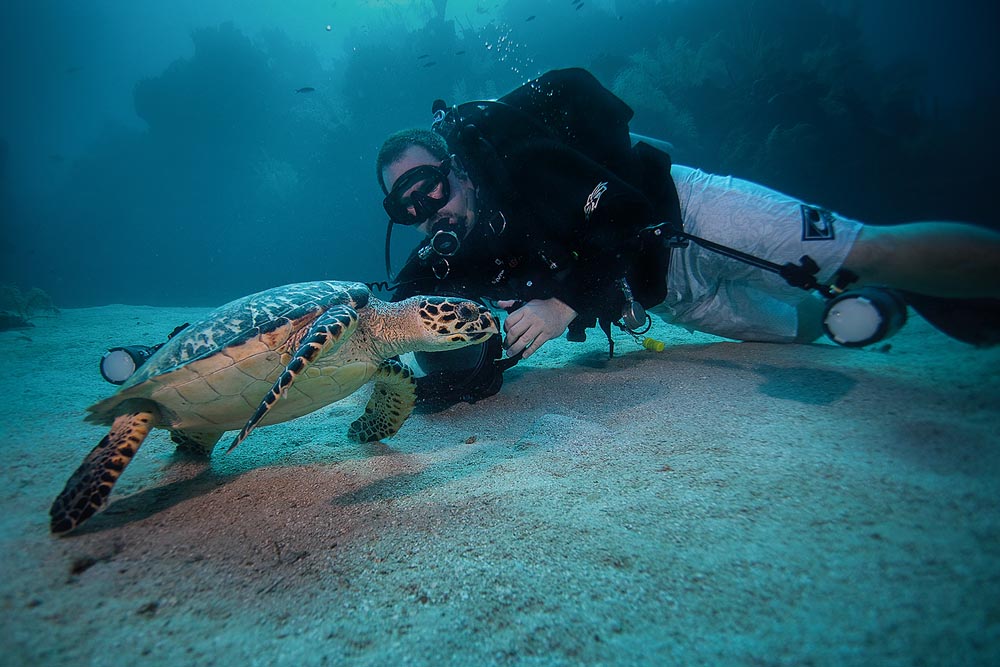
So now it’s time to ease into the water, grab your rig, put in some base settings, and start shooting. In the water you see a turtle munching on a patch of sea grass, and you start going over your mental check list: get close, don’t disturb the environment, strobe positioning, don’t stir up the water column, shoot upward, relax, and never chase or hassle the sea life.
With a few shots on the card, you head back for post processing, and hopefully that won’t be much, because you have shot RAW so you have a lot of data, got close to reduce the volume of water between you and the subject and used strobes to bring back the color and contrast.
So you head into Lightroom and import your files and start your edit, pushing and pulling sliders to get the right amount of contrast, color, exposure and detail, adding your own “special sauce” then BAM! You’re done! You have a winner that will look good anywhere rather it’s social media or a well-lit metal print.
If you found this interesting make sure to jump in with both feet and join me at the KelbyOneLive.com Outdoor Conference May 18th and 19th to learn more.
And remember have fun and leave nothing but bubbles and take nothing but pictures.
You can see more from Dalton at DaltonHamm.com, and keep up with him on Instagram.

1 comment