
Welcome To The Endless World Of Photo Manipulation
I started my creative journey 20 years ago, when I got my first copy of Photoshop as a birthday gift. It was a time of no YouTube, really slow dial-up internet connection, and not so many places to learn Photoshop from.
So, I needed to learn it on my own.
I practiced a lot, experimenting with the tools and having fun with Photoshop.
The first tools I learned how to use were the Magic Wand Tool and Lasso Tool. With those two tools I was able to select and extract objects from scanned photos. And that was how I made my first photo manipulation. My father standing in the mountain near the camp fire with a rifle in his hand.
That was the time when I opened a door to the world of endless possibilities.
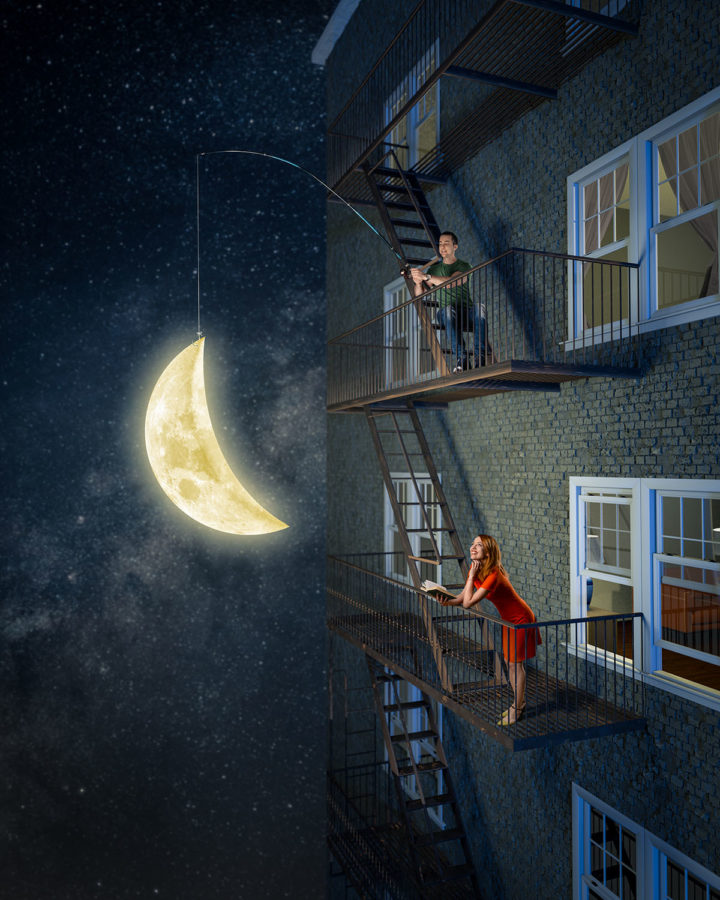
The photo manipulation world is such a great place to be, because you can do whatever you want. The only limitation is your imagination, and the knowledge to use the tools necessary to turn your imagination into reality.

Today I will walk you through the process of making a photo manipulation. I will tell you what is important to know to be able to create a realistic result, and how to make your life easier by following some general rules.
Three Important Elements of A Composite Image
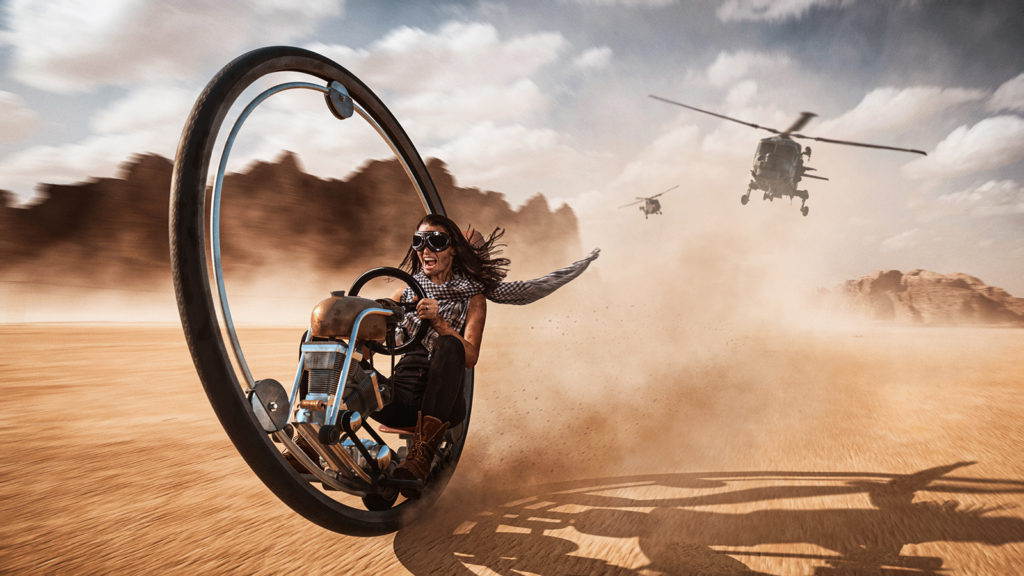
I like to say that there are three things that need to be fulfilled in order to have a realistic photo manipulation: perspective, light, and color.
1. Perspective
All the elements that are included in a final photo manipulation need to have the same perspective. To be photographed from the same angle with a same (or at least similar) focal length.
Otherwise you will have really bad image that will scream FAKE! You can’t have one photo shot from above, and another from down below, and make a seamless image out of it.
2. Light
All the elements need to have same (or at least similar) lighting conditions. There are some cases where you can paint light to the model to match it to the scene if the model is differently lightened. But it is always easier to have the right lighting on the model from the start.
Here is a video I did on how to paint light on a model in Photoshop to match the background.
3. Colors
Colors of all the elements in the photo need to be corrected so it matches the same color palette. You can’t put a model with warm tones into a really cold blue background and expect to have a realistic result.
If you follow those 3 basic rules, you will definitely have better result and will make your life easier.
The Process of Creating A Composite Image
I always start my composite project by finding a proper idea for the image and making a sketch in my mind or on a paper.
I got asked a lot, how and where I get the ideas from. I did a short video about that topic.
After I make a sketch, the next step is to gather all the necessary materials for the final image.
It is almost always better to start by finding a proper background for your photo manipulation, and then all other necessary elements for it. Because your background will already define the perspective, lights and colors.
If you first find or take a photo of a person, it is much harder to find a background that will fit the same angles, focal length and lighting condition to match it to the person.
There are two ways how you can get photos for your composites. License someone else’s photos, or take your own photos.
The first way is maybe easier because you don’t need to have a camera and photography knowledge. But I prefer to take my own photos because I can make it exactly how I need it.
That’s why I started to learn photography soon after I started to learn Photoshop. It was a much easier and faster journey than Photoshop, because I already had some photographer friends and a lot of books and magazines about it.
Also, there are some other really useful tools that can help in photo manipulation world. And that is 3D modeling.
The 3D world is even harder to learn and much bigger than Photoshop. But by using 3D software, you can model, create, make practically ANYTHING that you can imagine.
Also, sometimes it is much easier and cheaper to model something in 3D than going to a location and taking a photo of an object from proper perspective with proper lighting. Or sometimes you don’t have some objects in a real life.
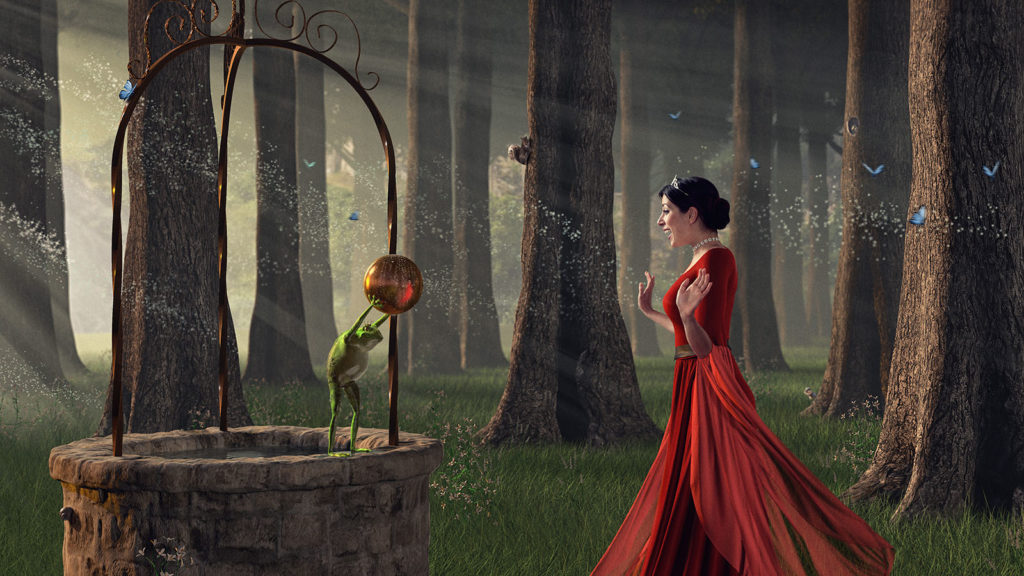
For example, I made everything in this photo except the girl’s face and arms, in 3D. Even the dress. We didn’t have a proper dress so I decided to create it in the 3D software.
Here you can see a breakdown of it:
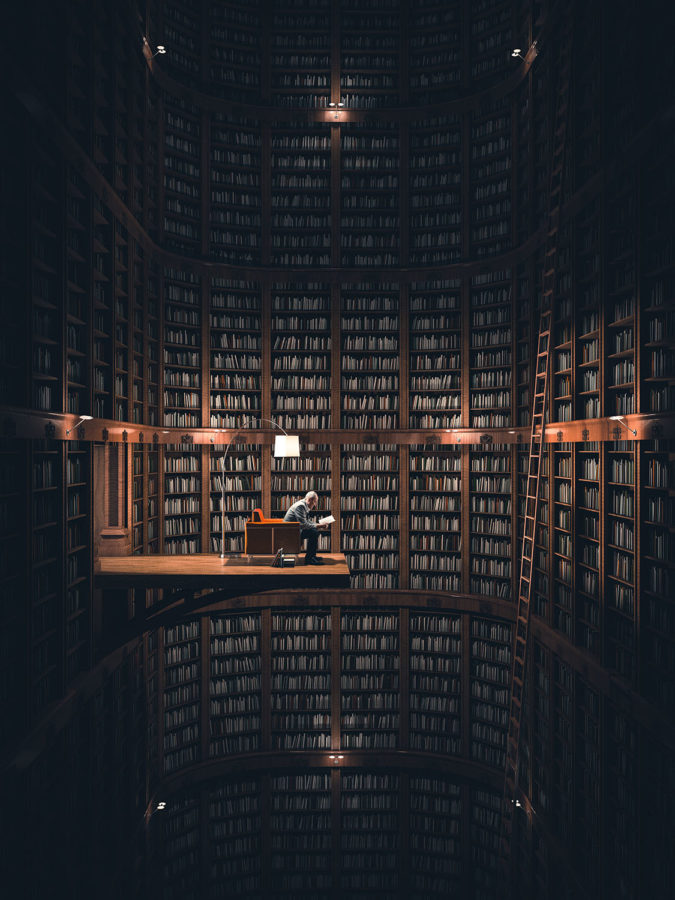
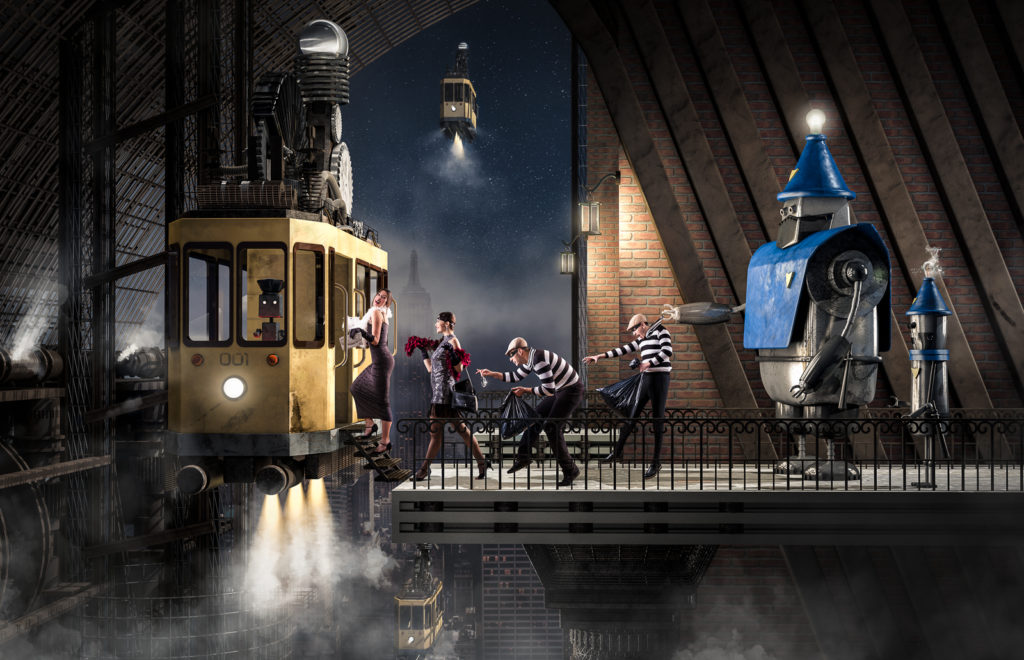
Also, some things don’t exist in a real life like this library above or the tram with robots below.
My favorite 3D software is Cinema 4D with Octane render. But I also use Zbrush and Marvelous Designer from time to time.
Zbrush is awesome tool for sculpting anything. From a person to any other object. It is similar to sculpting from mud.

This Batman is made in Zbrush. The bodies of the two guys below (Green Lantern and Sinestro) are sculpted there too.
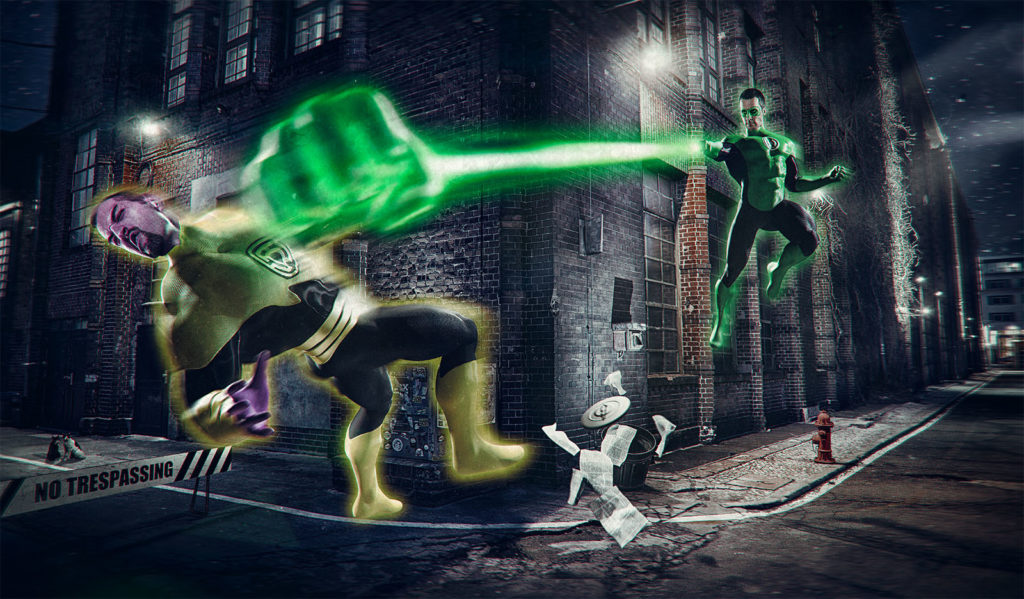
You can check out more about this project on my website’s blog section.
After I have all the necessary elements for a composite image, I start to assemble them in Photoshop. It is the most important tool for me.
Usually, a composite PSD file will have a lot of layers, lots of small elements added etc… So, it is always smart to name your layers correctly, to be organized.
To create one photo manipulation image sometimes it takes just an hour, but sometimes it can take days, even weeks. Depending on the complexity of the elements used. Sometimes there are some complex 3D elements, or if I need to travel somewhere to take a photo etc.
After I finish making a composite, but before I apply final color grading, I like to walk away from the computer for a while. It helps me to clear my head and to focus on something else before I come back to revisit everything and do a final color grading.
Pro Tip: When you are working with colors, it is good to switch to black and white from time to time, just for a few moments, to rest your eyes a bit, to be able to see colors better. Because your eyes will get used to anything after a while, even if it is not good.
So, as you can see, the photo manipulation world is really an endless place. Lots of options, lots of software, and, most importantly, lots of fun!
If you want to learn just one software to be able to do some really great composites, then go for Photoshop. It is a must. I use it a lot, even when I make fully 3D scenes, I go to Photoshop to retouch it and make it even more interesting. The more tools you know, the more possibilities you will have.
I have my own YouTube channel where I teach people Photoshop and photo manipulation if you would like to see more of my tutorials.
Now that you have some basic info about the photo manipulation process, go and start creating something on your own. Learn a new tool, gain some new skills and remember, NEVER GIVE UP. Especially when is hard. That is the only path to success.
Practice, experiment and have fun!
You can see more of Nemanja’s work at NemanjaSekulic.com, and keep up with him on Instagram, YouTube, Twitter, and Facebook.