How I Became a Real Estate Photographer + 8 Tips to Help You Get Started
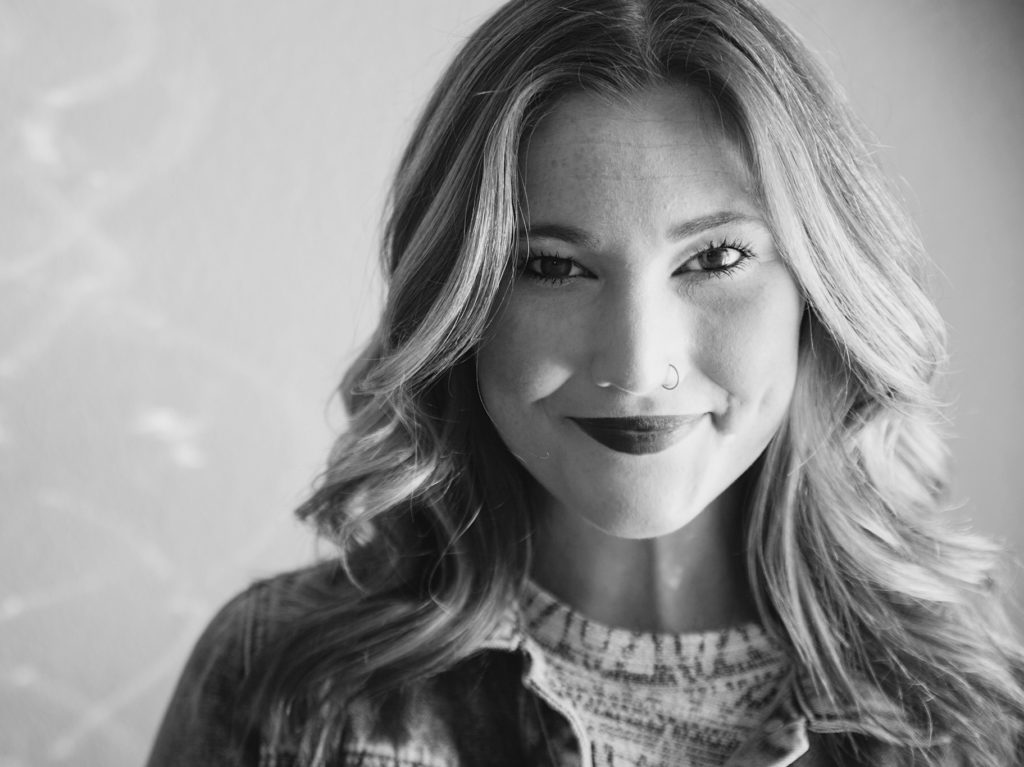
As I reflect on my 20s, I realize it probably sounds like the same story as a lot of other millennials: broke, confused, directionless, and full of wanderlust. Upon graduating with a degree in Recreation, Park and Tourism Sciences from Texas A&M University in 2012, I was having difficulty landing a job and honestly had no idea what to do with myself. So, I did the only thing I could afford to do, which was move home to my parent’s house in Beaumont, Texas.
I spent the next two years aimlessly working in a daycare and then as an administrative assistant in a private school. The wanderlust I mentioned previously became too much to bear, so I quit my job and moved to Rome, Italy for a year to be a live-in nanny. When I returned home again (this time with a belly full of fresh pasta, wine, and gelato), my wanderlust was temporarily cured, but I was still broke, confused, and directionless.
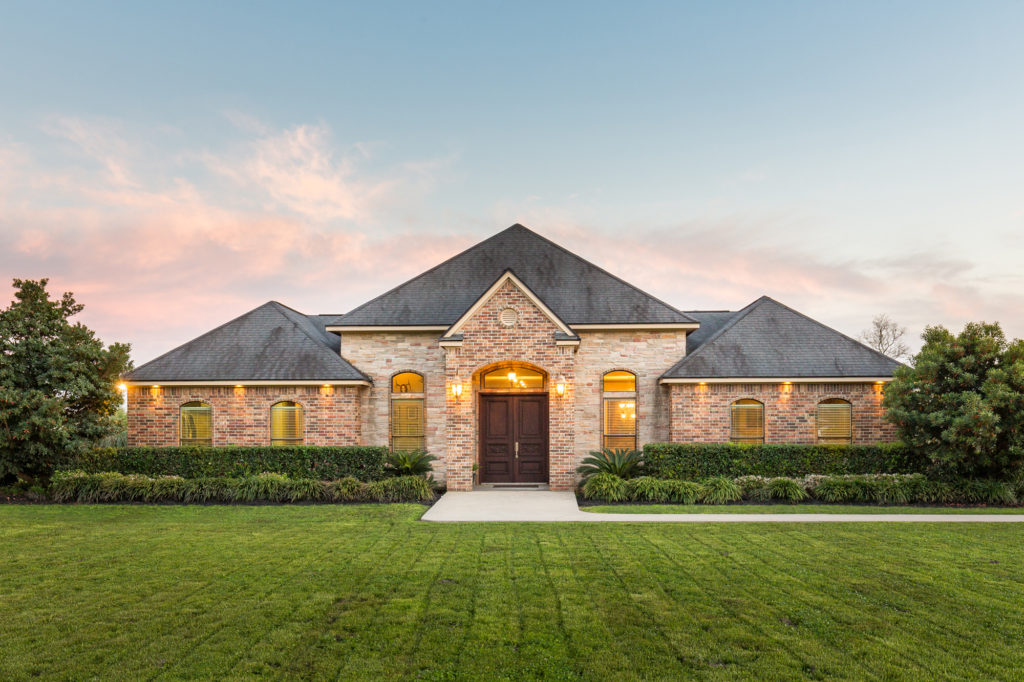
My dad, being a business owner himself, has always attempted to guide me in the direction of self-employment. I had a decent enough background in photography, Lightroom, and Photoshop, so when he suggested that I try my hand at real estate photography, I was up for the challenge. I spent the next couple of months attempting to wrap my head around this style of photography and have been photographing real estate ever since.
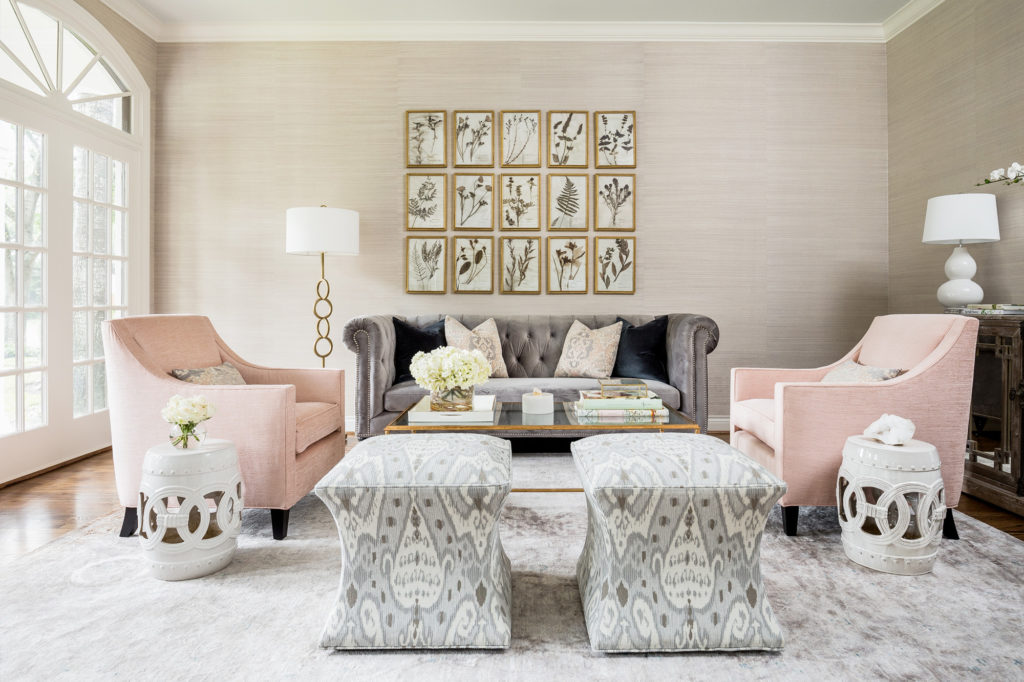
Before I get into the nitty gritty, I think it is noteworthy to mention that there are essentially three types of real estate photographers, and it is important to figure out what category you want to fall into. Keep in mind that there are no wrong answers and you can always evolve.

The first type are ‘run and gunners.’ They are in and out of homes in a matter of minutes and handhold their camera. They may or may not have a flash mounted on top and typically take one exposure. (High efficiency and low cost.)
The second type are the most common of the bunch. They use a tripod, take multiple exposures and are most likely using at least a bounce flash. (Average efficiency and average cost.)
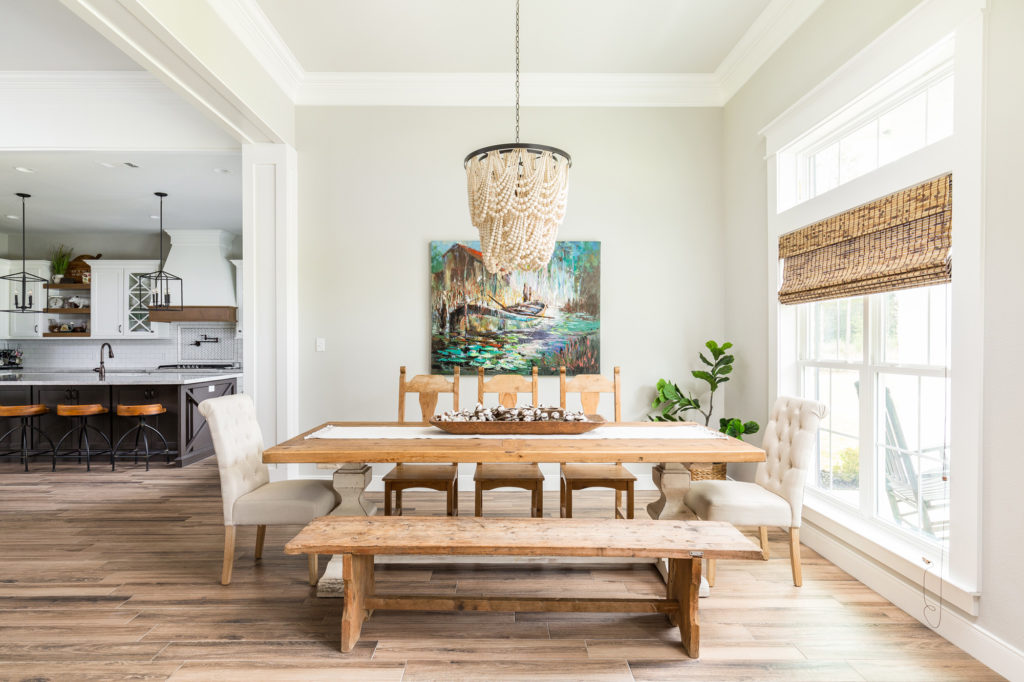
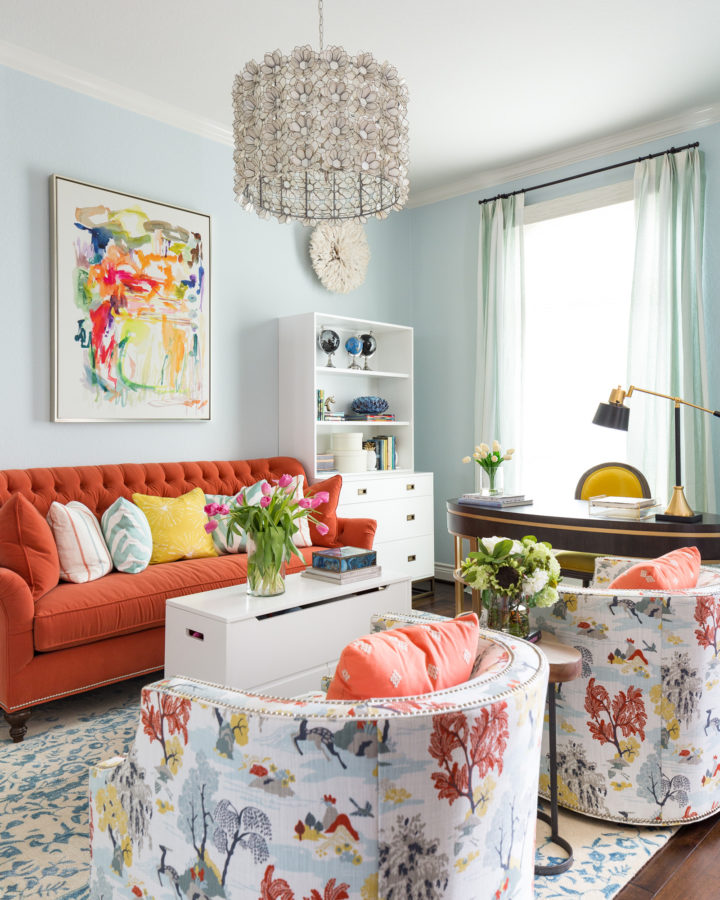
The third type are the artists. They definitely use a tripod, make sure each shot is perfectly composed and level, use pops of flash throughout the space with the intention of manually hand blending multiple frames in post processing. (Low efficiency and high cost.)
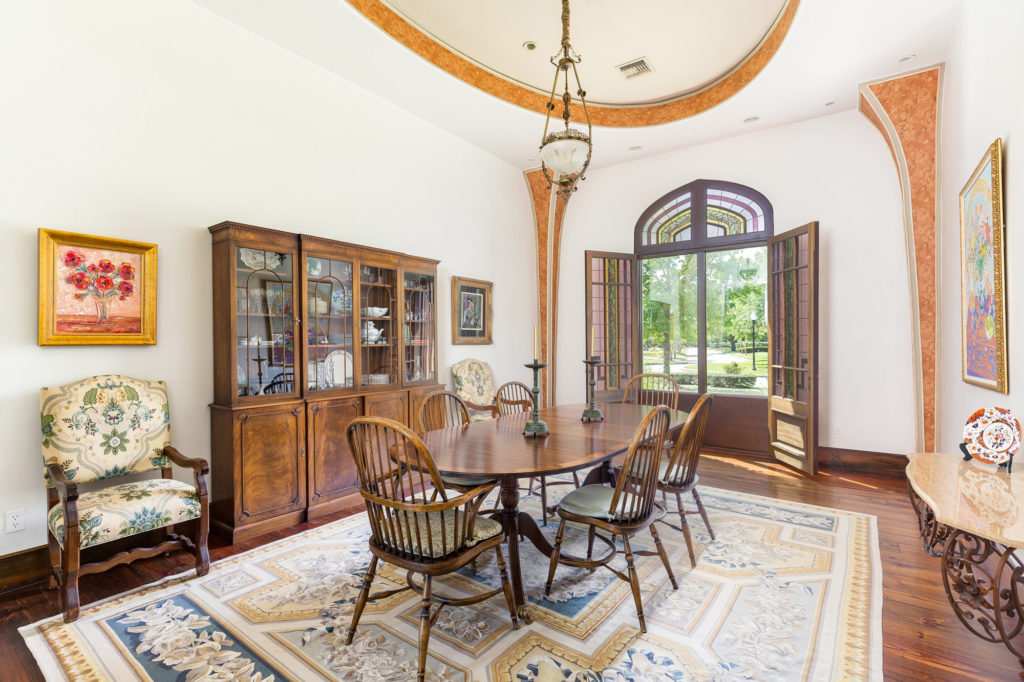
I fall into the third category simply because I have goals of working exclusively with designers and architects one day and am working towards building a portfolio worthy of doing so. Moving forward, you have to figure out what works best for you and the market in which you are planning to build your business.
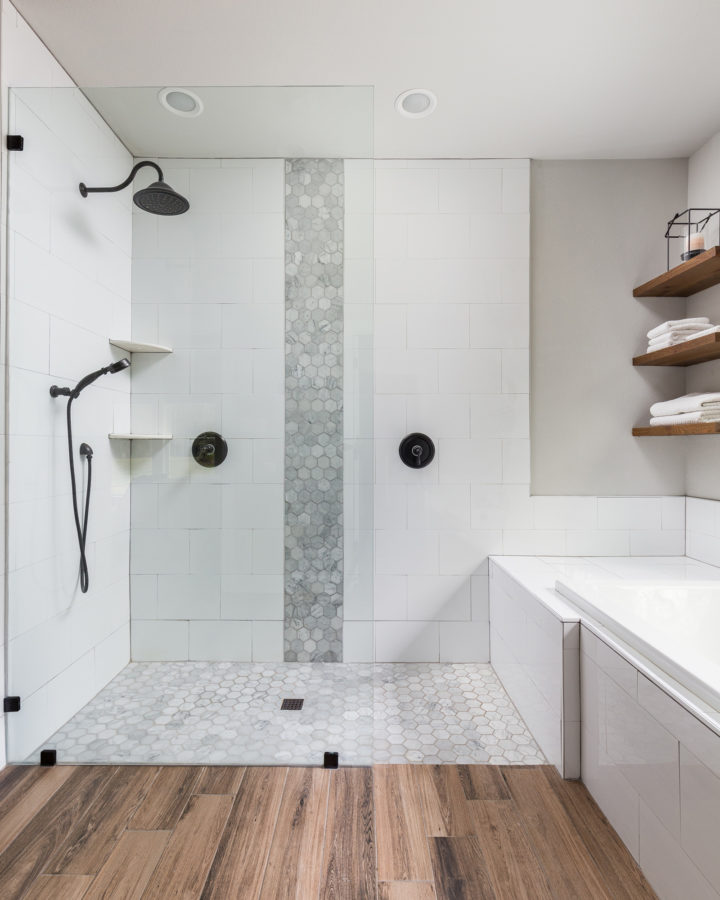
Here are 8 tips to get you up and running as a real estate photographer:
1. Know Your Settings
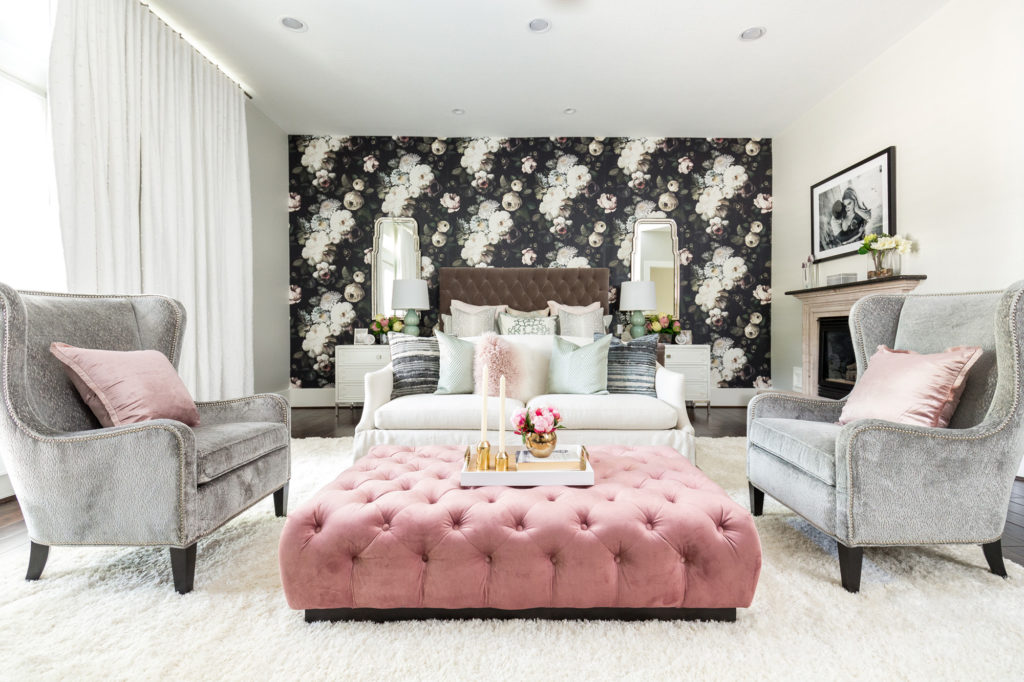
Learn how shutter speed, aperture, and ISO interact with each other (and know it like the back of your hand). This could probably go without saying, but the fundamentals of photography are integral to getting started in this field. There are common settings used in real estate photography, but if you don’t know WHY they work, there will not be a way for you to fix an issue on site should one arise.
2. Study Other Photographers In This Field
There is so much information out there that goes way beyond the following recommendations, but here are a few to get you started. Get your feet wet with free YouTube videos. A couple of great channels off the top of my head are Nathan Cool and Rich Baum. Listen to the free Shooting Spaces Podcast by Rich Baum and Brian Berkowitz.
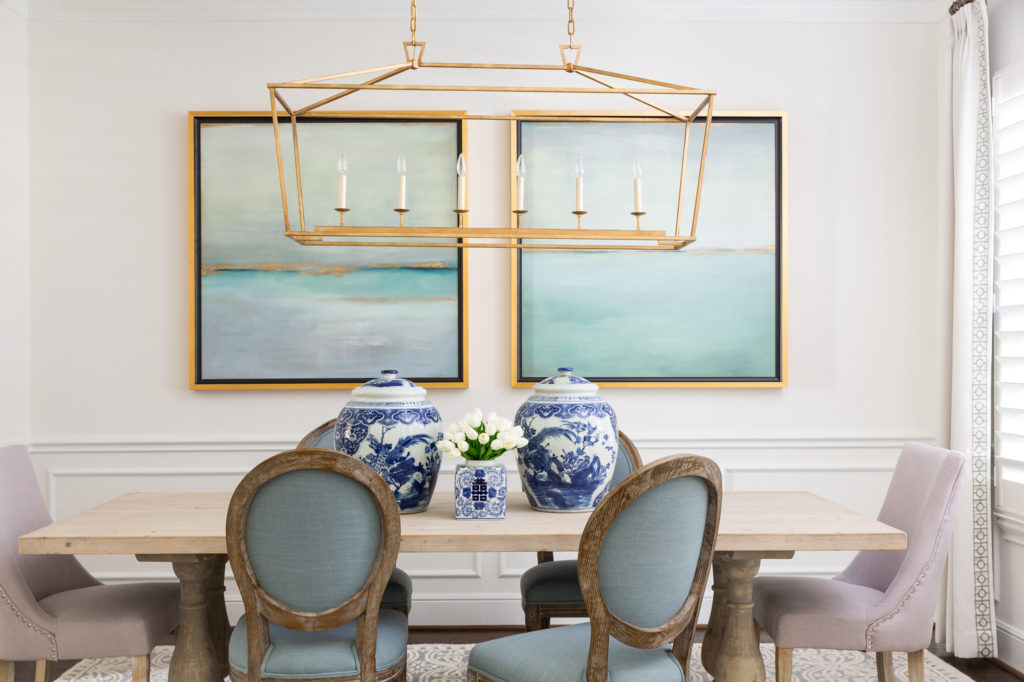
After you have learned the basics from these guys, move on to paid tutorials by instructors like Thomas Grubba and Scott Hargis. Once you are feeling confident with what you have learned, continue your education with Mike Kelley (who had a great guest blog here at the beginning of the year). His stuff is more architectural, so some of his tutorials go beyond what is necessary for basic real estate photography, but still contain a ton of tips and tricks that can be applied to your workflow. The more time you invest in learning upfront, the less stress you’ll have once you get going.
3. Gear
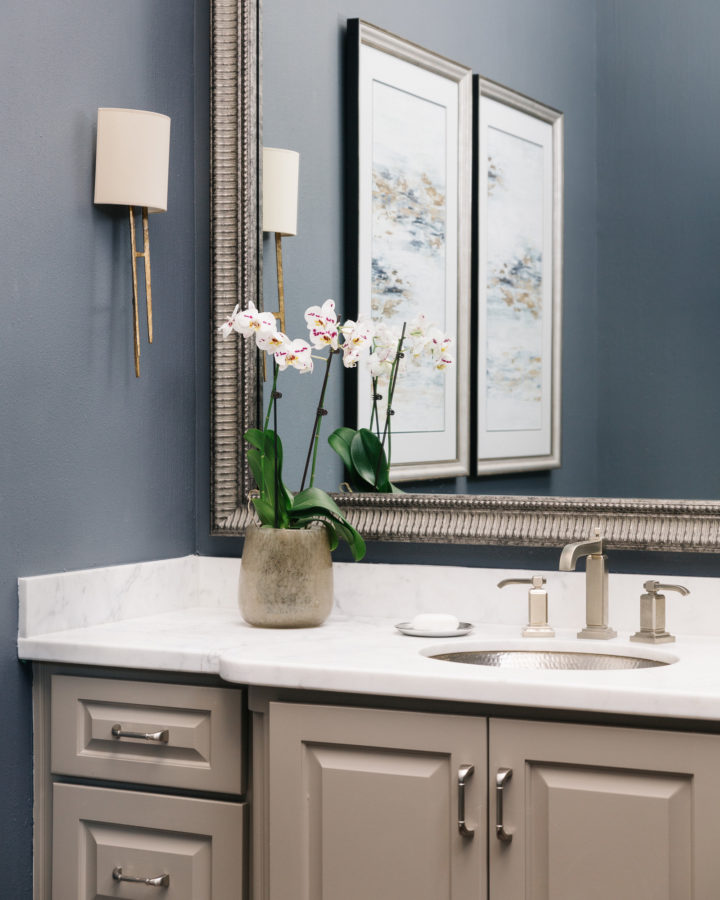
I am so far from a gear snob it’s not even funny. For this reason, I’m not going to go into brands because that is a deep, dark rabbit hole. Here is a short list of equipment that I have in my bag at every real estate shoot:
- DSLR Camera
- Wide Angle Lens (I shoot with a 16-35mm and personally think anything wider than this starts to look “fishy” if you catch my drift.)
- Tripod with center column
- Geared head
- Speedlite(s)
- Speedlite Transmitter + Receiver(s) to shoot off camera
- Strobelite
- CamRanger + tablet to shoot wirelessly tethered
Note: This is by no means a complete list of gear, nor do you need every item on this list, but just a few good staples to steer you in the right direction.
4. Post Processing
Taking the images is half the battle, but an equally large part is what you do with the images when you get back to your computer. Your post processing will be strongly influenced by the type of real estate photographer you want to be.
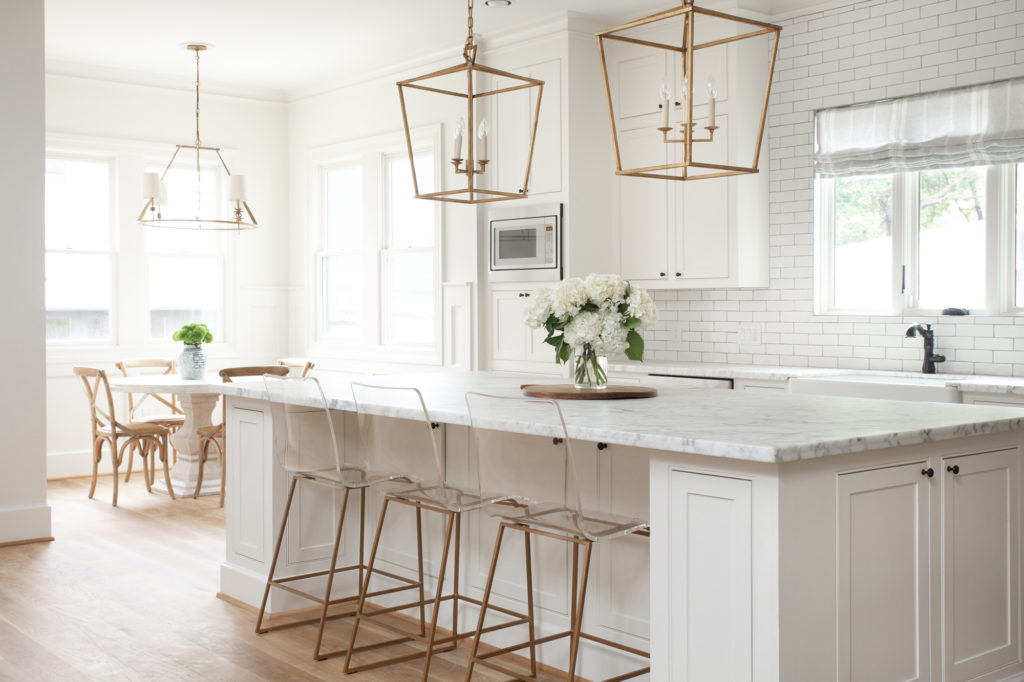
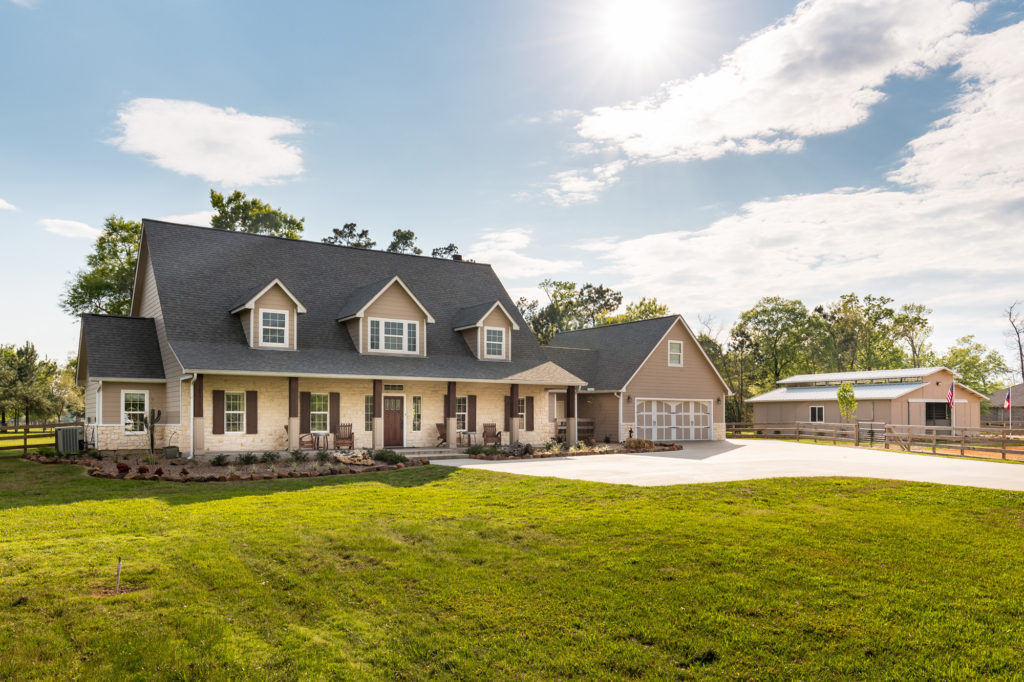
If you are running and gunning, you may just need Lightroom or a simple photo editor. If you are shooting multiple exposures, like HDR, for example, you may choose to merge your images with a separate program plug-in. I run my exteriors through a merging program, but I hand blend all of my interior images using layers and masks in Photoshop.
Another option is sending your work off to an editor if you do not want to deal with the post processing portion or simply do not have time. If you can find an editor that works with your style at a reasonable price, go for it! A lot of them actually do a pretty great job. I’m a control freak, so naturally I’ve never done that.
5. Practice
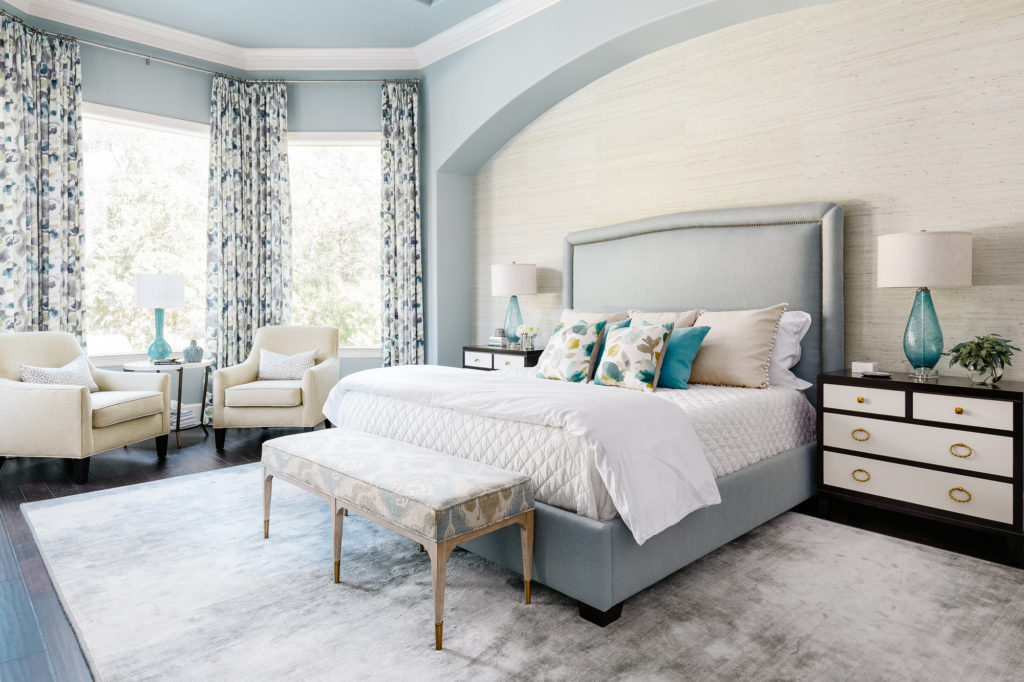
Once you accumulate a little gear and knowledge, practice! Start by shooting your own house and then bug your friends and family with decent homes to start a portfolio. I would not advise approaching agents until you are at least somewhat confident with the product you are delivering, unless the agent is a friend who understands you are just beginning.
6. Community
I cannot stress enough the importance of finding people who do what you do and reaching out to them. There are professional groups such as PFRE: Photography for Real Estate who run blogs as well as highly active Facebook groups that can help you out with any questions you have almost instantaneously.
I did not find these groups until almost a year into business and I can now say that the shared knowledge in this community of real estate and architectural photographers has helped grow my business exponentially. Join local camera clubs, attend workshops, and always stay inspired by those around you.
7. Business – Make It or Break It
The way you decide to promote yourself, your product, and your value is what will ultimately determine your success as a real estate photographer. I started my business almost three years ago with the highest rates in my area and sold myself as a premium service. My business was slow to start due to a little sticker shock, but it led to getting jobs on the bigger and better houses in the area, which allowed me to create a portfolio strong enough to capture the attention of interior designers and homebuilders.
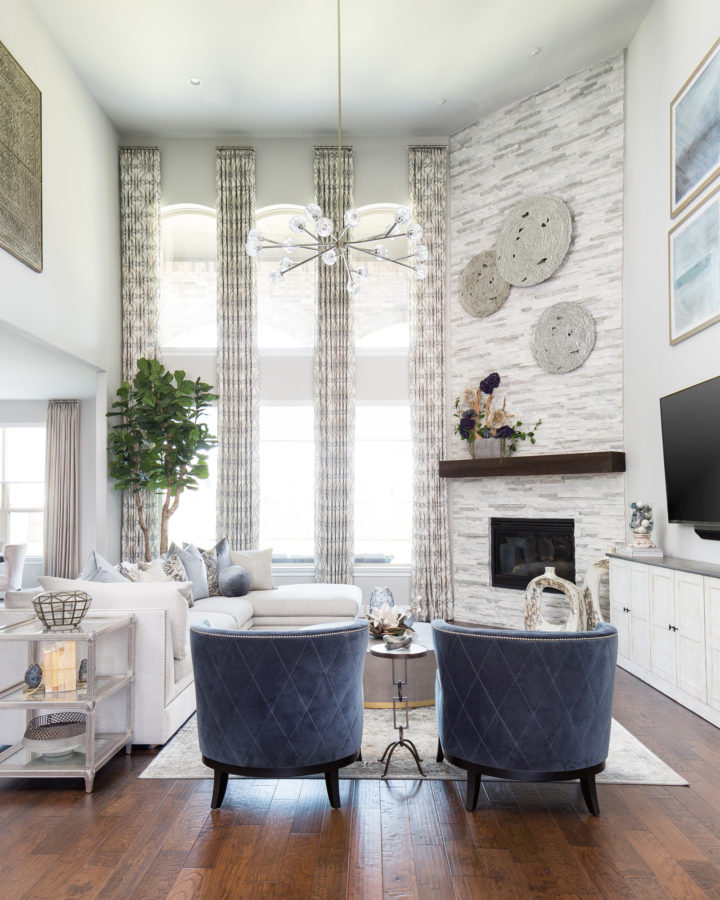
As I mentioned earlier, my goal is to move in this direction, but if I wanted to stay strictly with real estate, I might have structured my business a bit differently. You have to do a little research on your area and see what your market will withstand. Just remember – being the cheapest person in town is not a sustainable business model (unless you have a ton of people working underneath you), so I wouldn’t recommend giving that a try at the beginning.
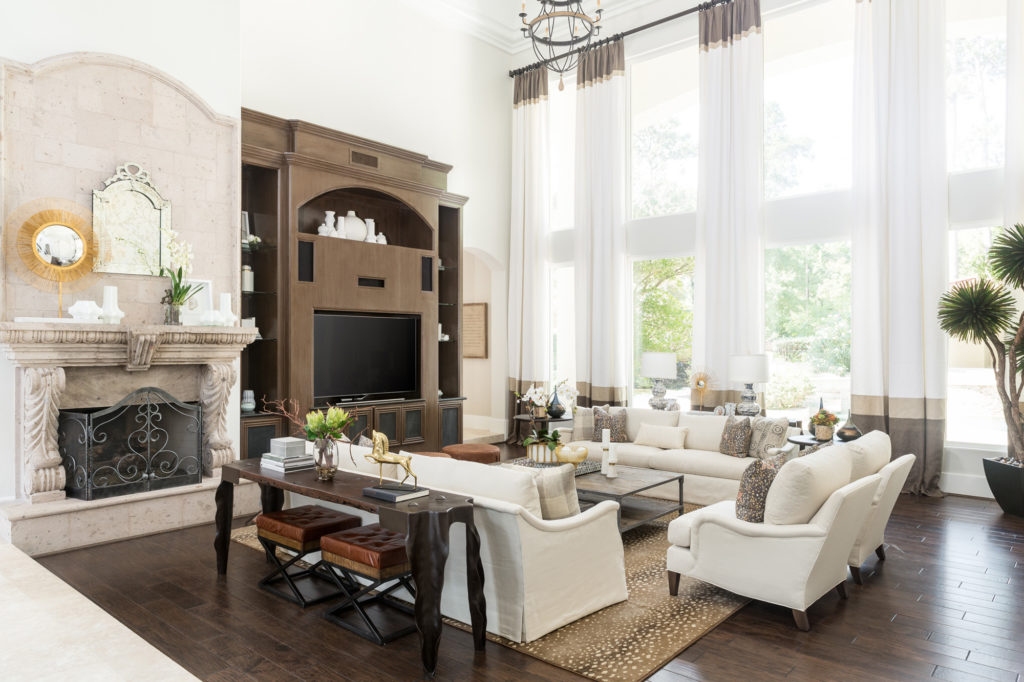
8. Set Your Terms and Get To Shooting
Real estate agents have a knack for being persuasive and getting what they want. That is exactly why they are successful at what they do for a living. Do not be nervous to hand agents a contract, as I assure you they are no stranger to them. They might give you a little pushback on certain items to get the best deal or because they are unfamiliar with working with a professional photographer, but if you have done your research and understand the standards of this industry, you will be able to stand firm on your offer to do business together. Be transparent about your expectations upfront and you will eliminate a lot of issues moving forward with each working relationship.
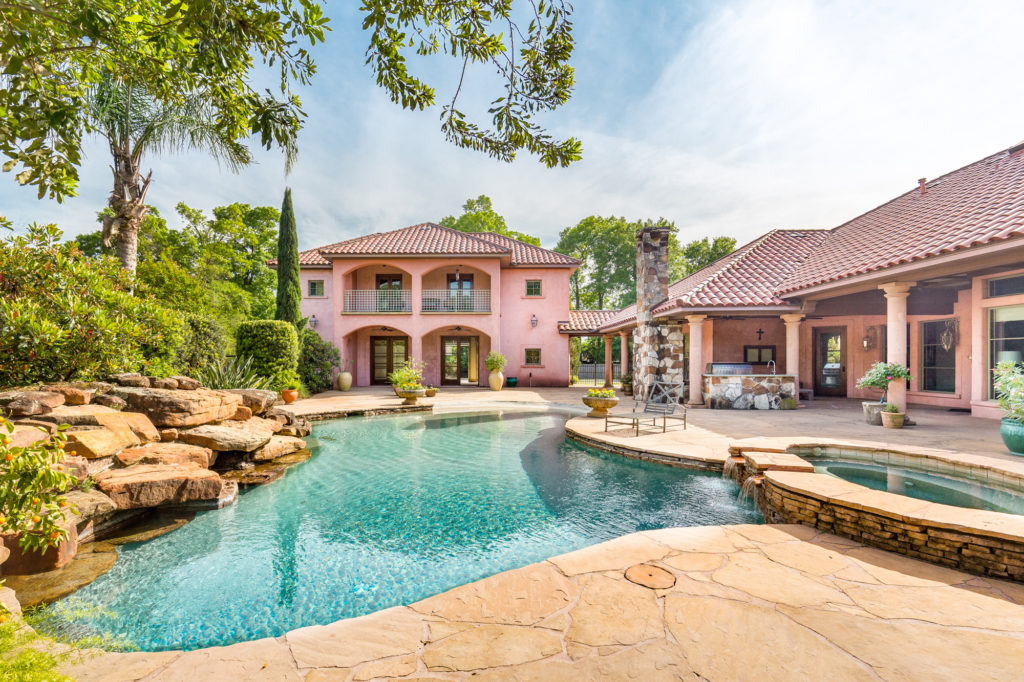
There are so many different variables and techniques when it comes to shooting real estate, design, or architecture, that it would be virtually impossible for me to cover all of it in one blog post. I truly love what I do as I have been able to access some incredible homes and meet some insanely talented people along the way.
You can see more of Colleen’s work at CollScott.com, and keep up with her on Instagram and Facebook.


