

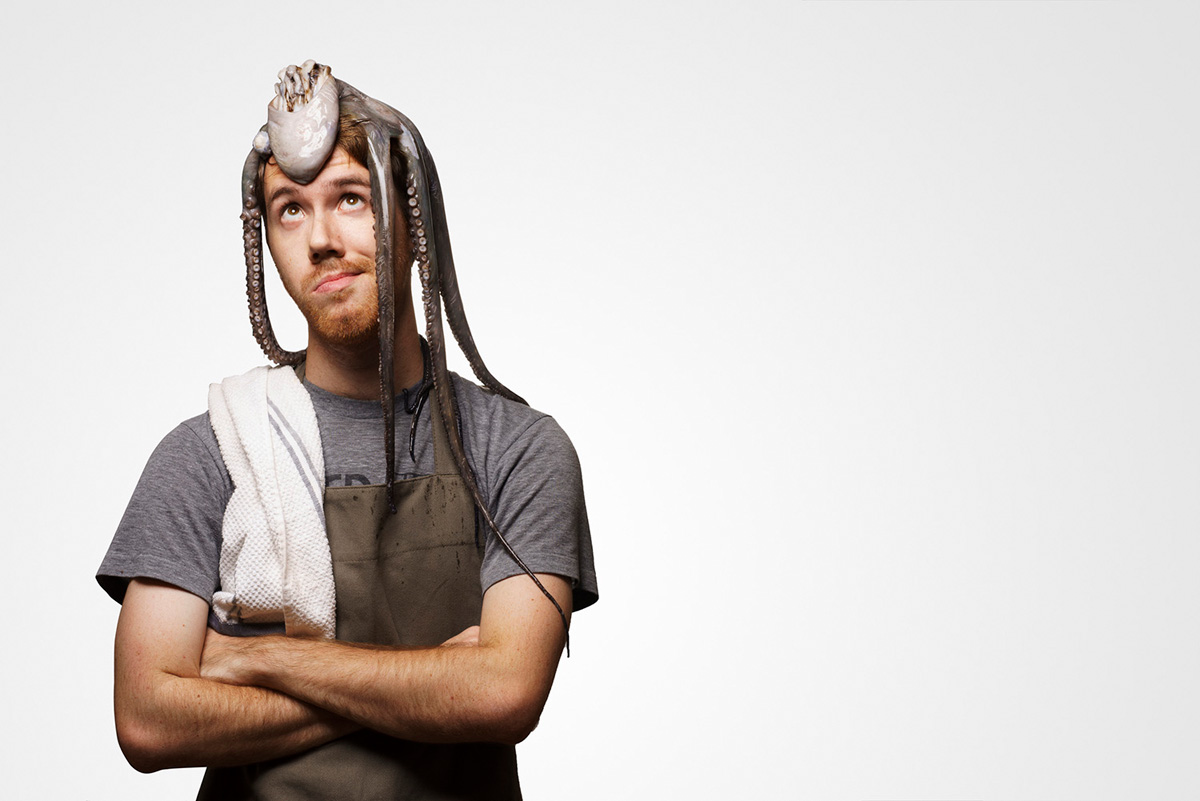
Hello my name is Austin Burke and I am a food photographer in Orlando, Florida. I want to thank Scott and Brad for having me as a guest on the blog and to have the opportunity to share a bit of light on something that I think gets passed over.
Everyone loves to talk about fancy camera gear that we use on a shoot, but what about the other random tools that we use on set? I shoot a lot of food photography and while I always prefer to have a dedicated stylist on set, sometimes those responsibilities fall on me.
So when that happens I make sure to bring my tool box full of random tools that make styling projects manageable.
What’s in the box?
I bring this black toolbox with me on every set in addition to all my other gear. Inside, it contains a variety of easy to find items that I have found helpful when I am photographing food. This box covers most of the items I will need on my shoots, though sometimes I find myself in the garage building custom rigs as well.

Brushes
I keep a large variety of paintbrushes in my kit, all in different sizes, shapes, and texture. I use them for all sorts of things, from adding water or oils to food to make them shine, to brushing on sauces on meats or plates.

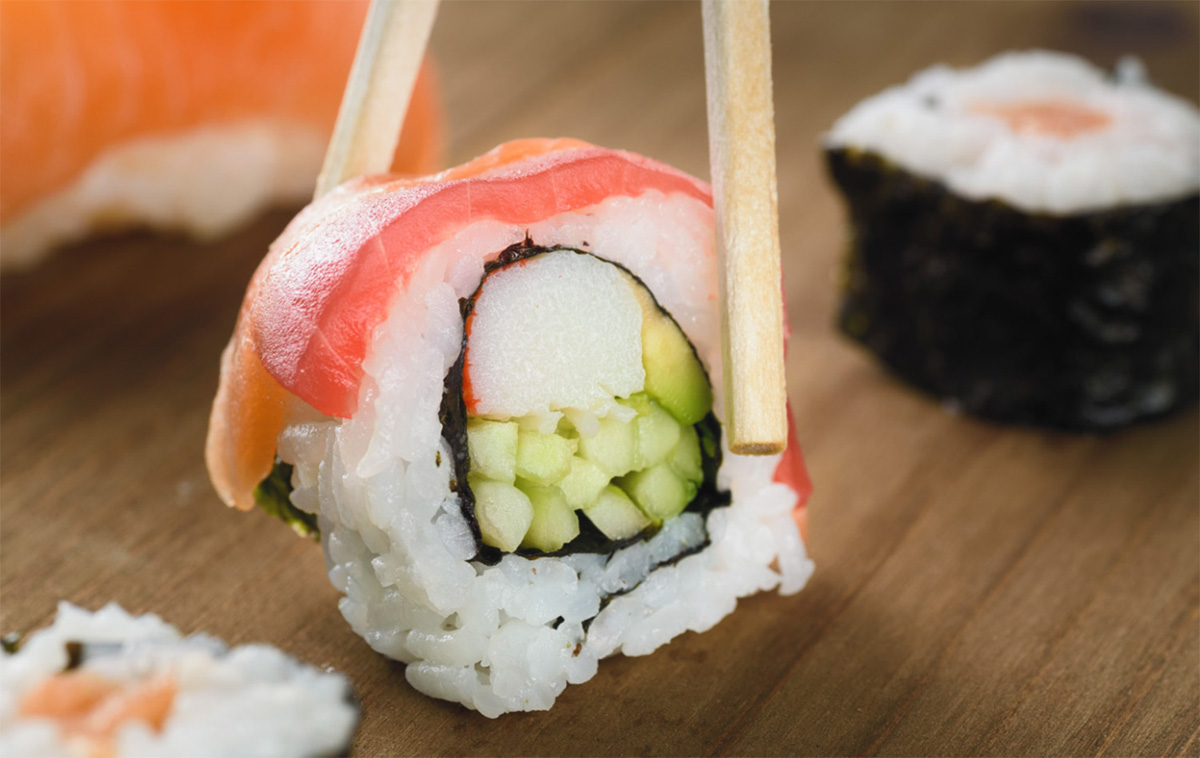
Tweezers & Chopsticks
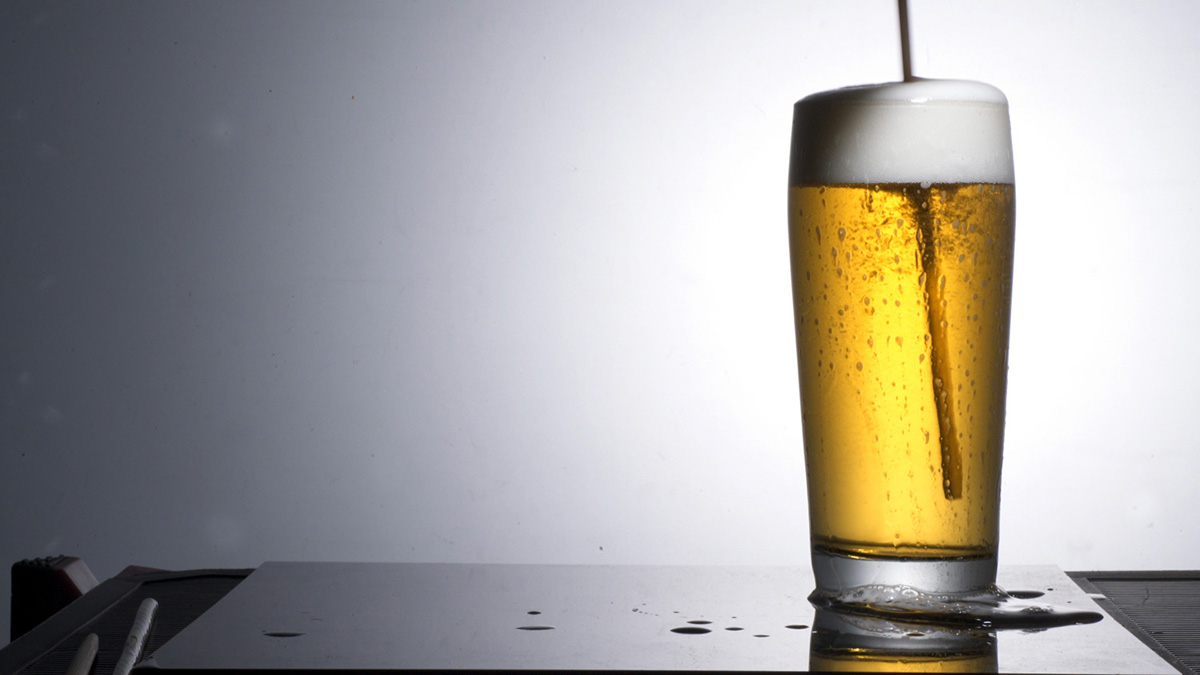
It can be a challenge to style food, specially when some ingredients are the size of small seeds or crumbs. This is where tweezers and chopsticks come into play, being able to grab things with precision that would otherwise be a pain to pick up with your fingers. As an added bonus, wooden chopsticks can be used to stir a beer and make its frothy head reform, helpful when trying to get the perfect shot.
Butane Torch
Need to melt some cheese or toast some edges? That’s where the butane torch comes in handy, and you can find small ones that will easily fit in your kit. You can also break it out to make some creme brulee as well! Alternatively you can use a heat gun when styling food. Both give you a lot of control when working with food to make sure you don’t overcook anything.
Level & Measuring Tape
I always bring a level and measuring tape on every shoot to make sure I can keep track of the placement of where my camera and lights are. I then write all this information down and save it with the image files. The reason for this is if a client ever comes back wanting to shoot another project in the same style as something I have shot for them in the past, or they want the look similar to an image in my portfolio, I can easily recall the setup for that shot. It saves me a ton of time when a client comes back 3 years later wanting the exact same look and makes them happy when I can pull it off.
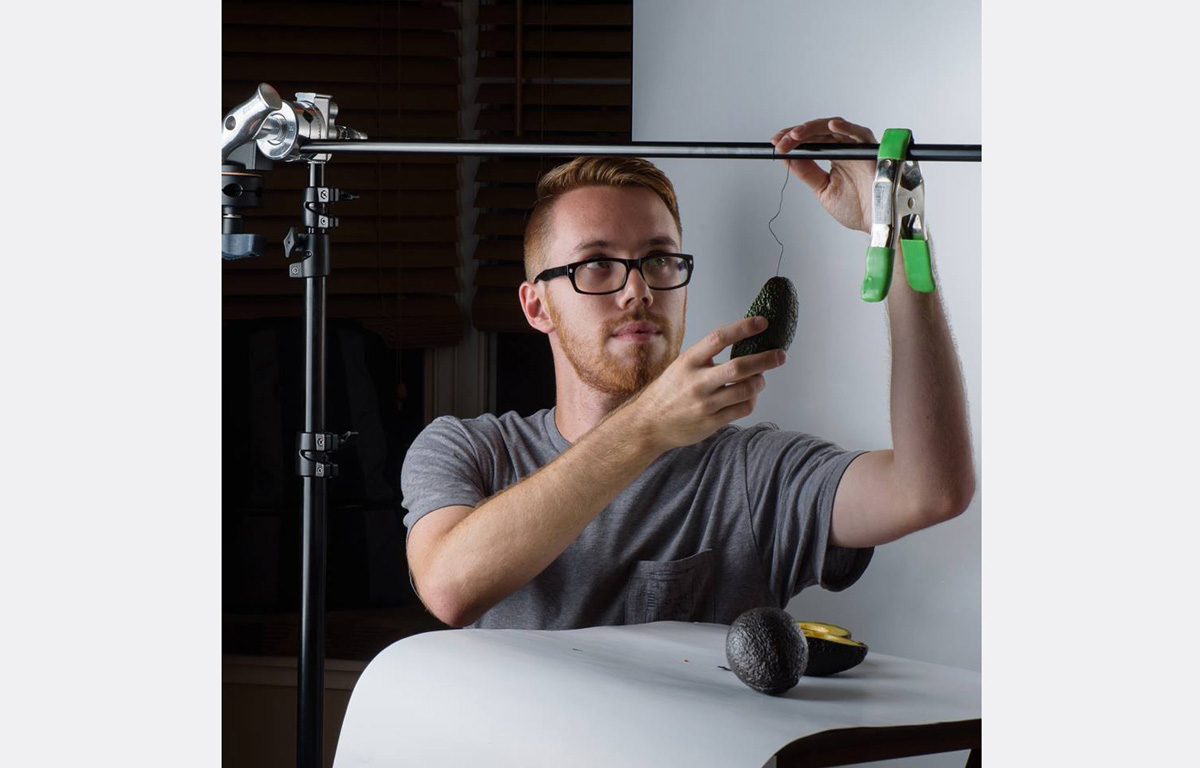
ToothPicks & Brass Wire
Sometimes food doesn’t want to cooperate, and that’s where these guys come in. Toothpicks are great for getting things to stand up and easy to hide in a scene. I find myself using them all the time when working with sandwiches as there are so many ingredients that need to stay still. The brass wire is great for hanging and rigging things up as it’s firm enough to hold things up in the air, but not too firm that you can’t mold into any shape you need. I recommend going for a neutral color wire so it doesn’t cast colors on set and is easy to clone stamp out.
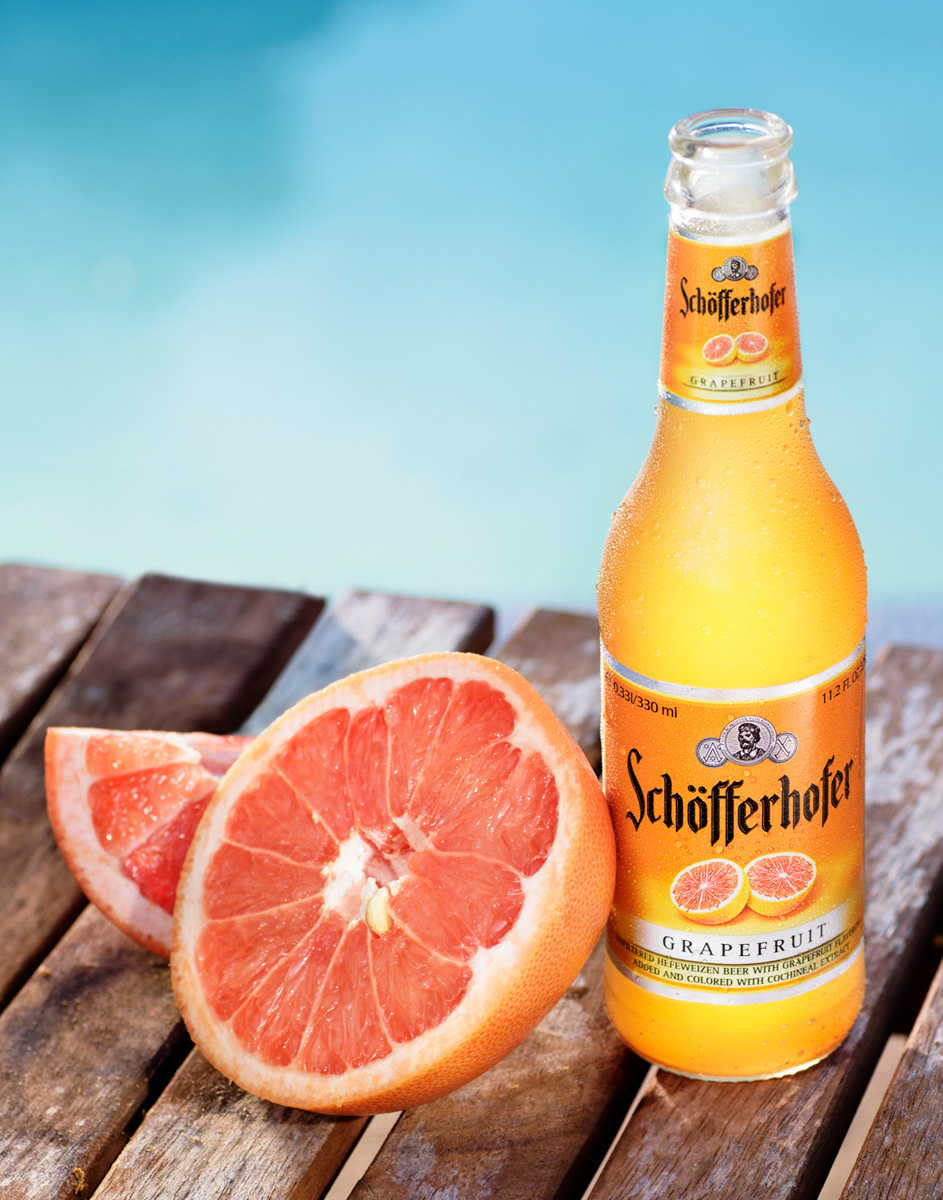
Beverages
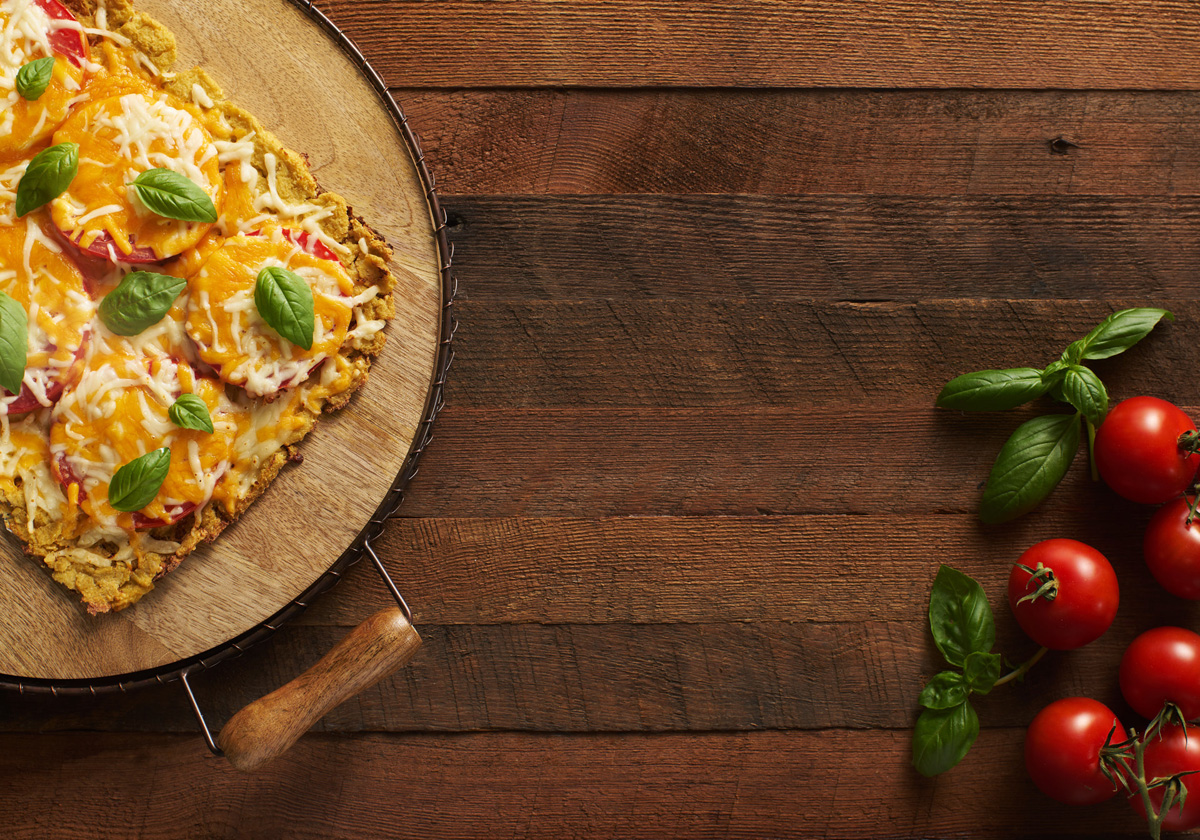
A cold drink goes well with a nice dish, which means I shoot a lot of beverages as well. And just like food, beverages need some help to look their best. The problem with making a drink look cold and refreshing is it doesn’t stay in that perfect state for very long and the ice will begin to melt. That’s where fake ice cubes and ice powder come in handy. And when it comes to fake ice cubes, it’s worth investing in good ones. I use a mixture of hand made acrylic and glass cubes so no one cube has the same look as another.
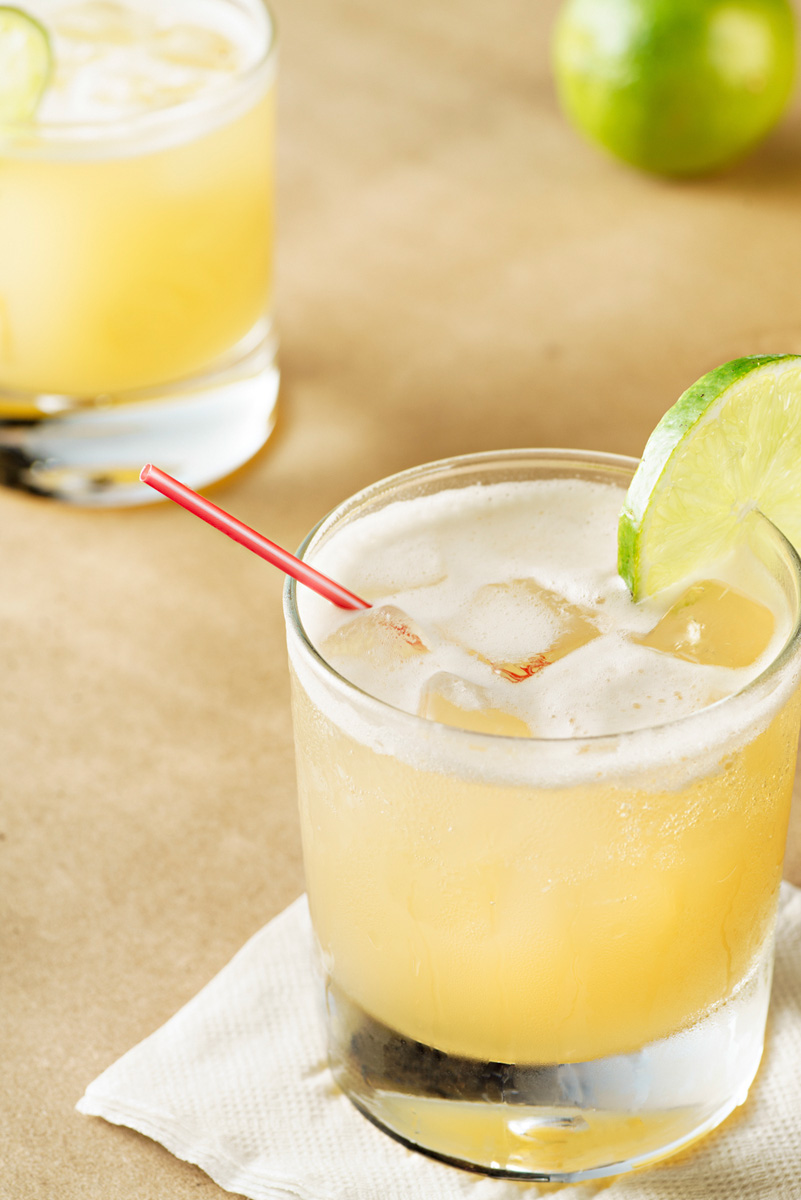
Ice isn’t the only way to make beverages look cold. You can also add some condensation to the glass. For this I find using a 1-part water and 1-part glycerin mixture perfect for condensation on a glass. I apply it using either a paintbrush or a small spray bottle. Lastly when it comes to beverages, I find using some food dye or kitchen bouquet great for getting the perfect color of a liquid, specially when you are shooting splash images.
Lastly we have cotton gloves, one of the most important items in the box. These gloves will help make sure you don’t leave finger prints on plates or glasses that would show up in your image. We wouldn’t want that now!
So I hope this list of items I use on almost every food shoot was helpful. With these tools you can make every dish look as delicious as it really is, which at the end of the day is my job as a food photographer.
What random tools have you ever found yourself using to make a delicious looking photo?
You can see more of Austin’s work at AustinBurke.photography, and follow him on Instagram and Vimeo.
There is so much genius in this post that my mind is like, SO THAT’S HOW THEY DO IT?!?!?!!!!!
wonderful post. Thank you!
-Mark R.
I’m glad I could help shed some light on the subject. It’s always fun to learn ways to handle food specially when working with food stylists. It’s just like photoshop in how there are more than one way to handle things,