

I had so many questions and requests to show how I made those calendar layouts last week using photos from my vacation to Italy, that I’m going to give you a step-by-step on how it was done (and how to make your own).
Now, before I go any further; most of this was done using Apple’s iPhoto application (which comes free with every Mac), and it’s absolutely brilliant for stuff like this. If you’re using a Windows PC, then later in the week I’ll have a separate tutorial on how to achieve a similar look in Photoshop (but it takes a bit more work).
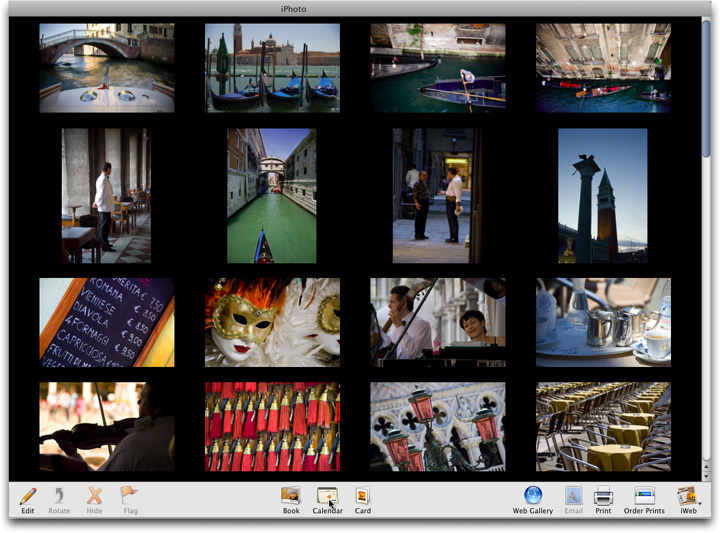
STEP ONE: Import your photos into Apple’s iPhoto application, then create an Album (similar to a collection in Lightroom, or a Playlist in iTunes) by clicking on the + (plus sign) icon in the bottom left corner of the iPhoto window. Name your Album, then drag your newly imported photos into this album. Once your photos are in their own Album (seen above—click for a larger image), click the Calendar button in the toolbar at the bottom of the window (as shown above).

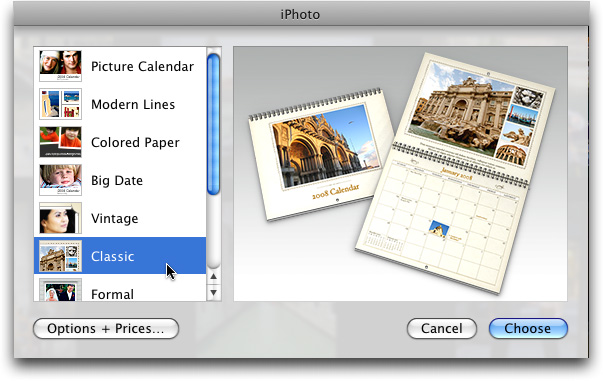
STEP TWO: This brings up the Calendar window (shown above) where you choose which theme you want for your calendar from the list of themes on the left side. I choose the Classic Theme (as seen above), and it shows you a preview of how that style of calendar looks in the main part of the window. Once you’ve chosen Classic, click the Choose button.
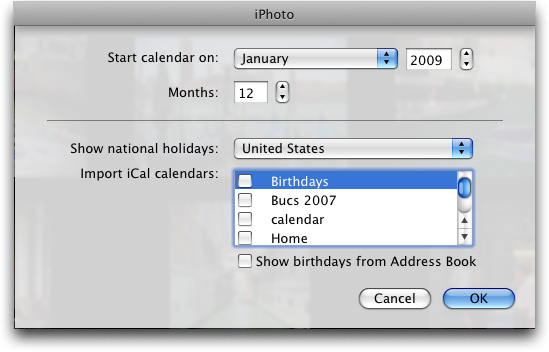
STEP THREE: When you click that Choose button, it brings up a window where you can choose which year and month to start your calendar on (I chose January of 2009 for mine), then click OK.

STEP FOUR: This brings up the Calendar Layout window you see above, with your photos on the left, and the layouts on the right (I scrolled down to March 2009 here, because it had a more typical layout to the ones I used). I usually start by clicking the Autoflow button (in the toolbar at the bottom of the window), which puts all your photos into your calendar randomly. The reason I do this is simple; sometimes one or more months just happen to look great (it’s just sheer luck if it happens, but usually one or two actually look really good. The rest need work).

STEP FIVE: Here’s one of the months as put together by Autoflow. Not too shabby. You can switch position (top and bottom) by just clicking and dragging one photo and dropping it on the other. You can see small previews of the others pages in the column on the left side.
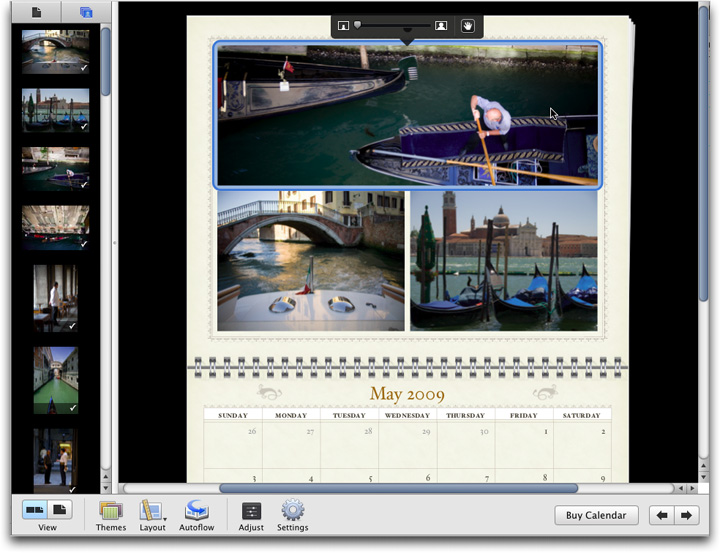
STEP SIX: If you want to do your manual layouts, click the photo stack icon at the top right of the lefthand column, and it shows your photos again. Now you can just drag and drop your photos right into the layouts. To edit the cropping or scale of any photo, just click on it and a little edit bar appears above the photo (seen at the top photo above).
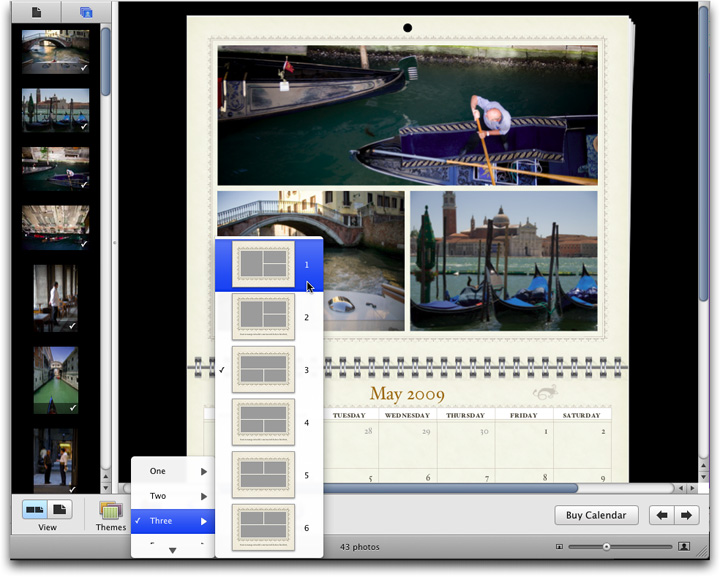
STEP SEVEN: For each page you get to choose how many photos you want on that page, and then when you click on the Layout button, a menu of different layouts appears (some with room for text captions, but I chose the ones without), as shown here (you can choose to have from 1 to five photos on any given page, with different layouts for each). You just choose the layout that looks best to you, and the calendar automatically adjusts the position of any photos already on that page. It also automatically adjusts when you drag a vertical photo into a horizontal layout grid. Pretty slick!

STEP EIGHT: Once I had the layout and photos the way I wanted it, I took a screen capture of that window in iPhoto by pressing Shift-Ctrl-Command-4 and dragging out a selection over the area I wanted to capture. Then I went over to Adobe Photoshop and pasted that copied capture into a New Document (as shown here). The background layer is white, so I clicked on the background layer, filled it with black, then clicked back on my pasted layer (layer 1, as shown here).
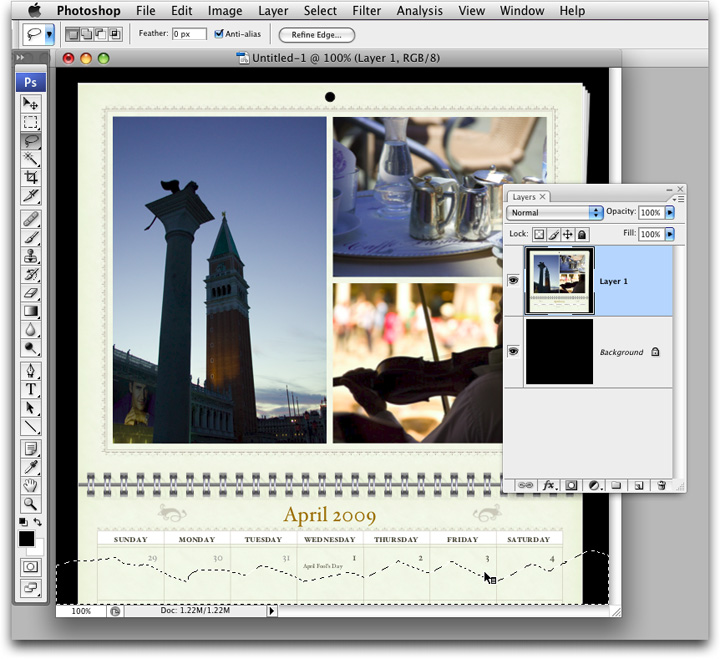
STEP NINE: Next, I grabbed the Lasso tool in Photoshop, and drew a jaggy selection around the bottom 1/8 of the calendar (as shown here), so it would looked kinda like a ripped edge.

STEP 10: Now just hit Delete, and then Deselect, and you wind up with the look you see above. Now I just saved the file as a JPEG and posted it to my blog (of course, I did seven or eight months, but you get the idea).
So, that’s the technique I used to show the photos in a different way on my blog. However, once I had the photos all in place, I could just click the “Buy” button in iPhoto and it uploads your images to Apple, and they print a beautiful calendar (you get to choose the cover image, too), and ship it to you in just days. I’ve done a number of these calendars in the past (mostly as gifts) and they always come out much better than I expected. There ya have it—-look for the Photoshop version later this week.