

Hello hello hello! Here I am again, right here on Scott Kelby’s Photoshop Insider, I’m Dave Williams and you’ll find me here every Tuesday – you lucky, lucky people!
This week I’m coming at you hard and fast with a top tip on improving what may otherwise be a ‘bog standard’ sunset shot that uses just one simple process, one layer, and three adjustments. Let’s go!
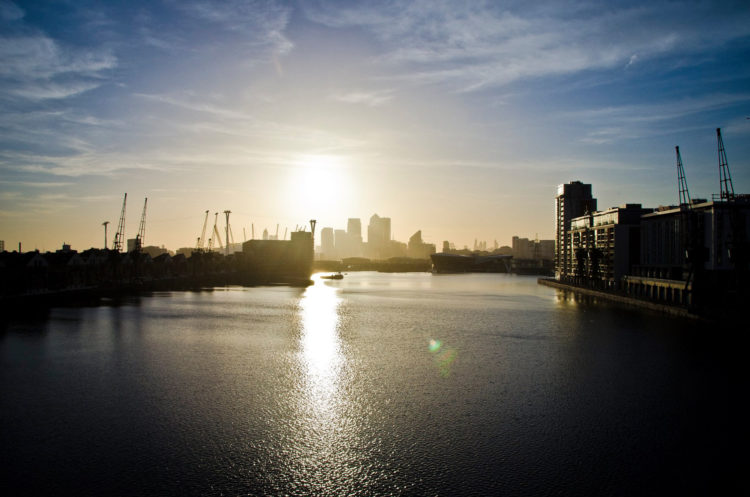
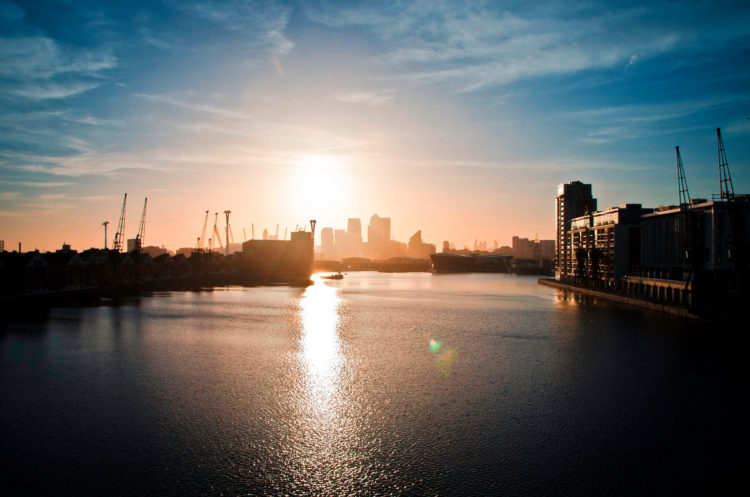
First off, load up your sunset shot into Adobe Photoshop. I’ve gone for a ‘bog standard’ one that I shot a couple of years ago in London’s Docklands.
Next up, on the Adjustments Panel on the right select the Channel Mixer.
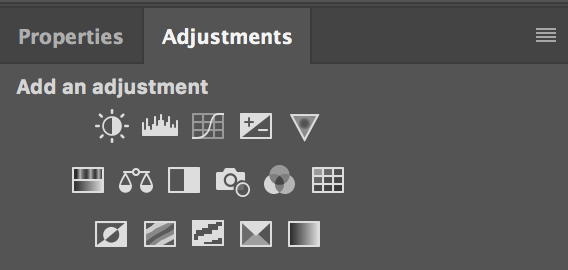
In there you’ll notice that the Layers Panel takes care of itself and you are able to adjust the Red, Green and Blue Channels.
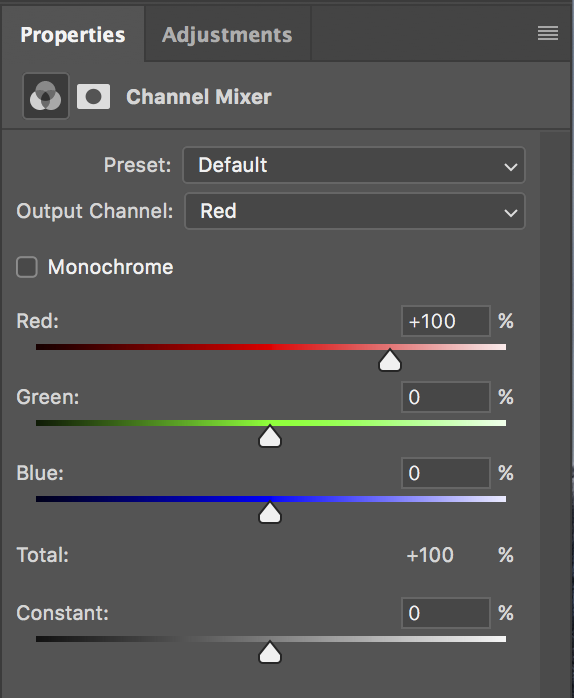
One tip at this point for any future use of this tool is that ideally your Total should add up to 100% with whatever setting you make in order to maintain a balanced colour.
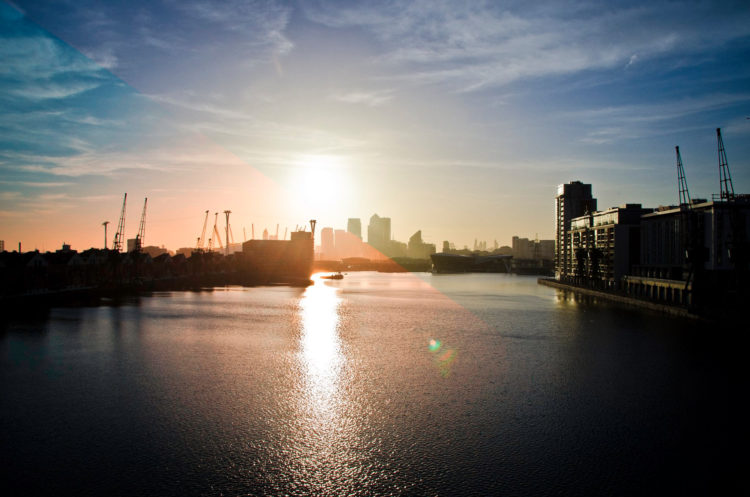
In this panel to give our sunset some oomph we can change the Red to 200%, the Green to -50%, and the Blue to -50%.
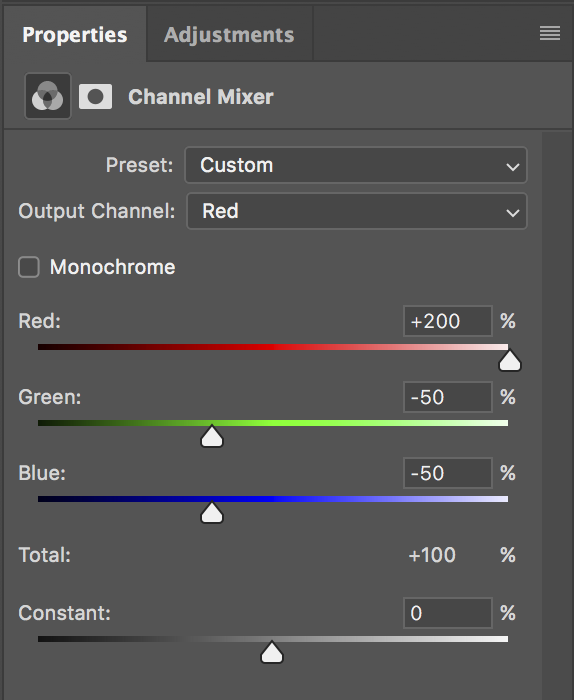
That’s it. Literally that is it. The red tones have had a punch and the overall sunsetty feel (definitely the correct professional term) is enhanced enough to have made a positive impact but not so much that it has become unrealistic.
There are of course plenty of other things we can do to make this image more presentable, and now we’ve got the tones right we can get to work on it.
I hope you found the useful, it’s a very quick and easy tip with a great impactive affect! Here’s a side by side for comparison: –
As always, feel free to aim your questions my way and show me how you get on!
Much love
Dave

Excellent Tip Dave! Thank you for sharing. I’ve always sort of stayed away from this particular layer, but the 100% tip you gave is an easy one to remember and one that “Will” be used!!!
Glad you like it Michael! Let me know how you get on!