PROGRAMMING ALERT: Today at 11:00 AM ET I’m doing a free webinar – everyone’s invited, that takes you on a journey about your own photography, and has the power to take your work to the next level. It’s based on a series I’ve been running once a week on my blog, and today’s Webinar is the culmination of that. It’s live; I take your questions on the air, and you’ll totally dig it. Here’s the link to watch the live stream (and comment) on my Facebook page – 11:00 AM ET today.
I get this question a lot, and so I thought I’d share how I think about the two; how they are different, and when to use them. Both of these sliders enhance or bring out detail in the image, but they do it in very different ways. One isn’t really better than the other, because depending on the image, Clarity might look better on one, and Texture might look better on the next. It’s great to have the flexibility of having both, but here’s a look at how using them can affect the overall tone of your image.
TEXTURE SLIDER
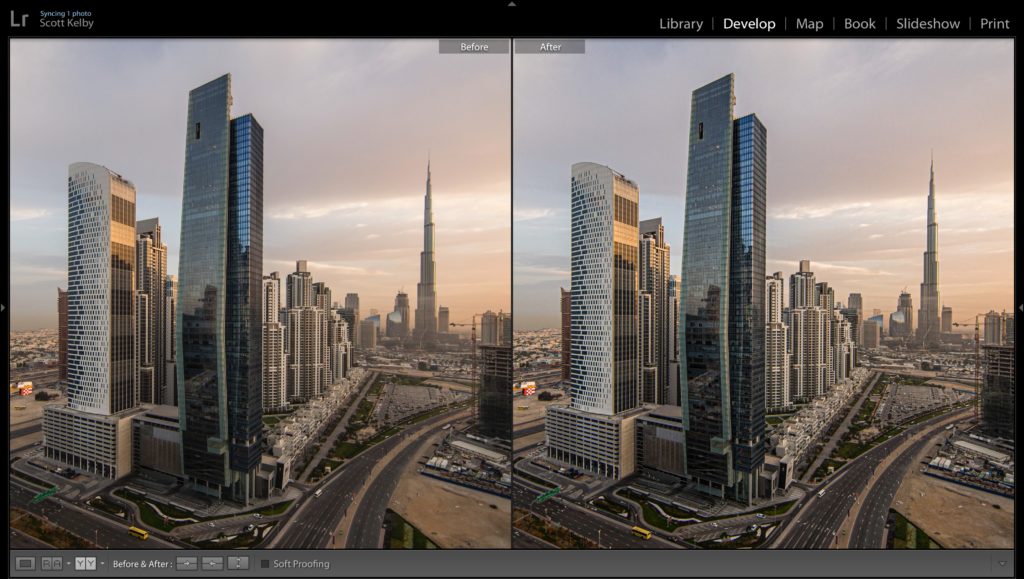
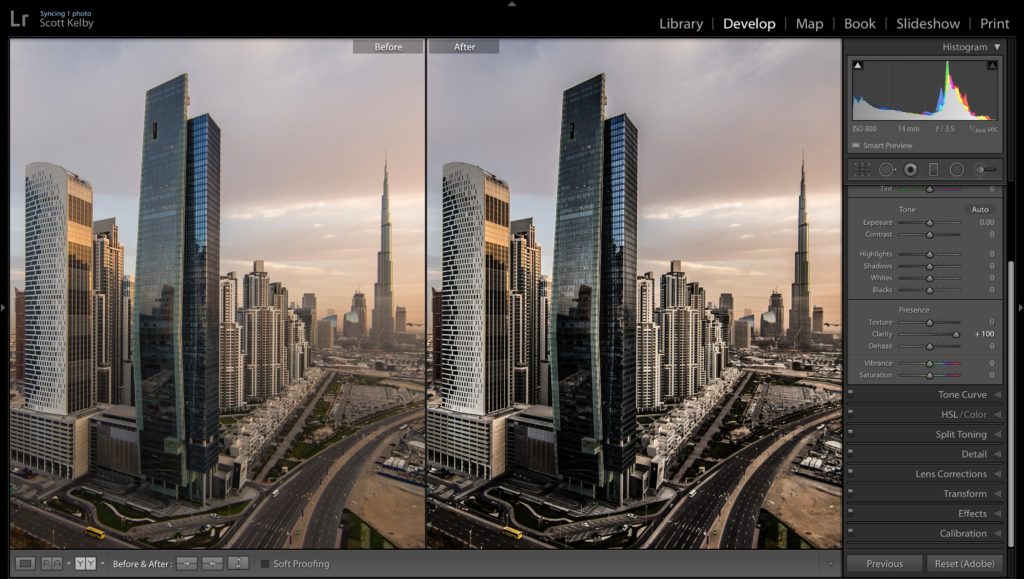
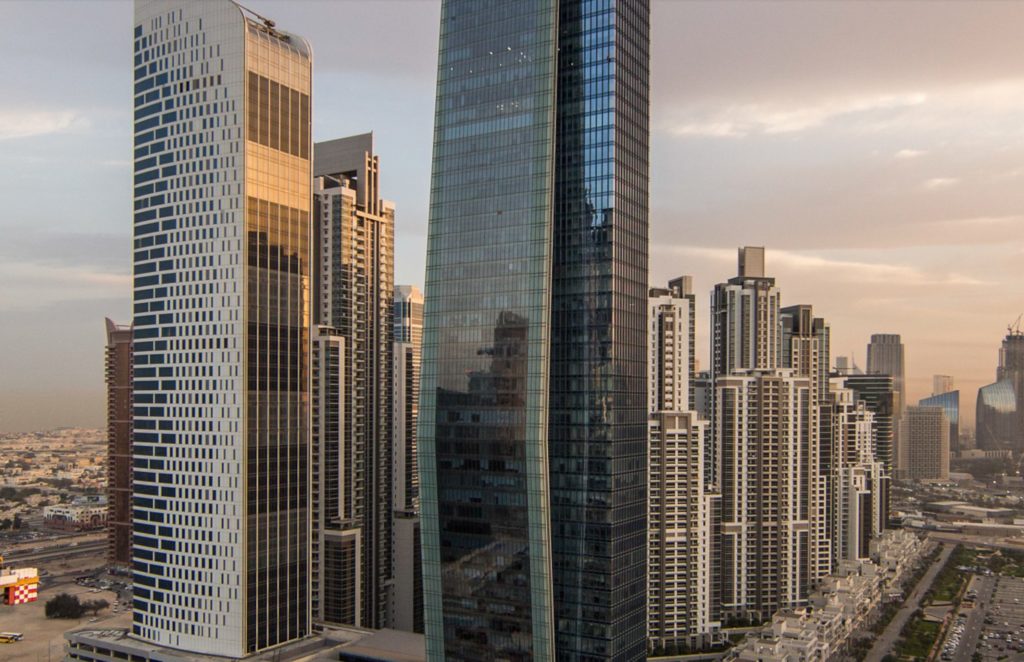
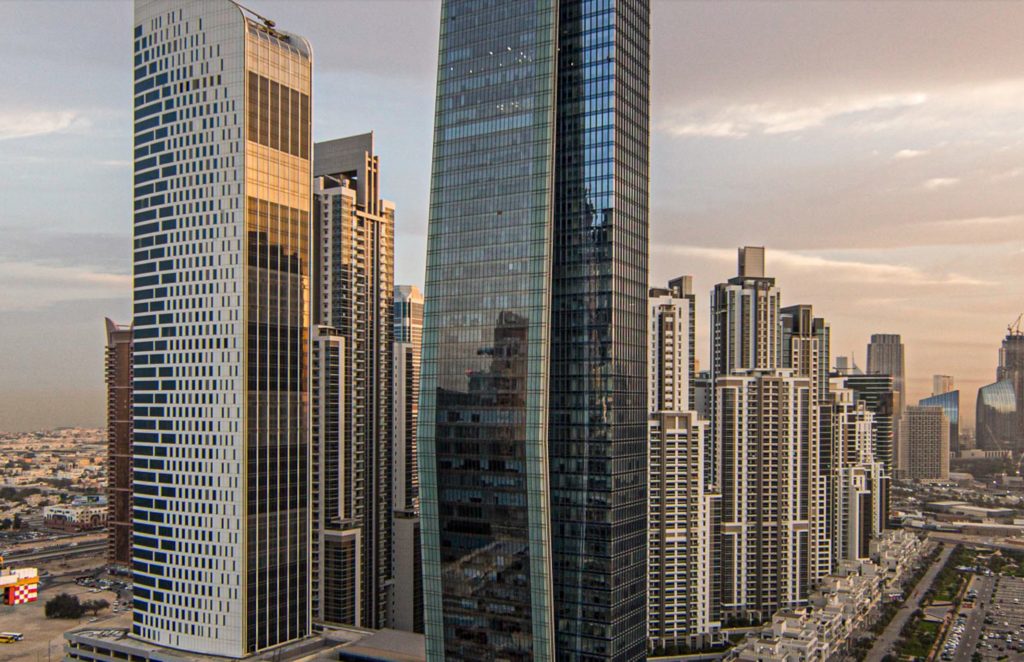
When I want to bring out the texture in my image, but I don’t want it to mess with the overall tone too much (or mess with the fine detail areas of the image), I reach for the Texture slider. For example purposes, here I’m cranking up the Texture amount up way higher than I normally would (to +100). In the image you see above, the ‘Before’ photo is on the left, and the ‘After’ photo on the right has the Texture cranked up to +100. You can see that even though I cranked the Texture all the way up, the overall tone of the image is fairly similar. The medium-sized detail has been enhanced throughout the image (a bit hard to see at this size, but very obvious when you see it full size on your own images). That enhanced detail is especially visible on the buildings in front. Everything has more definition and detail, but nothing looks too crazy.
CLARITY SLIDER
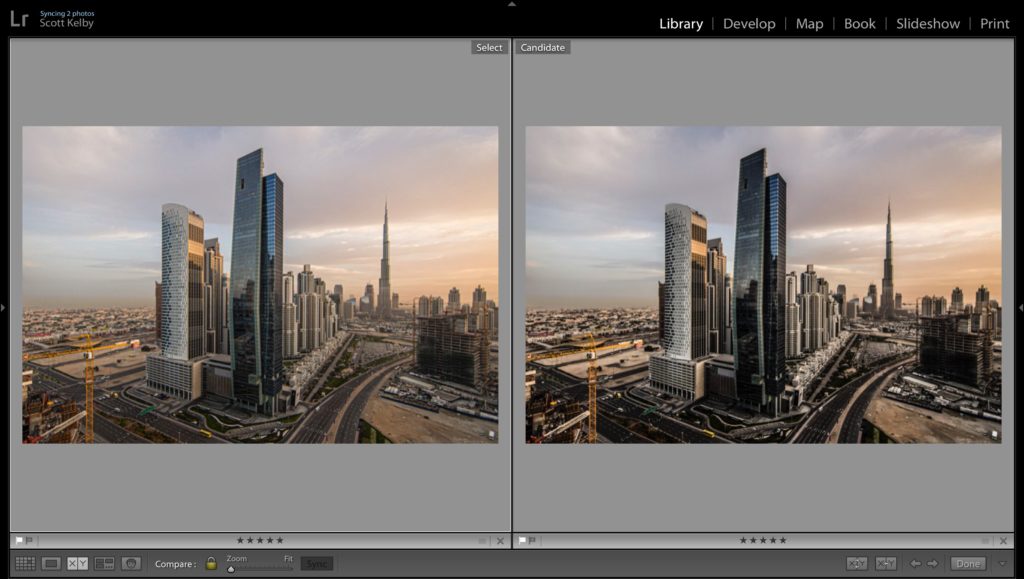
When I want to bring out detail, and I want things like metal, glass or water to really “pop” I grab the Clarity slider. Here’s the Clarity slider cranked up to +100, and you can see how contrasty the image has become. The dark areas are much darker and the brighter midtones are brighter, too. The overall tone and color saturation of the image
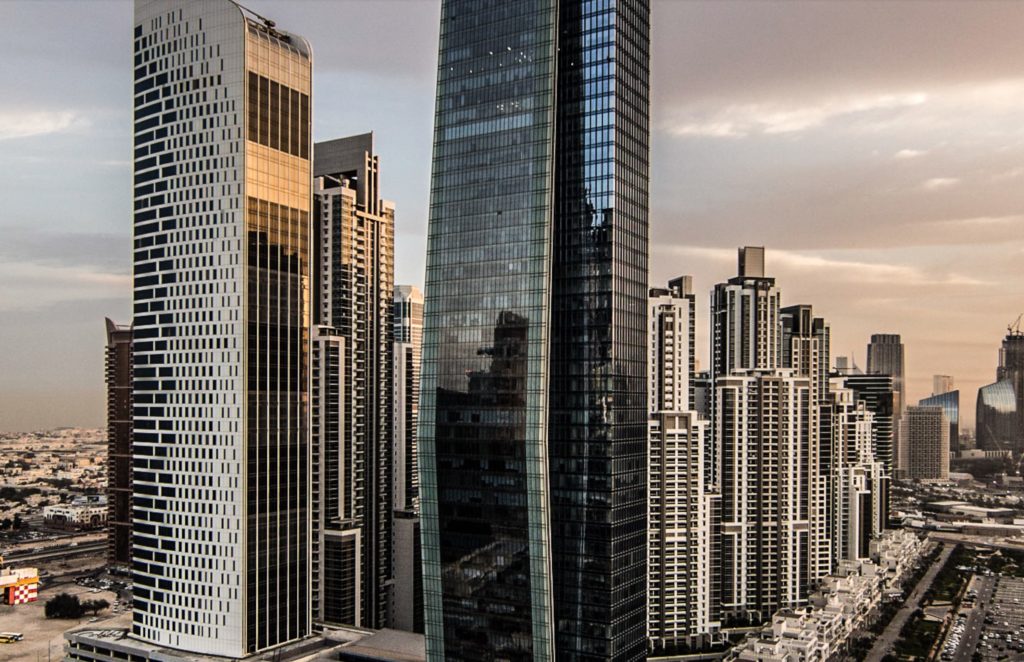
The Takea way
The big takeaway here is how much Clarity
I also find that I don’t need to add as much Texture amount to bring out detail as I would with the Clarity slider. I don’t want to say it’s more powerful — maybe it’s just more sensitive. I also often use the two together by dragging the Texture
Hope you found that helpful.

I know we mentioned the launch of this class last Thursday here on the blog, but I’m getting such wonderful feedback on this new course (btw: you don’t have to have Profoto lights to get a lot out of the course), that I wanted to share some of the initial feedback. We’re getting comments like:
“This was so good – it answered so many questions for me. Seeing the amount of trial and error that went into this shoot was incredibly helpful.”
“Thanks Scott, one of the best yet.”
“Your real life problem solving approach has a bit of that Joe McNally style.”
“I’m in the midst of it, and I agree that it’s very good. I’m a long-time Profoto user.”
“Awesome Class Scott & Team! It shows how much work goes in to a picture. What would me frighten most, is all the black walls and curtains… Hard to light. Was so trilled to see how you made it work! Cool!”
Here’s a link to the course. If you’re not a KelbyOne Pro member, you can join now with a monthly subscription for $20 and watch this course (and ALL the rest of the incredible classes in our library). Of course, you can cancel anytime (but make sure you watch the class first). :)
Have a great Monday everybody. Stay inside, stay safe, and keep moving forward so when this awful virus is behind us, we’re in a position to really take things to the next level. :)
-Scott