

[Editor’s Note: If you’re interested in taking a landscape photography workshop with Ramtin Kazemi and Scott Kelby next month in the Canadian Rockies, there’s a registration link and a discount code at the end of this post!]
5 Tips To Help Us All Make Some Awesome Landscape Photos This Winter
Hey Everyone,
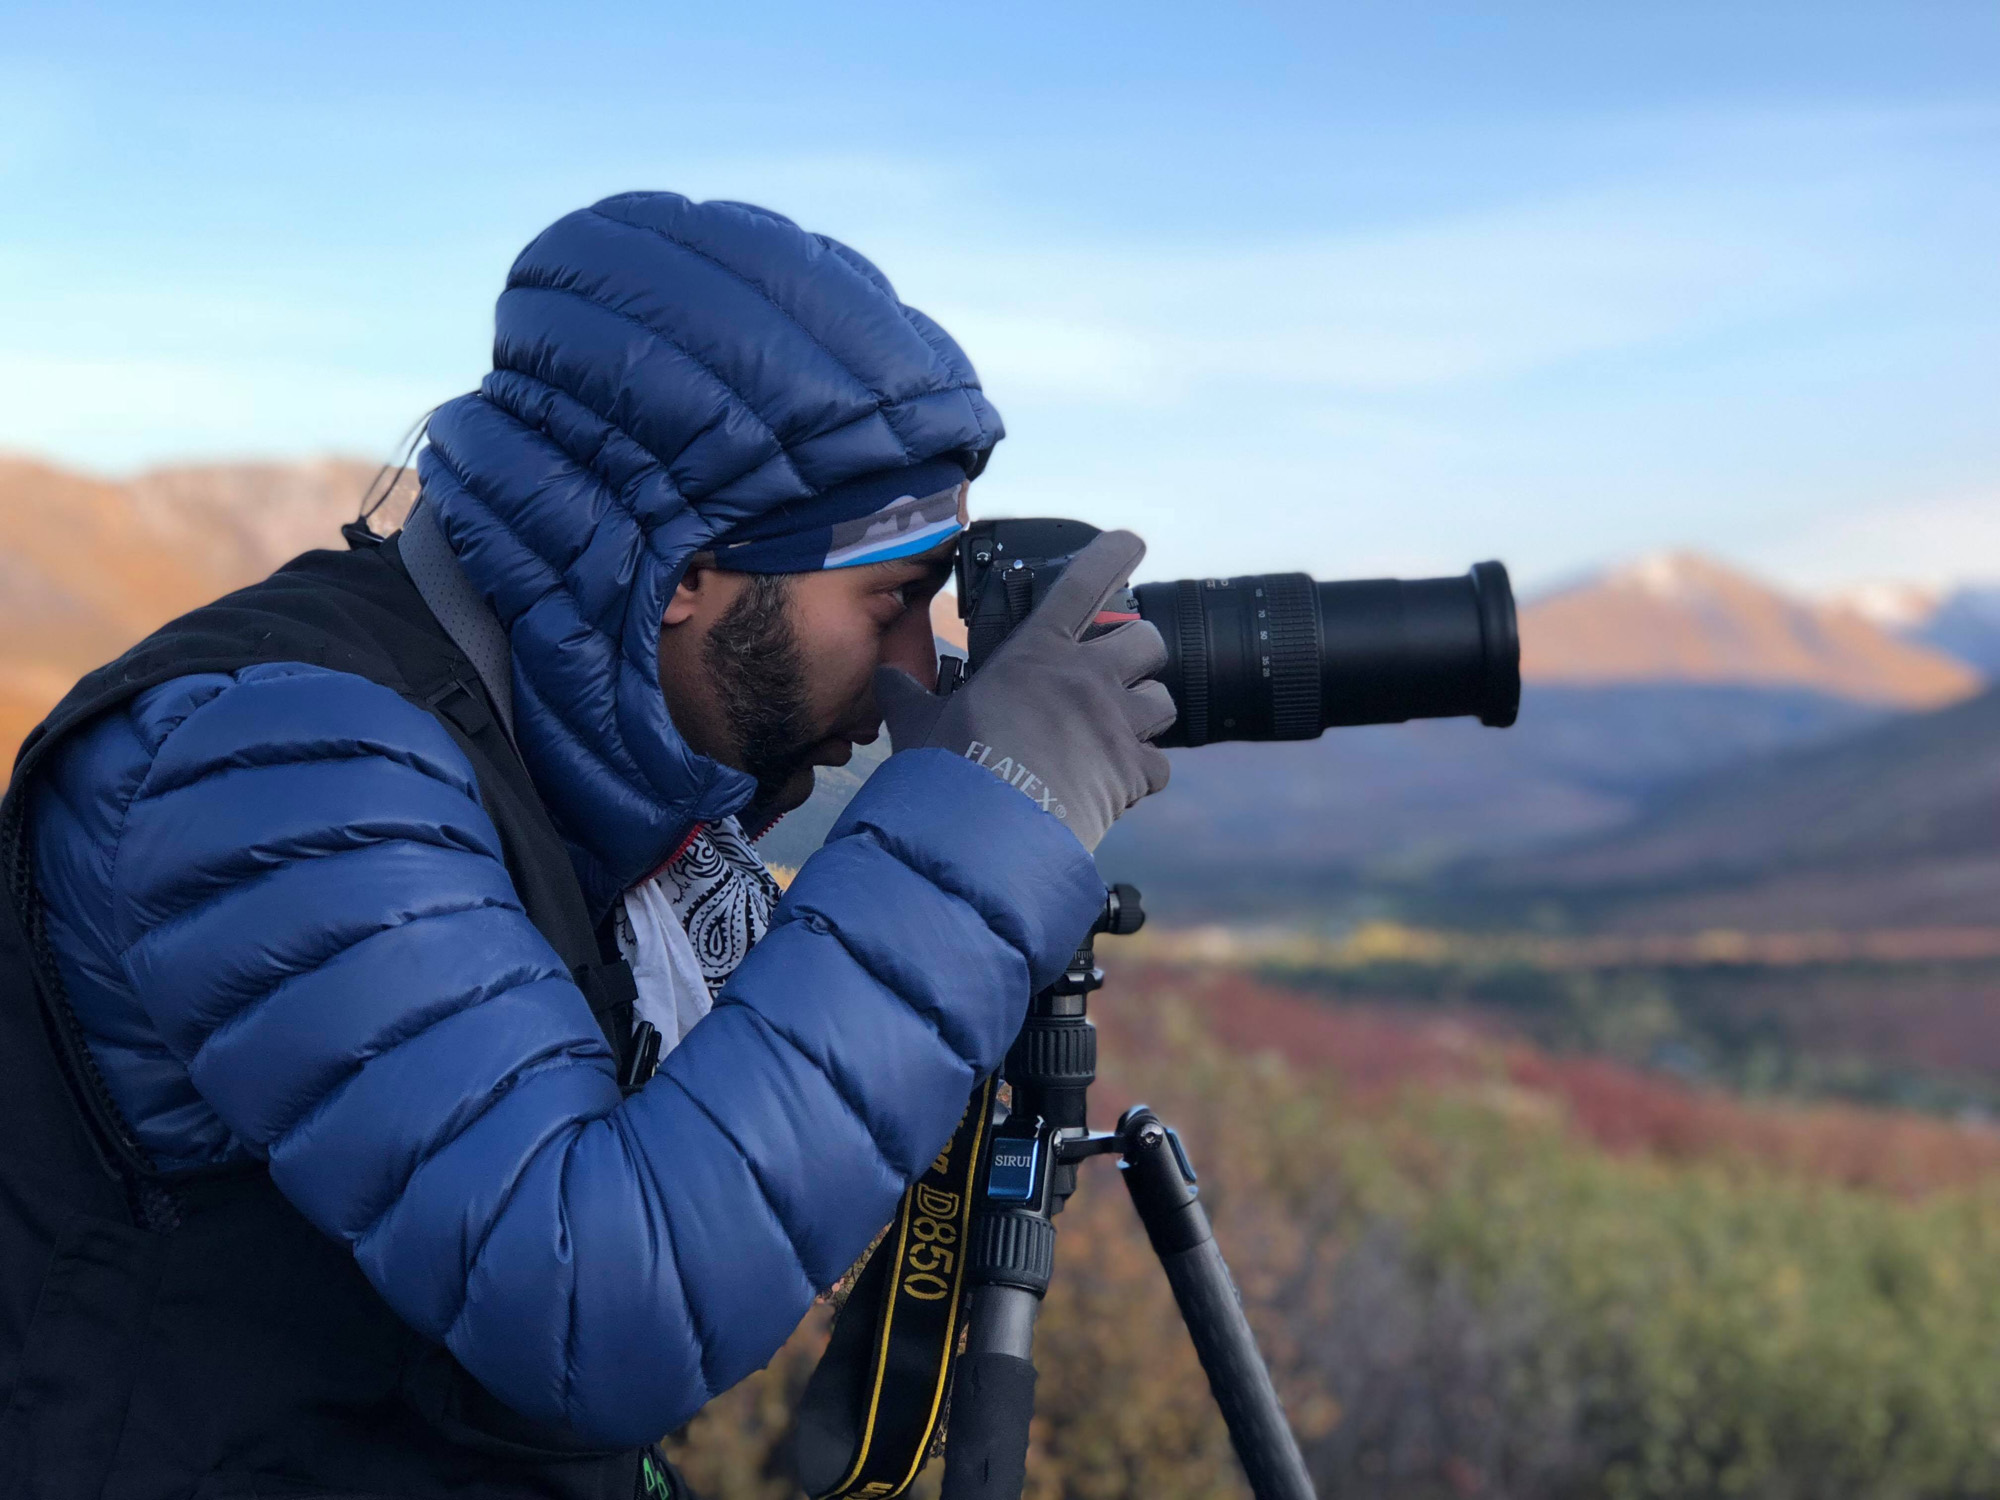
Ramtin Kazemi here! Just wanted to share some tips with you all about making the most of your landscape photos if you have a minute.
We’re all on the go. More and more people are traveling the world because of the transportation and technology that’s available to us now. As photographers, we want to capture and share its beauty with everyone. I don’t blame us; it’s what we’re born to do. But, in order to get the photograph that is unique and has your signature on it, we must venture out.
Places like Iceland have increased their tourists and visitors by millions. The thing about these locations is that the same composition has been shot a million times. This is why I venture out to find the right spot with unique compositions and photographic opportunities. The best part about this is that some of these locations aren’t hard to get to at all. In fact, some of my best shots in my portfolio that are my personal favorites were shot literally 5 minutes from where everybody else stood. All you need to do is to put a little bit of extra effort into it with your composition which I’ll get to in a sec but, first planning is a big part of successful landscape shoots yet not enough people talks about it.

1) SCOUTING AND PLANNING BEFORE YOU SHOOT
Scouting and planning is the start of a successful landscape photograph. As landscape photographers, our main light source is the sun (or moon) and the weather has a huge impact on when and where we can shoot. I sometimes spend days walking around before I even get my camera out. It takes time, passion and patience
In order to scout a location properly, we must understand some key elements. First, we have to figure out when and where we’re going. Seasons change things dramatically, so once we figure out what our goals are, we can decide when to travel. For example, if you wanted to have wild flowers in your foreground with snow-covered mountains in the distance in Switzerland, you might want to go there late spring/early summer. Or if you wanted to photograph the Northern lights in the Yukon, the best time to travel is winter and the shoulder seasons around winter.
Let’s say that you know where and when to travel. Next step would be to understand the light and the sun/moon. Where and when does the sun rise and set? What about the moon? Wait, don’t worry, there’s an app for that! I personally use Photo Pills. It gives me all the information that I need, including the position of the Milky Way, stars and the moon at a given time. And use Google Earth! Even Google maps is a very useful tool because you can see exactly where you’ll be standing and which way you’ll be facing when it’s time to shoot.
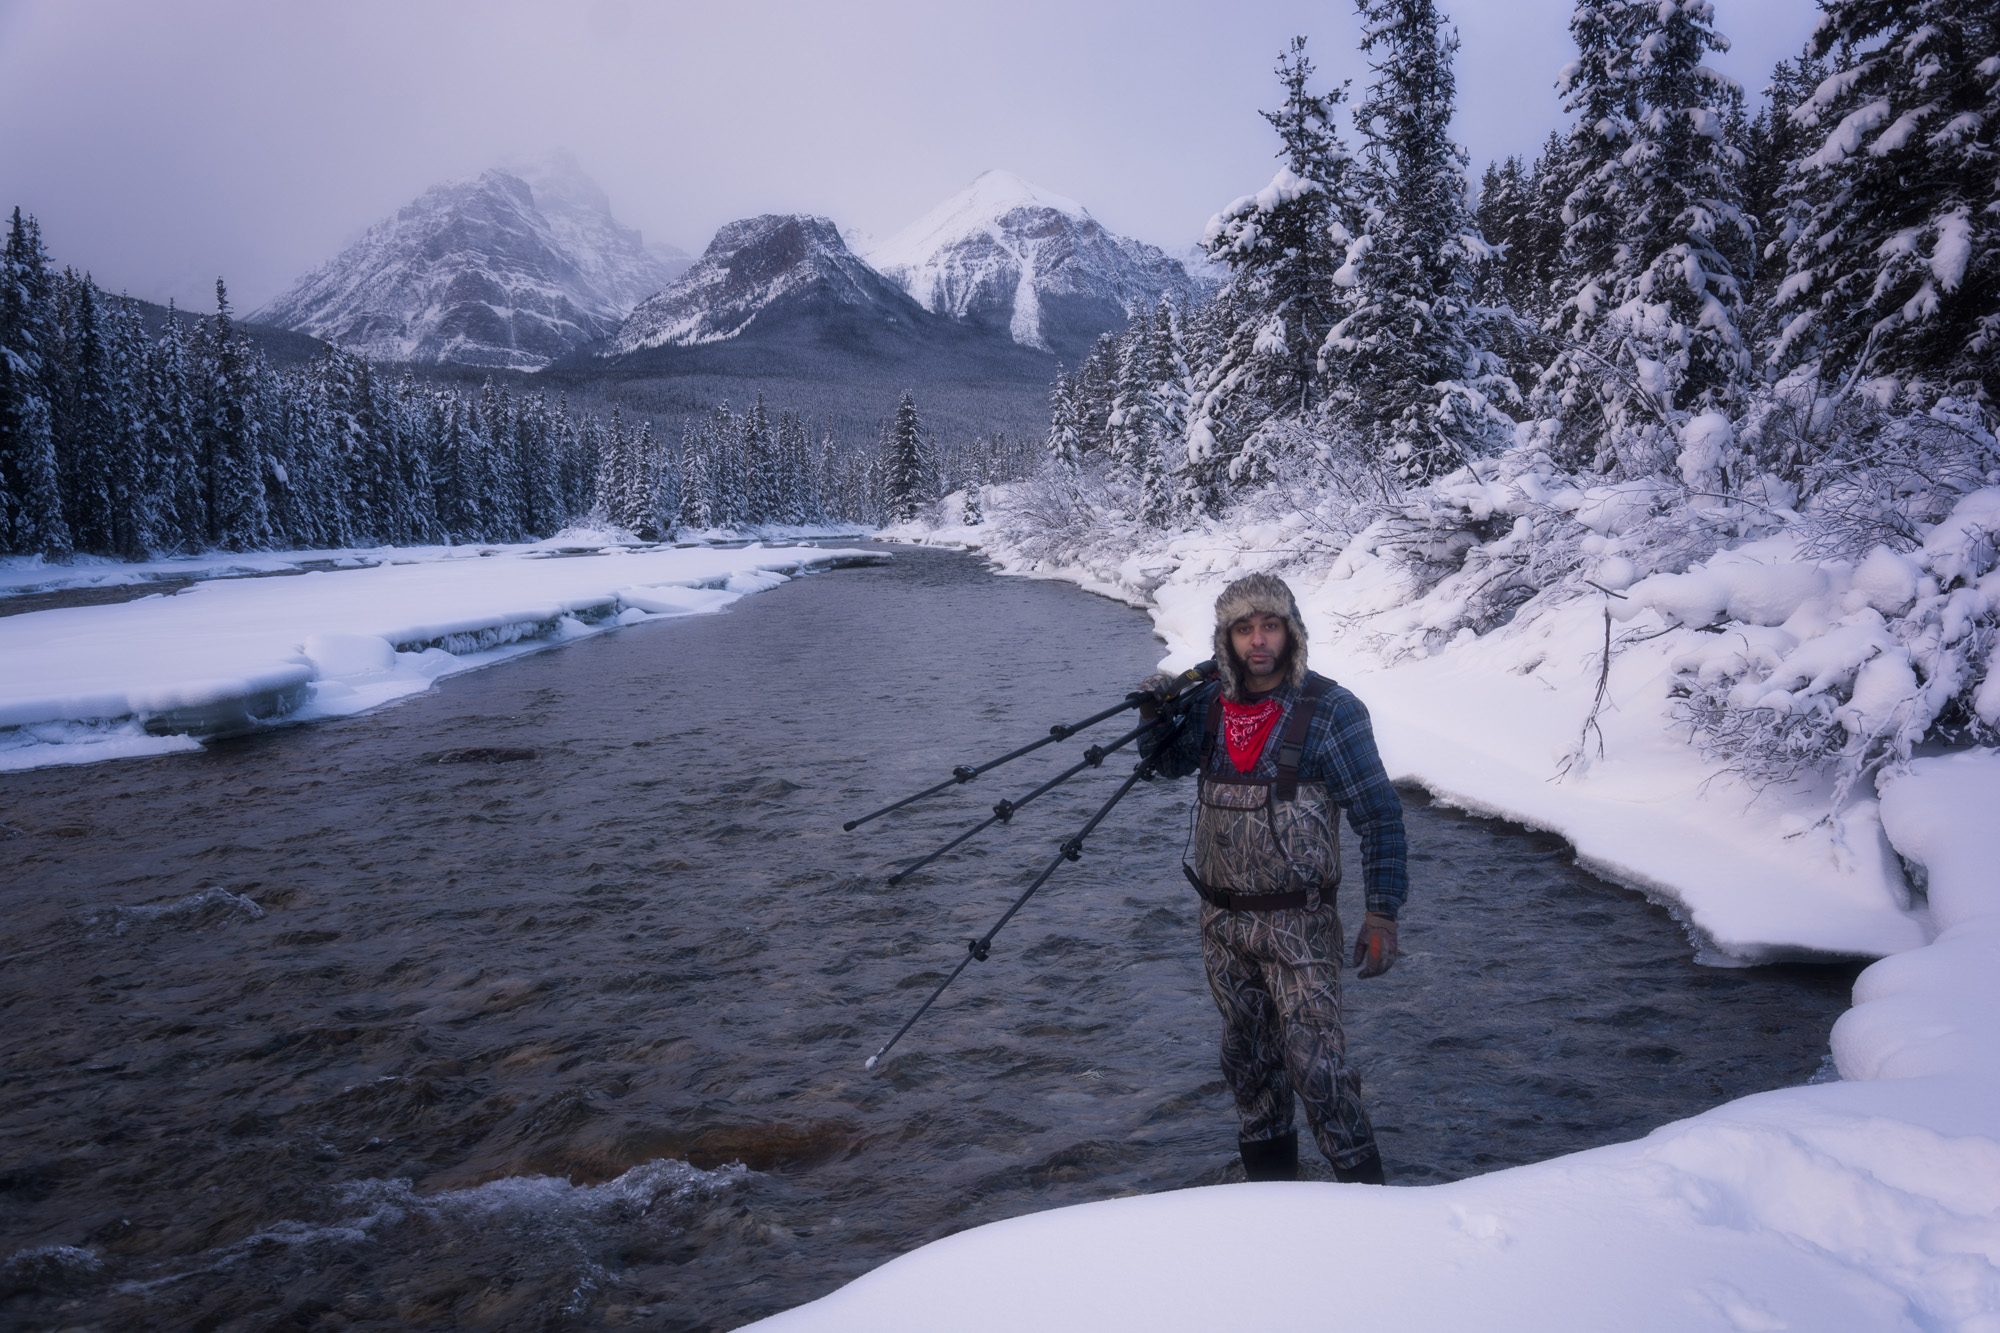
Next, I need to talk about dressing appropriately for weather. It might sound silly, but these details are very important and, believe it or not, some of the most common mistakes are silly ones. So, understanding the location, position of the moon, sun and stars, understanding weather and cloud formations at a given time of year, preparing both your body and your soul, and finally studying your composition and your spot before you put your tripod down.
Once all is set and you are on location in the field, then it’s time to figure out where you’re going to position your tripod. Use your camera’s viewfinder and walk around until you’re happy with a composition using the tips that I’m going to give you below.

2) COMPOSITION IS KEY
While planning is important, I’m gonna share the secret to a great landscape. It really is the most, and I mean the MOST, important and the foundation of a good photograph; Composition. While composition in landscape photography can be very intimidating and confusing at first, especially when using ultra-wide lenses on a full frame sensor, there are tricks you can do to help. The mistake that most of my students make 90%+ of the time is including too much. When first learning about composition, I mastered that you have to keep it simple. The only way to keep the foreground with less clutter is to get close to your subjects. There are lots of things to keep in mind when it comes to composition like leading lines, patterns, shapes, transitions, etc. This doesn’t mean that your photograph must have all of those elements in it. All you need is a strong leading line that leads your eyes to the subject in the background.
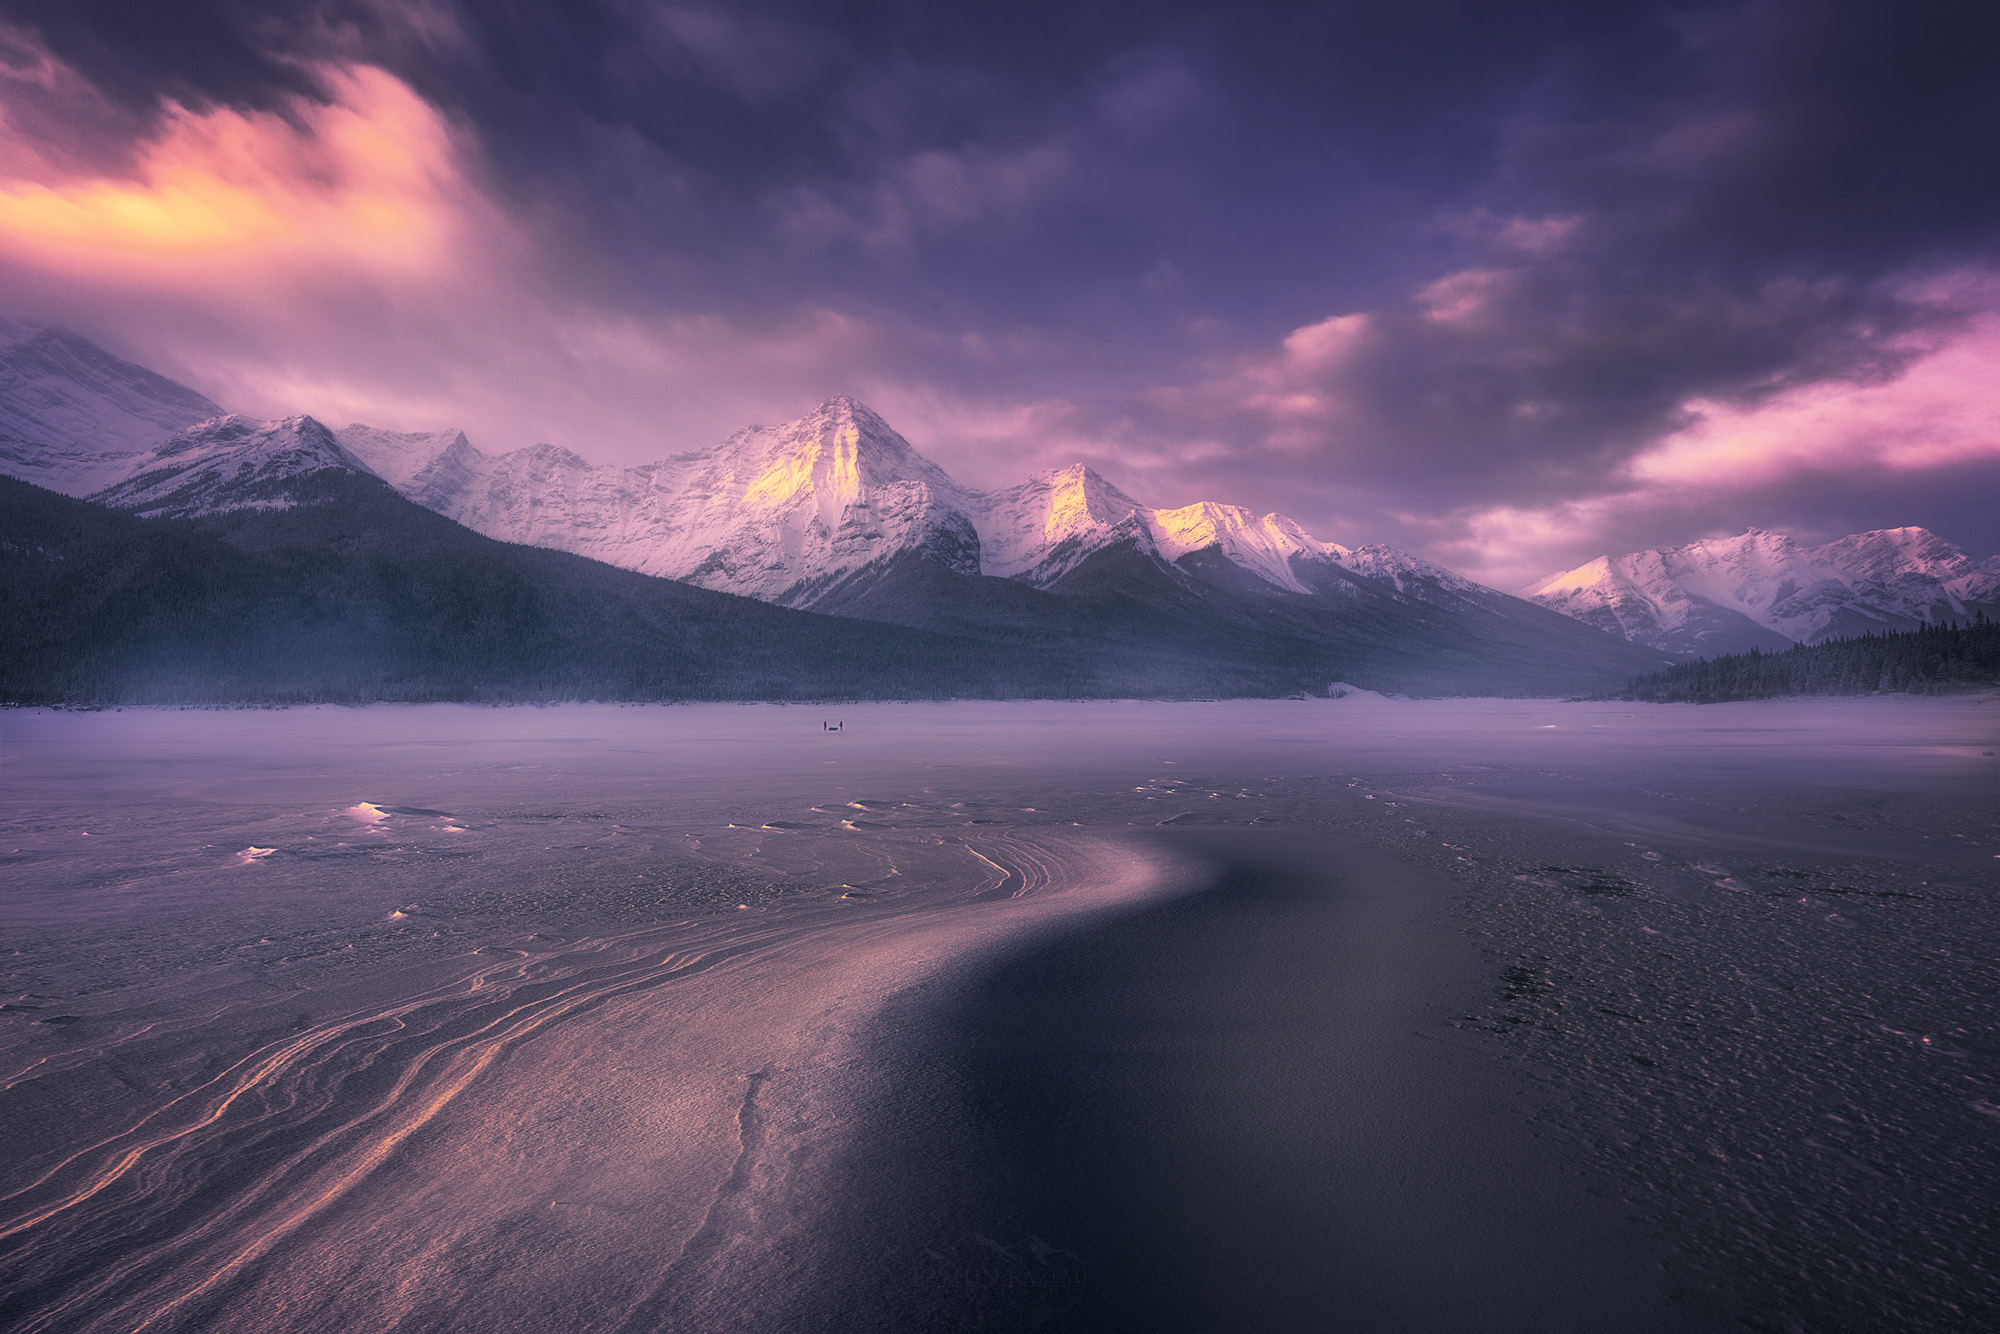
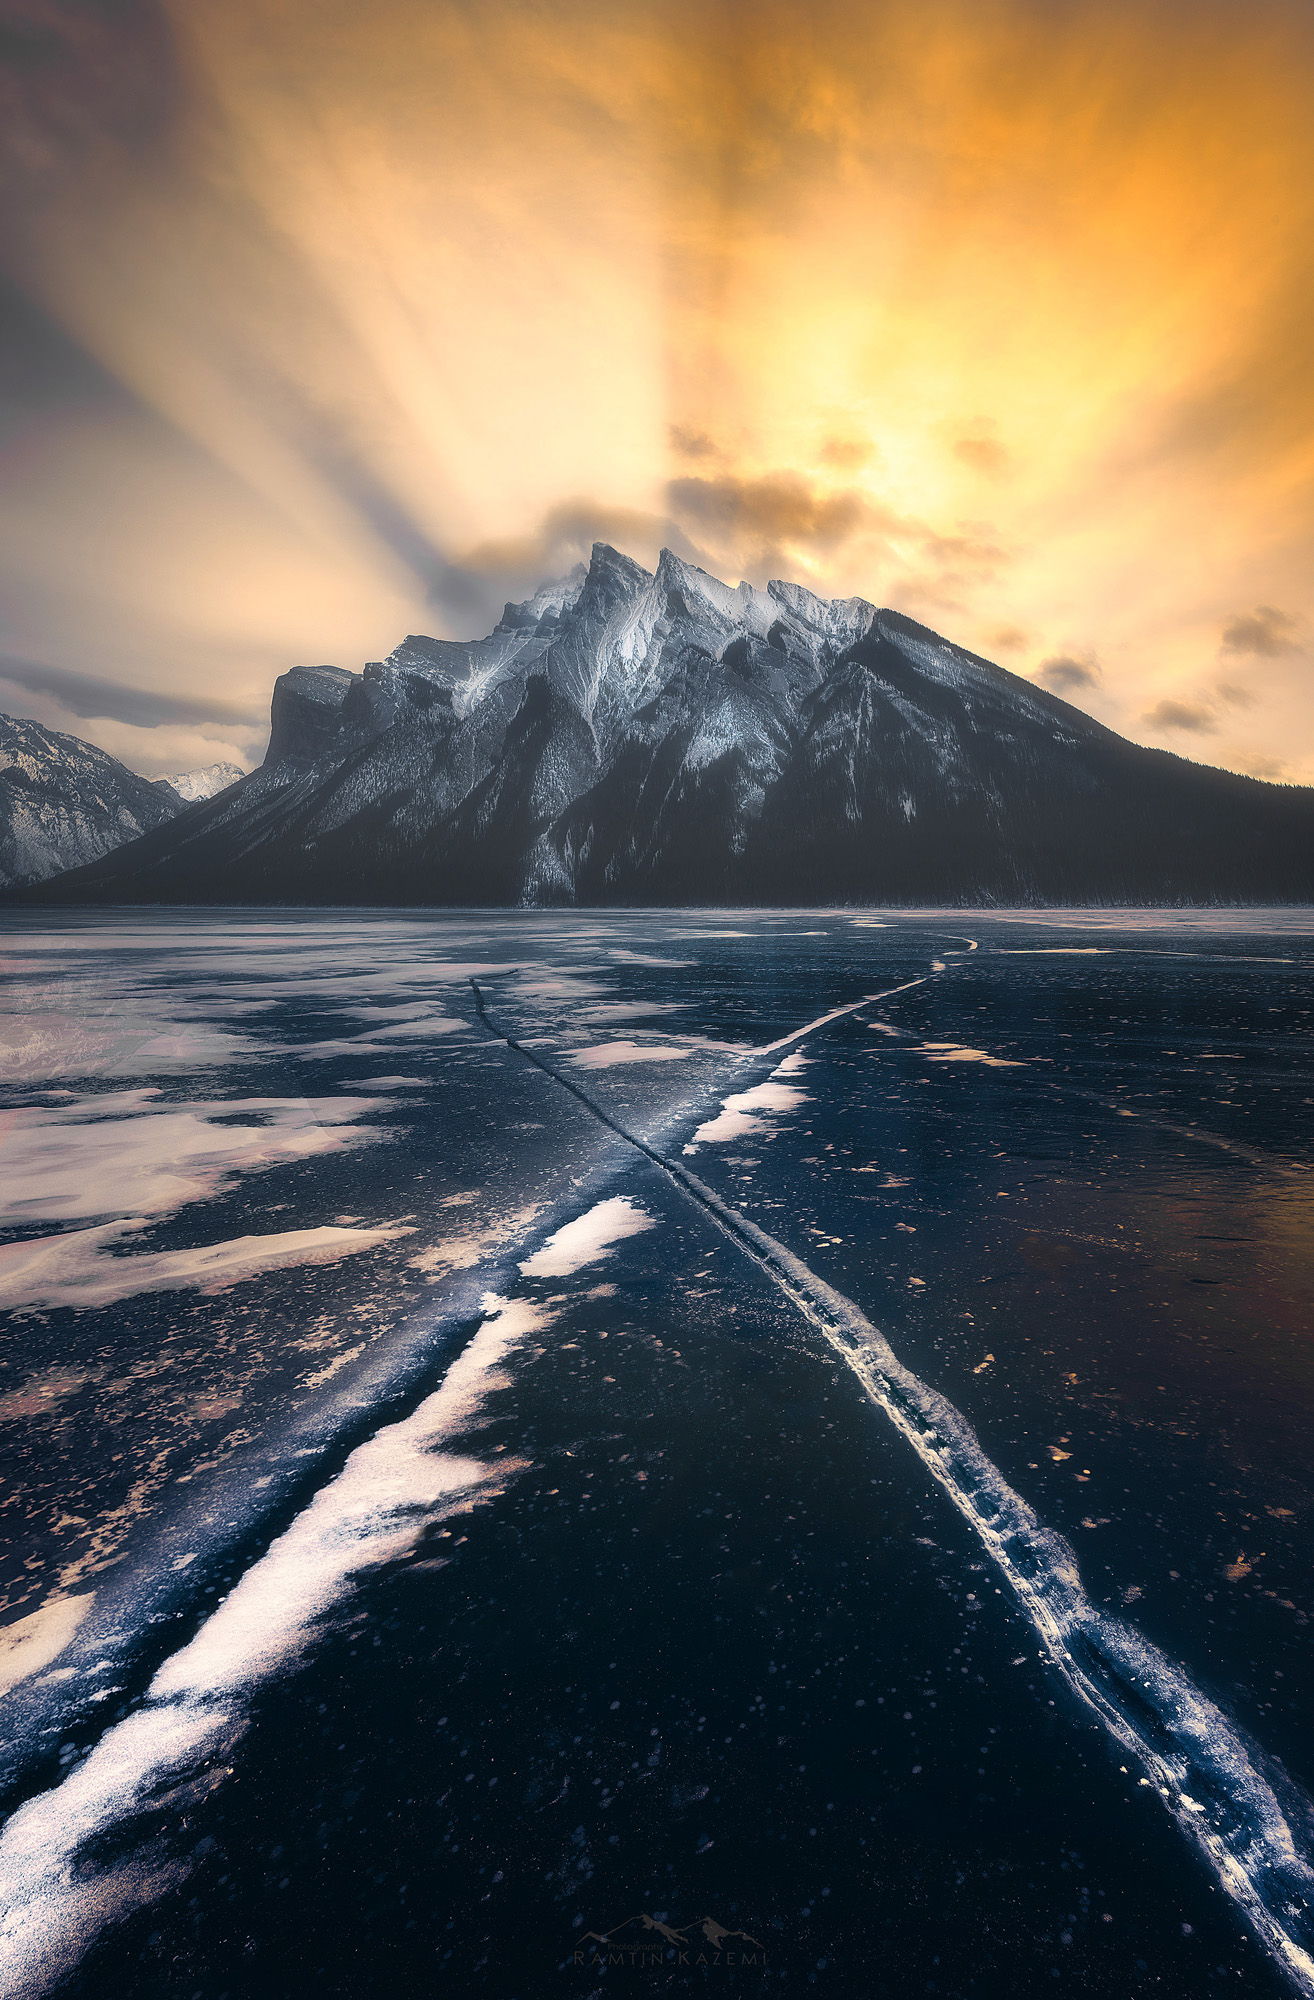
For example, you can see in the shot above, that I kept the foreground very clean, I only used the snow bank as my leading line which is kind of an “S” curve. “S” curves are VERY effective, as long as you don’t have too many distracting elements around them.

The frozen lakes in the Rockies in winter are PERFECT for this because they are usually very clean, but there are tons of lines that can be found. I’ve also highlighted all the leading lines that I could find in the composition so you can see what I had in mind when framing this shot.
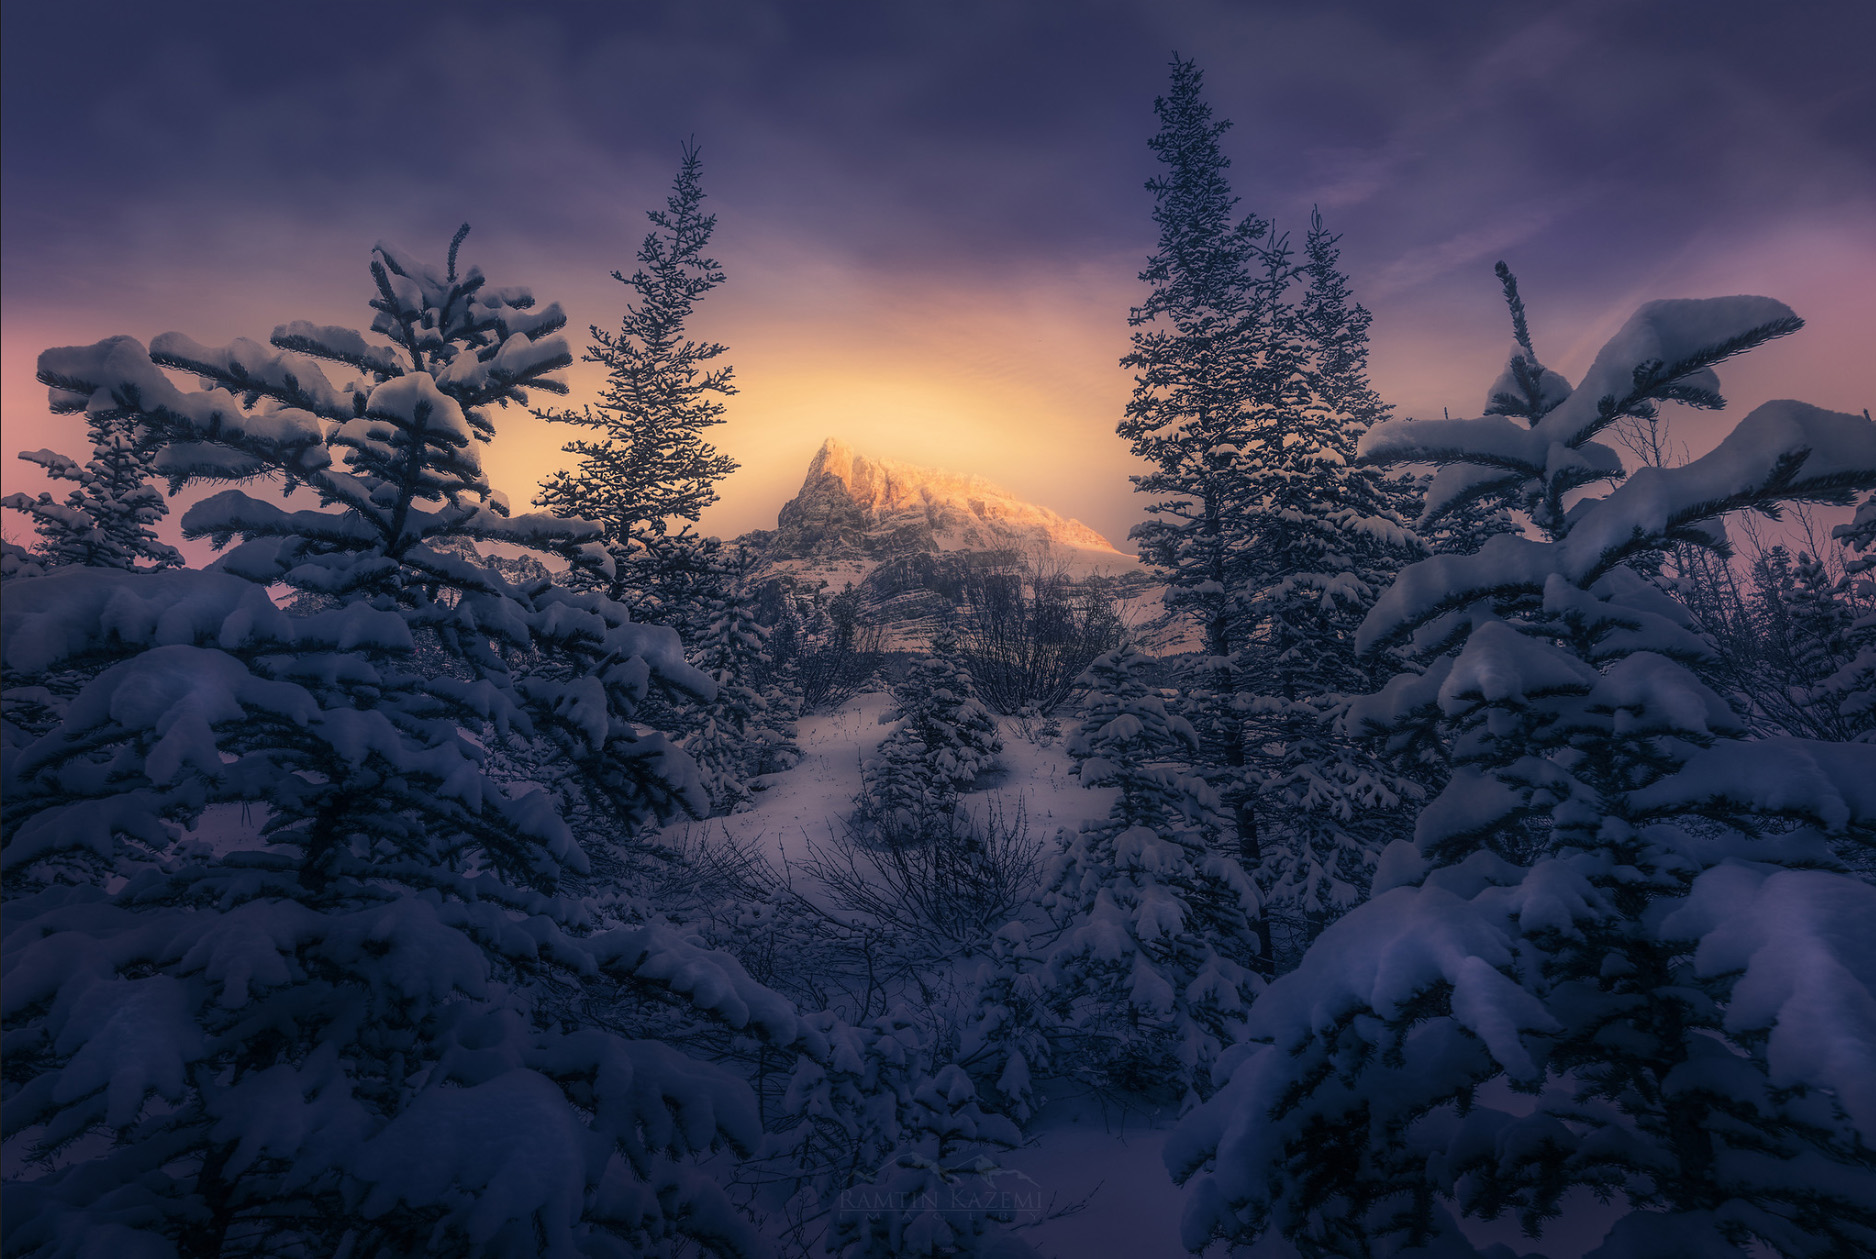
Moving on to the next image, “The Chase.” I don’t think I need to highlight anything for you because you can see that it is full of lines not only from the bottom of the frame, but also from the top and the clouds.
Notice, I always keep my main subject (which usually is the background) away from the edges of the frame. You have to give the viewer enough room around the subject so if you keep your subjects in the corner, it breaks your whole story.
We’re trying to tell a story with a photograph and a landscape shot will always have foreground, mid-ground and background which most of the time is your main subject. You also want to keep your background the brightest. More contrast and darkness in foreground so that your eyes automatically will be focused on your main subject.
3) POST PROCESSING TO FINISH YOUR WORK
Of course, posts processing the RAW files that you capture are very important as well. The amount of work you do on location dictates how much post processing you have to do later on. However, no photograph is completed without a good amount of adjustments. Cameras turn a three-dimensional world into 2D, and as photographers, we must understand imagery and be willing to adjust our photos to create the illusion of a third dimension. Post processing is always a big part of what I teach because I believe that it goes hand in hand. In fact, I have a two-hour class on KelbyOne on all my post processing techniques I use for landscapes.
In post processing, there are lots of techniques you can use to improve your composition. The one thing that I always do is bringing down the exposure and darkening the areas that are not important. That will make your important lines and shapes shine through easier. If you look closely at all of my images in my portfolio, I use the dodging and burning technique a lot. Every single element that is not contributing to the shot gets darkened. Here’s a quick example:
Before:

After:
Remember that you are responsible for everything that is in the frame, so try and be careful when shooting. Certain things can be removed in Photoshop later, but you want to keep it as clean as possible in order to make the processing easier later on. Use your brush tool. Repeat after me: use your brush tool! Most of my adjustments are done using brush strokes. Even if you’re not comfortable with Photoshop, using the brush tool in Lightroom will get you very far. Luminosity masking and all of those advanced techniques are fine and dandy, but I don’t see many people using the brush tool in Lightroom. You can make lots of adjustments in Lightroom using the brush tool, and you can add as many adjustments as you need. It’s the same as Photoshop, but without seeing the layers panel that could be confusing to a lot of people. Very understandably so!
BONUS: USE A PEN
Another tip when it comes to post processing is using pen tablets instead of your mouse. For many years, the expensive Wacom tablets have been the industry leaders. However, today, great companies like XP-PEN are introducing tablets with lots of features like over 8,000 pressure levels and knobs that you can use to control Photoshop and Lightroom. My style of post processing involves lots of brush strokes which is very time consuming and hard to do with a traditional mouse. These pen tablets make life a lot easier while making the entire experience a pleasing one. With pressure sensitivity on, you don’t even have to change your brush opacity as it automatically changes it depending on how hard you press the pen on the tablet. XP-PEN makes some of the best tablets around the $100 mark that include all features of the Wacom tablets.
4) Don’t Forget: LOCATION, LOCATION, LOCATION
All that said, in Landscape Photography the same adage applies as with most of life; Location, Location, Location. Canada has no shortage of RAW beauty, especially the Canadian Rockies in the winter. Most of the country is wilderness but some of these gems are accessible by maintained roads.
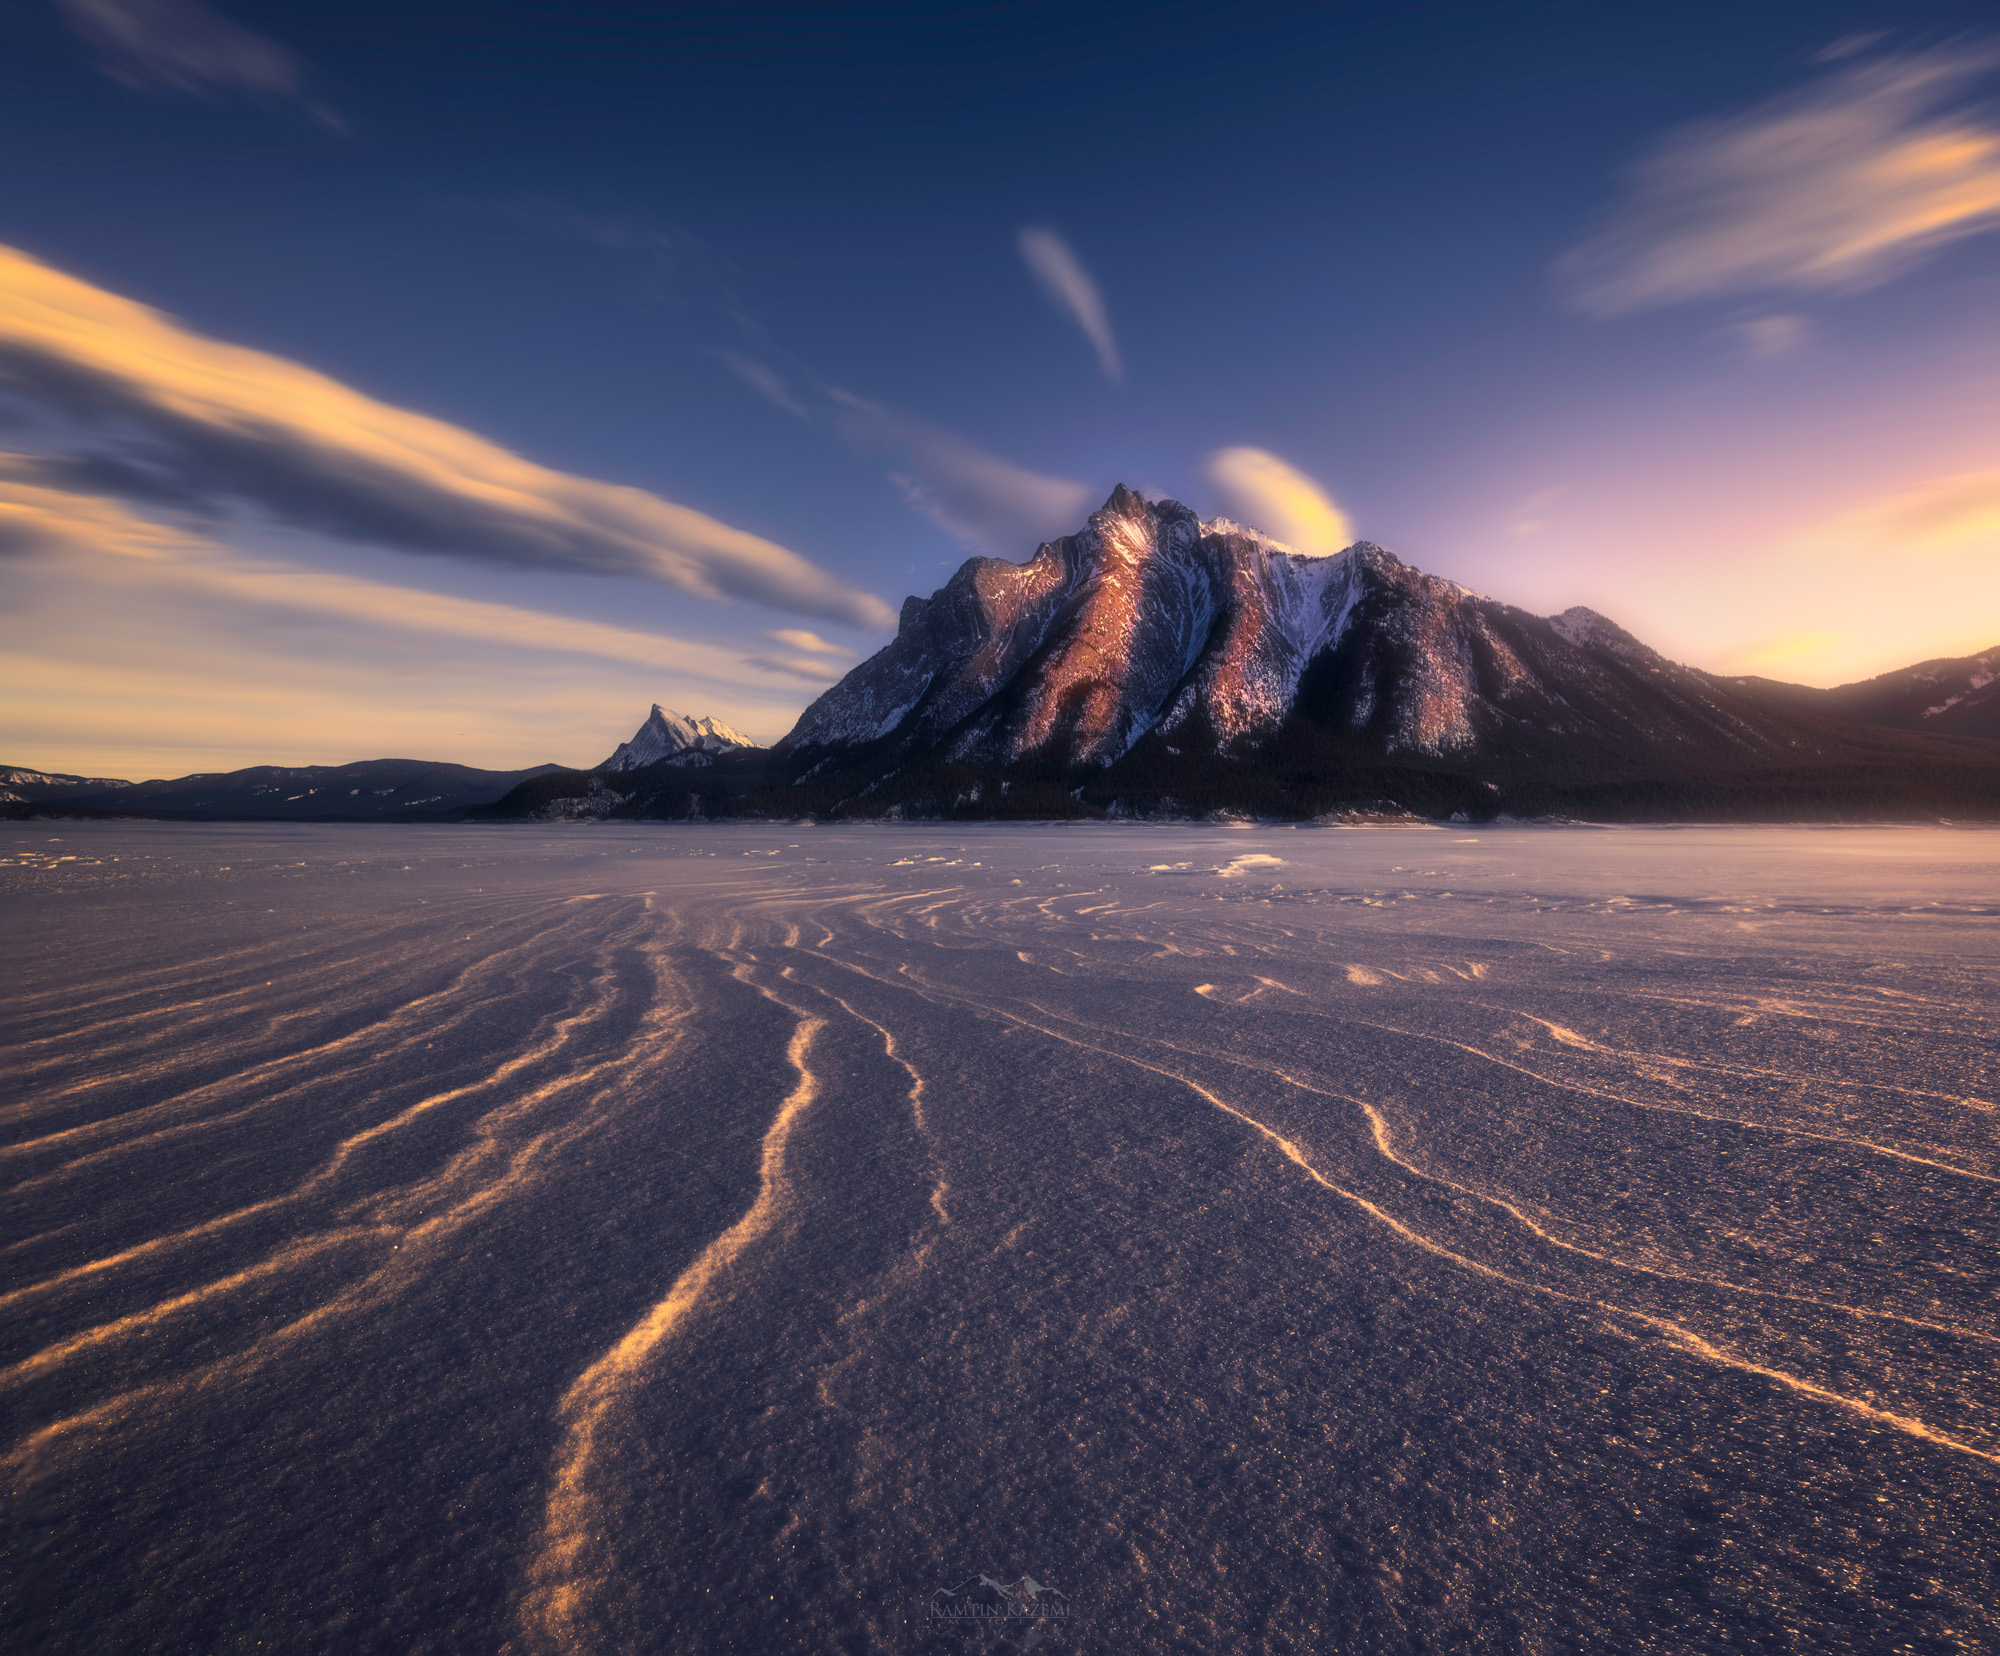
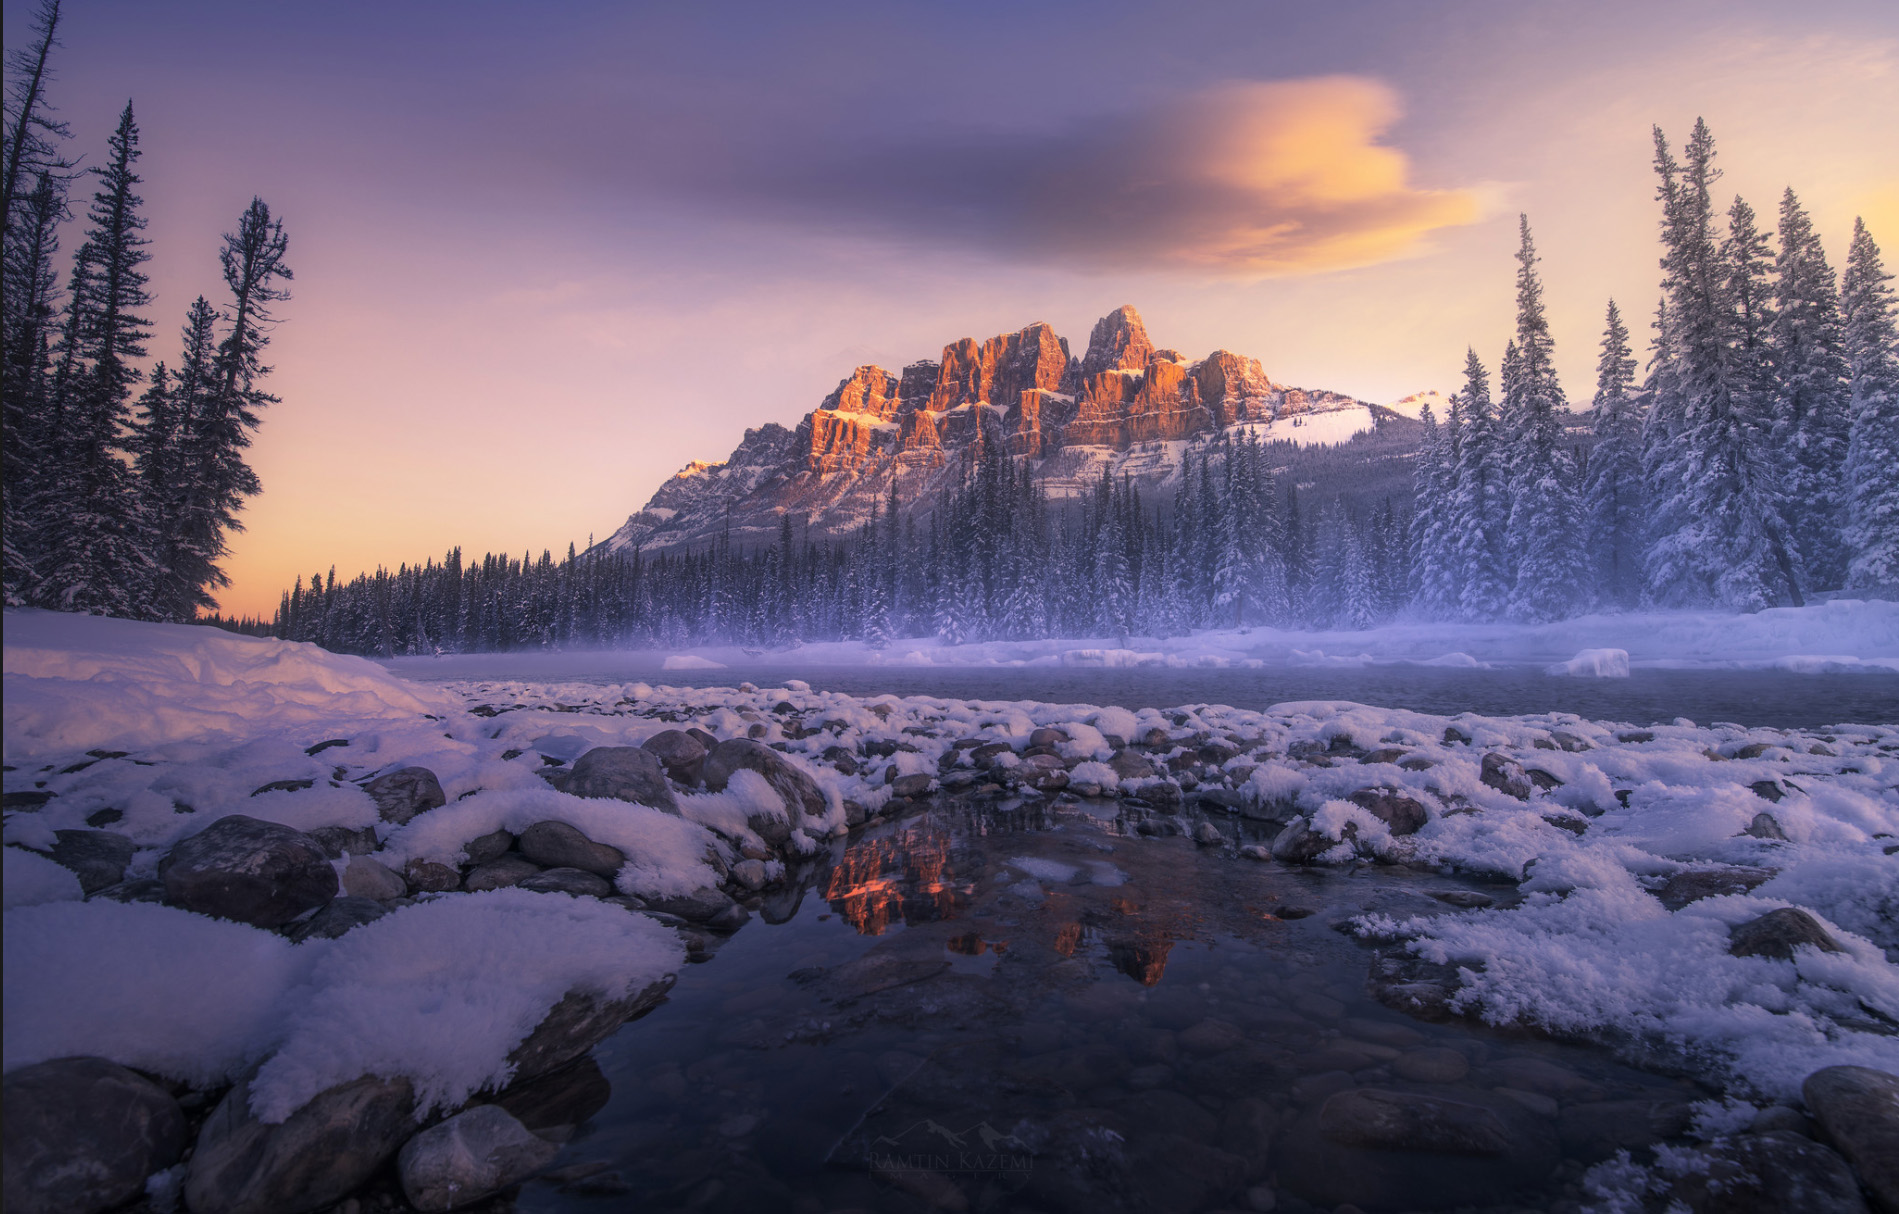
The image you see above was taken at sunrise, and I was only 400 meters away from the parking lot. Why was this a successful photo? Because I knew when to get there, how to get there, what composition to shoot, and at the end of it all, how to post process it, which can be all taught in a single day. My goal is to inspire people and show them how easy it can be to take some unique photographs with minimal effort. For most of these shots, the only thing we have to deal with is a little bit of cold weather, which is nothing that can’t be fixed with clothing.
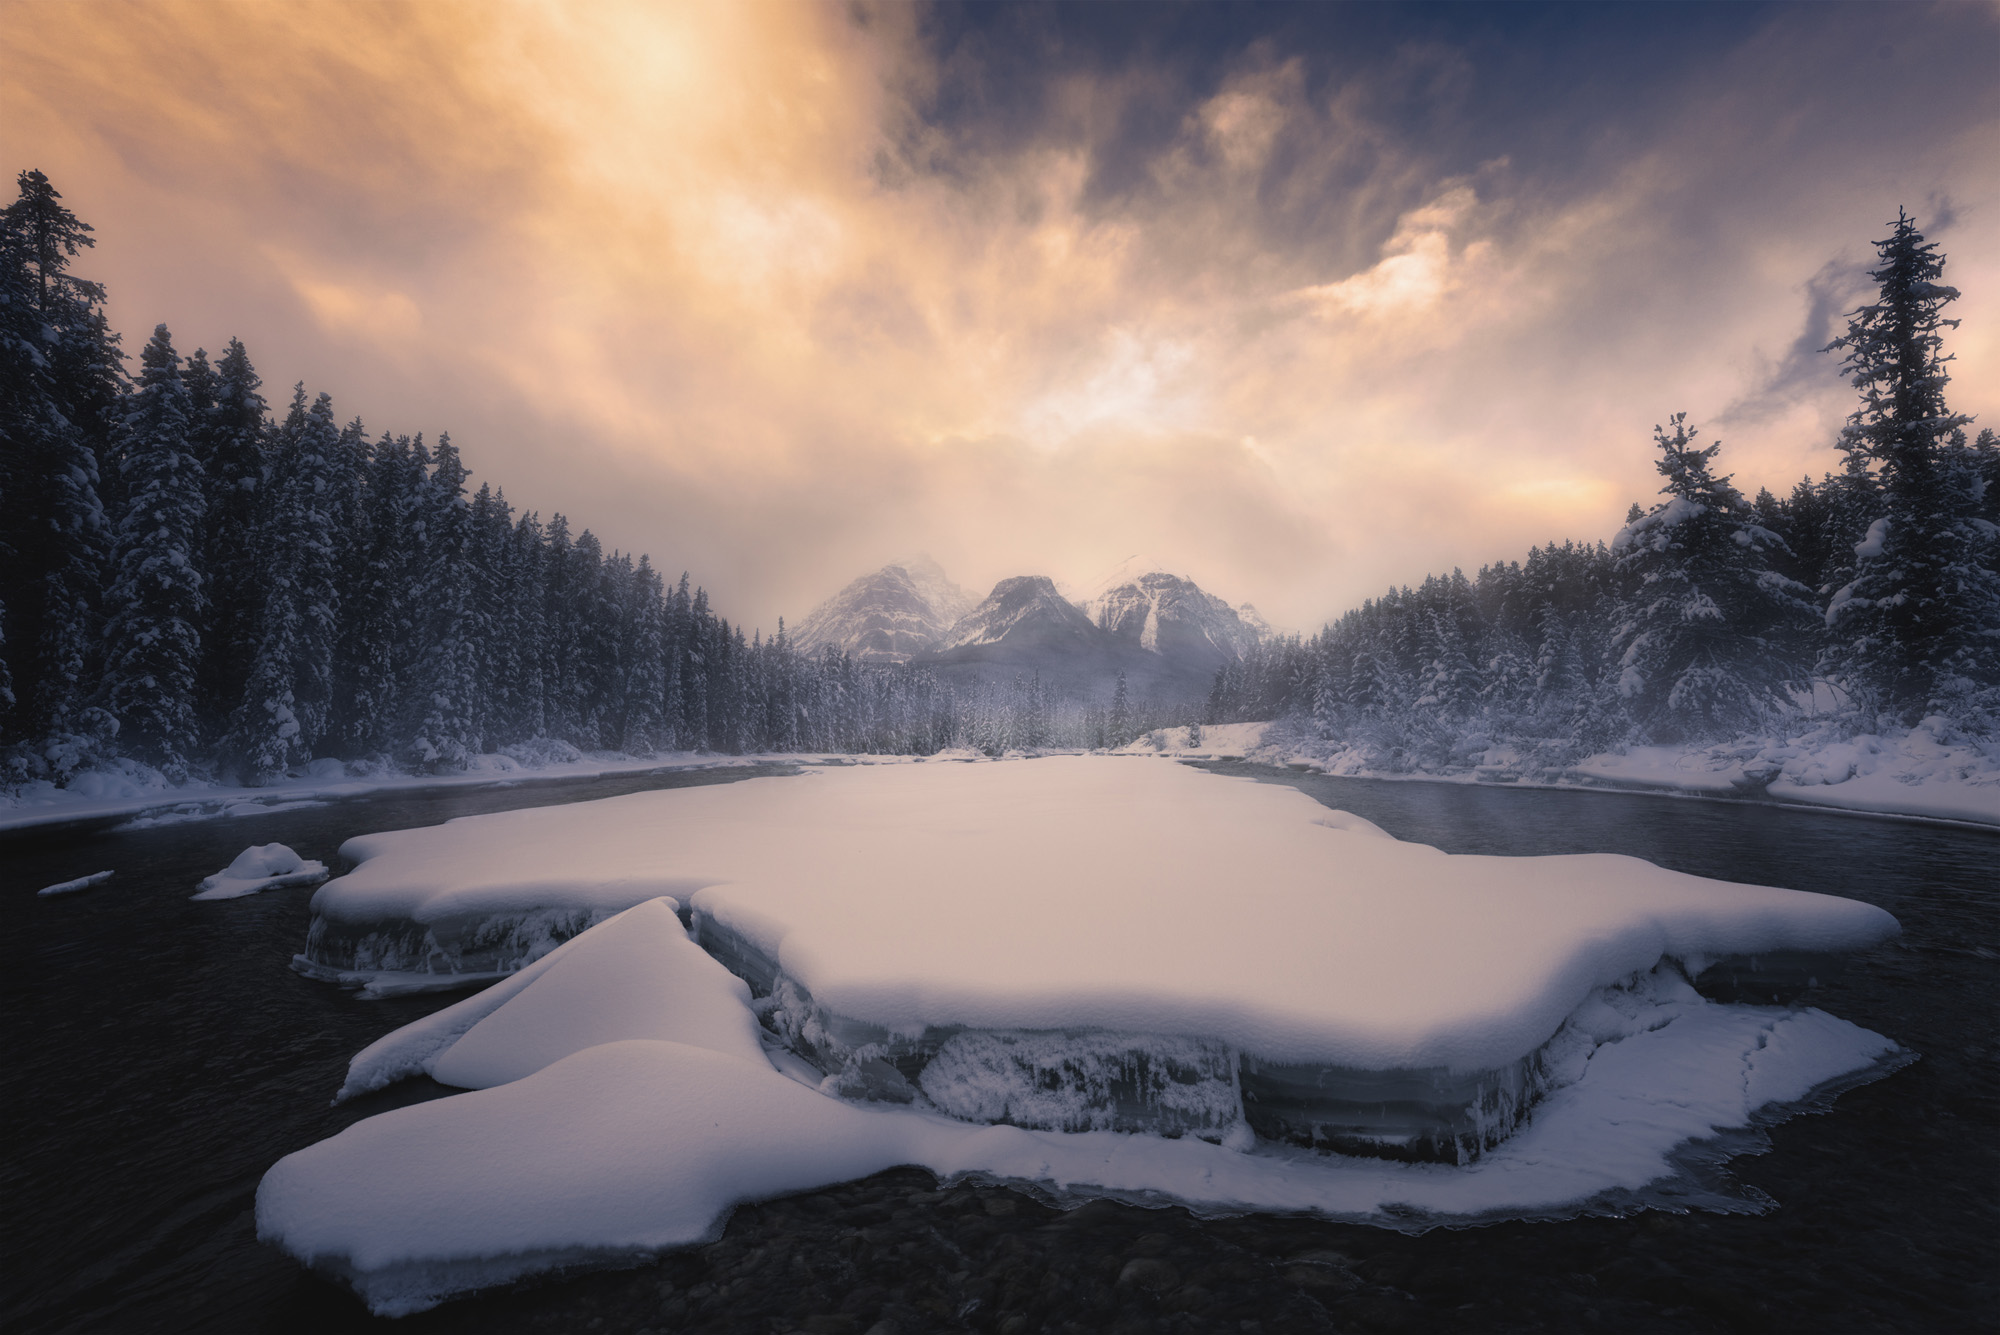
Why do I shoot in the Canadian Rockies only in winter? Because the mountains are majestically white, lakes are frozen and there are TONS of foreground options to make your composition interesting. The landscape is forever changing in the winter. Methane bubbles, drifting snow, rivers and streams that produce mist, cracks on the ice, fresh powder on trees, you name it, we have it all…
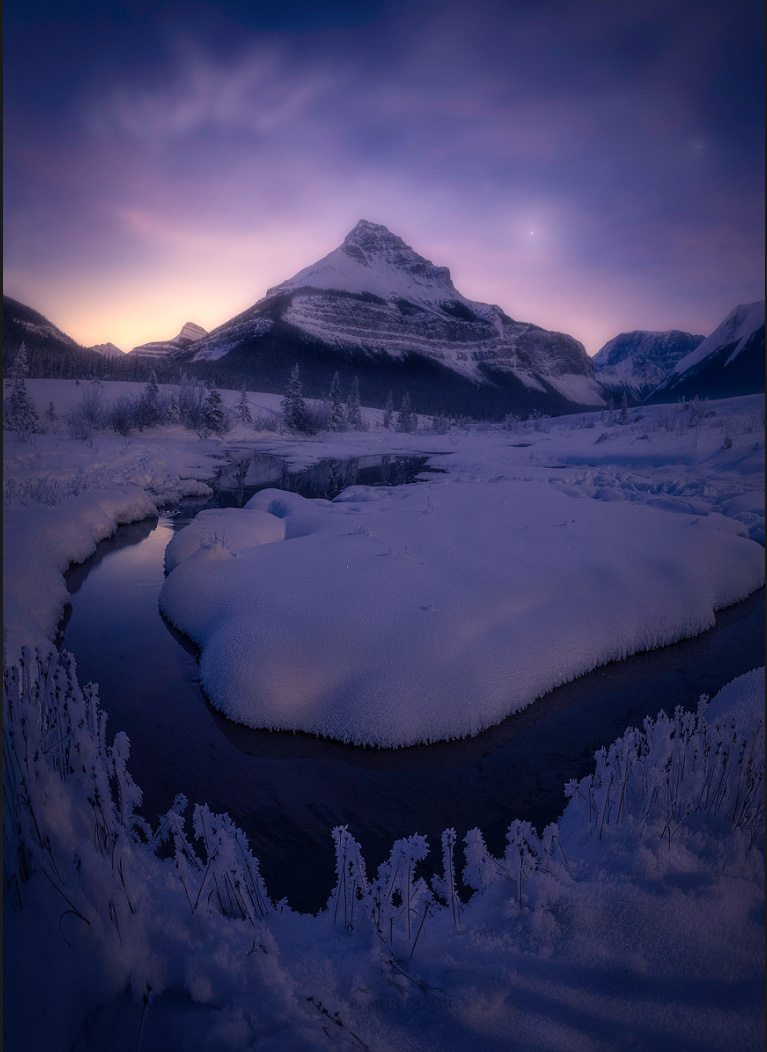

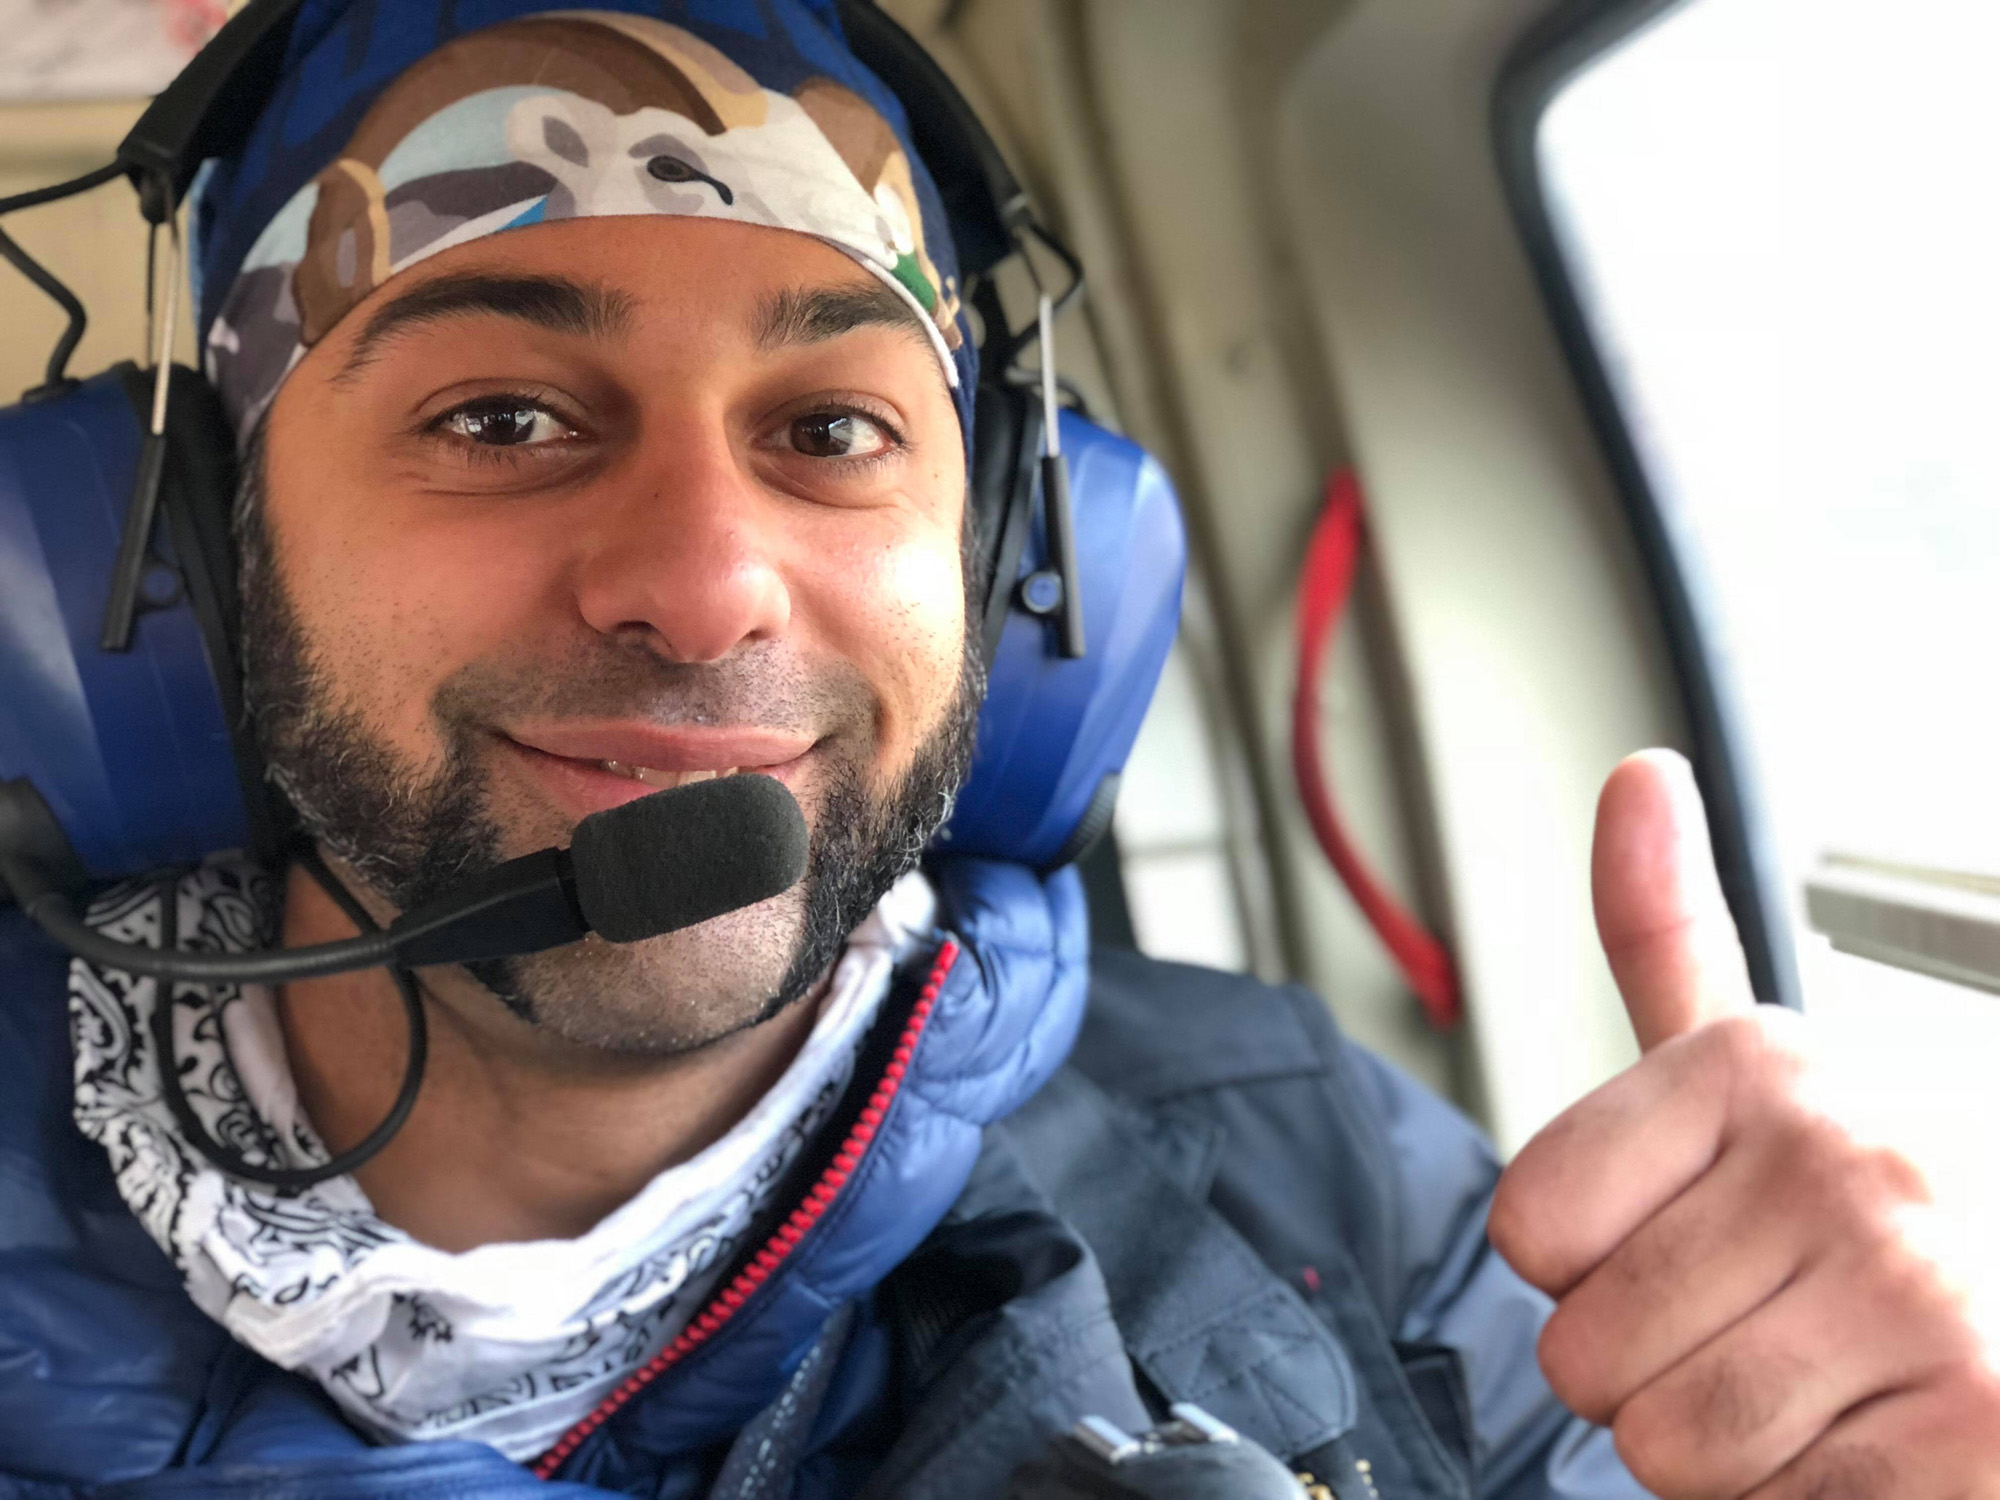
The best part is that it is not crowded in winter. You can shoot all by yourself sometimes, which is one of the most pleasing parts of landscape photography for me. Shooting some of the most photogenic places on earth with nobody around? Come on! The Canadian Rockies in winter is without a doubt one of the most beautiful sights you’ll ever see in winter. The drive up the Icefield Parkway is stunning. You’ll get to see peak after peak and it just doesn’t end. From Banff all the way to Jasper and beyond, there are tons of spots along the highway that you can stop and take photos that involves very little to no hiking. If you can walk on snow for 15 minutes, you can get any of these locations that are included in this post. All the photographs you see here were taken during my workshops up in Banff. Another location in most of my Portfolio, the Yukon, involves a chopper ride and backpacking, and it’s only designed for the true adventurer. But most of the places I shoot are not like that at all.
5) HAVE FUN
At the end, remember, the goal is to have fun. The journey itself is the most important part of it all. A landscape photographer must never forget that. Enjoying the landscape and listening to mother nature is really what it’s all about. That is what you’re trying to portray as a photograph; the beauty of our planet earth. We as humans have landed on the Moon, but believe me; you don’t have to go that far to see beauty. This planet is full of wonderful locations, and the most beautiful, despite what people say and where most people go, are found at the most random and unthinkable spots.
If this sounds like something you’d like to experience, put on your down jackets, get your snow shoes on and join me to capture the beauty of Canada this winter at one of my workshops! We’ll have fun and make some great photos.
(And don’t worry if Canada in the winter seems intimidating, I’ll work with you what you need to bring. I’ve been doing this for years, and I’m here to help you get out there and make some unique photos without having to go through the struggles I did when I started shooting in the Rockies.)
I’ve added a workshop this winter and Scott will be there with me on it. It’s designed for anyone and everyone. So join us for some fun. I’ve created a code (“kelby”) exclusively for fans of Scott to save $800, because who doesn’t want to hang out in the Canadian Rockies with the living legend of Photoshop, photography and spray cheese, Scott Kelby.
I also want to thank Scott for the opportunity to share this with you guys and I look forward to being able to share the beauty of the Rockies with you and Scott this winter at my workshop.
-Rammy
Check out Ramtin’s workshops here to book your spot for the January 23-27 workshop with Scott Kelby! Use special code “kelby” to access the discount.
You can see more of Ramtin’s work at RamtinKazemi.com, watch his KelbyOne class, and keep up with him on Instagram, 500px, and Facebook.


Some gorgeous shots! – well done
thanks my friend, Ramtin