

Working Your Way Through a Cinematic Photoshoot
Cinematic lighting is something that’s the holy grail of photography. (Well, at least it is for me.) When I talk about a cinematic shot, I think about a shot that uses multiple lights to create drama and depth to an image or subject. I struggled in balancing all of the factors of photography when I first started shooting, so I’m hoping that walking you through this process will help your workflow when you get out there to shoot.
To make this happen, you have to conceptualize your light before you shoot. This means thinking about your scene and environment. You’ll need to determine:
- The number of subjects in your scene. If you have more than one subject, then you’ll want to examine each item as a basic shape.
- Any reflective sources or surfaces that could be used. If you
- The number of lights you’ll need to get the effect that you want to achieve.
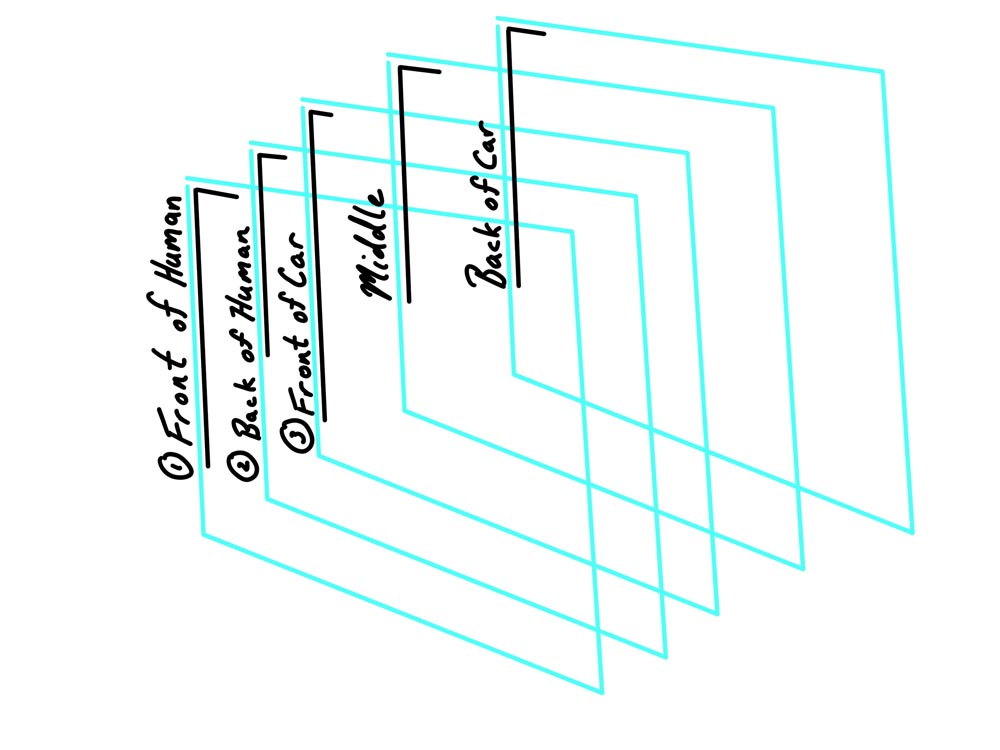
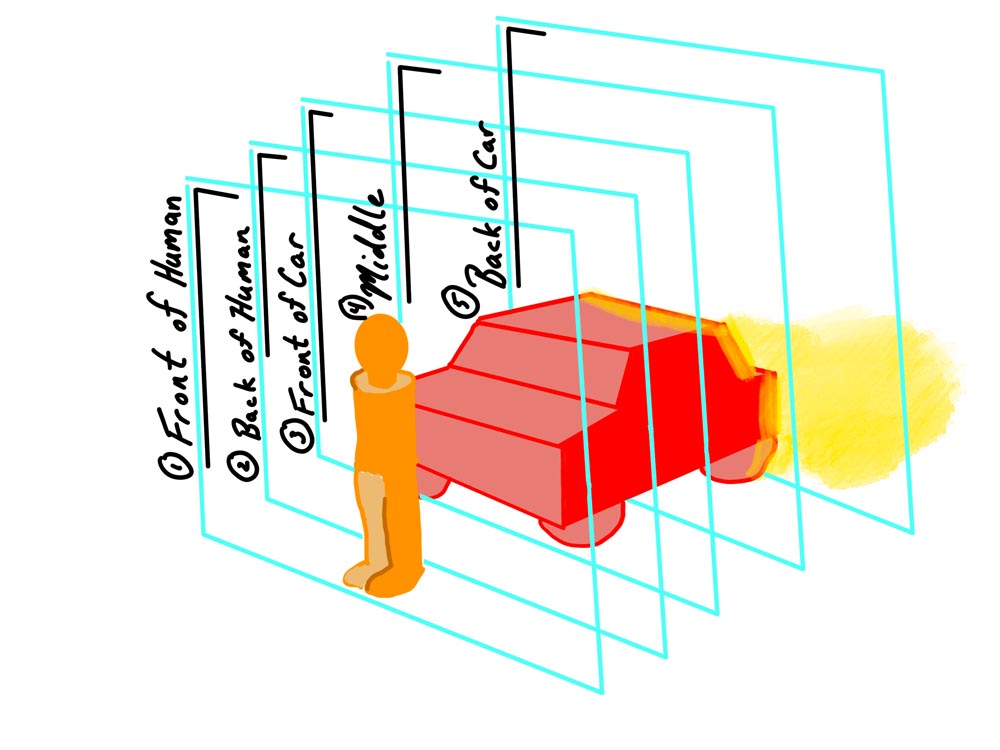
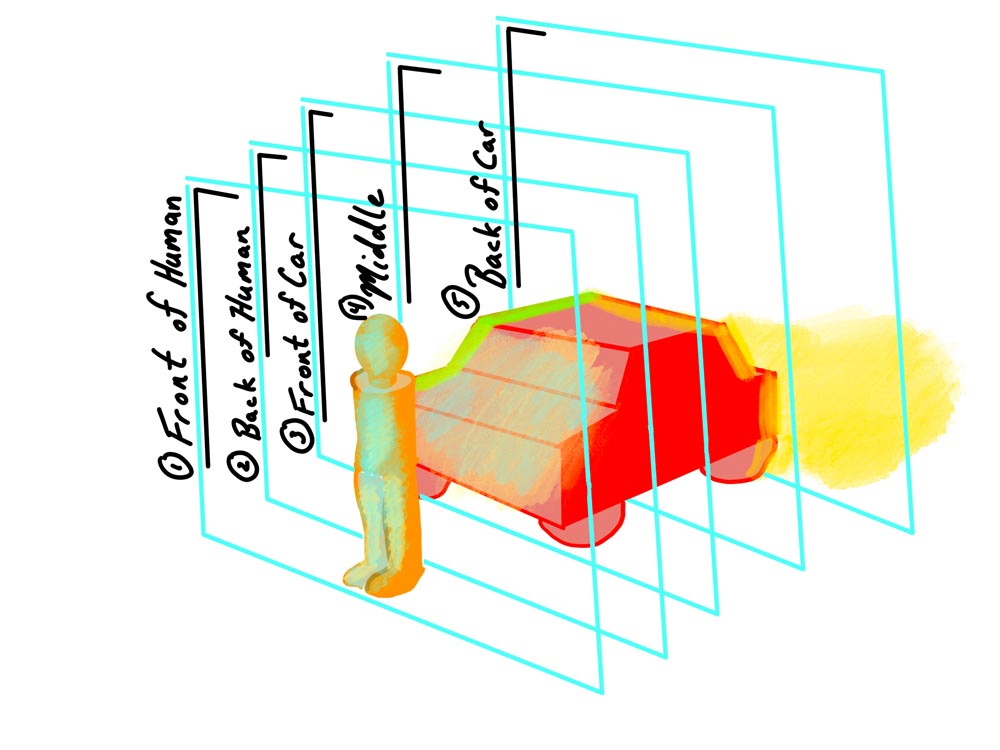
In conceptualizing the lights, we have to think about lighting in layers.
Remember that light is additive; meaning that if your lights overlap then you’ll get more power where they overlap. You’ll want to keep this in mind when choosing where your lights will be placed and how many you need. For this shoot, I wanted each light to have a purpose and not cross over with other lights.
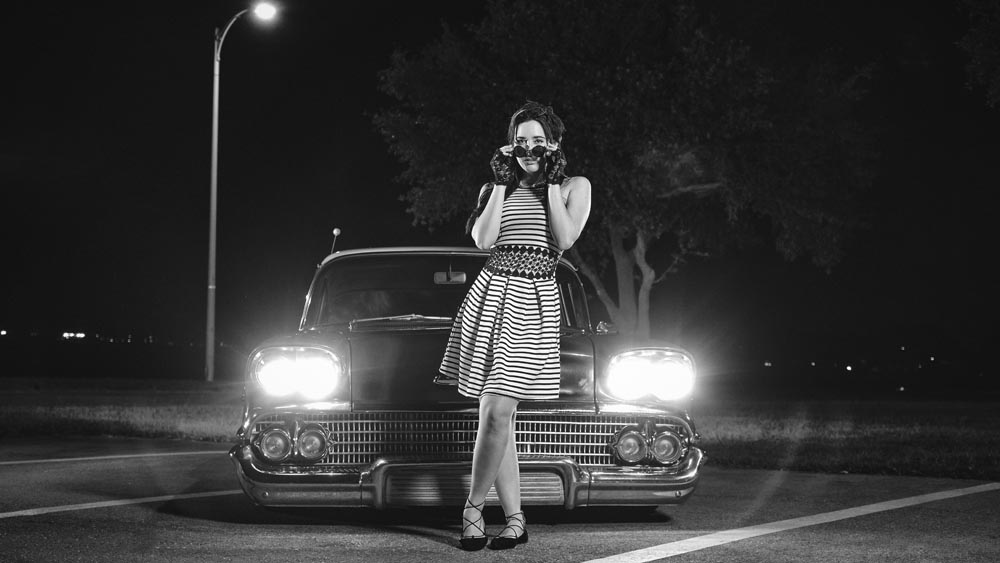
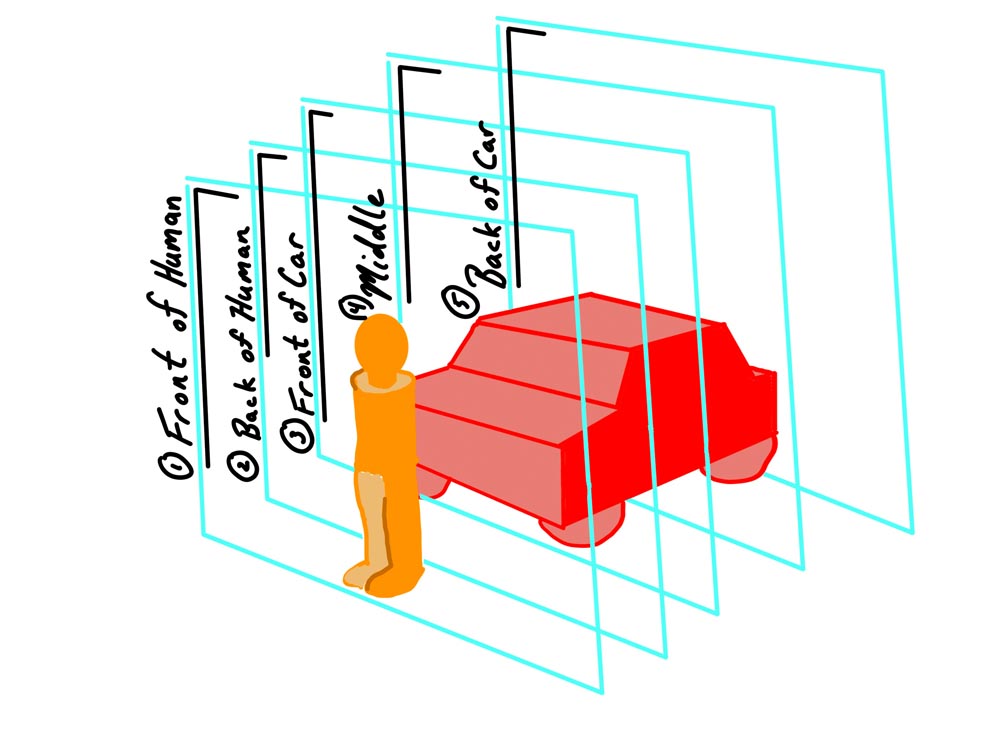
Now, let’s work through the thought process on a build from a recent film noir shoot. I identified the main subjects as a car and our model.
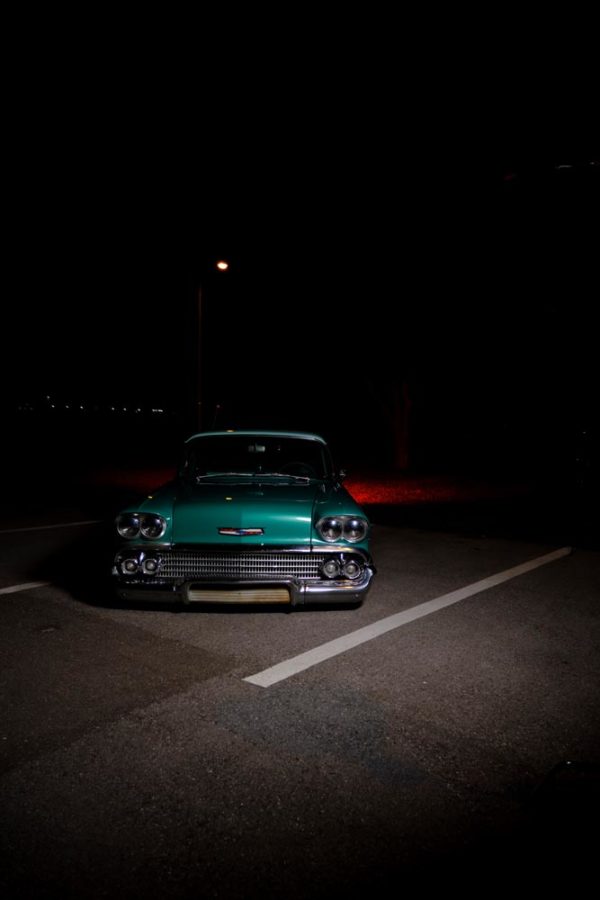
Begin with your ambient light. This is a check of what your camera settings will be and making sure you get what you want for your frame. I did my best to balance this light source with the ambient lights in the background. I take a deep breath to think about where lights can go and what I’ll need. I take the moment to identify the layers that I’ll use before placing down any gear.
We follow this step by working from back to front and then adding our detail lights.
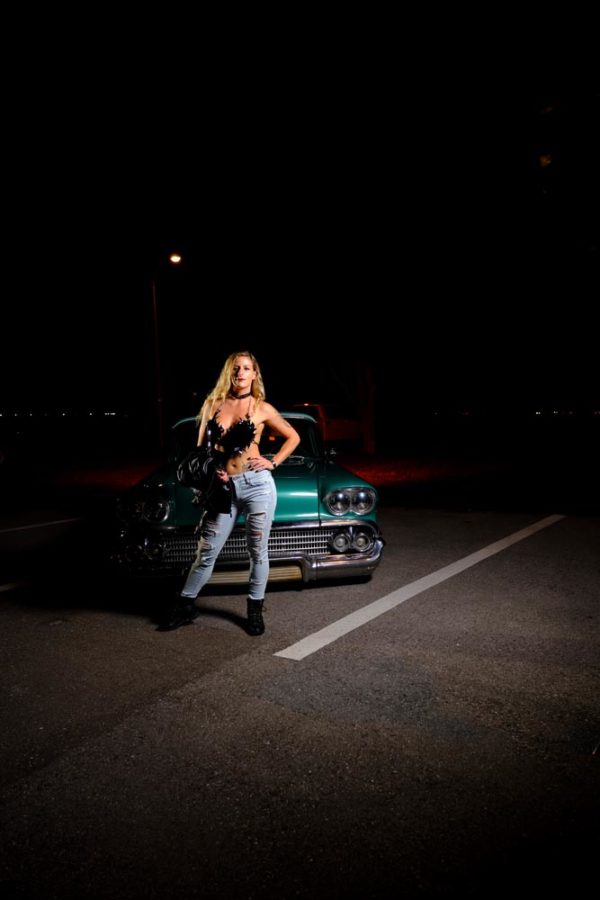
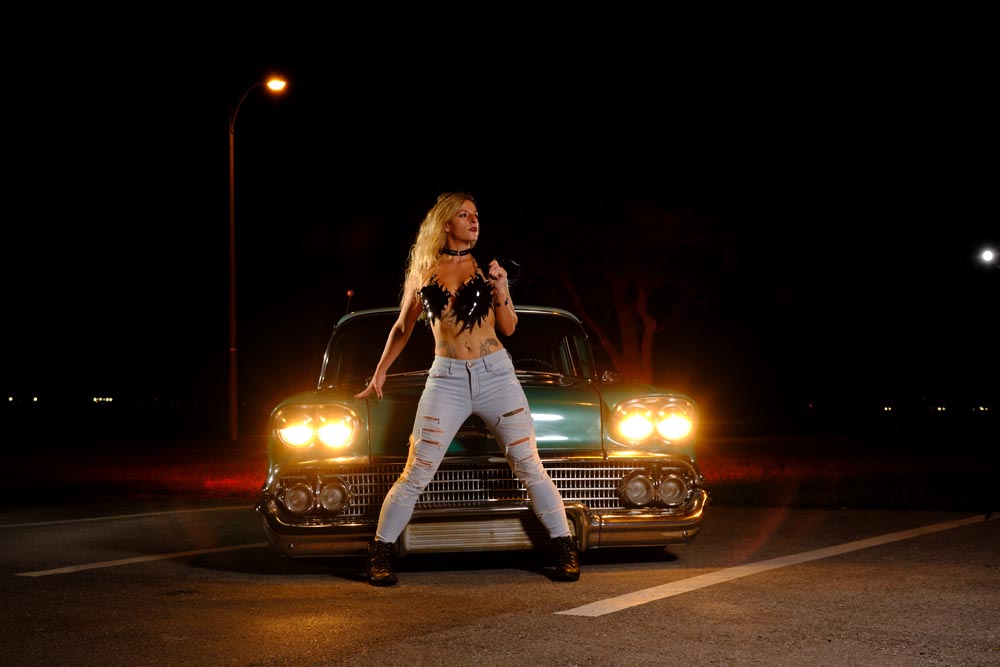
Our first light begins with cutting out our scene from the ambient background. We use a light placed behind the vehicle to mimic brake lights. The goal here is setting the scene and providing weight and placing the subject into a real world. If you’re lighting a portrait scene, then begin by lighting your background to the level that you want. For this shot, I started by lighting as if there were lights coming from the rear of the car.
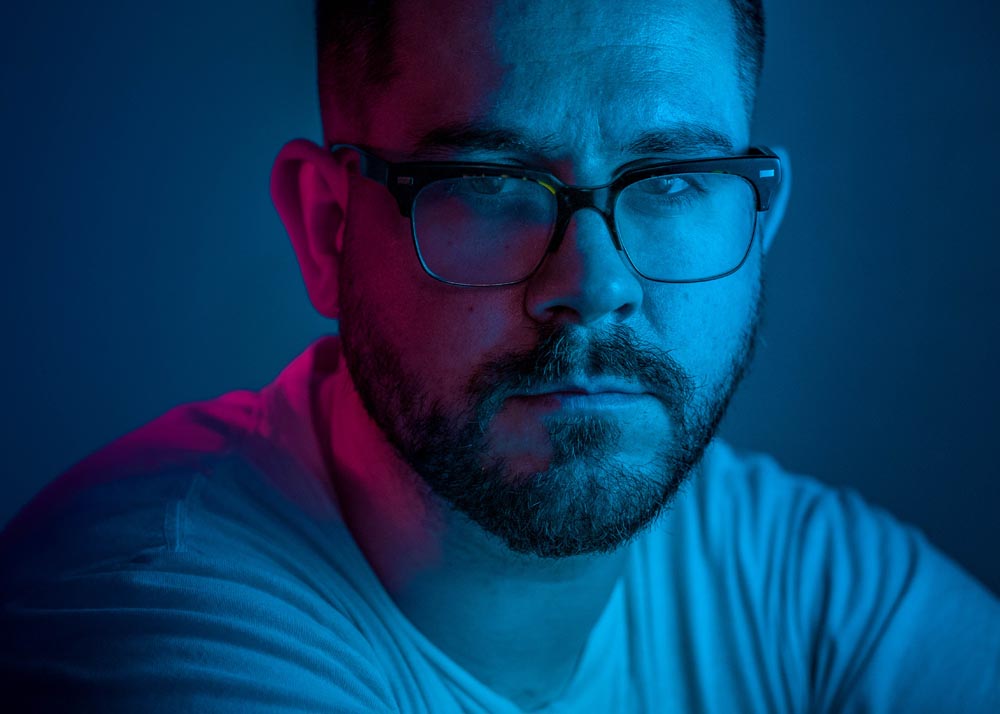
Then, we jump to the front of subject. This is where we have to balance our light for the particular subject, or in this case subjects. I took one shot to make sure it looked alright on the vehicle. I then took another shot with same settings to make sure it looked alright on the model. The trick is balancing the light for the model and the very specular vehicle.
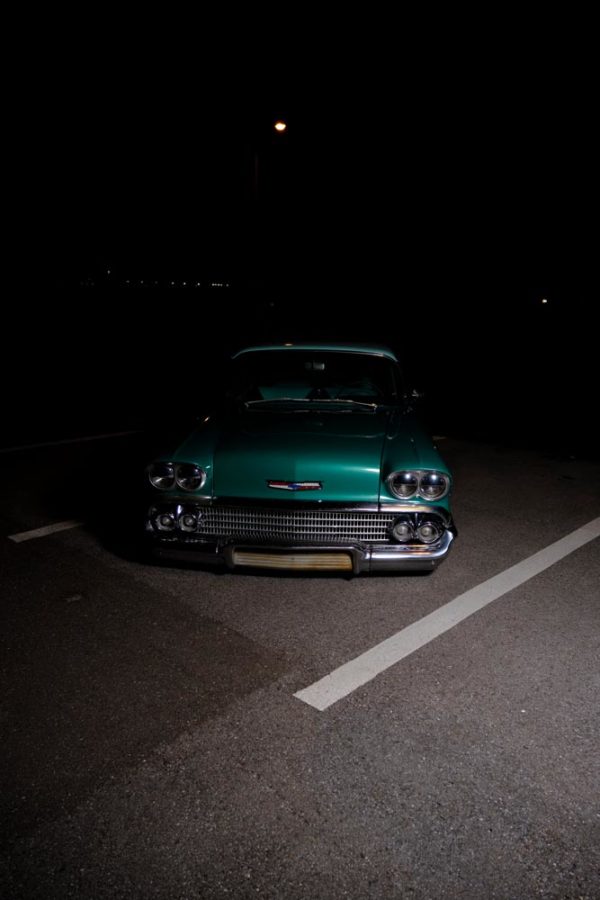


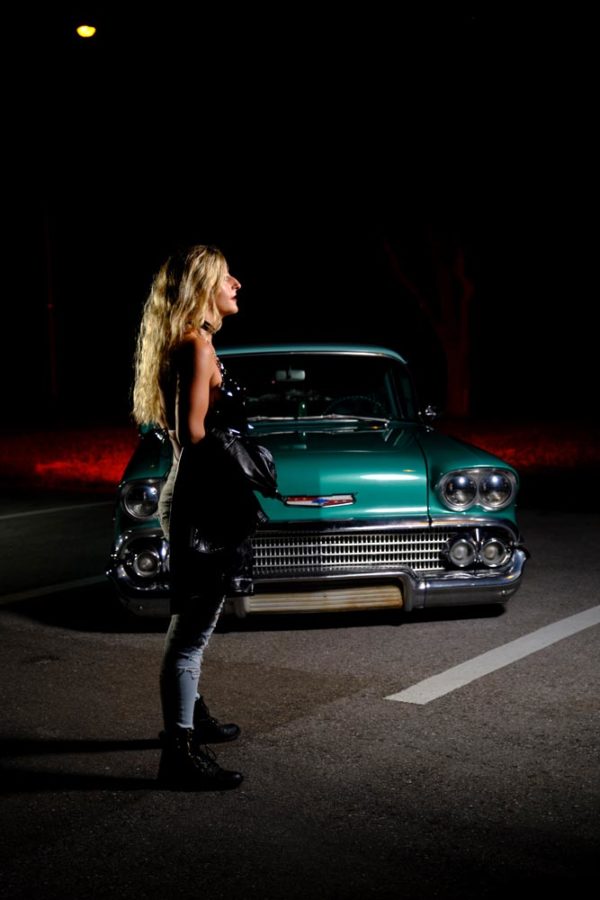
The next step was lighting the details. The goal of this shoot was getting a bit of a film noir look. I used hard lighting to make that happen with unmodified speed-lights. I used a light on camera left to make the car stand out. Unfortunately, I saw that the positioning was terrible, and bleeding into the shot. Sliding the light out of frame and zooming in the flash head solved the problem.
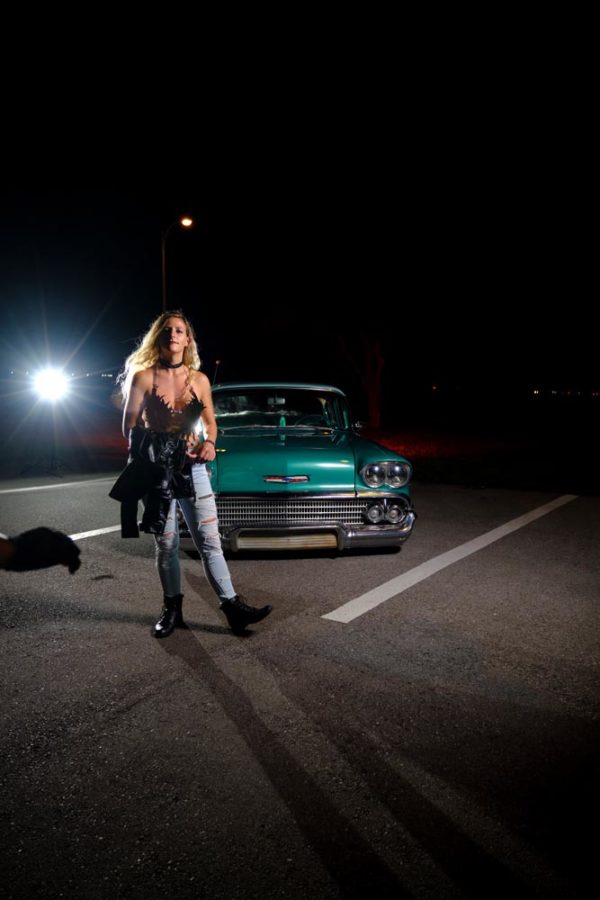
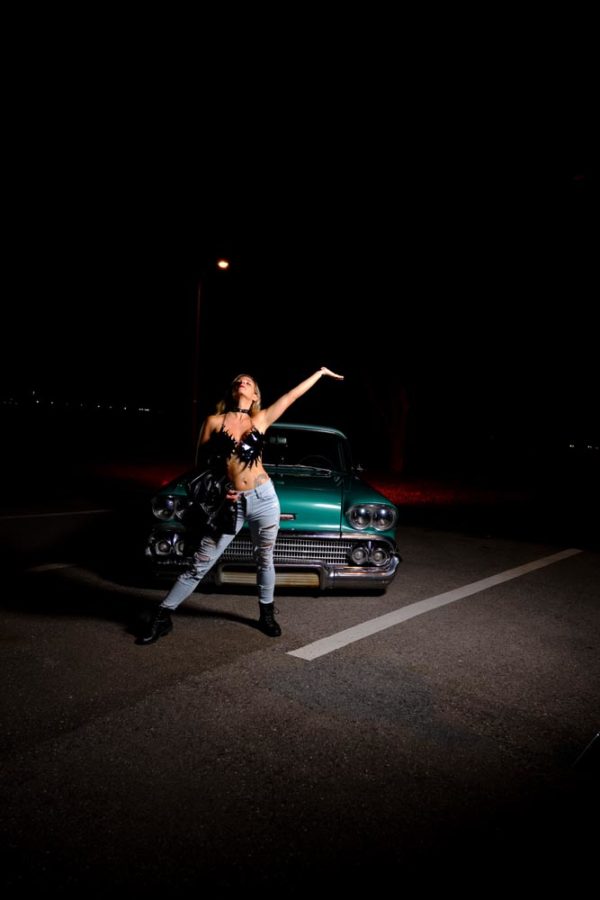
The last step was lighting the back side of the model and cutting her out from the vehicle.Remember, the point is that we don’t want light adding to each other. There are a number of ways to modify your flashes to making them more direct, including flags, snoots, or more simply using the zoom feature of speed lights. You can see how I built each lighting section, beginning with camera left, then camera right, then adjusting the light on camera right with some feedback from the model.
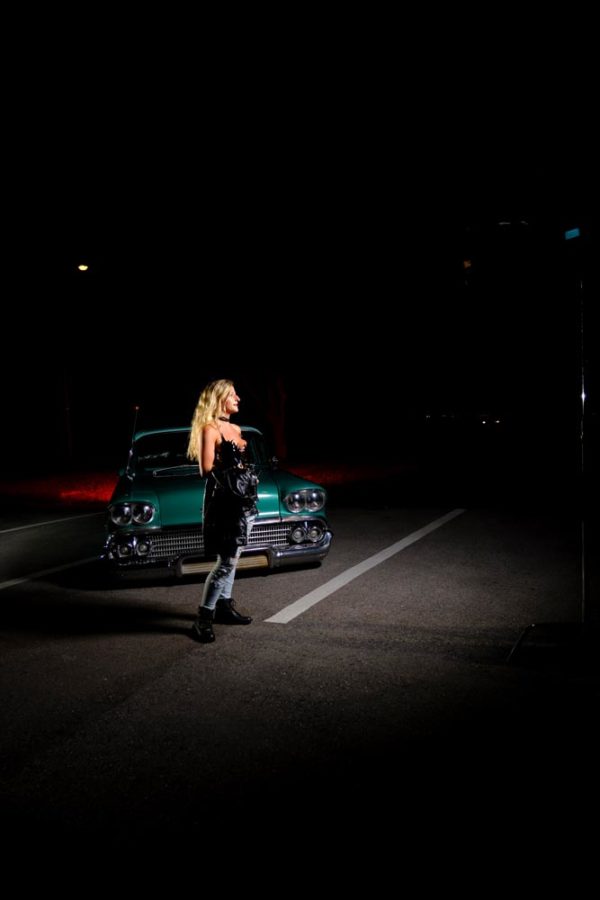

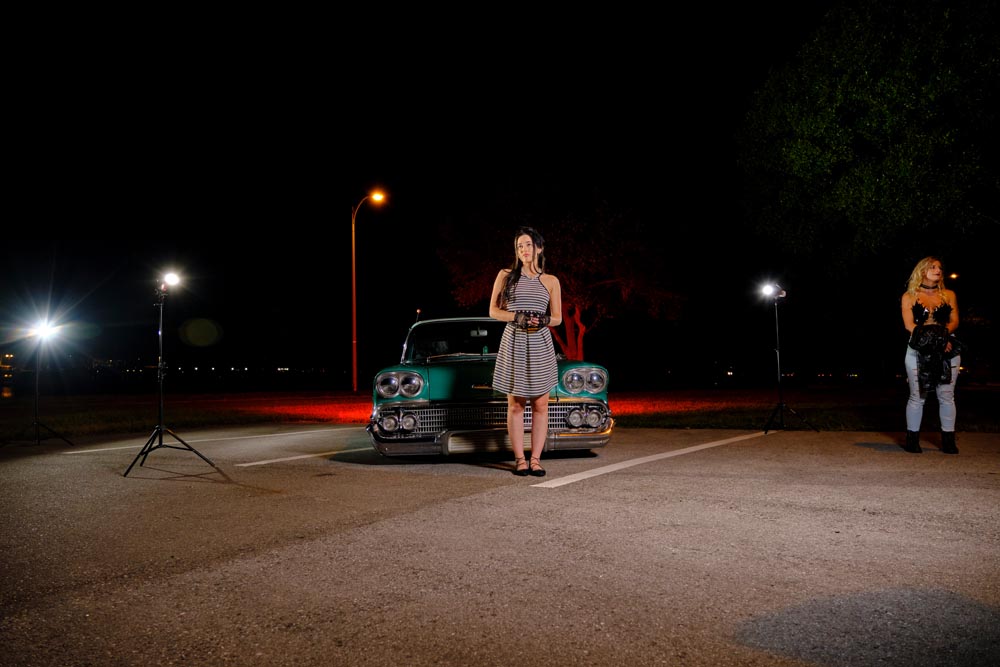
Now that we have our light set, we can pose the model without too many issues. We can then focus on getting the mood and focus on interacting with our subjects, since the lighting is now out of the way. Here’s a wide shot of the lights and our final image (unretouched).
In conclusion, remember to work through your scene systematically. Build your lights one at a time, and figure out where you want your main light. Next, set your detail lights. Finally, interact with your model and have direct connection with them without worrying about lights because you’ve already set everything.
You can see more of Deuce’s work at DeuceBradshaw.com, and keep up with him on Instagram and Facebook.
